I love it! It’s easy, and yet hard…wait. That doesn’t make sense.
Okay, so there aren’t any special skills required, but maybe patience, and I’m not the best with that. 🙂
So let’s talk about how it’s done and what you need.

Metal Stamping Basics
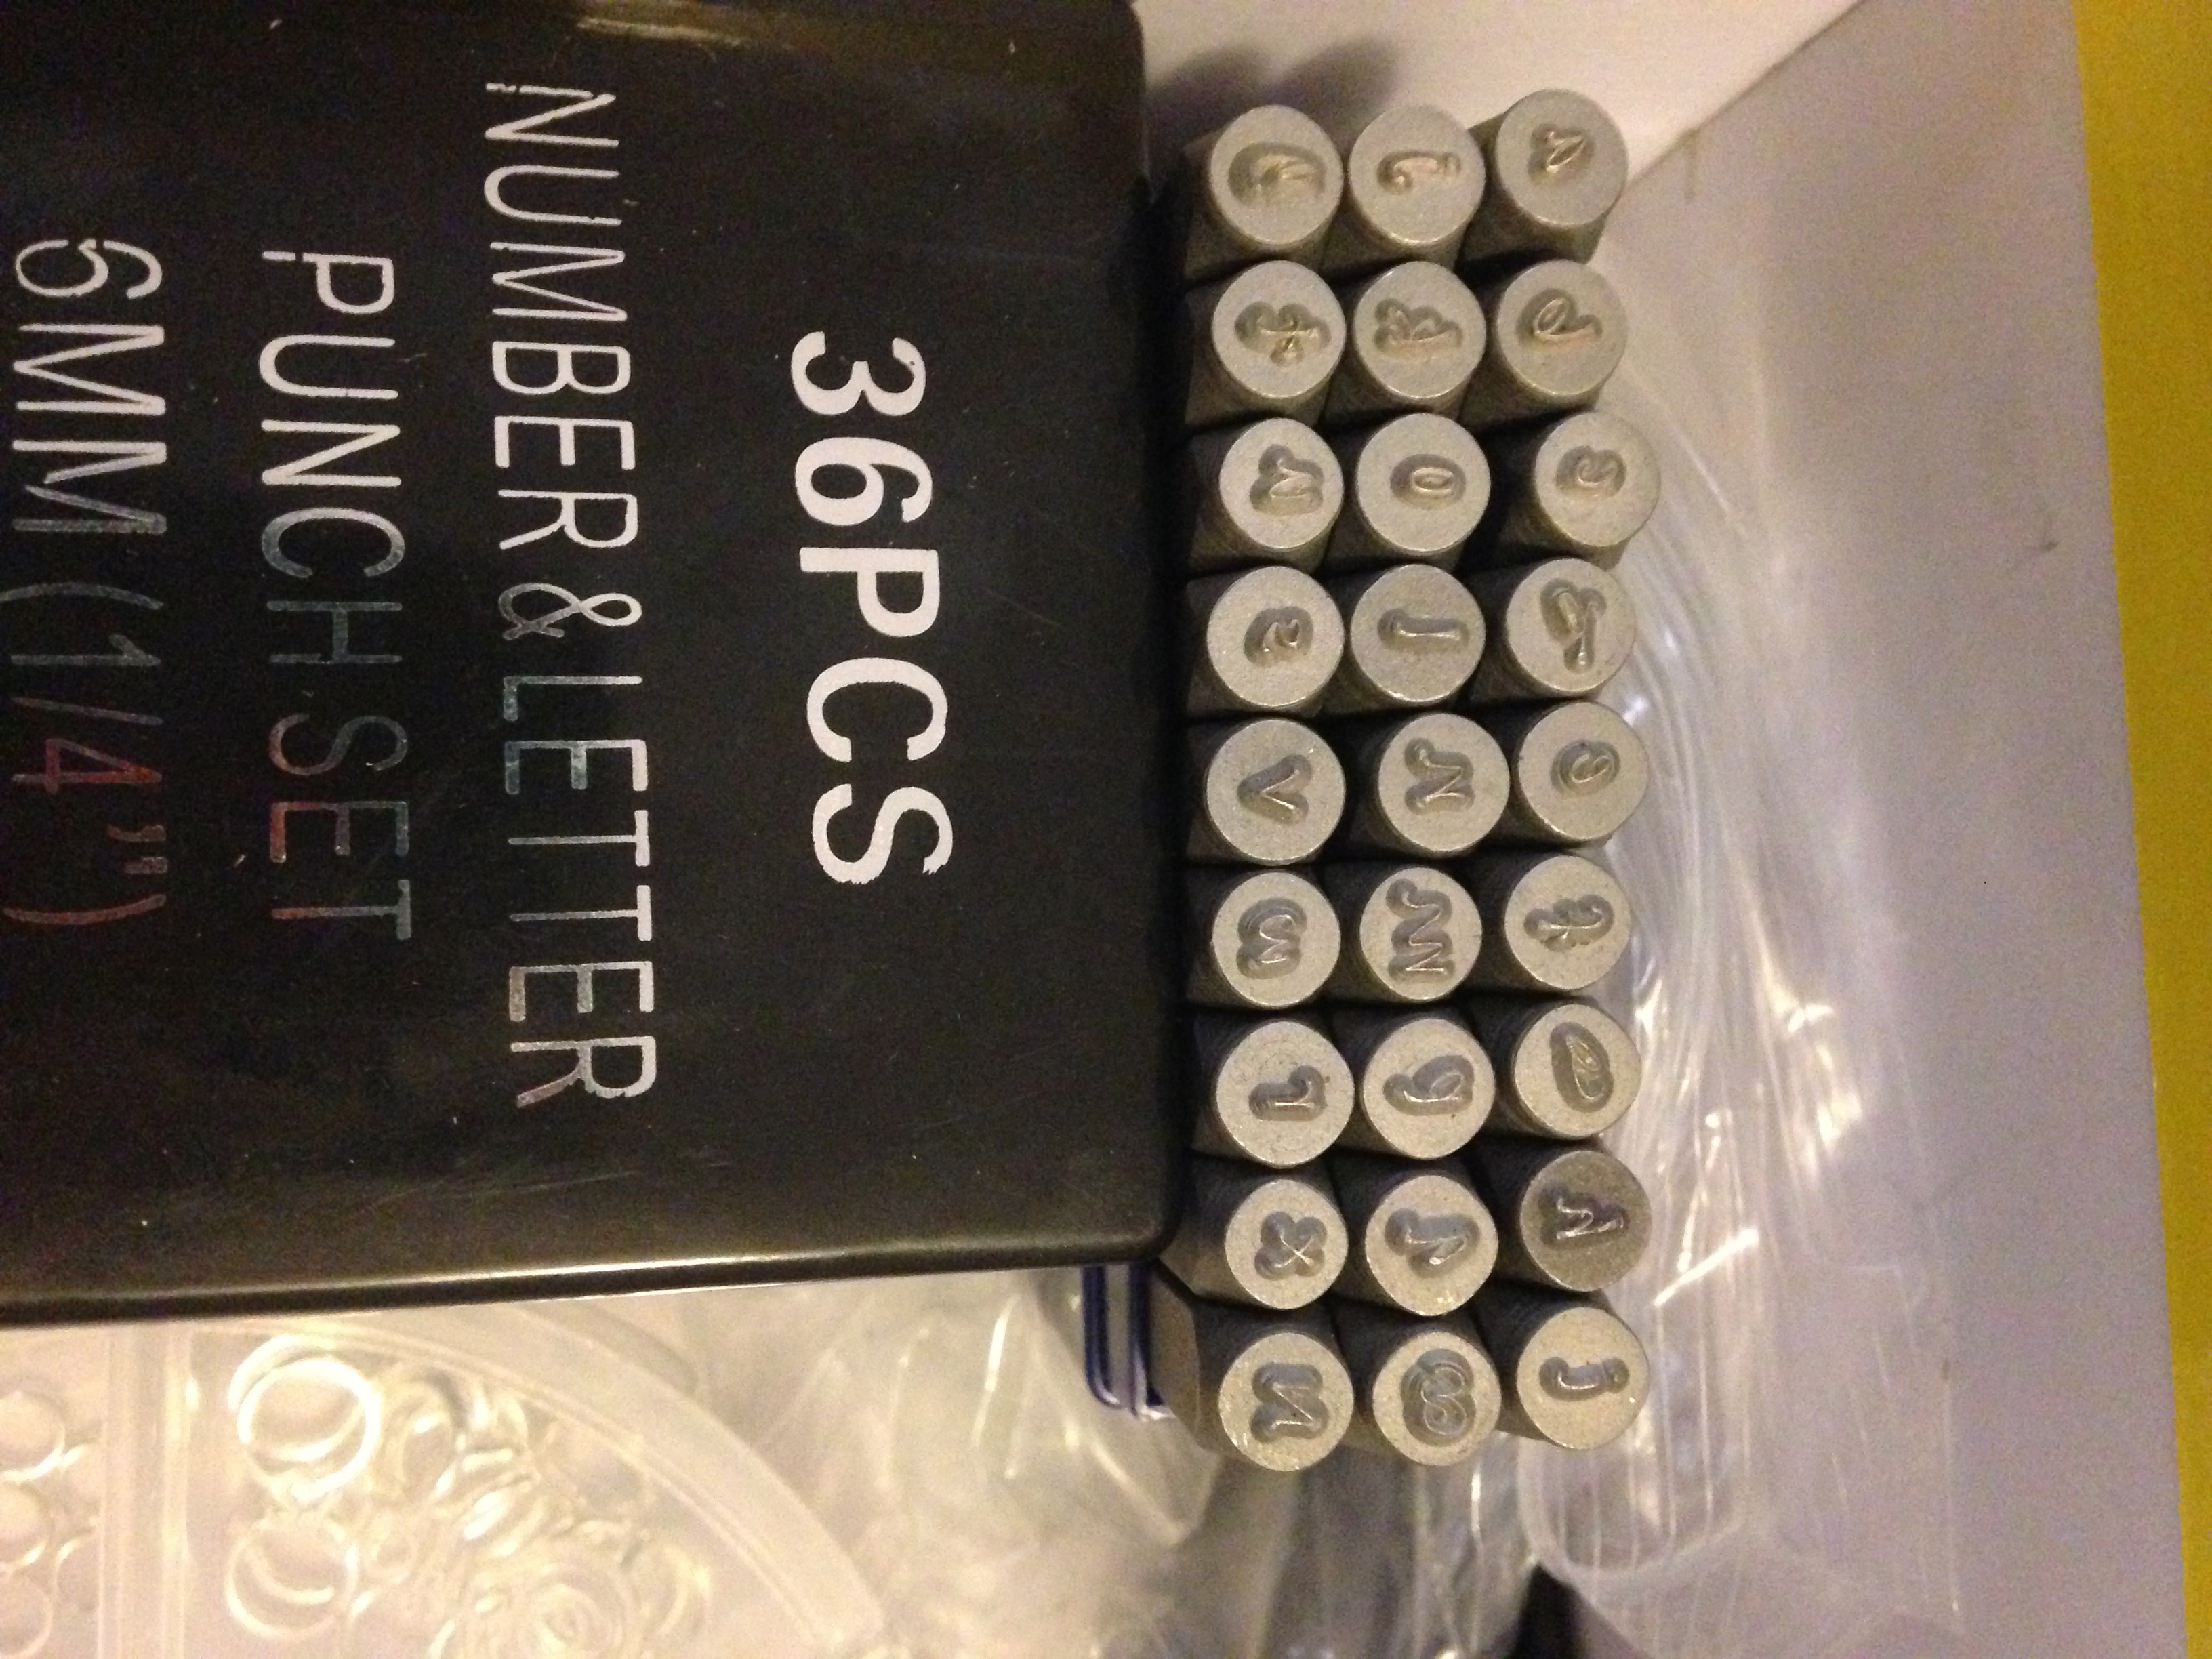
Letter stamps: I found this to be difficult. You can buy uppercase, very plain letter stamps at JoAnn’s and Michael’s, but I wanted lowercase. I don’t know…I just like lower. Probably because I’m a child of the internet age and to me, capitals are YELLING AT YOU! I found my current, “handwriting-style” set at Hobby Lobby. (Have I mentioned I’m in love with Hobby Lobby?!)
A hammer: I use one of Josh’s. Any hammer will do.
Steel block: Yes, you need steel. I tried a block of wood and it bends the blanks too much.
Metal blanks: These are easy to find at JoAnn’s, Michael’s, and Hobby Lobby. HL has my current favorite blank, the heart you’ll see below.
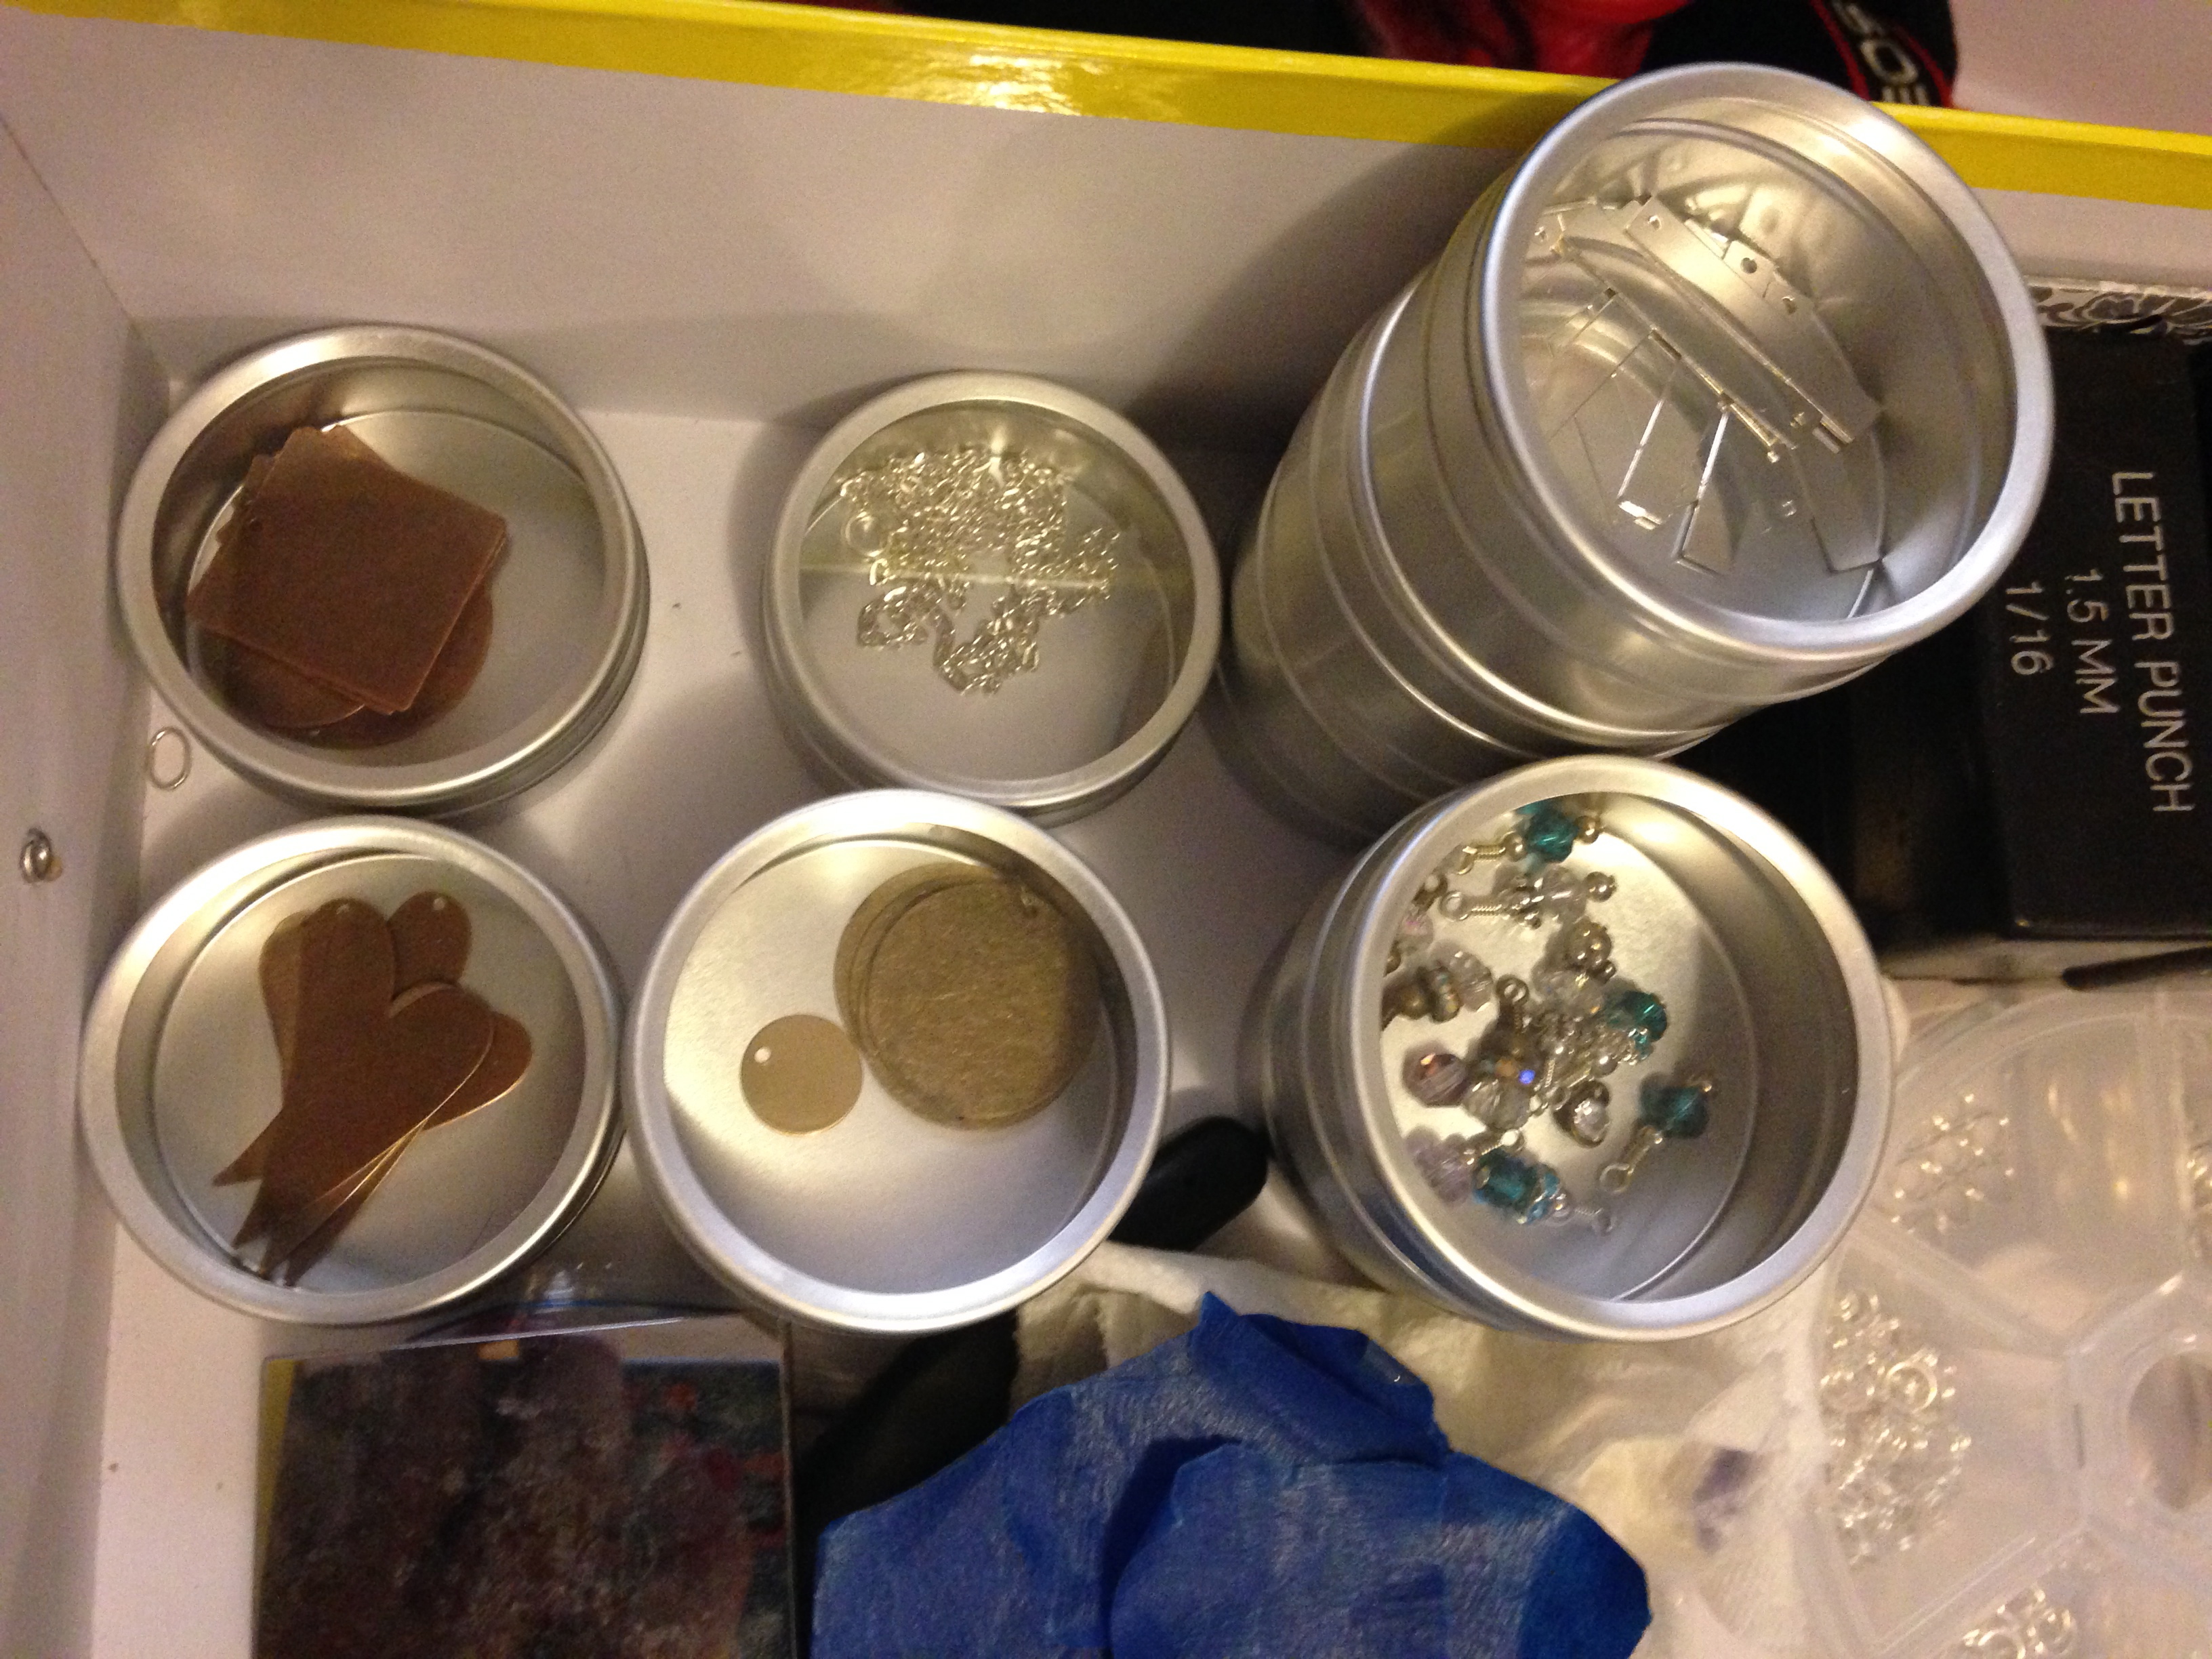
Jump rings: also at craft stores and online.

Chains: I haven’t found really great chains in any store, so I ordered some cheap ball chains on etsy. I’m sure there is a place that people go to buy them and I just don’t know what it is. I don’t want anything that will turn green (so it has to be stainless – my skin is really sensitive) or fall apart.
A sharpie: to color the letters in
Rubbing alcohol: to remove the excess sharpie
Blue painter’s tape/masking tape: they sell special tape for metal stamping, but I can’t imagine that would be necessary. Use what you have. You’ll want it to hold the blank in place while hammering.
Small pliers: I bought a cheapo combo pack at Michael’s and it serves me just fine (plus I had a 40% off coupon).
My recommendation for all of these supplies is to slowly buy them with weekly coupons at your local craft stores. HL will have a metal stamping block, nice letters, and a lot of blanks. The other two will do for uppercase letters, some blanks, and jump rings and the like.
Optional: Charms, like the ones I found at HL, really make the necklaces cute.
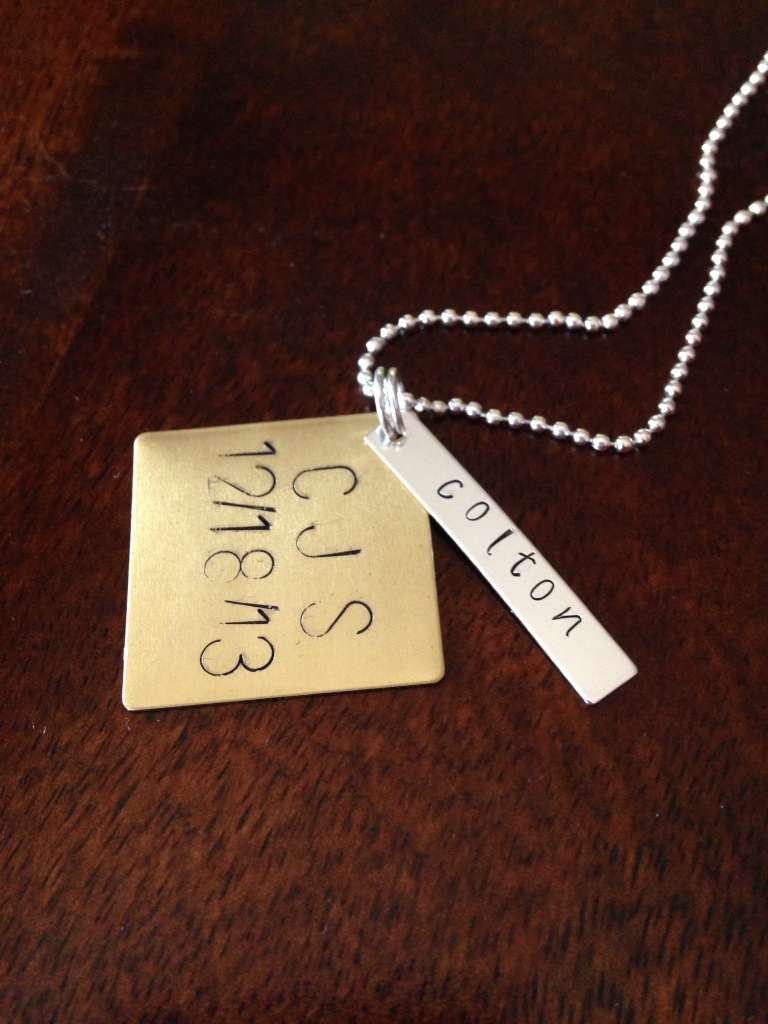
Here you can see that I used my uppercase stamps for a monogram and date for new baby Colton.
How to stamp:
Tape your blank to the metal block. If I am writing more than one line of text, I will usually line some tape up on the block as a guide. Of course, the fun and beauty of metal stamping is in its imperfection, so don’t worry too much about lining things up. I’ve found that it’s nearly impossible to do anyway. Each letter is centered on the stamp, and you can’t see where it is as you’re holding it, so eyeball it and hope for the best. You will make mistakes. One thing I do to make sure I have the letter facing the right direction is have a stack of used blue tape on hand, a couple of layers thick, to test stamp. I can quickly see if the letter is facing the right way by looking at the imprint it left in the tape layers. If you stamp on shiny metal surfaces, you can sort of see the stamp’s reflection in the metal to line the letters up.
I find that I need to hit the letters quite a few times to get a good imprint. This means you have to grip them very hard! If they shift, you’ll get a doubled-up imprint that makes you feel dizzy. Letters that have small appendages, like the lowercase “a” or “d” need some tilting toward the appendage to ensure it gets stamped, otherwise it’s too hard to read. The letters “i” and “j” seem to stamp very deeply for me, so I need to be careful with those two. I think as I get to know the stamps I will get better and better.
Here was my Valentine’s Day gift to Josh:

And my Valentine’s Day gift to myself: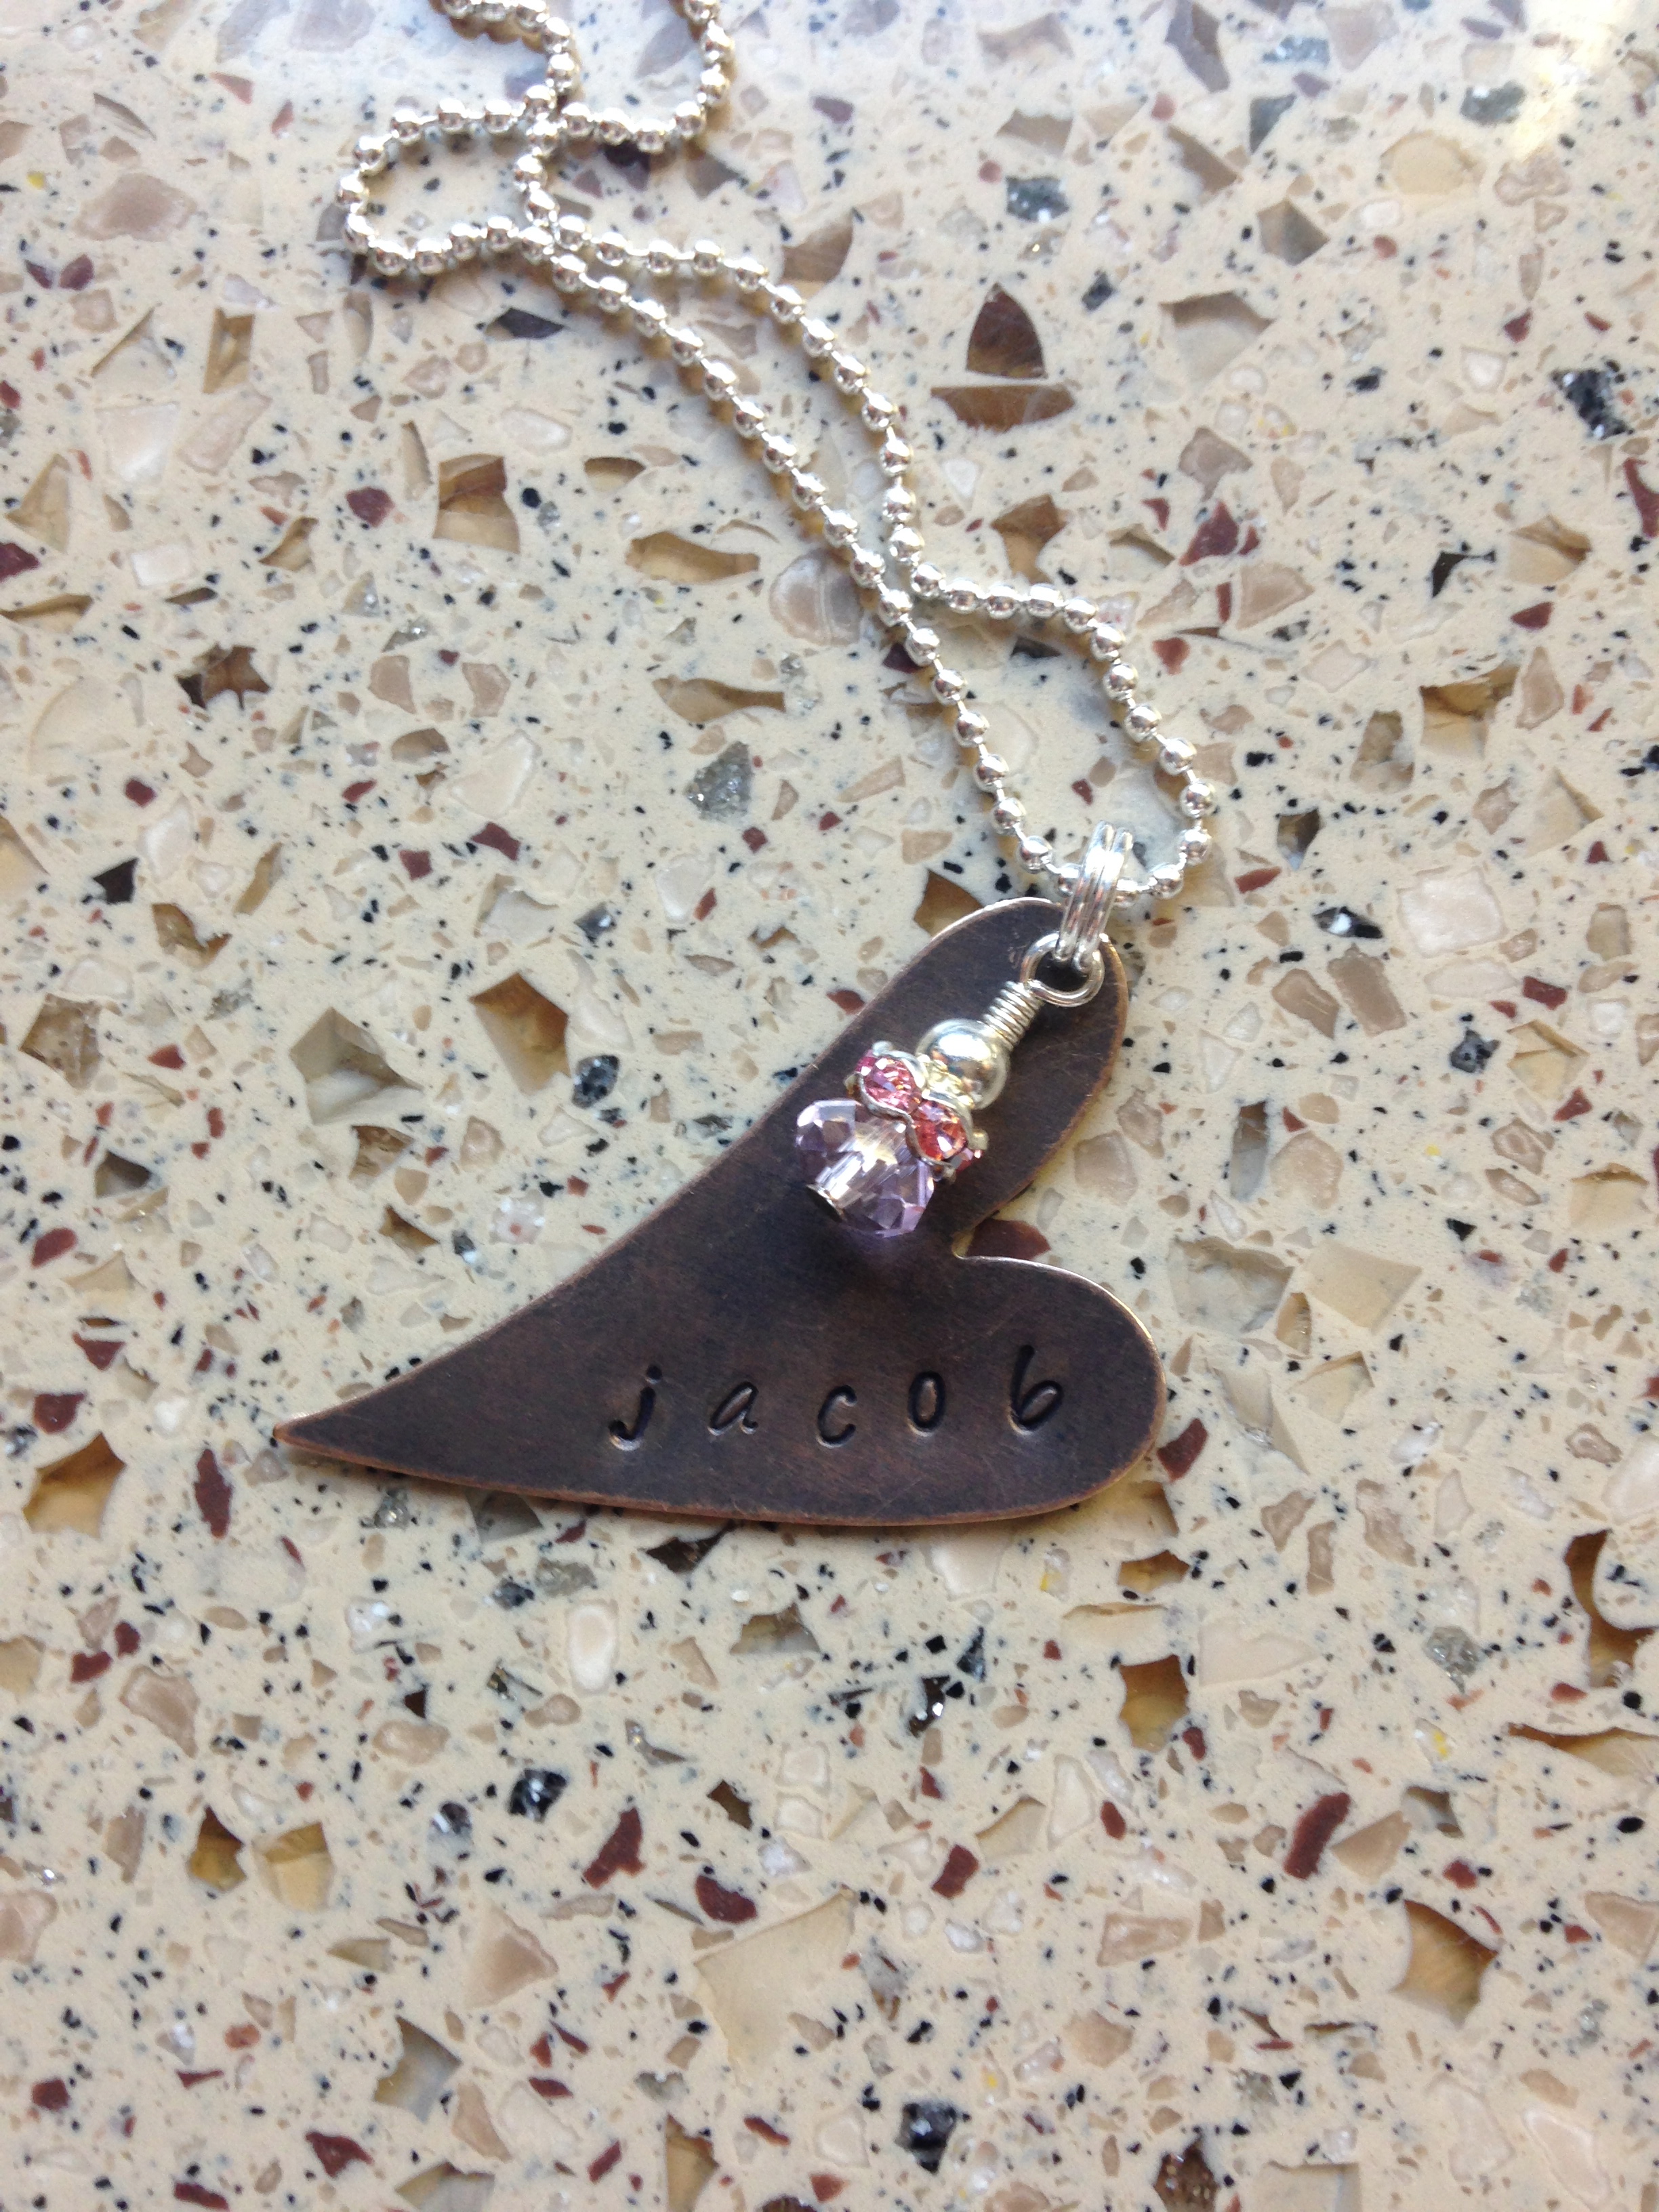
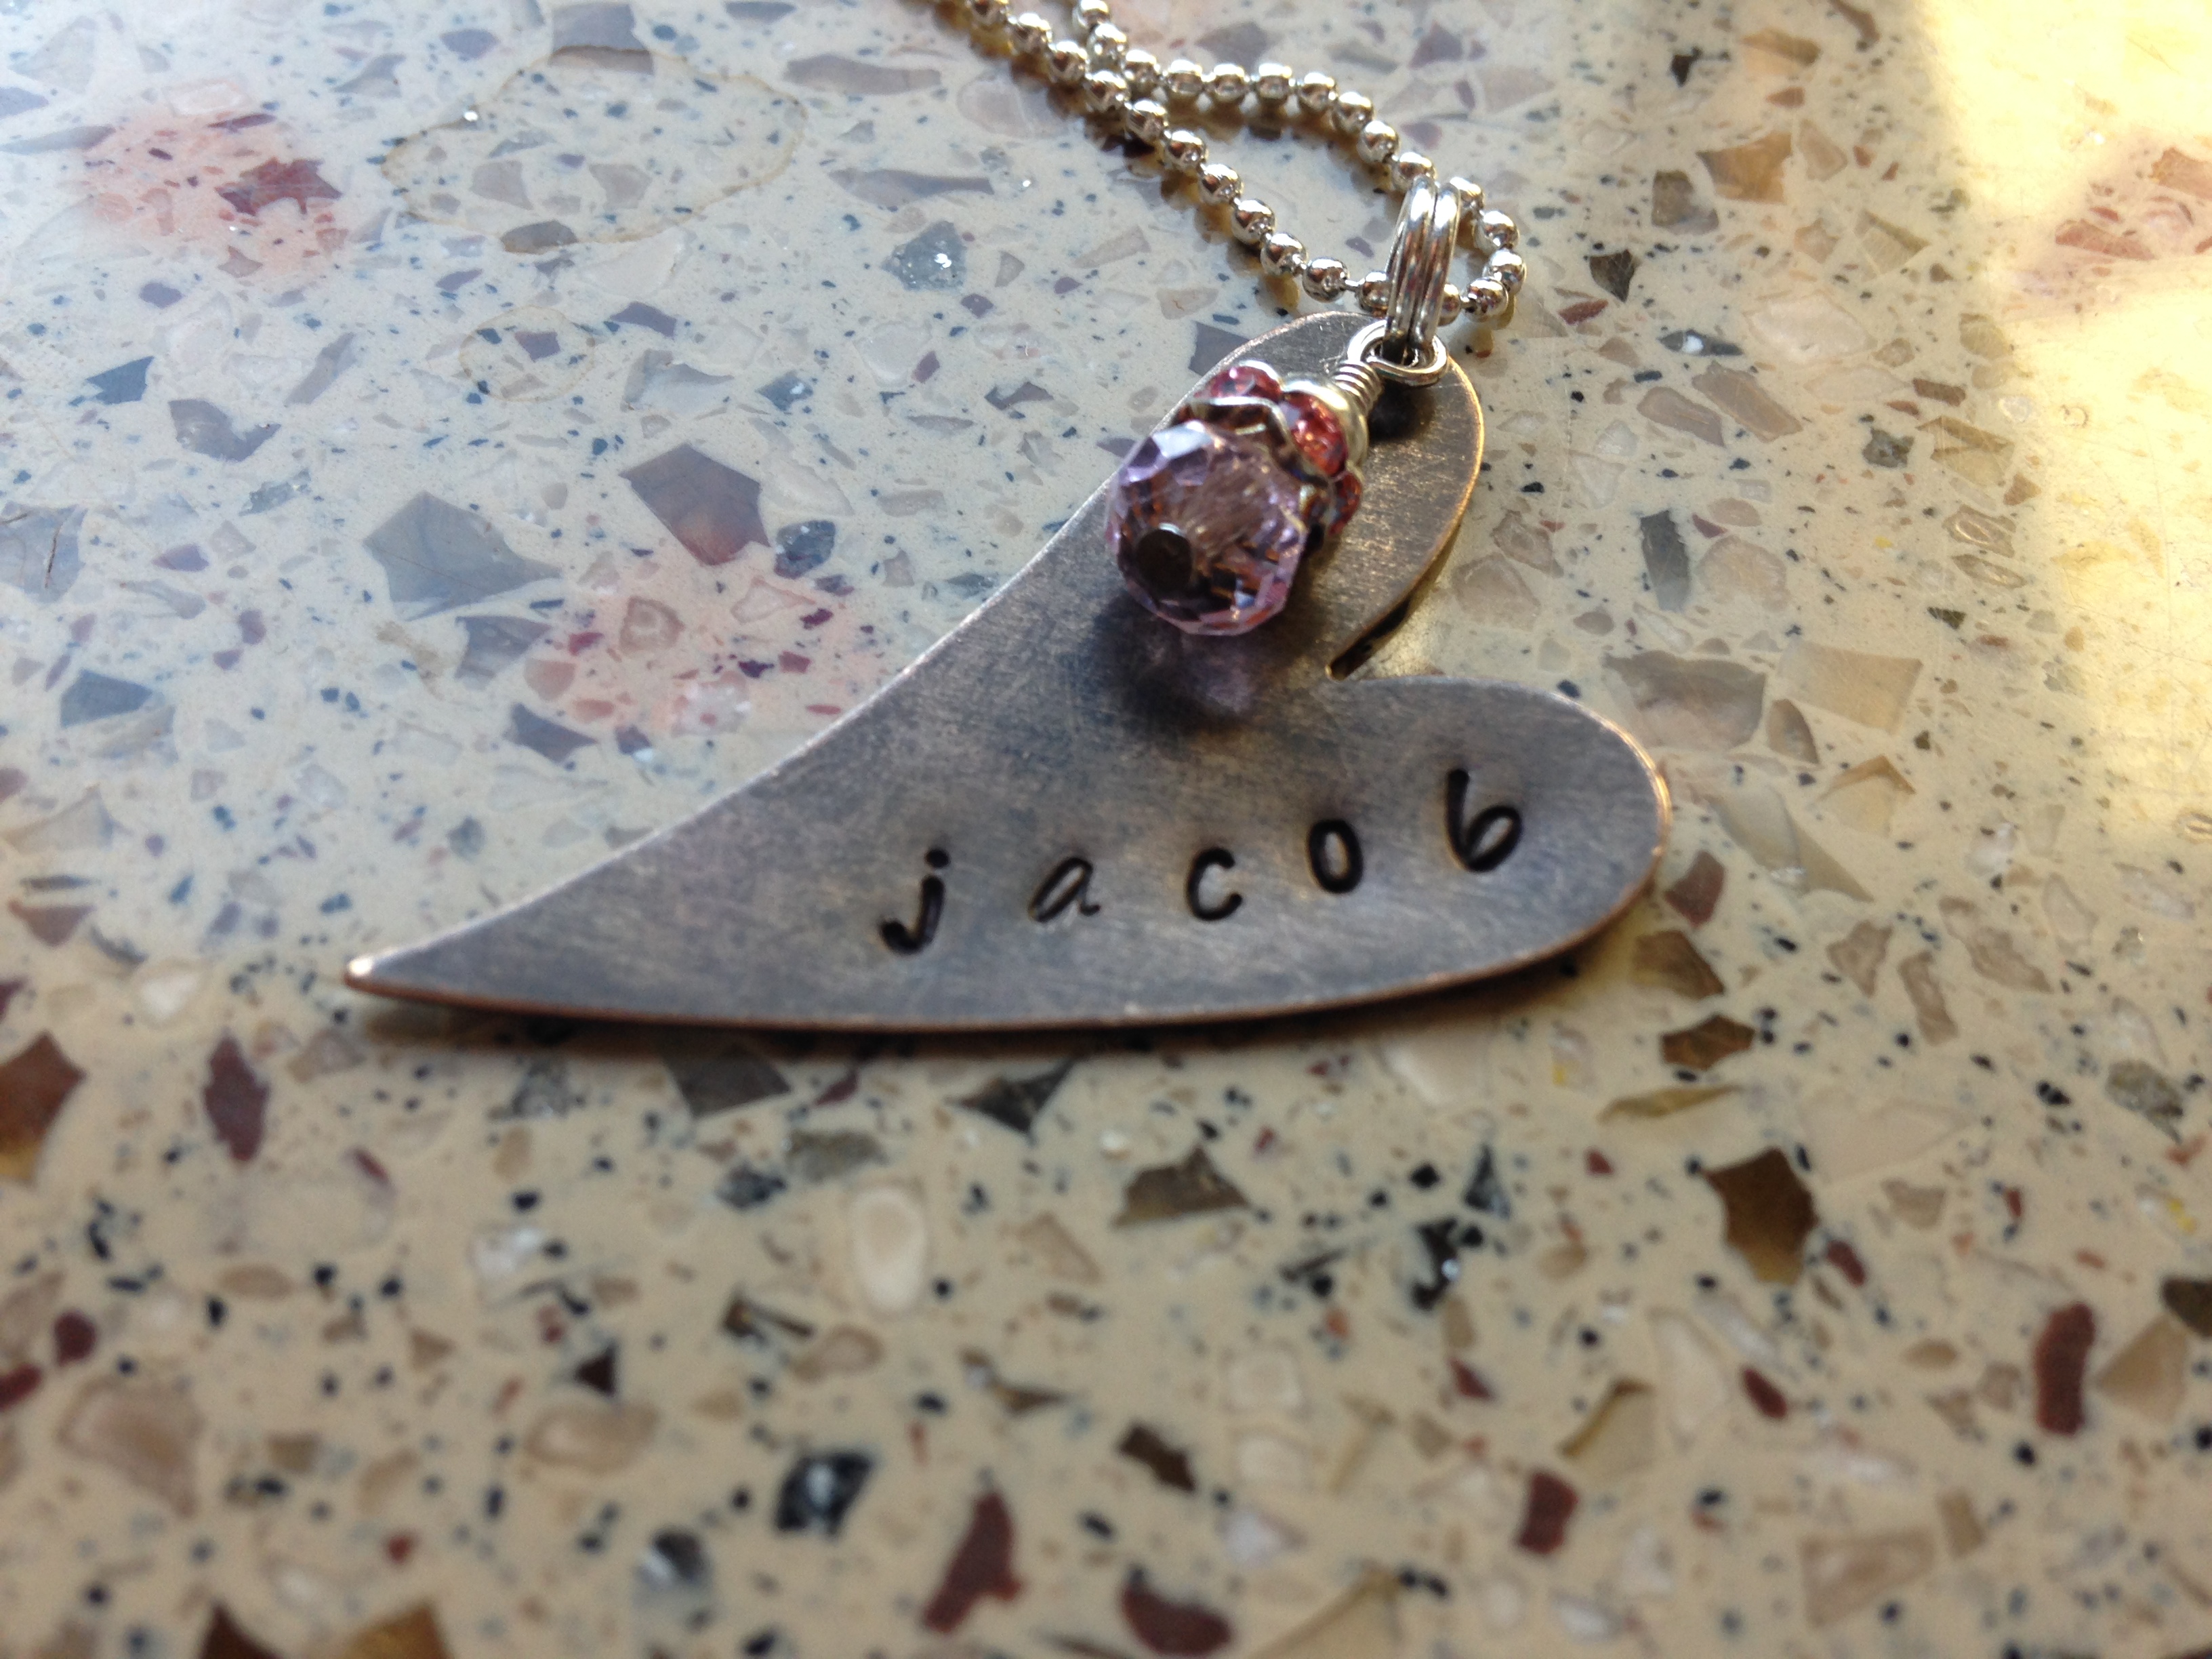 I love it!