
Turning 30 was not difficult for me. Maybe the shock will set in down the road, but for now, I’m quite content to be in my thirties.
Actually, I don’t feel remotely like a thirtysomething. I feel the same…I might as well be 19. Or 29. 🙂
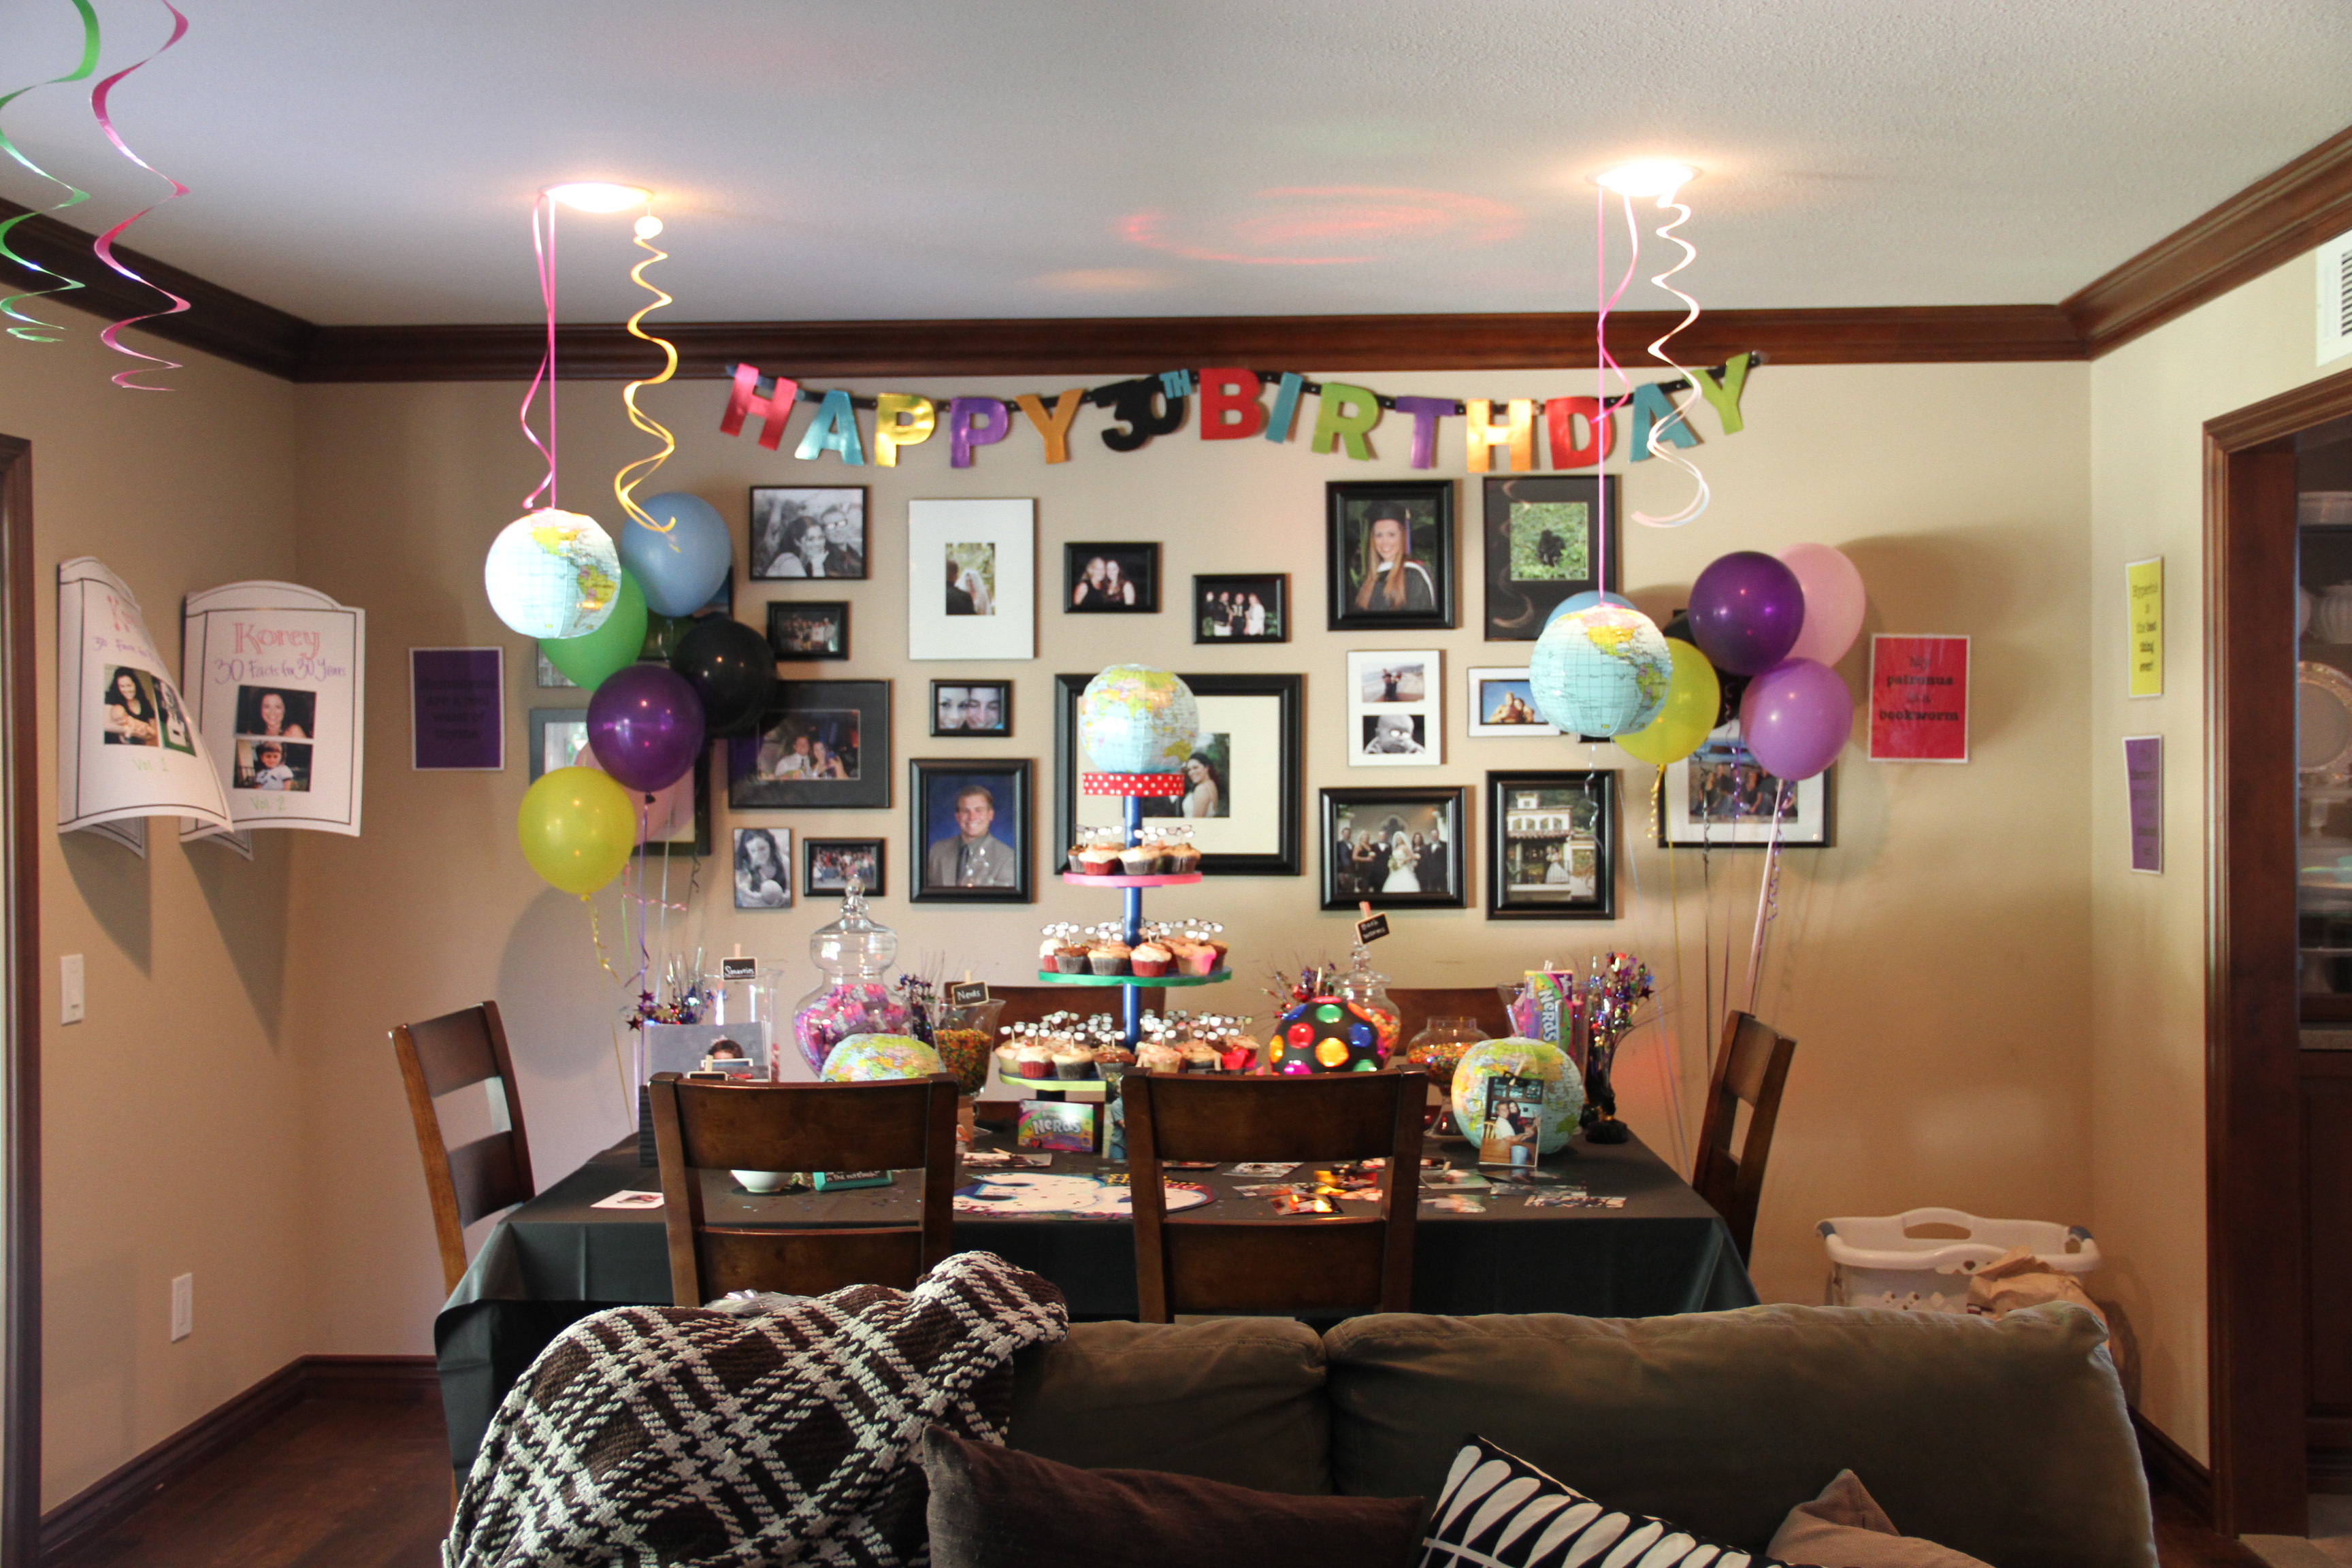
Most people go the “Dirty Thirty” route, but that is just not for me, so I forged ahead with a nerd theme, and I loved it. I didn’t find much on Pinterest for nerds like me (mainly it was science/math-nerdy or video game-nerdy), so I’ll be pinning a lot of these photos for the use of future nerds!
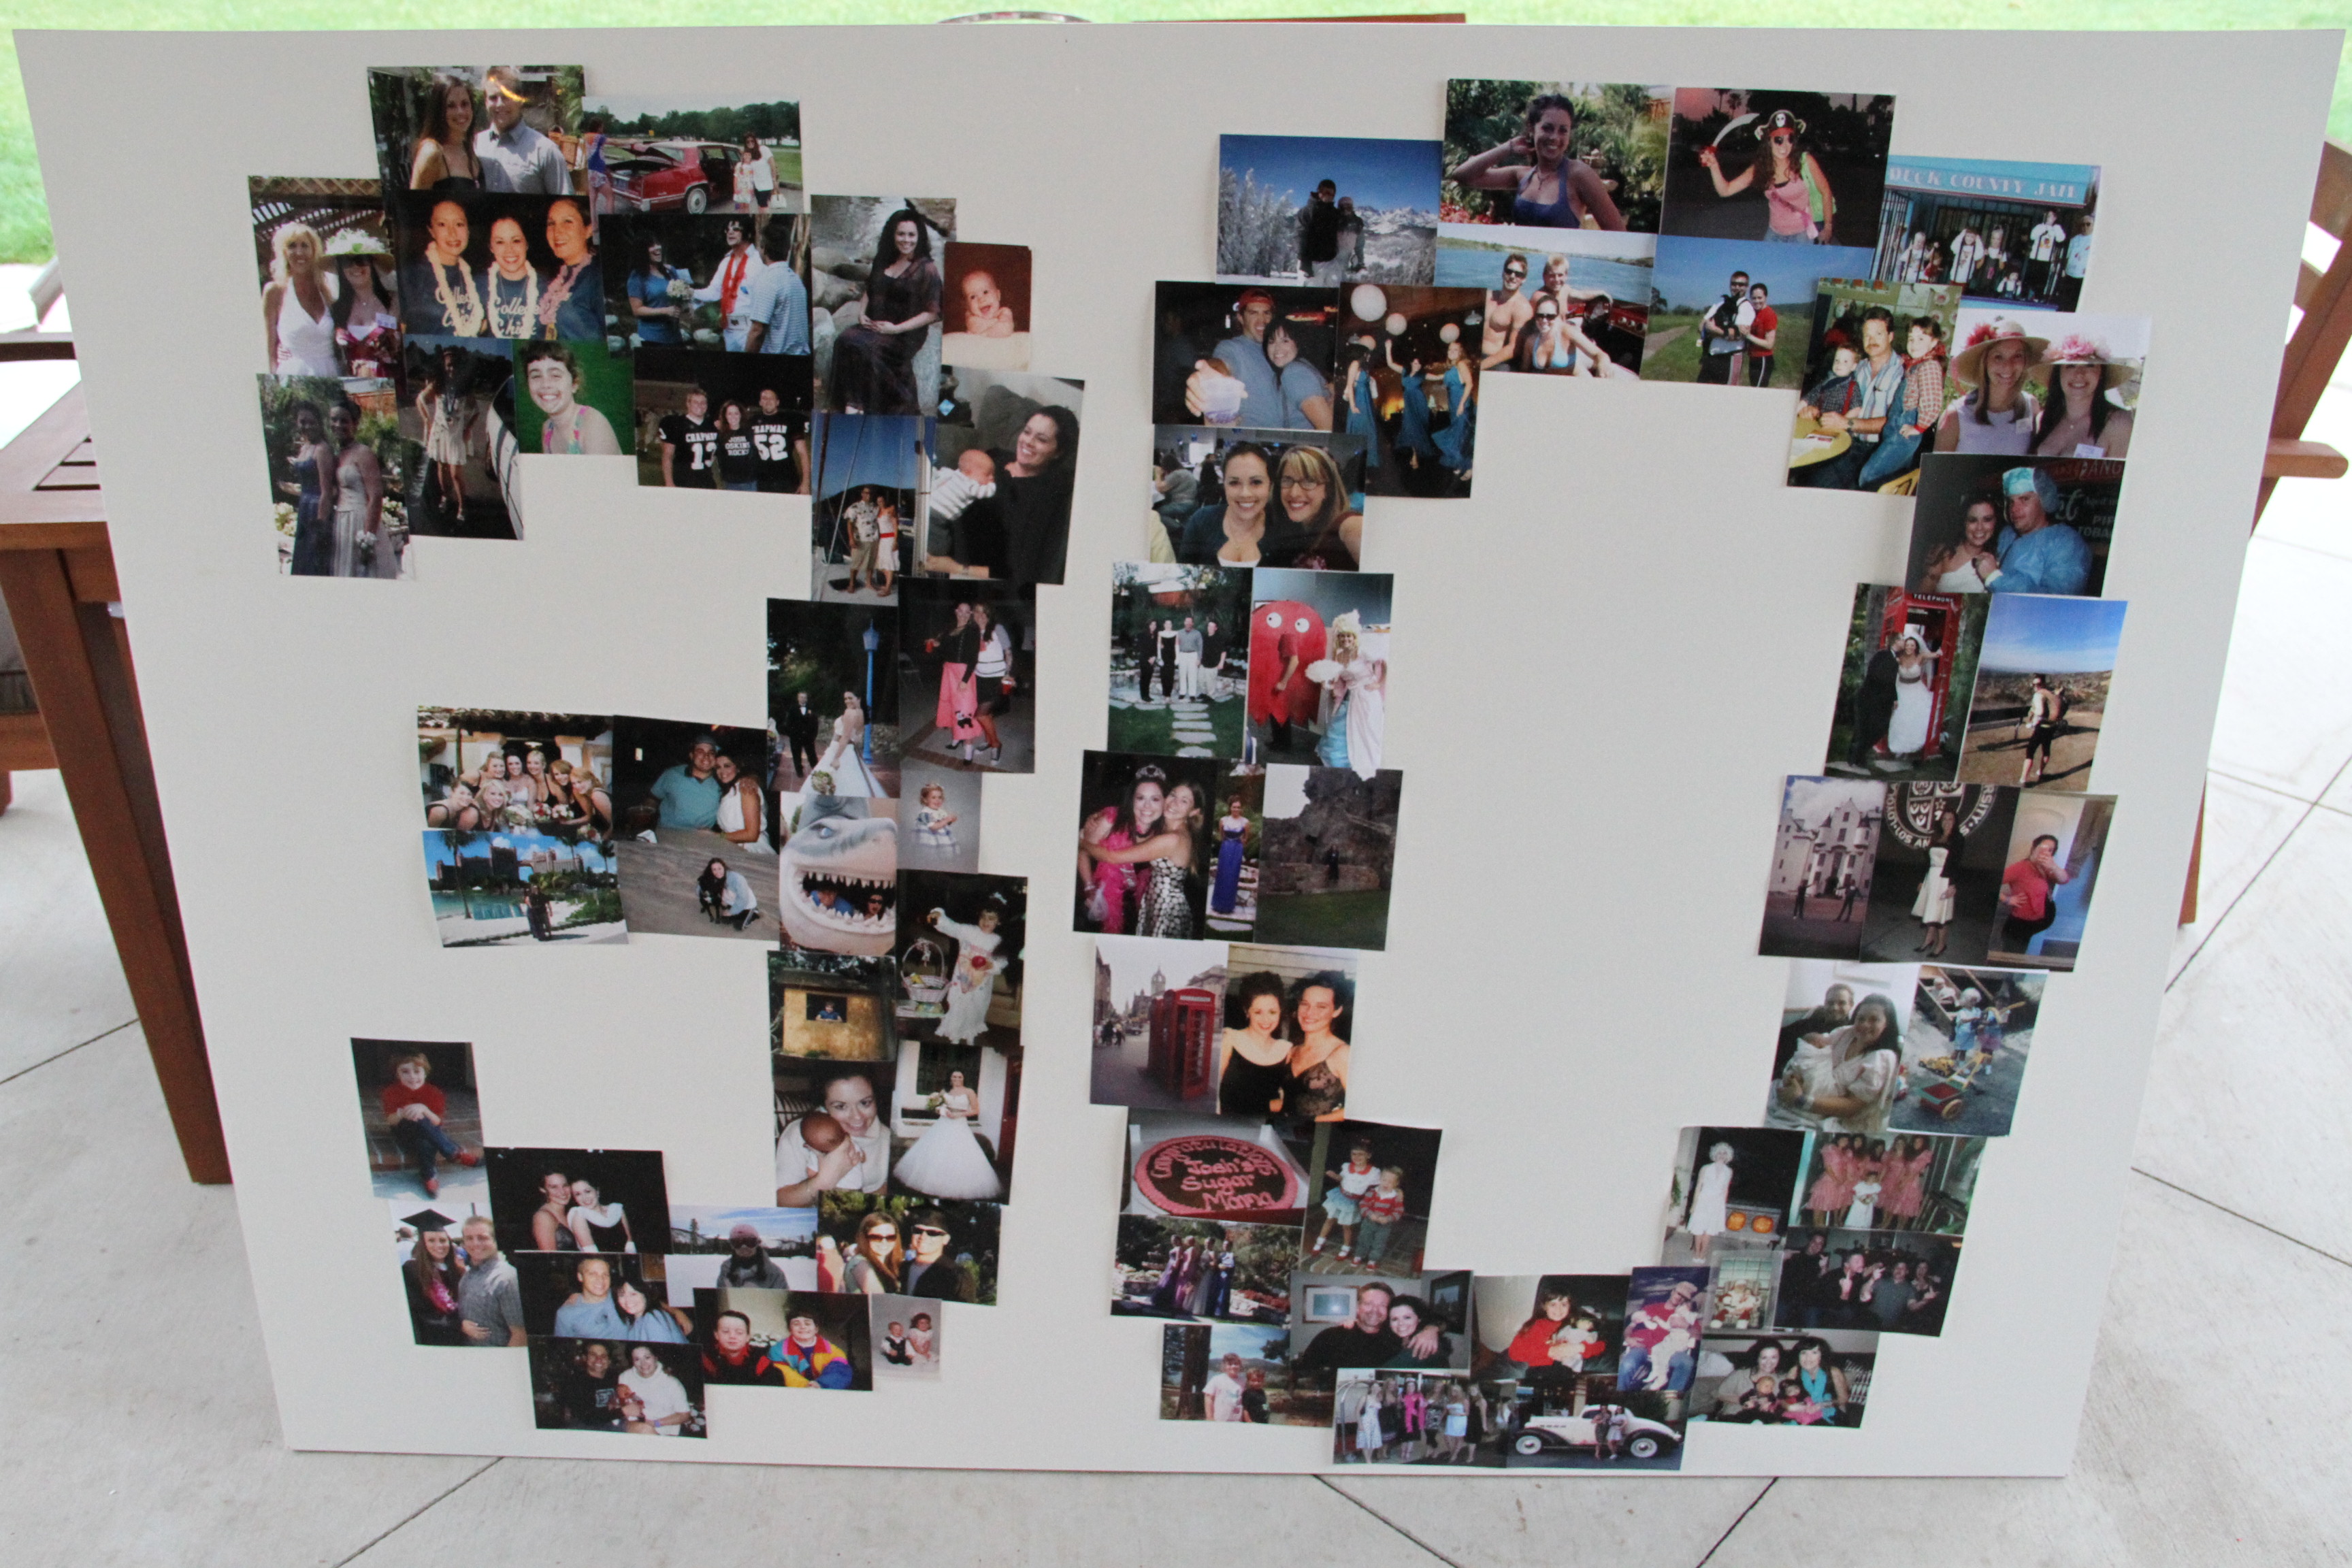
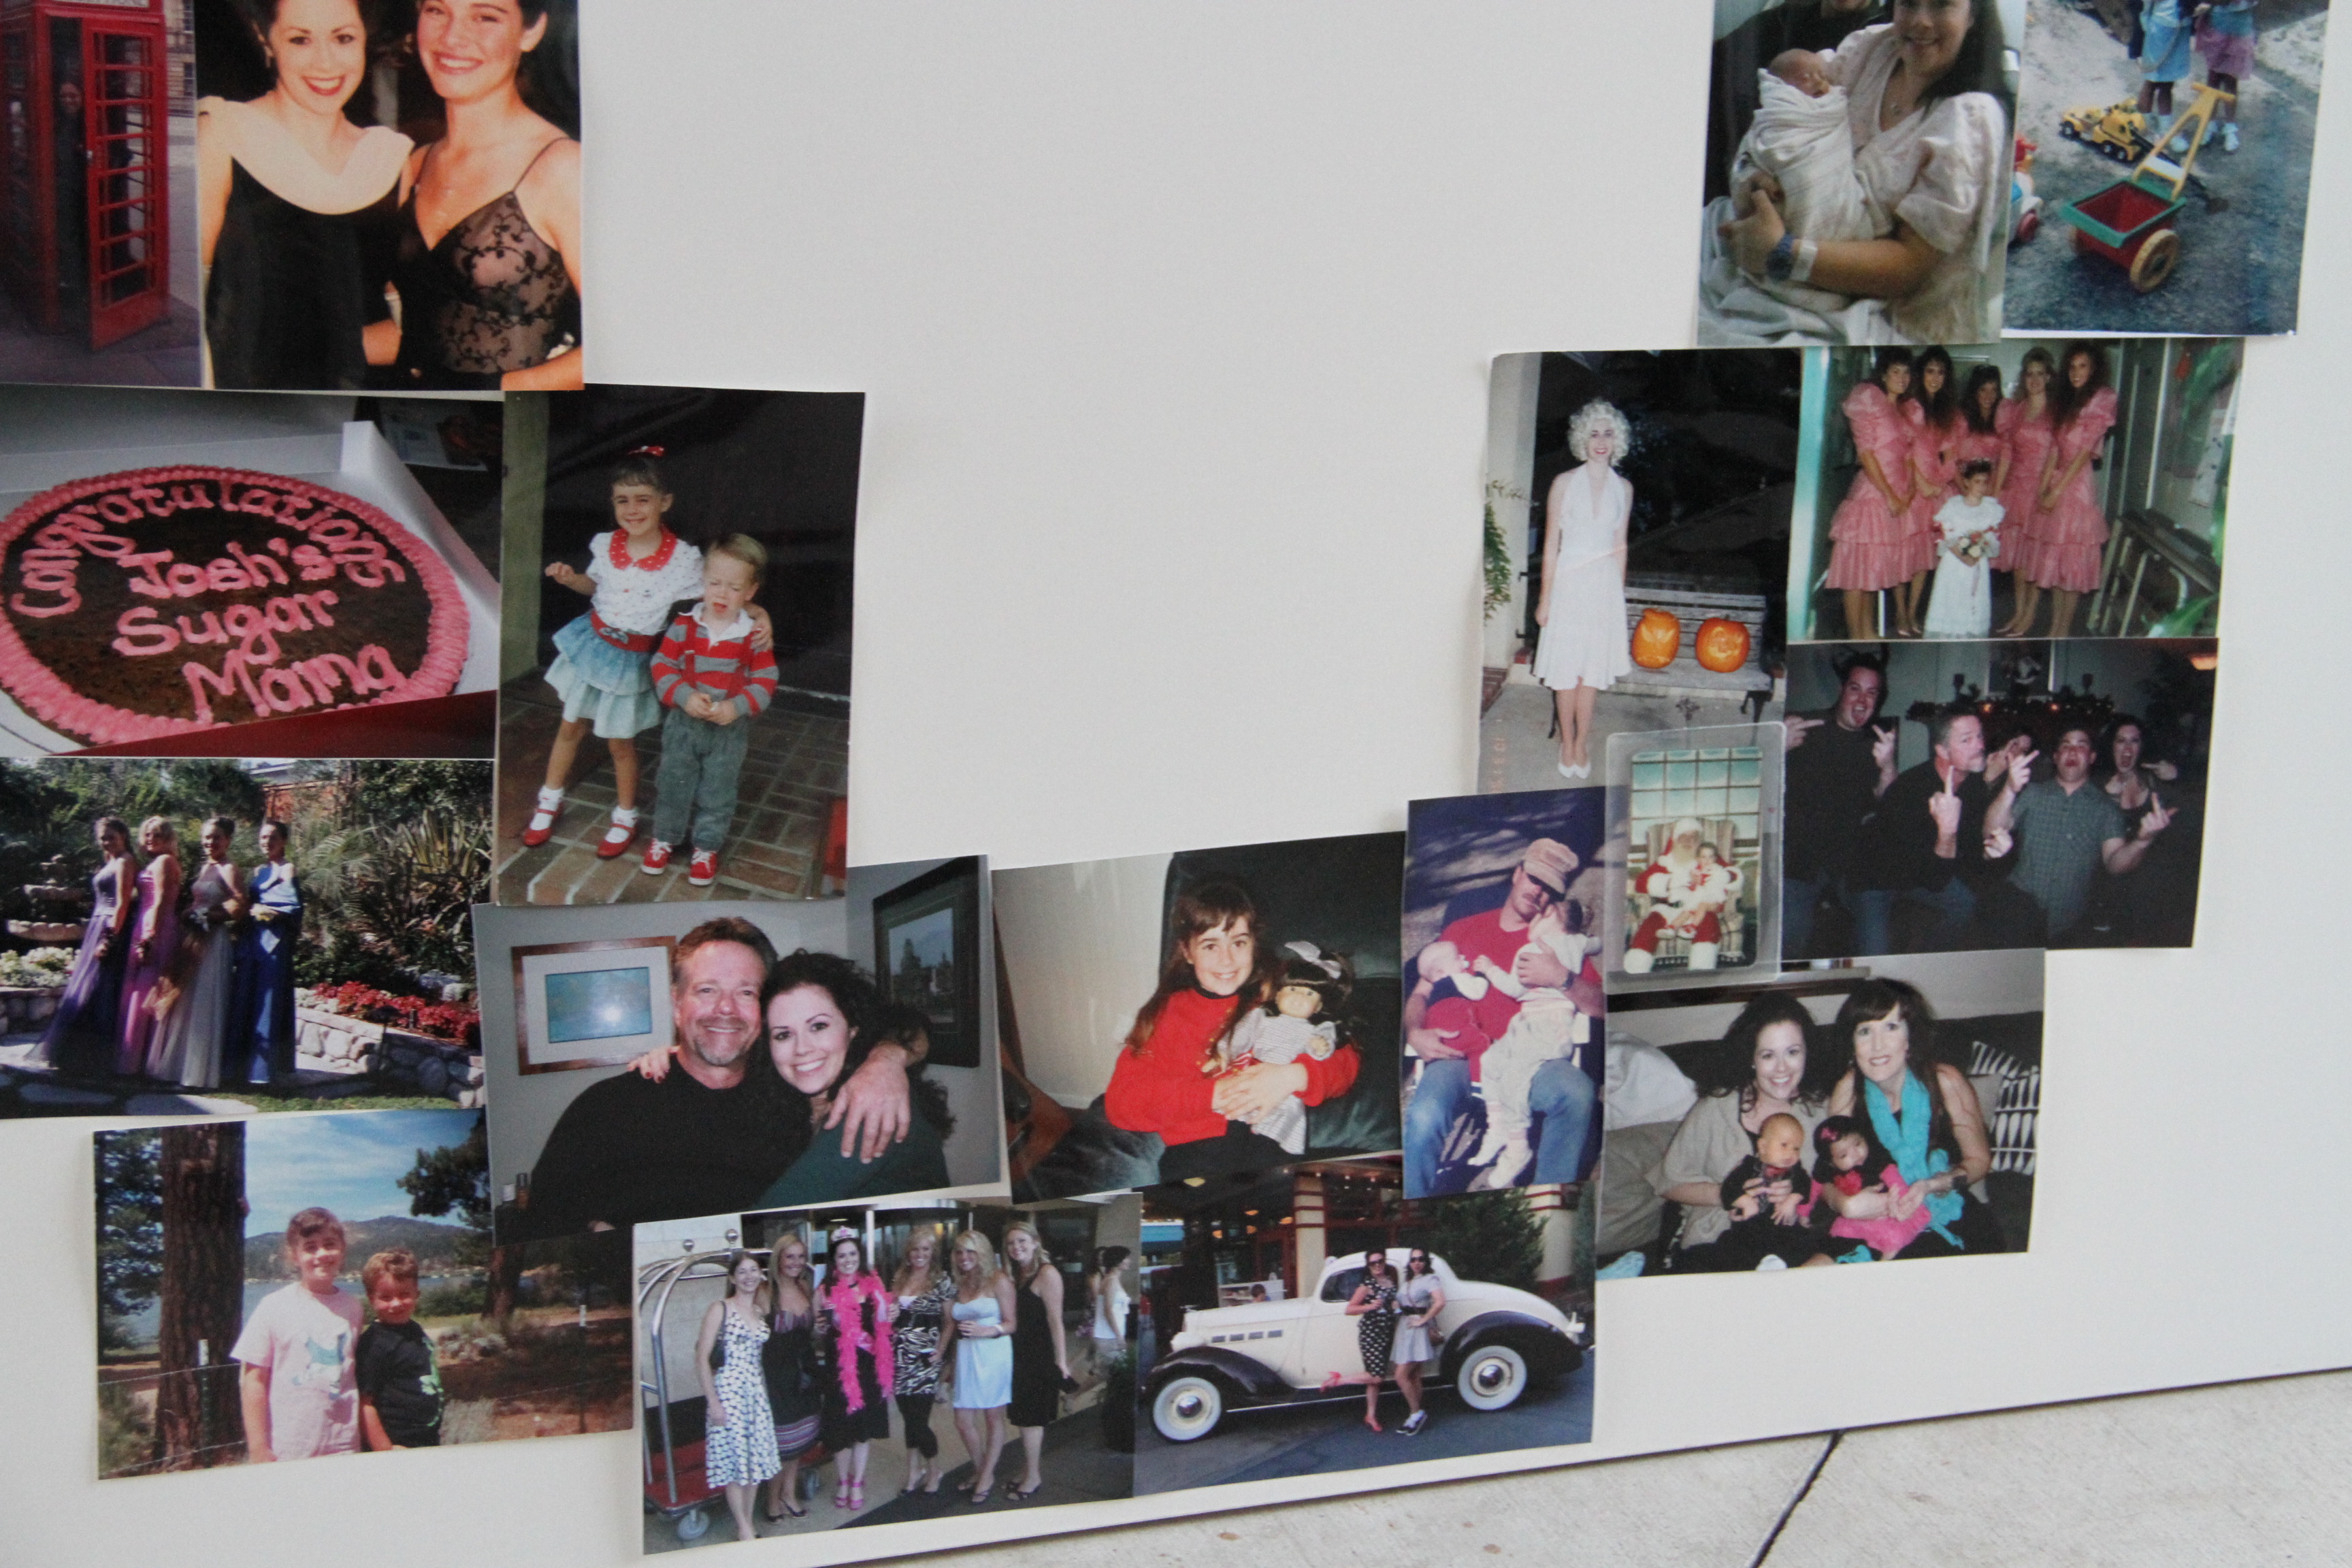
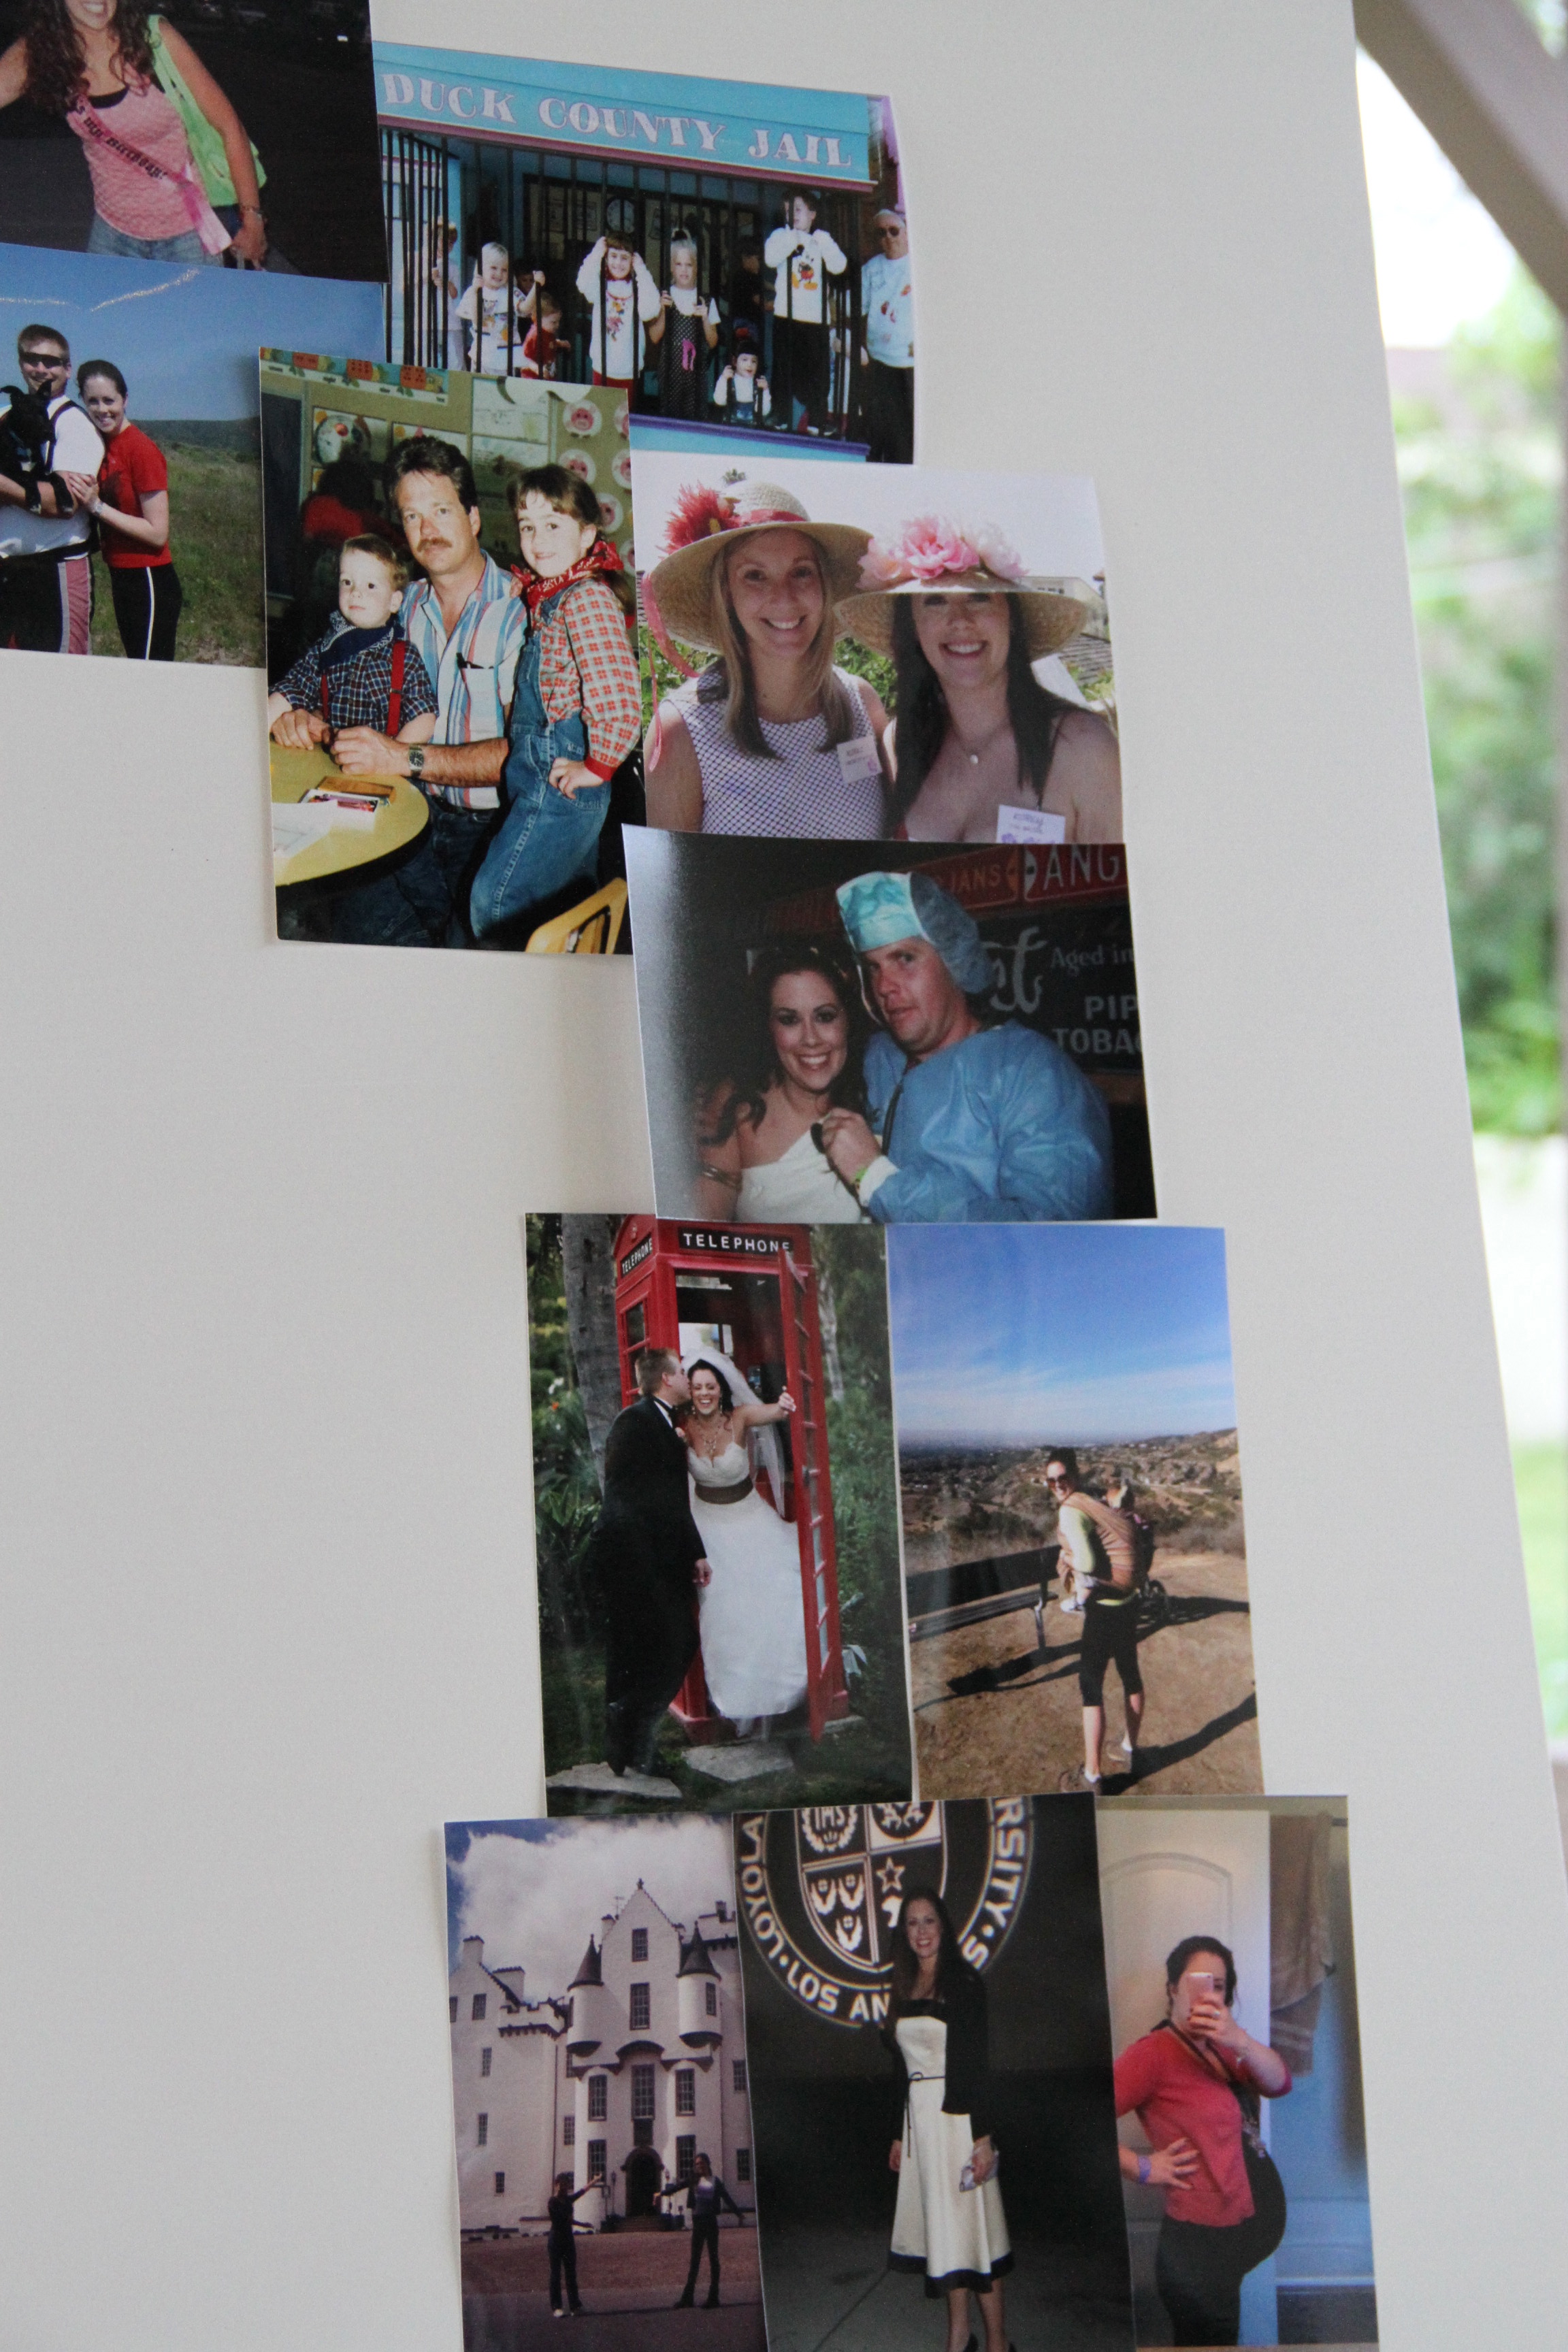
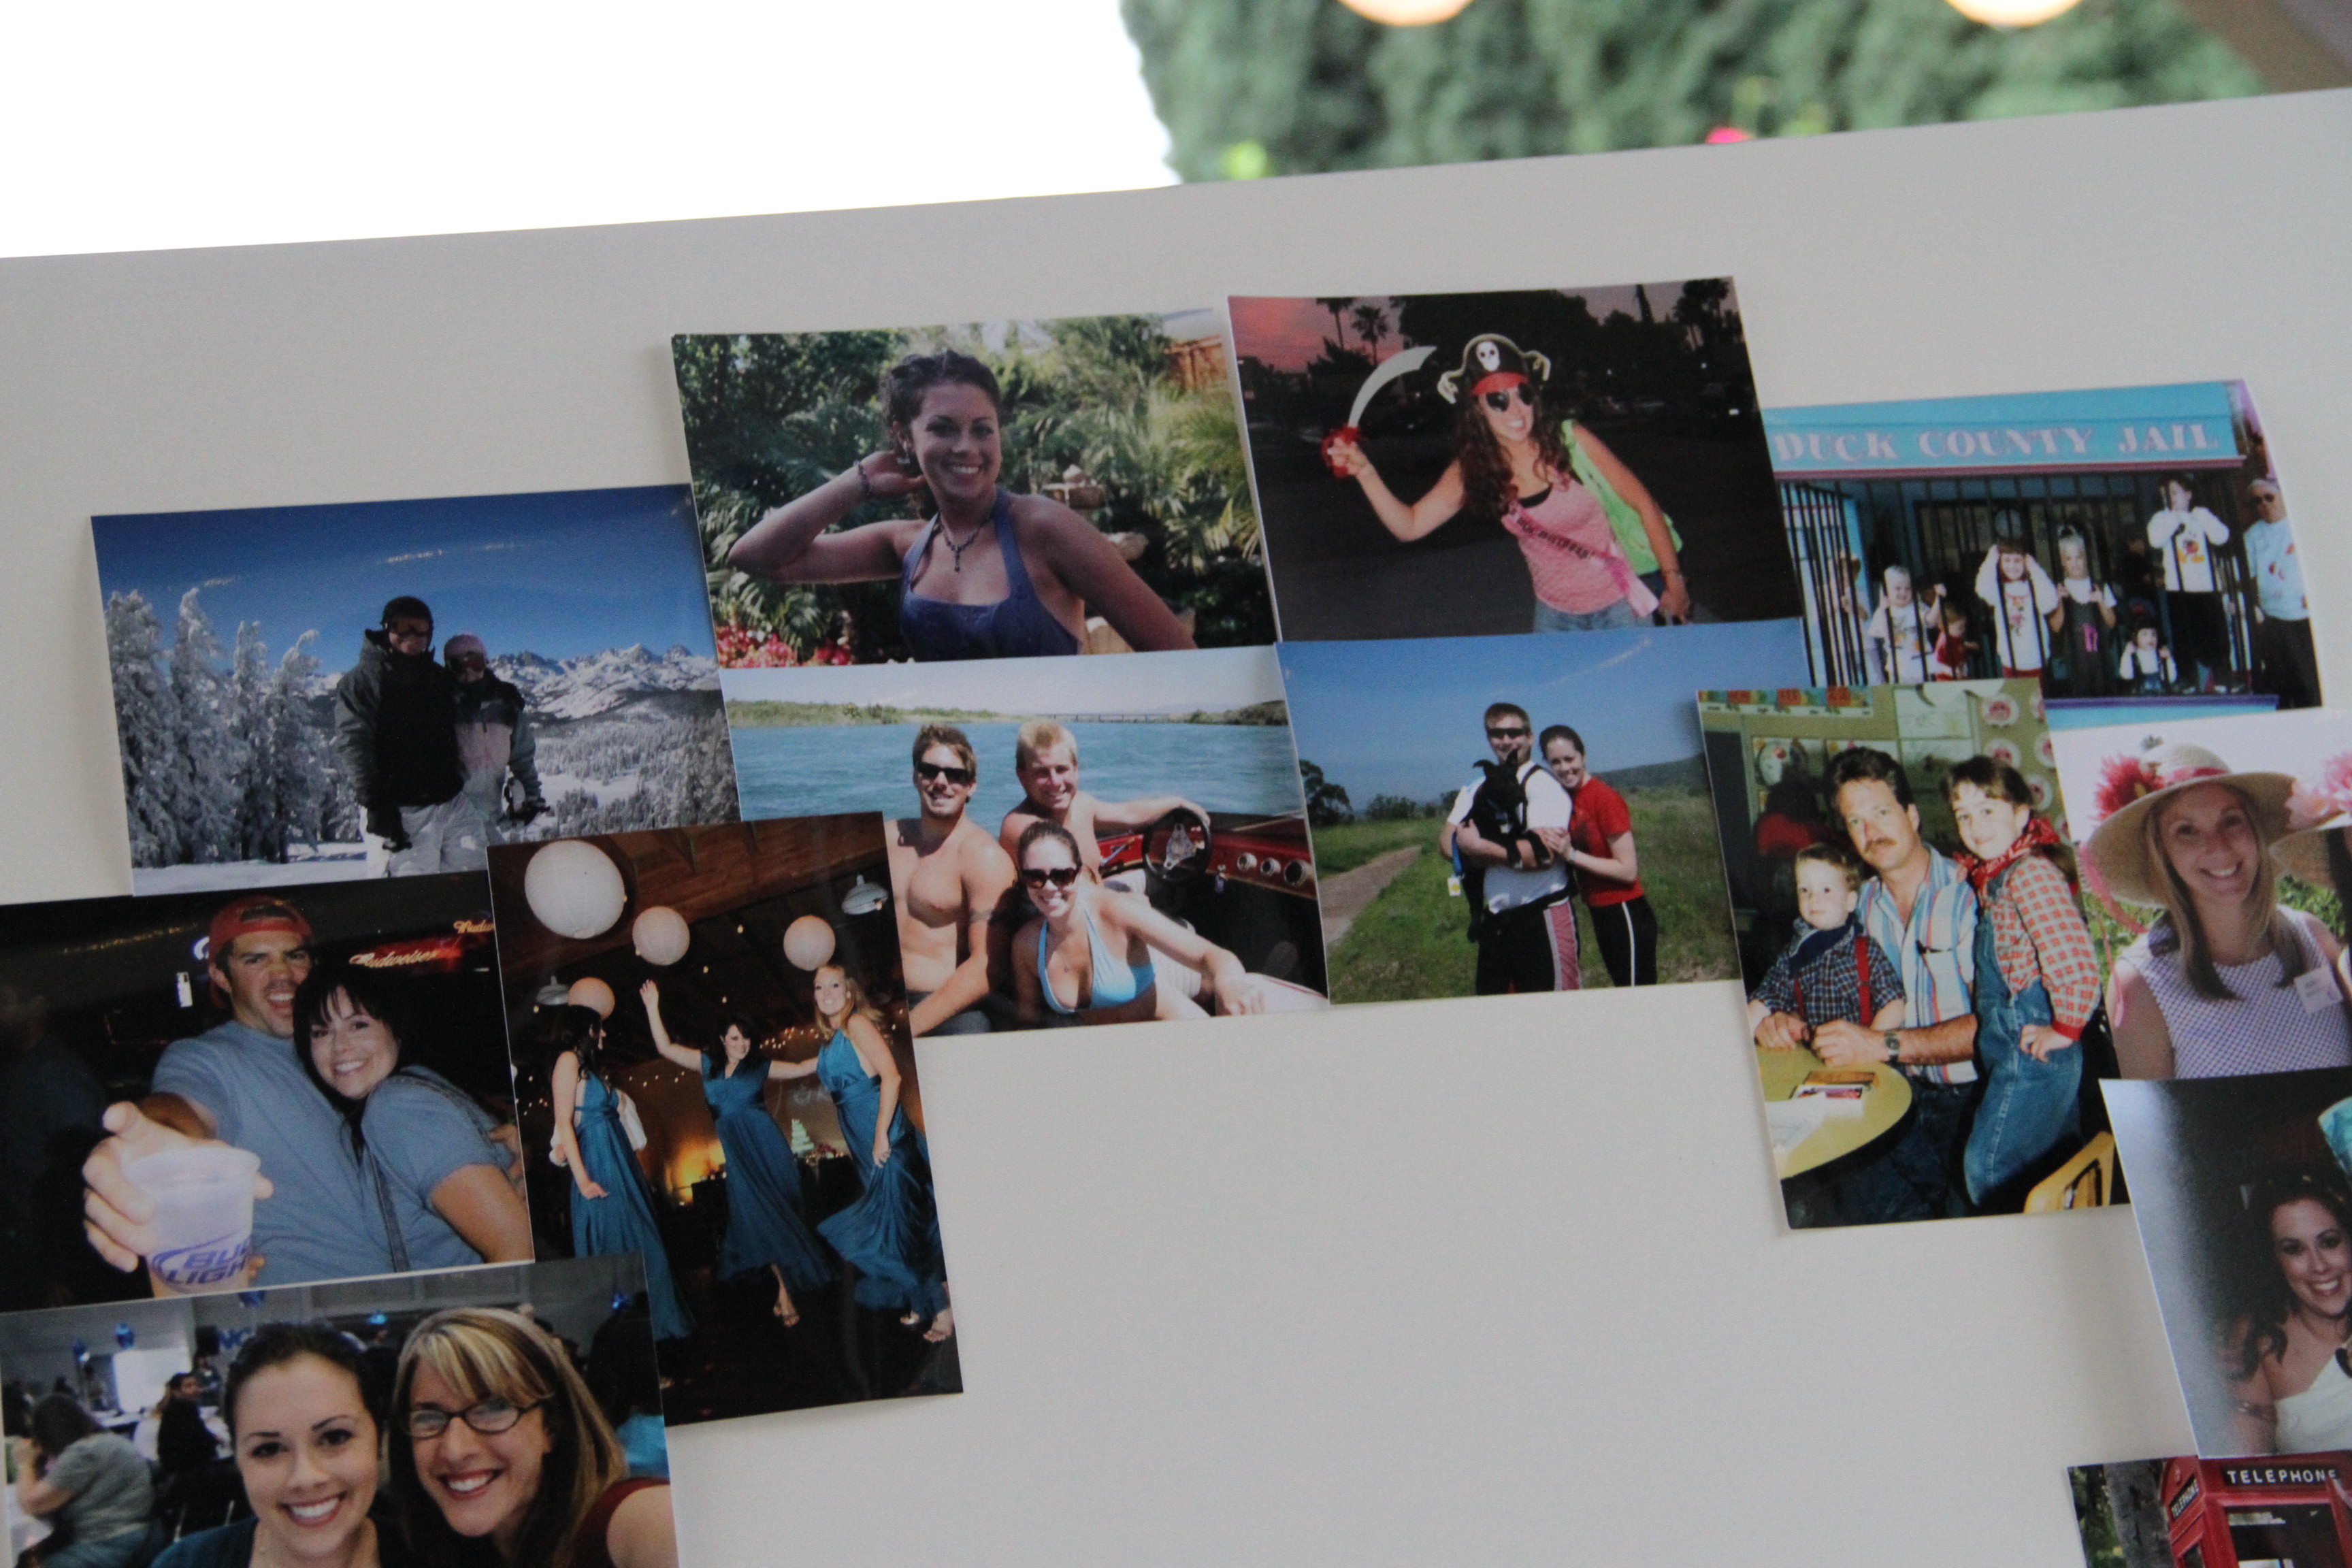
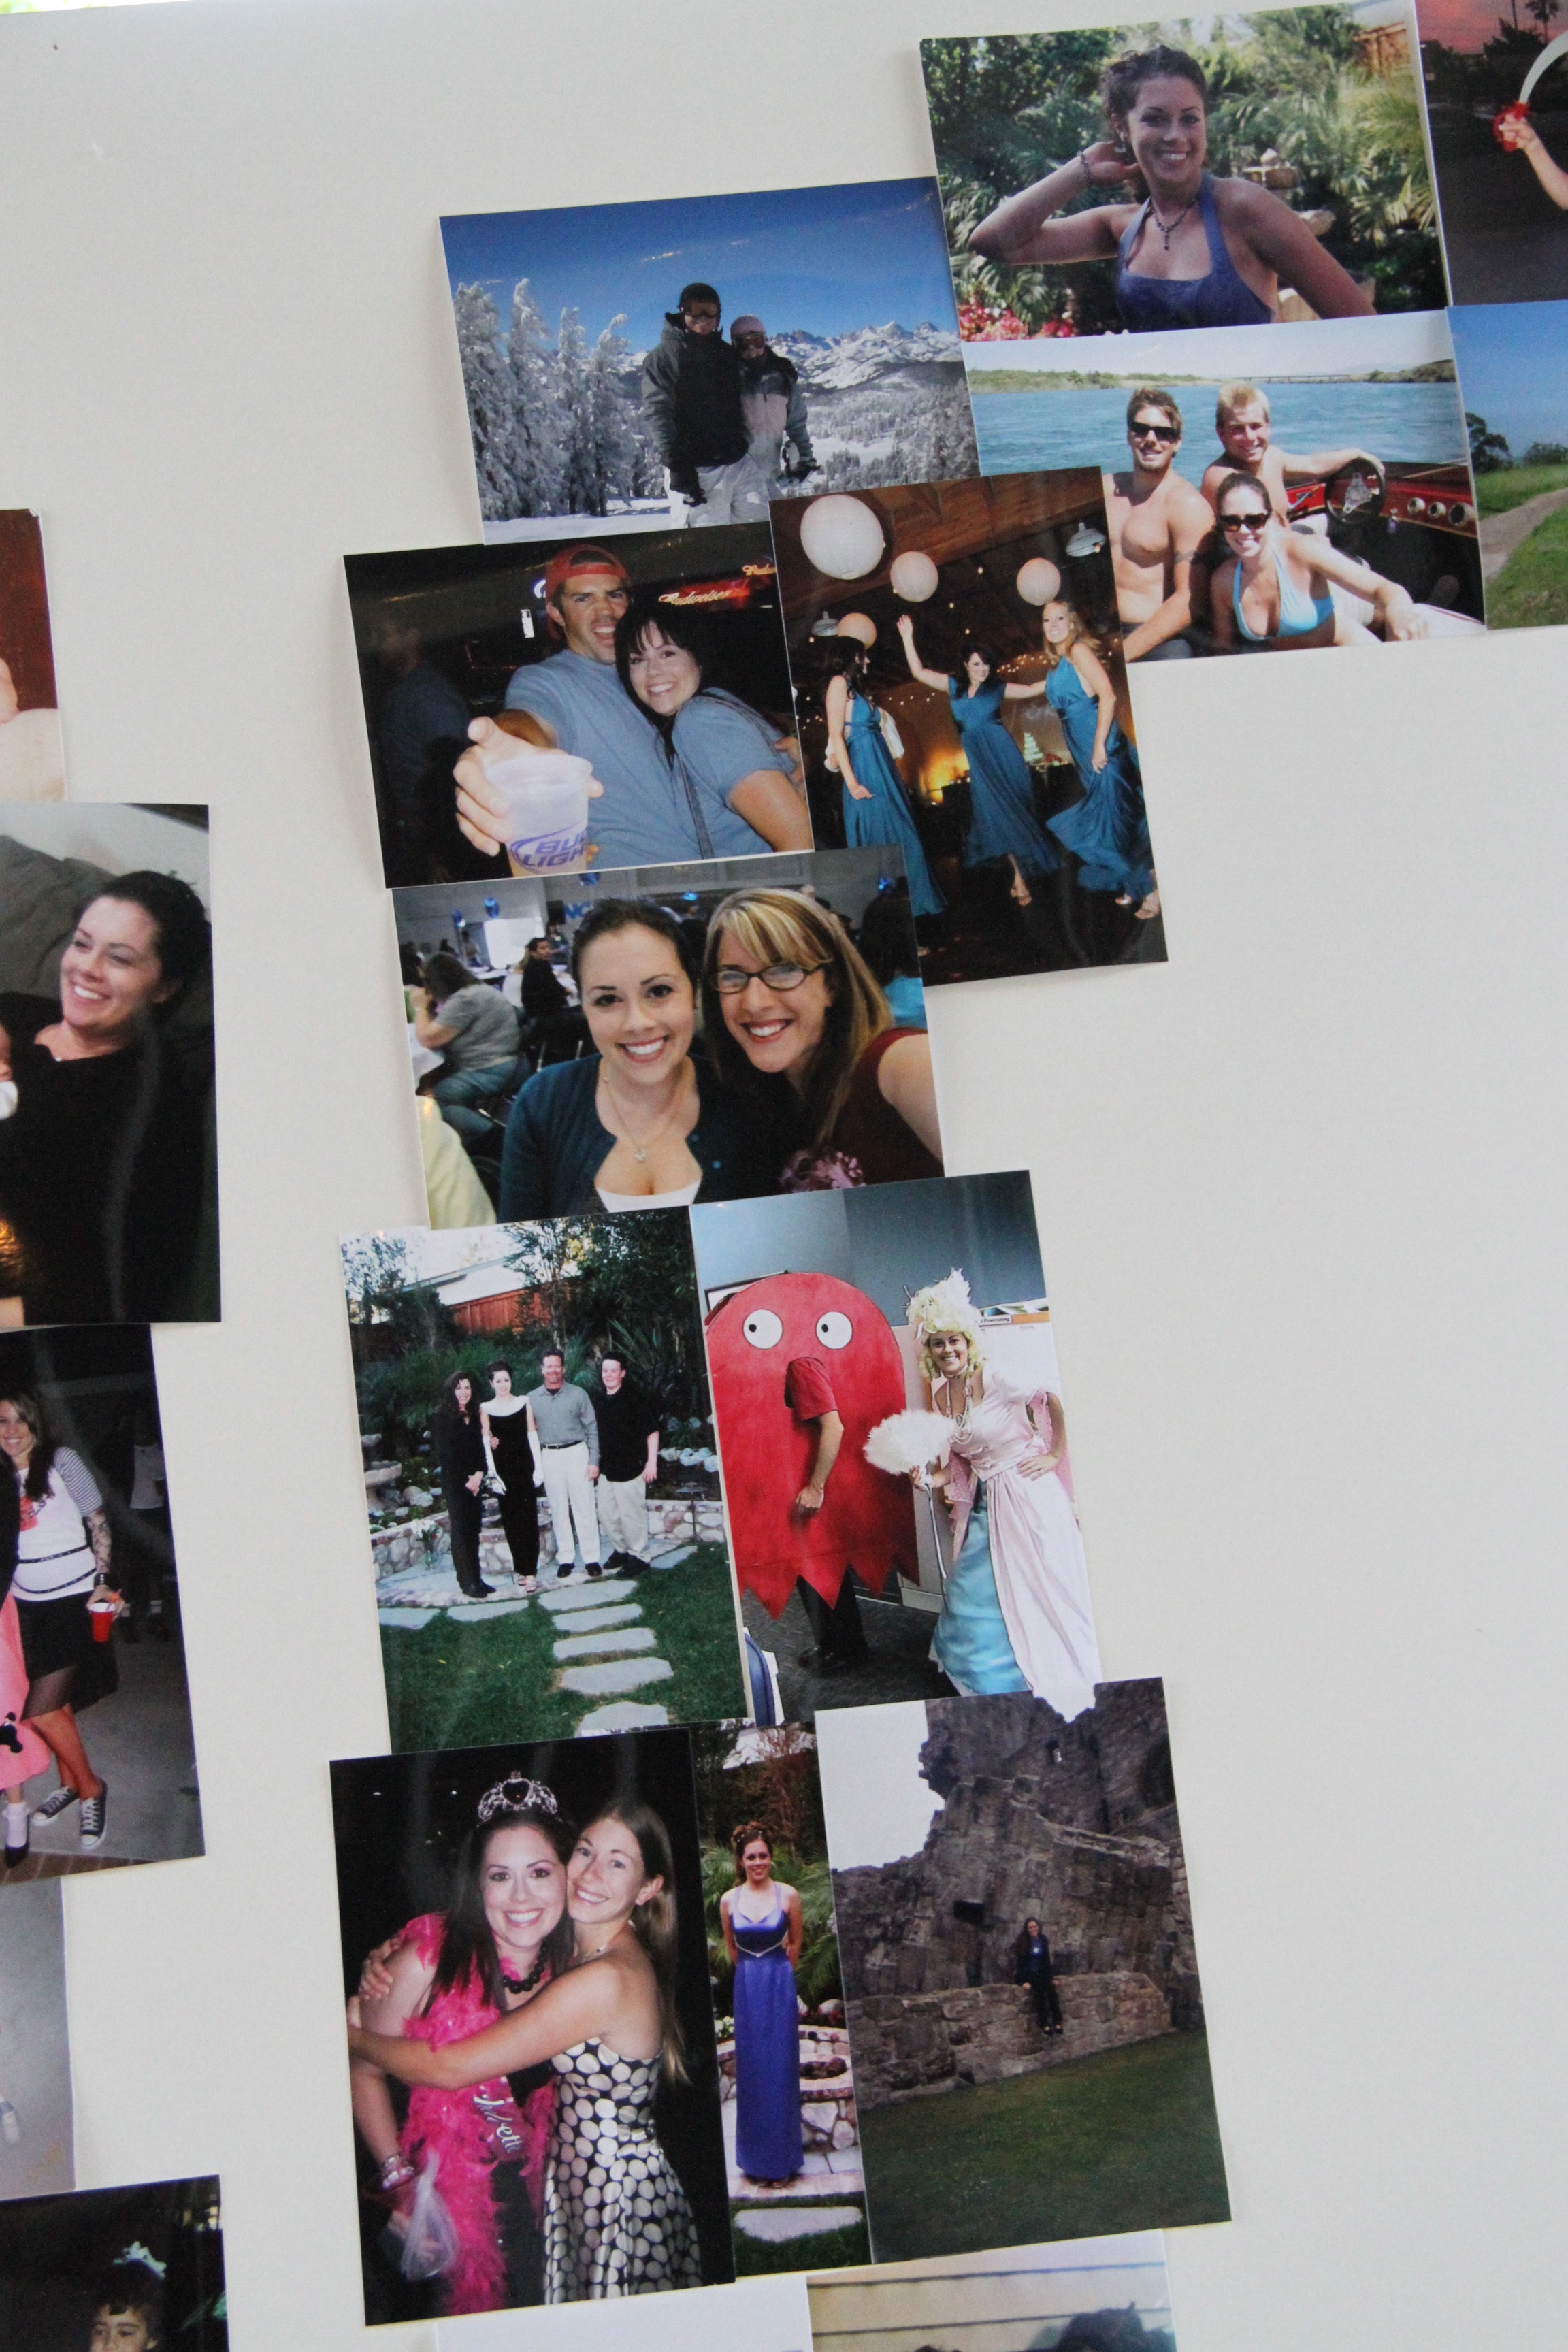
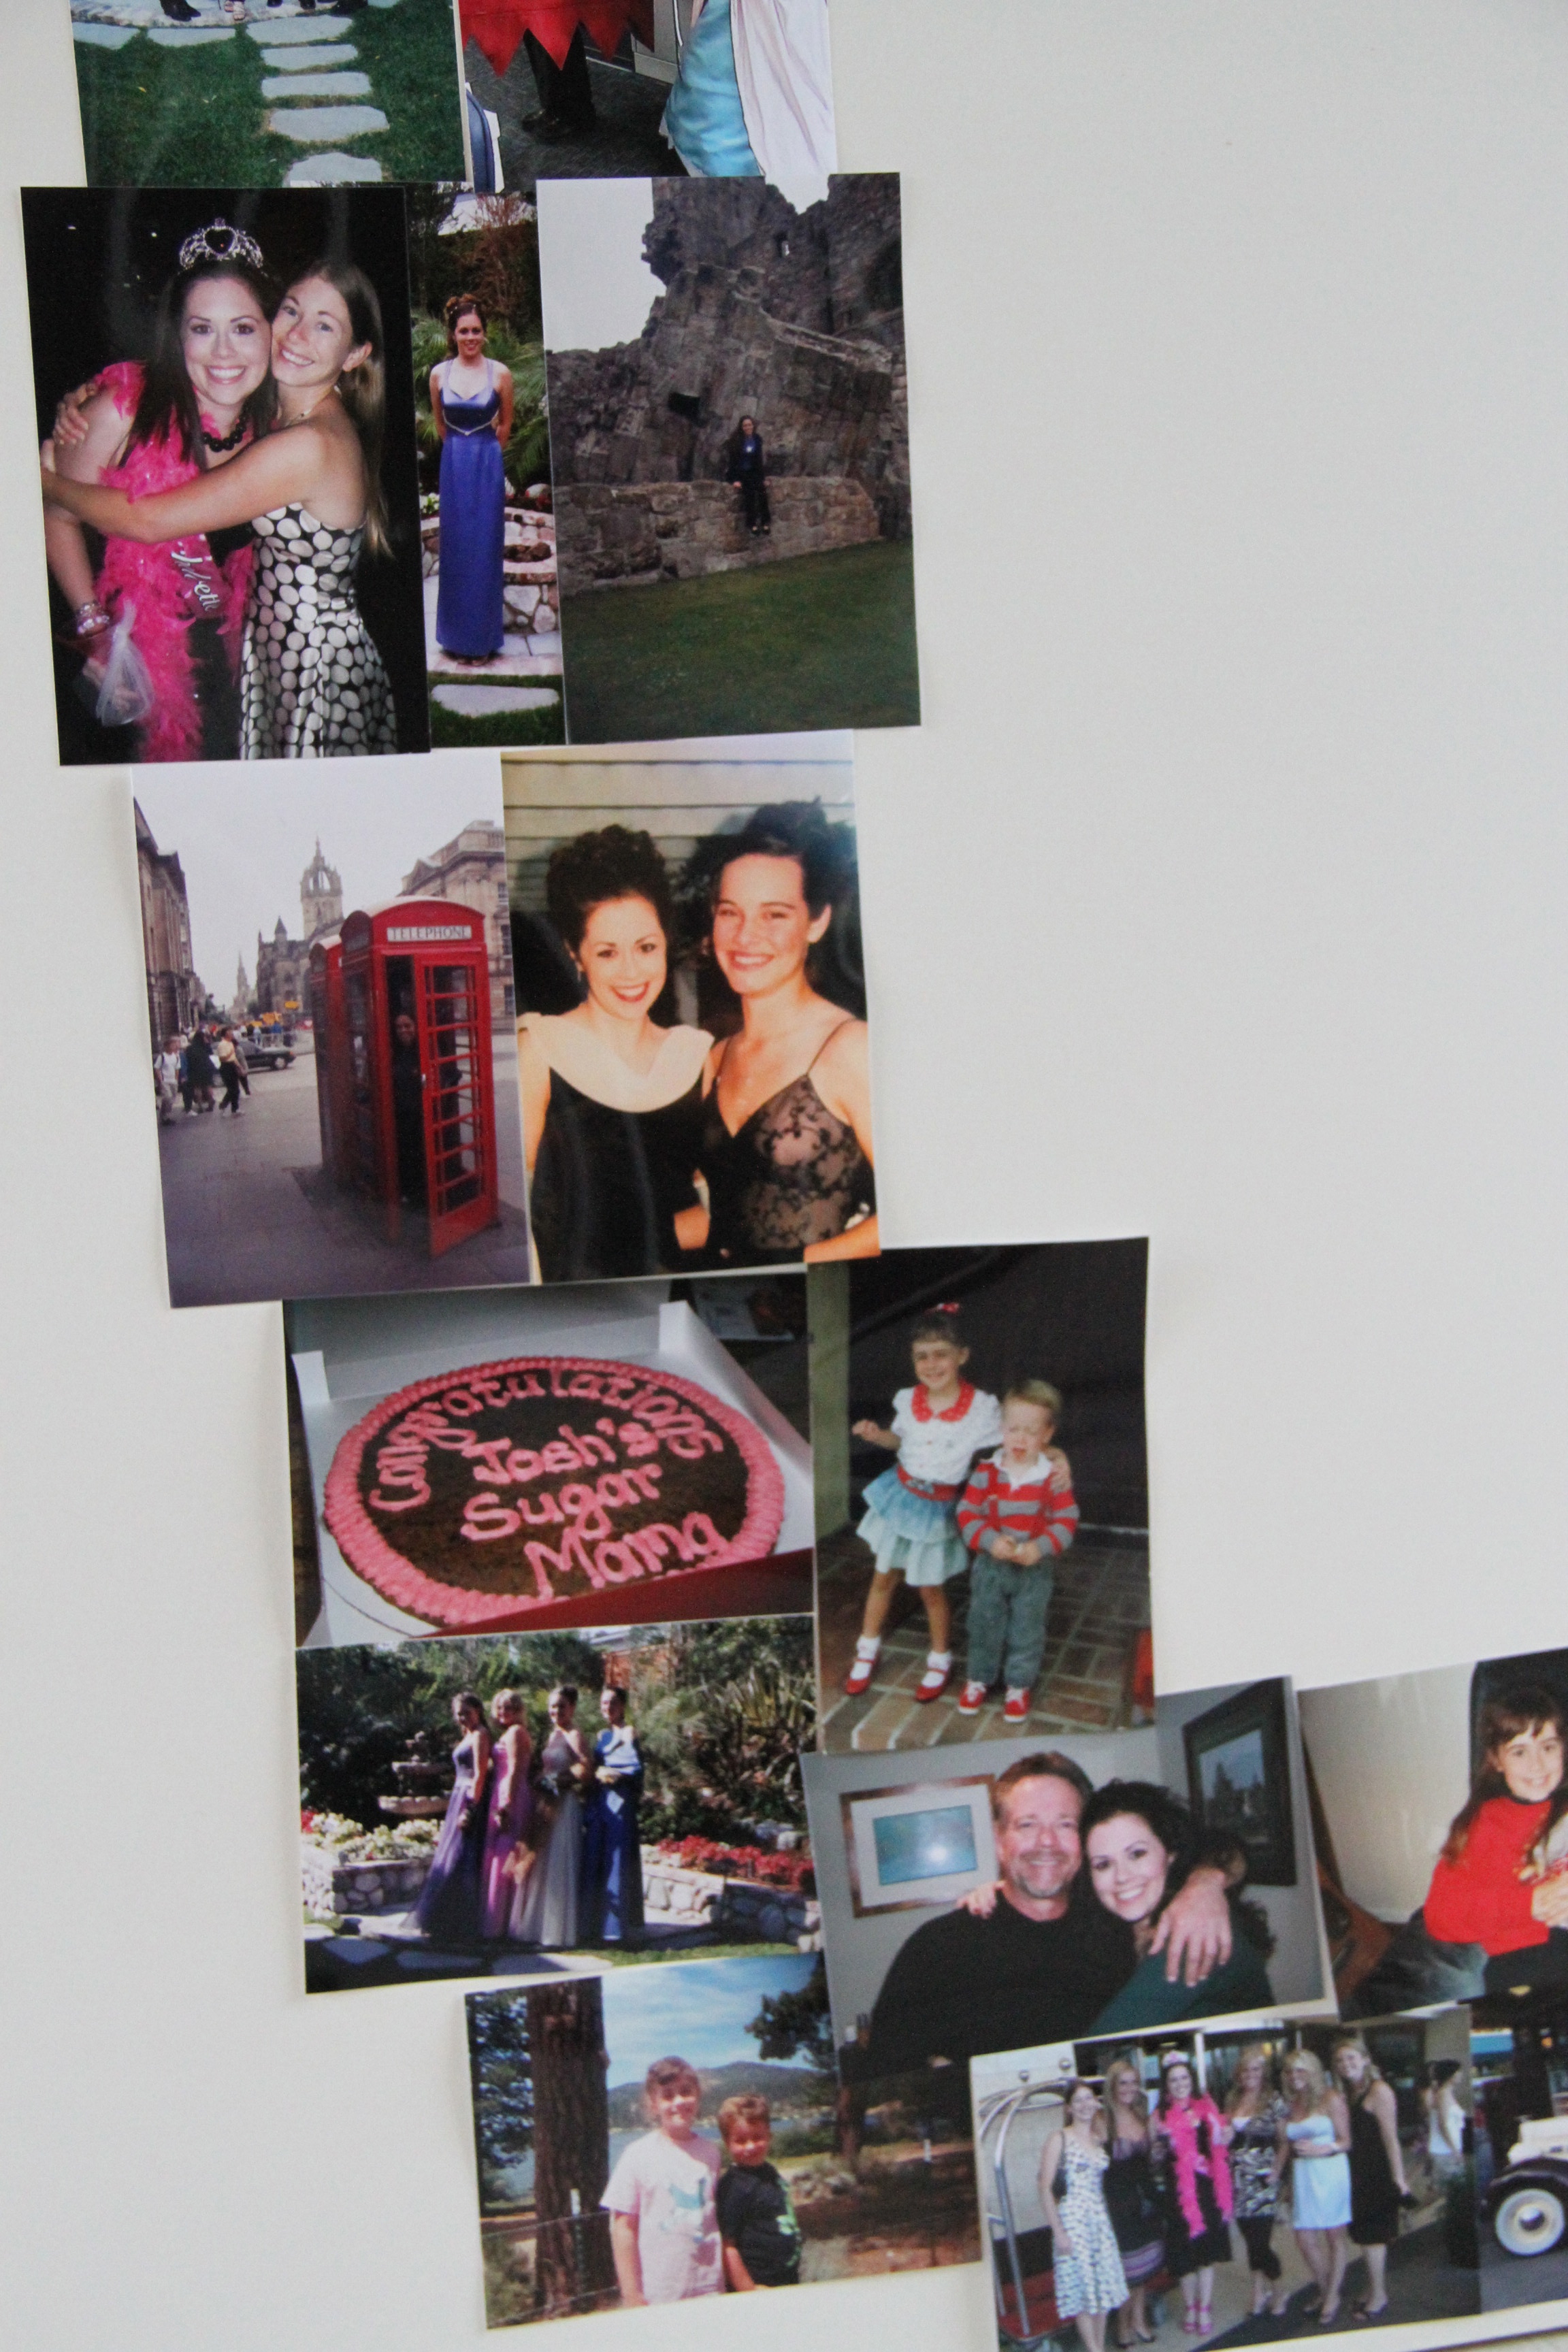
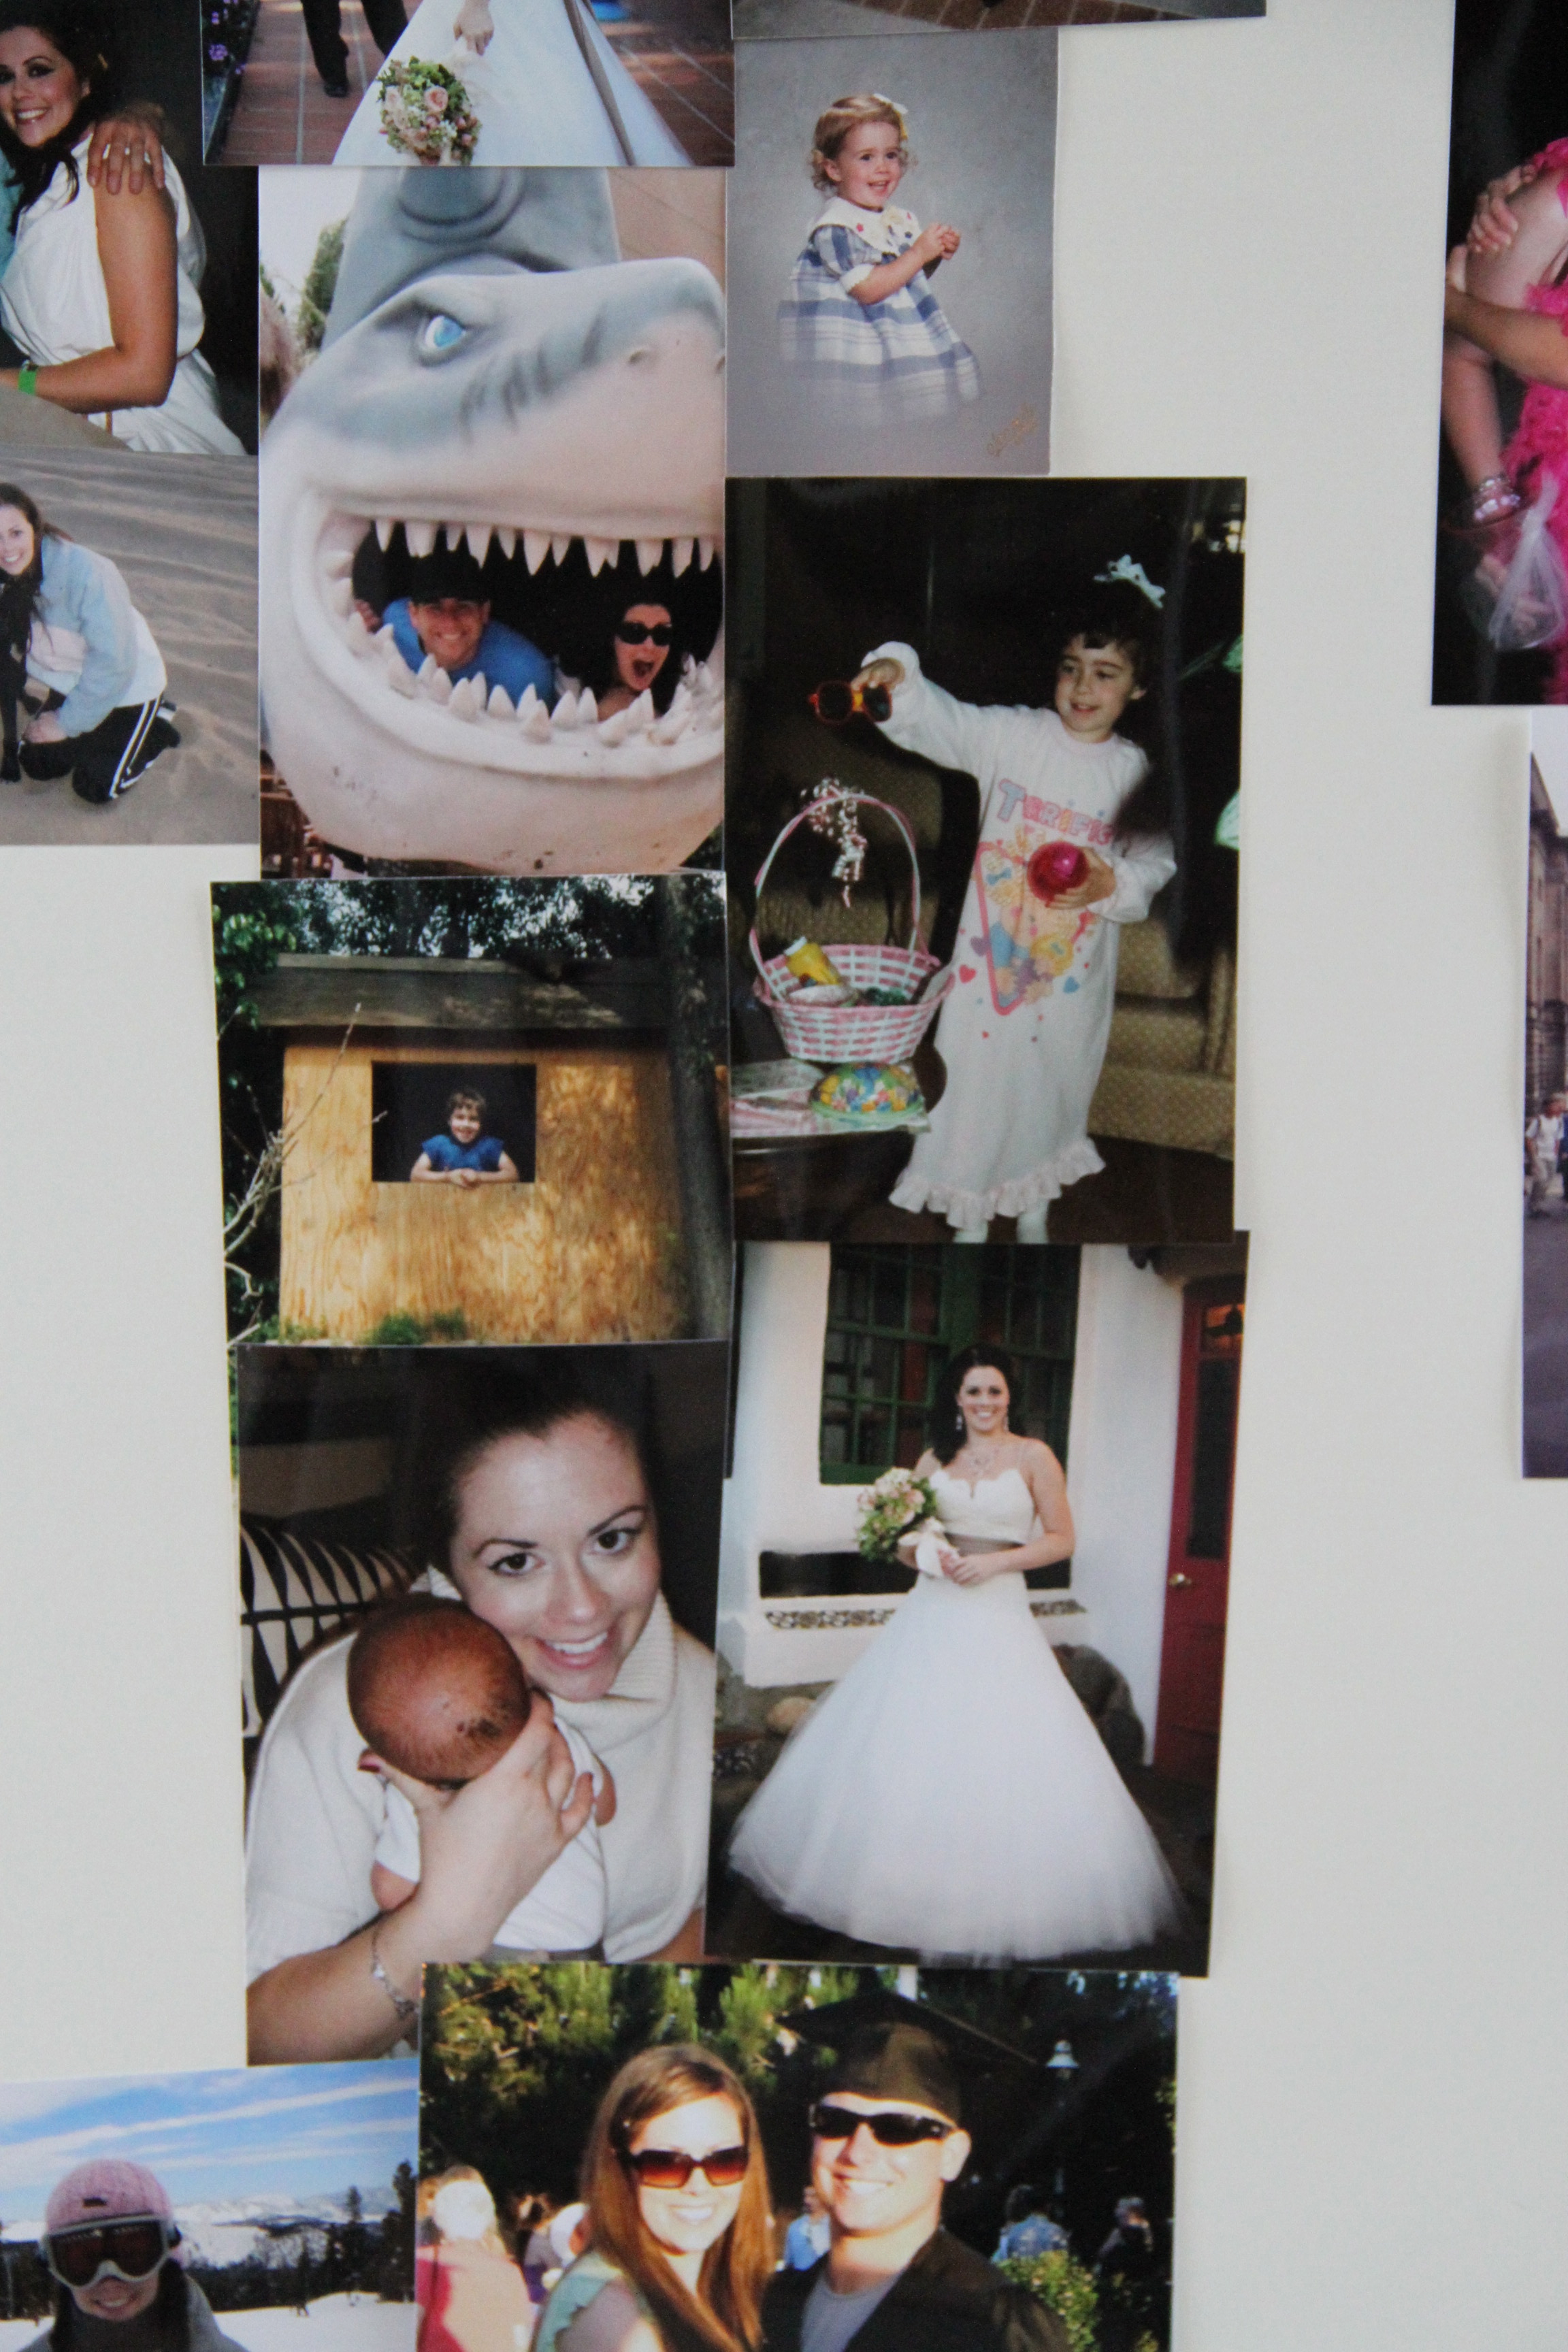
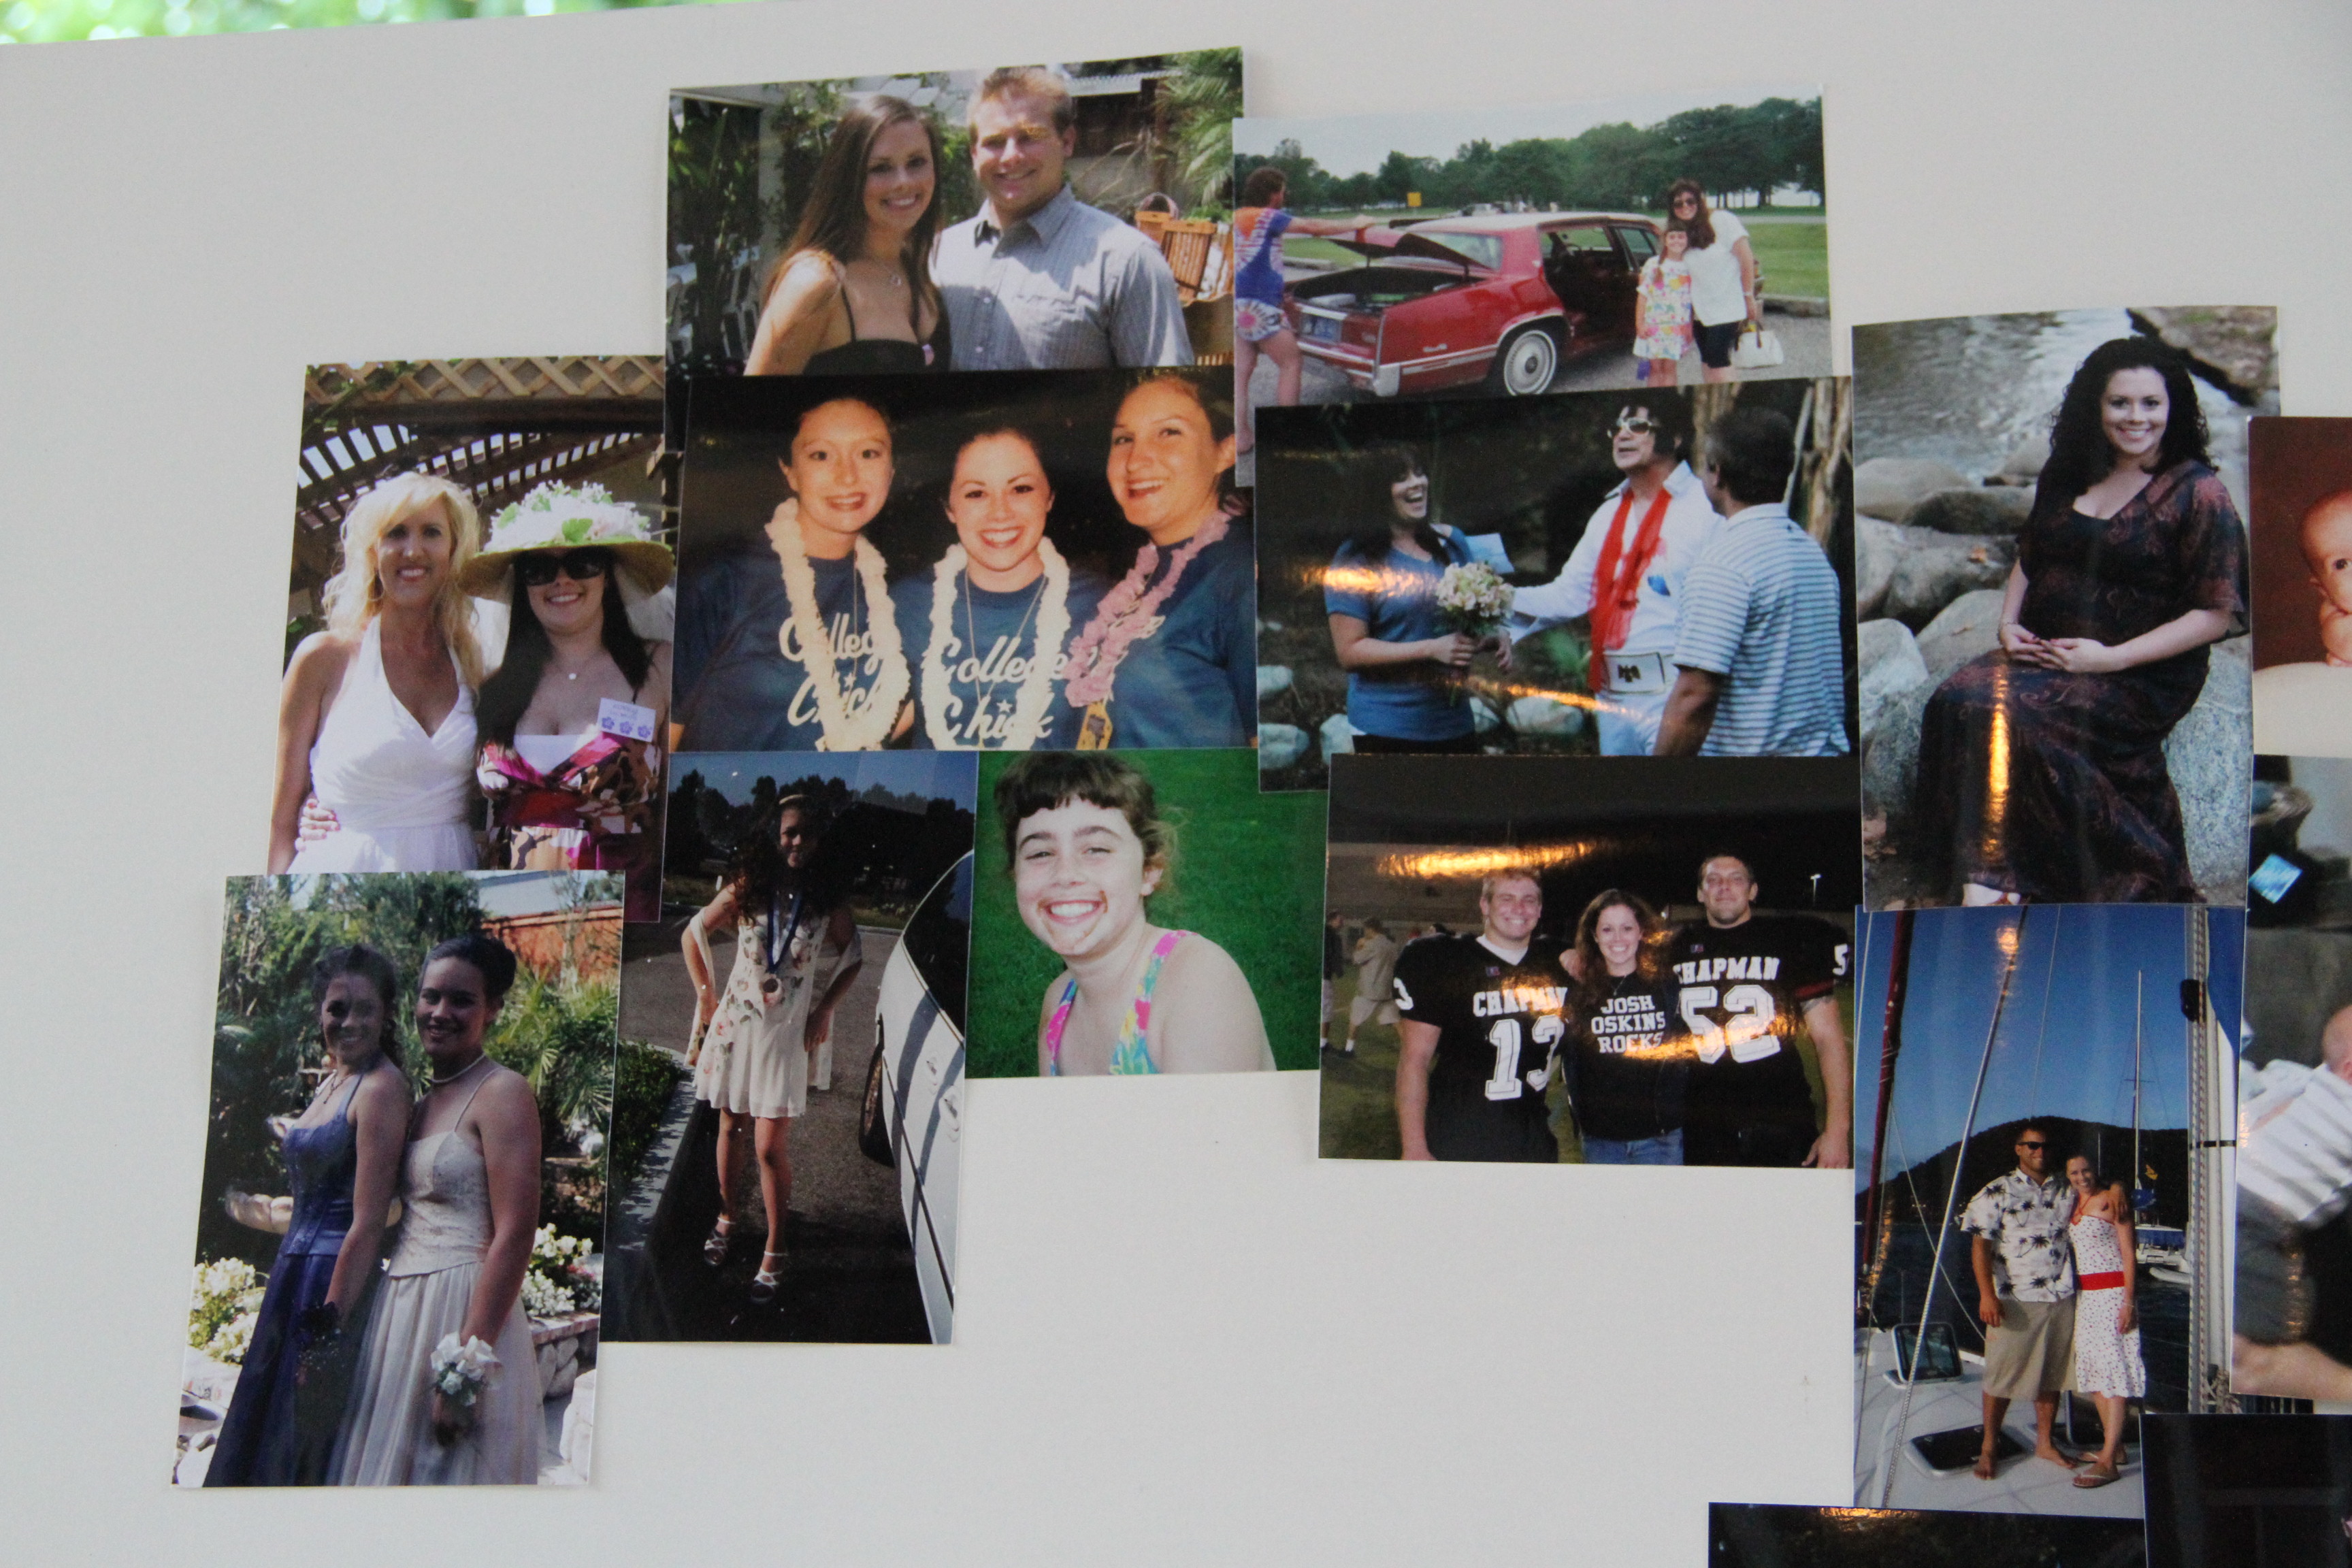
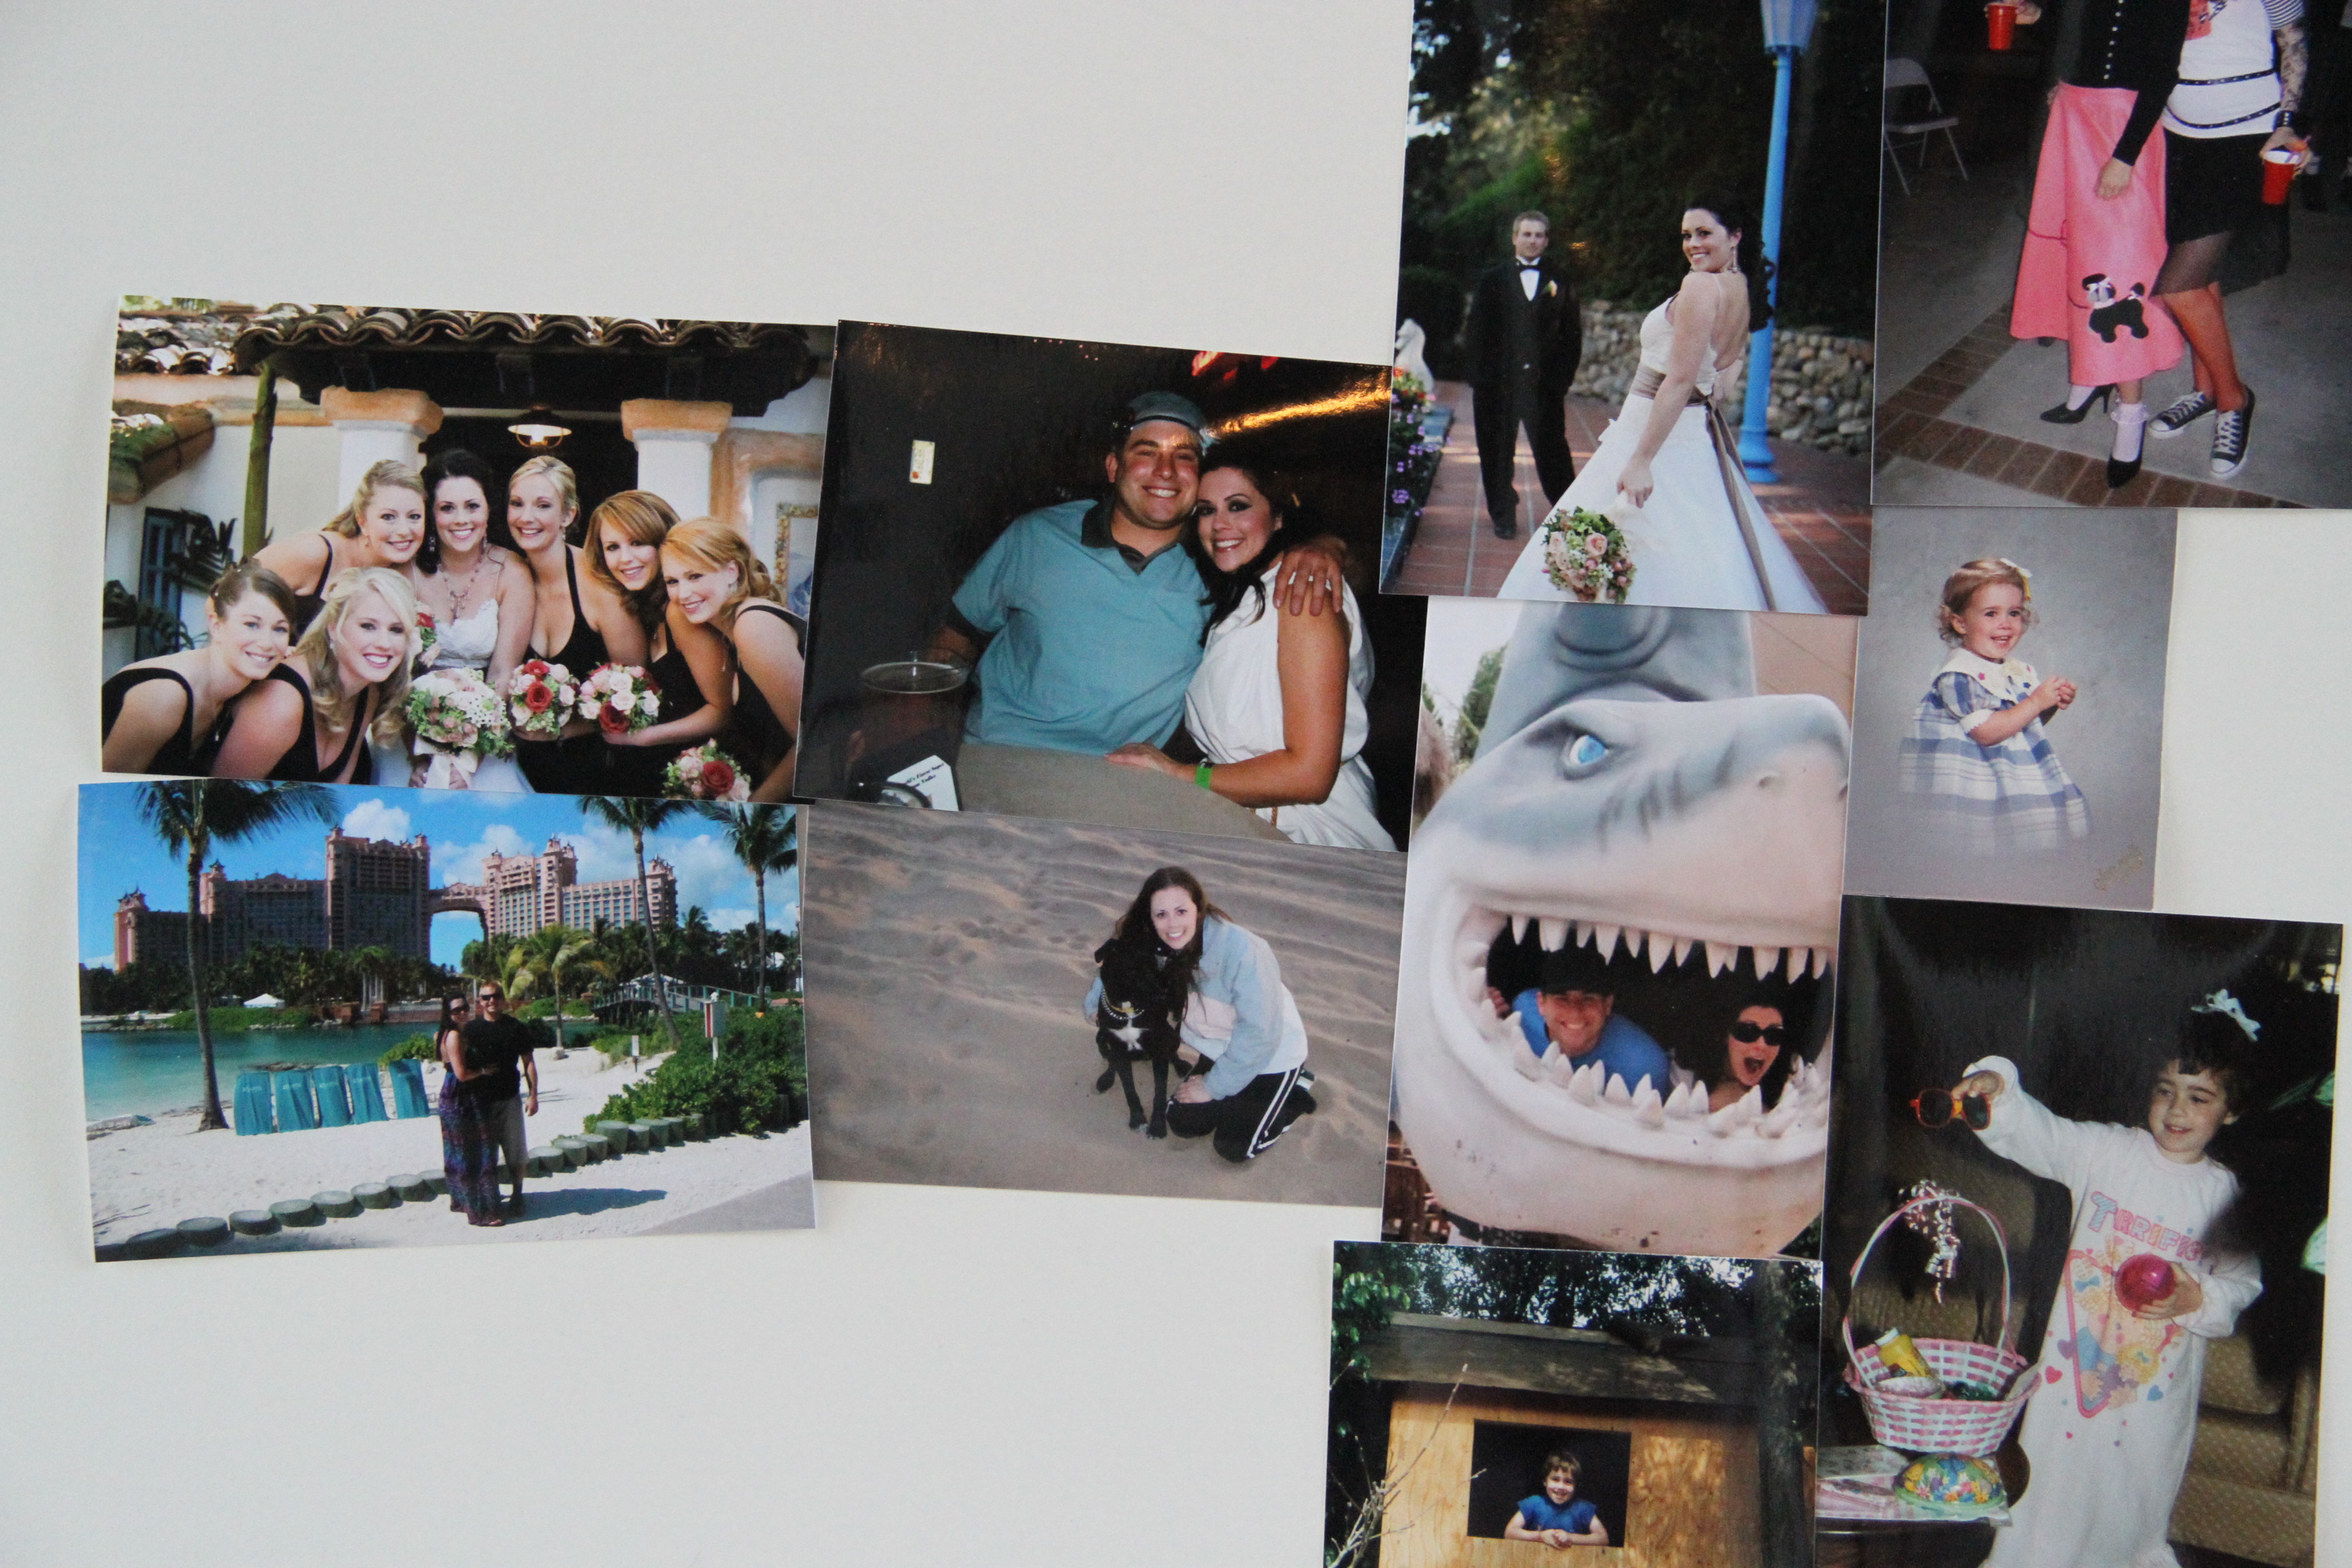
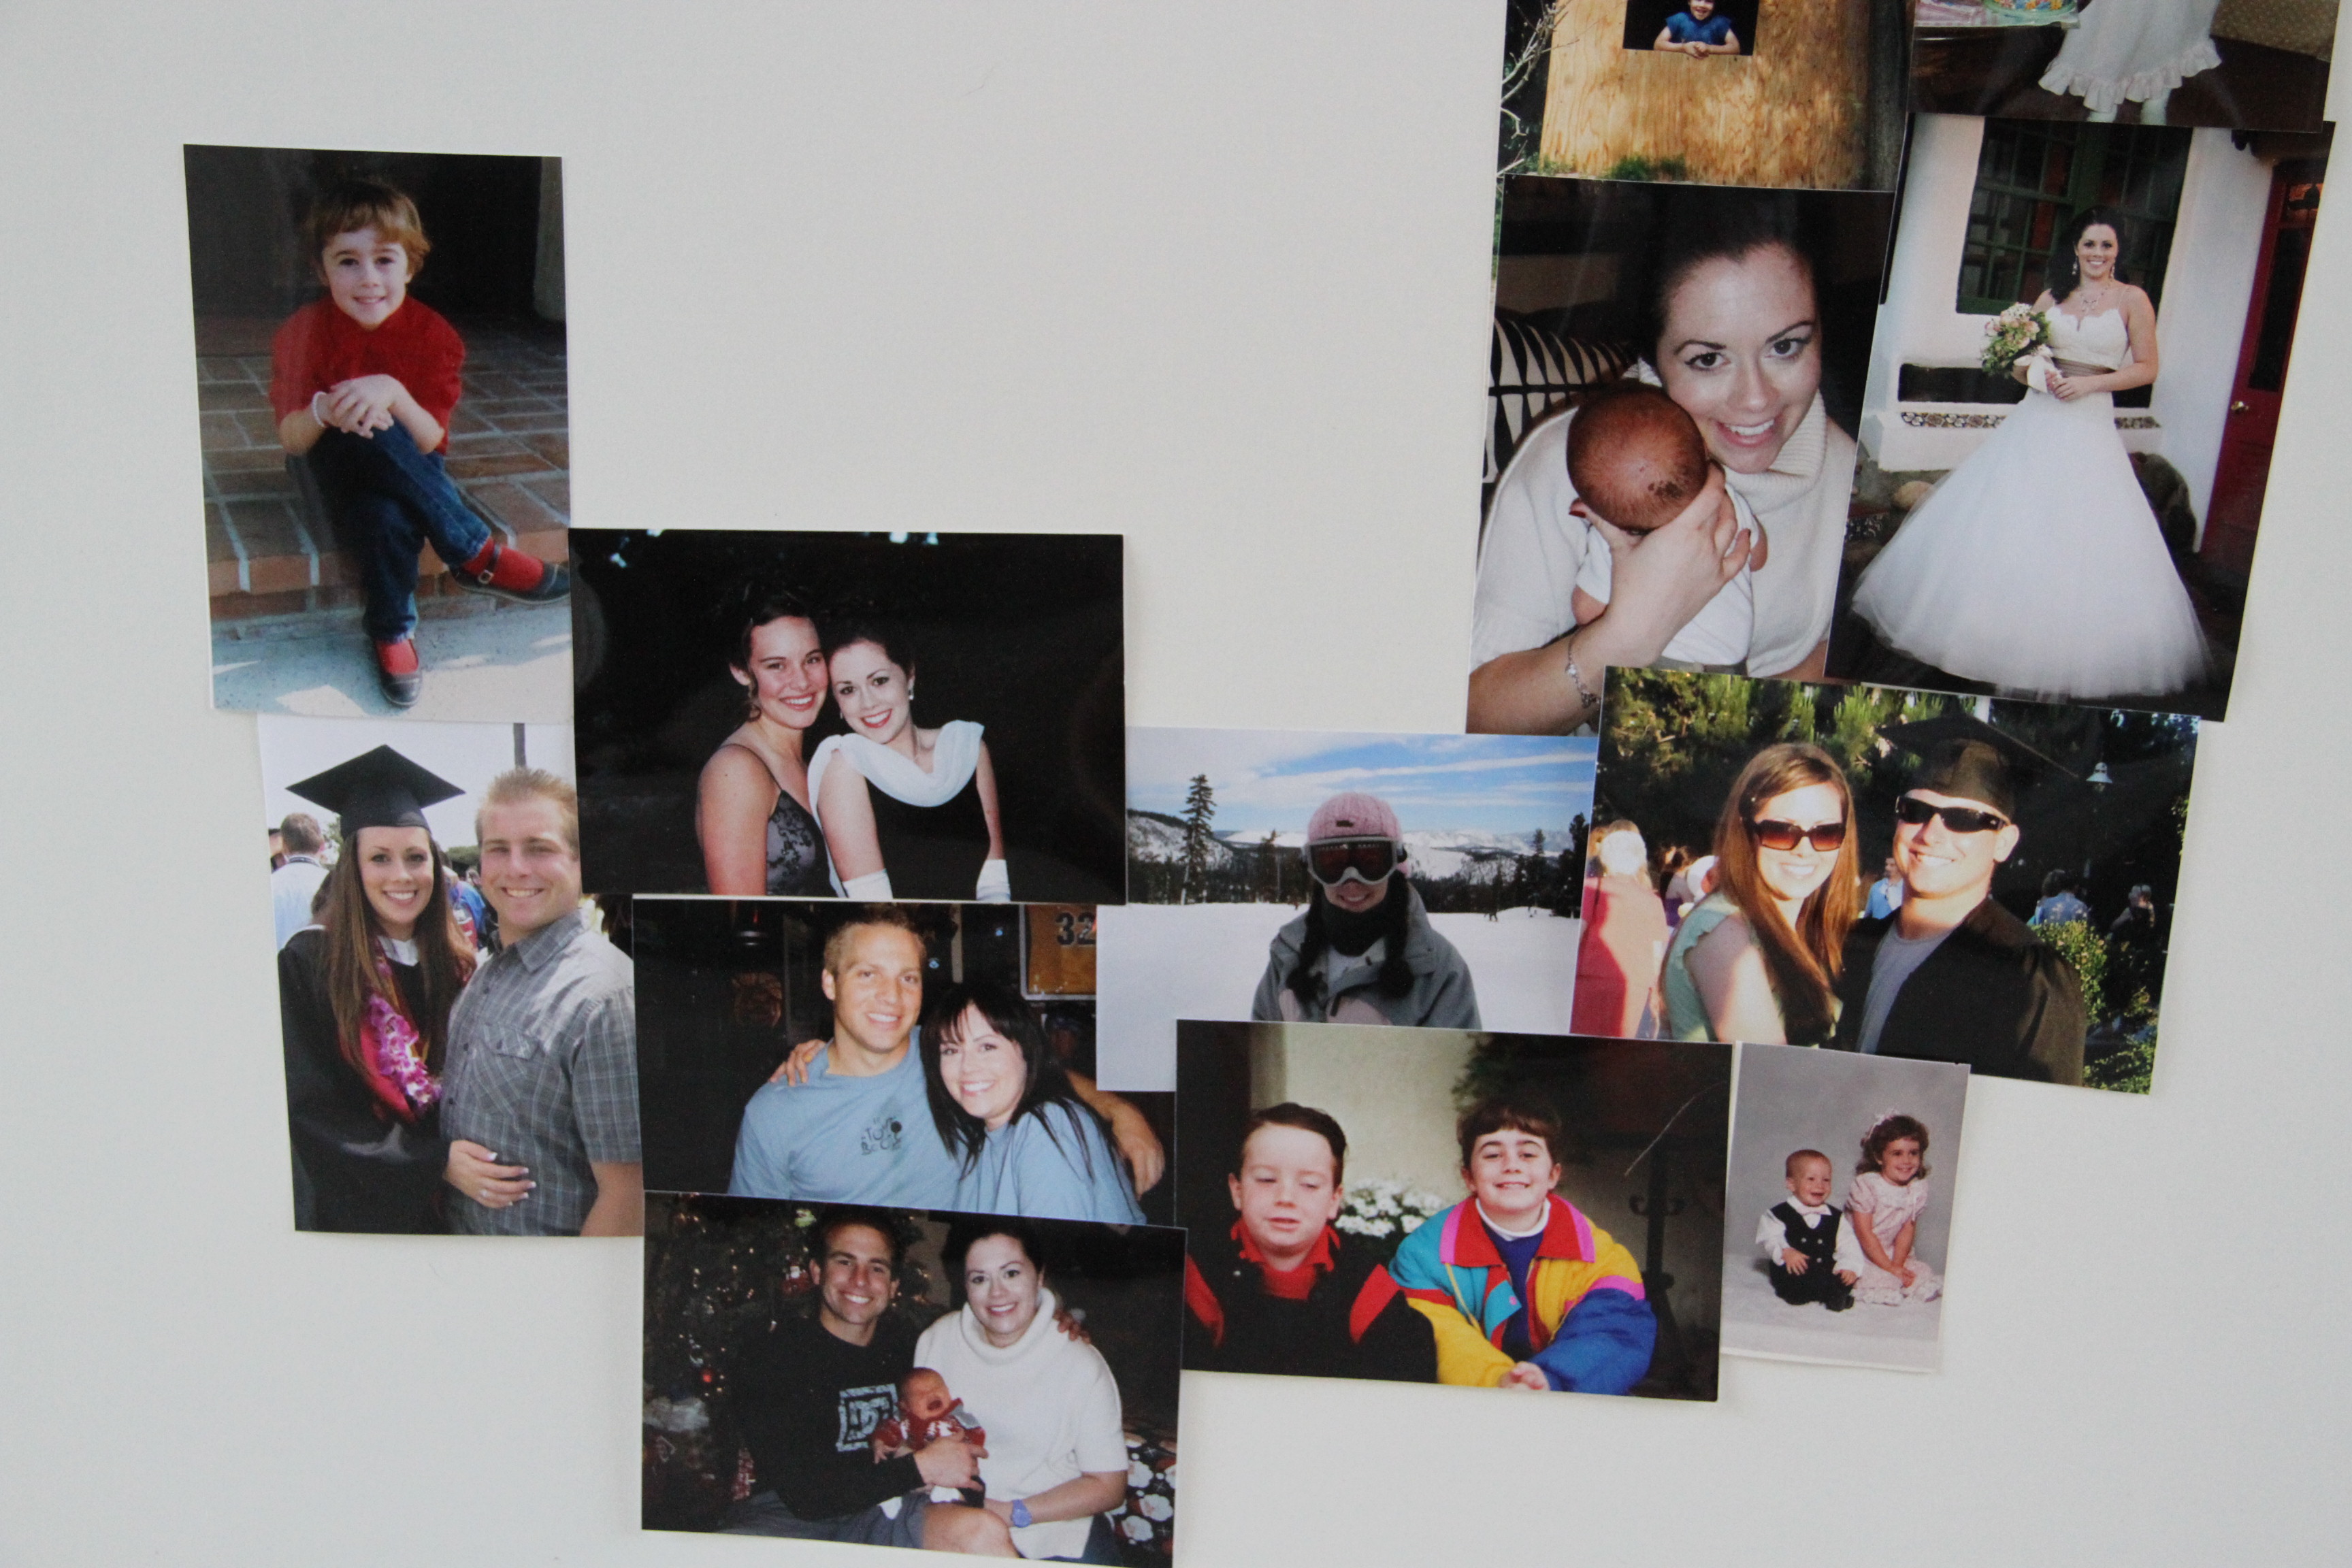
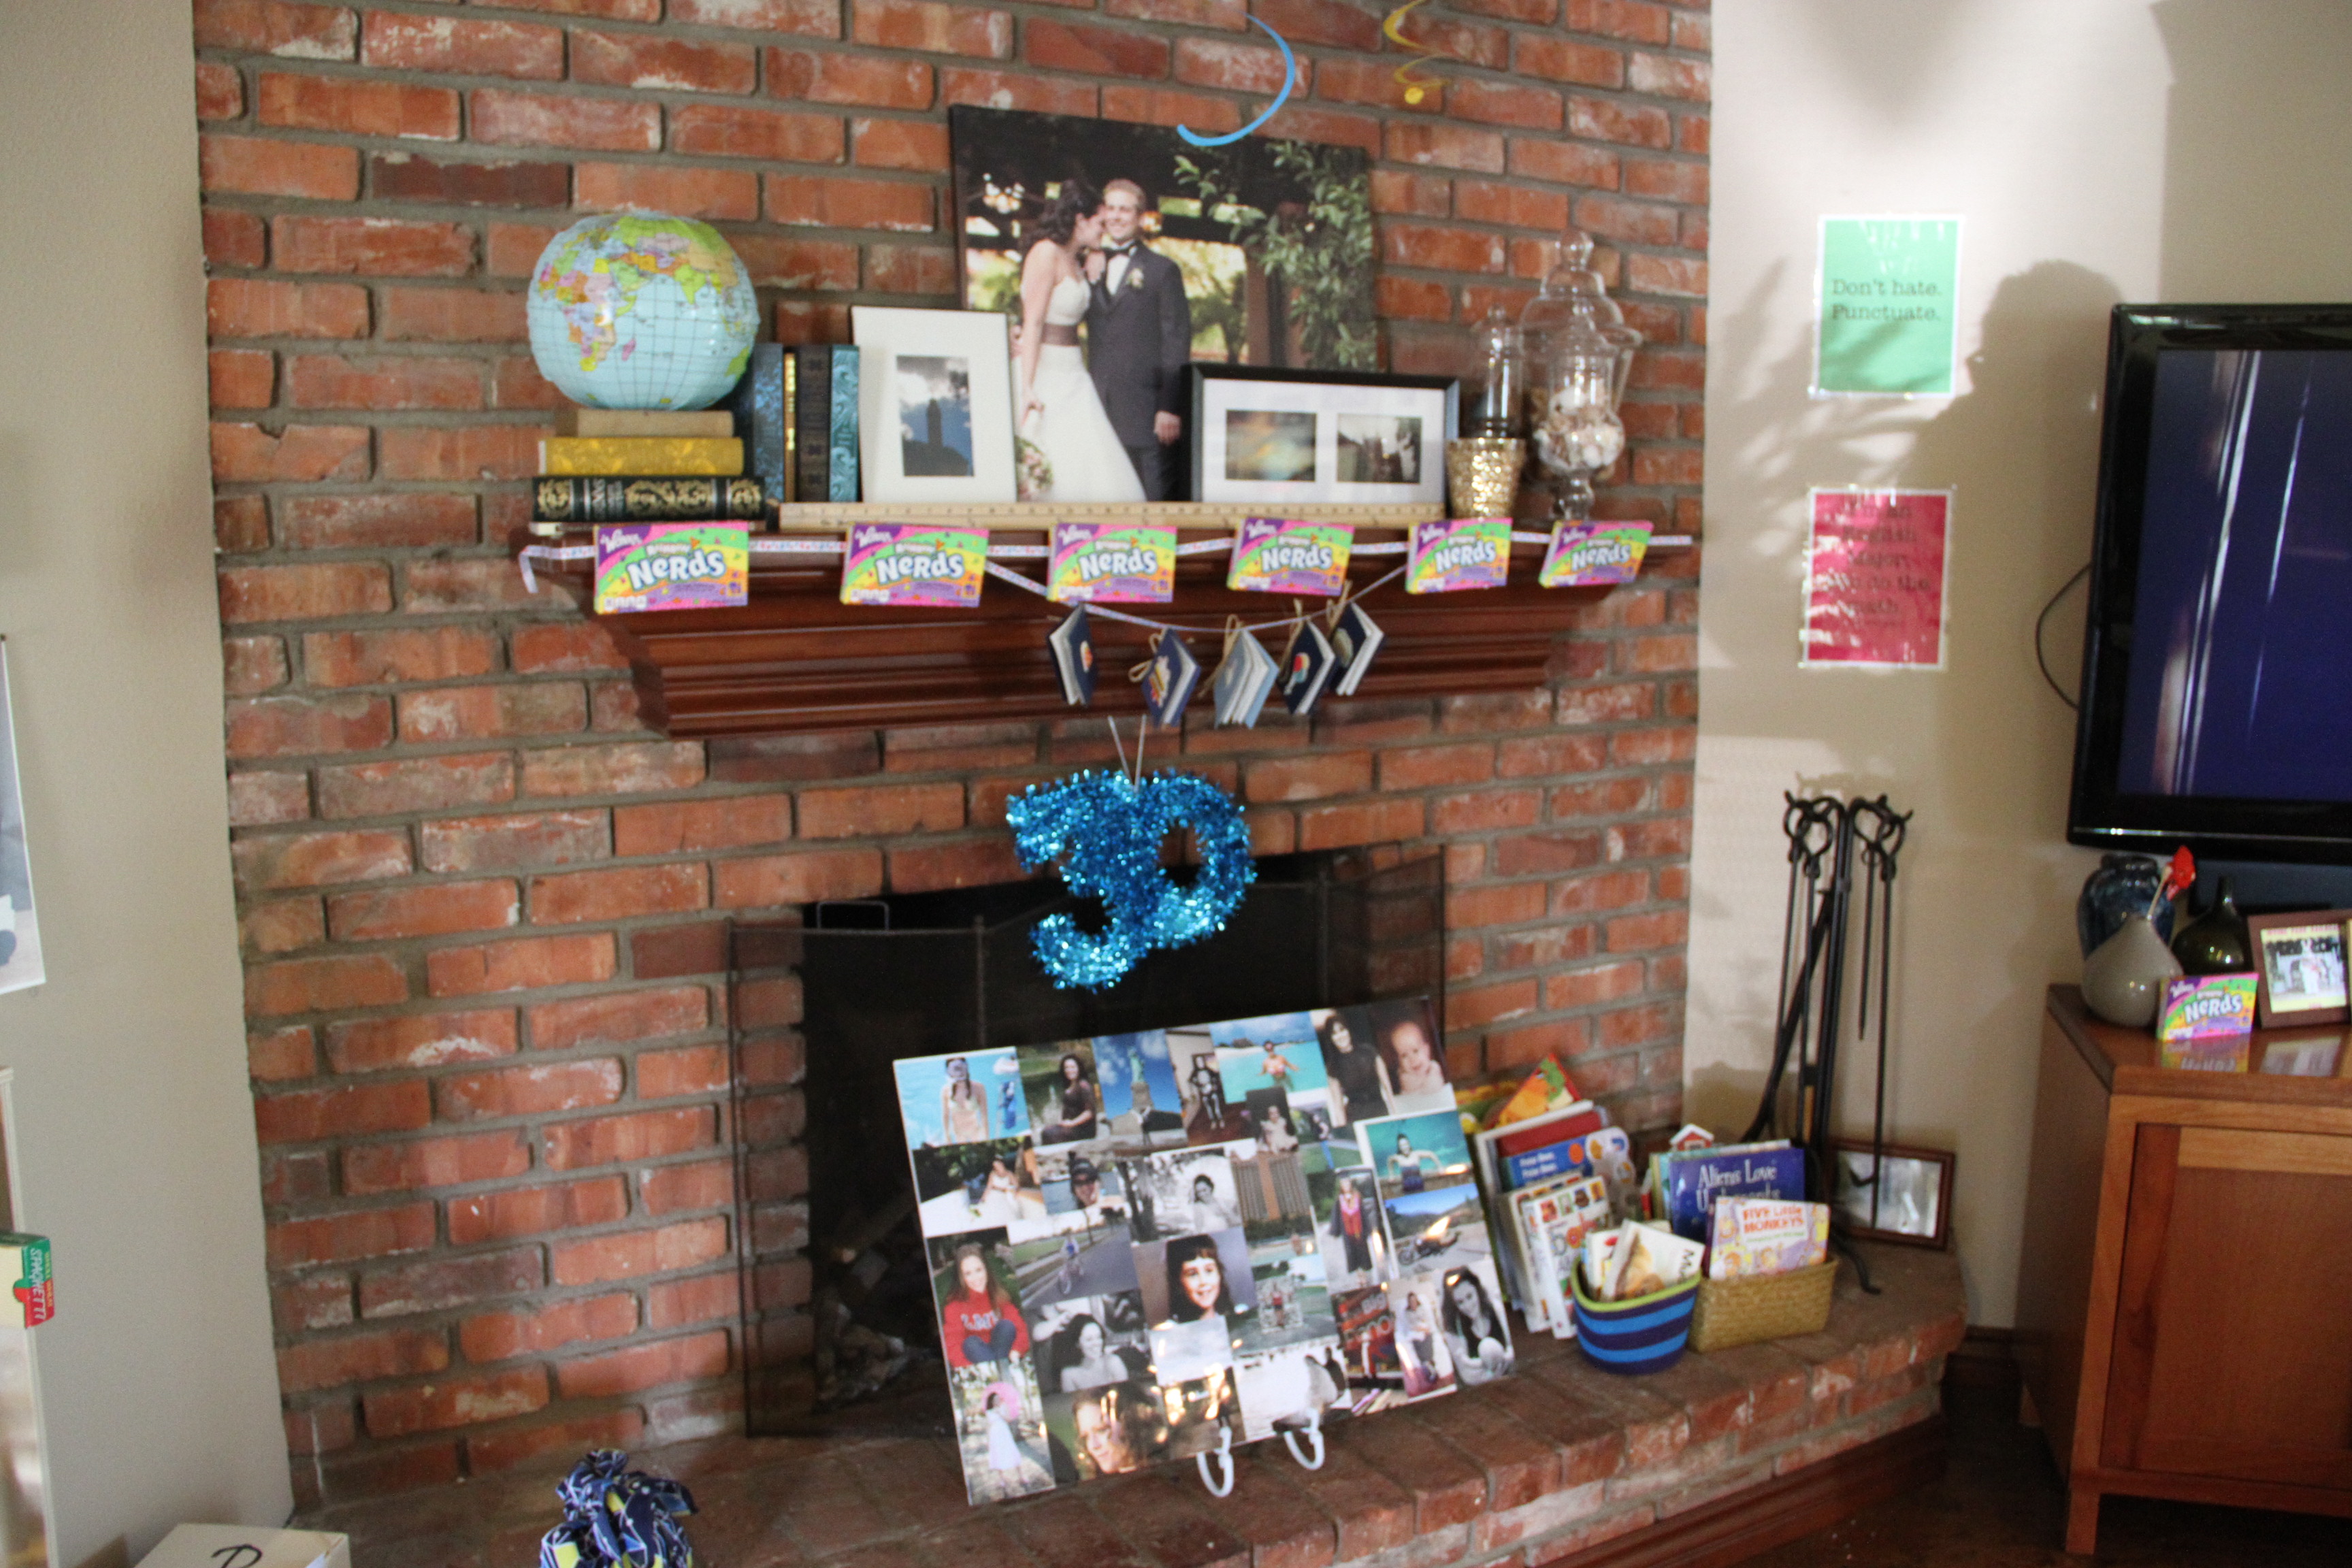
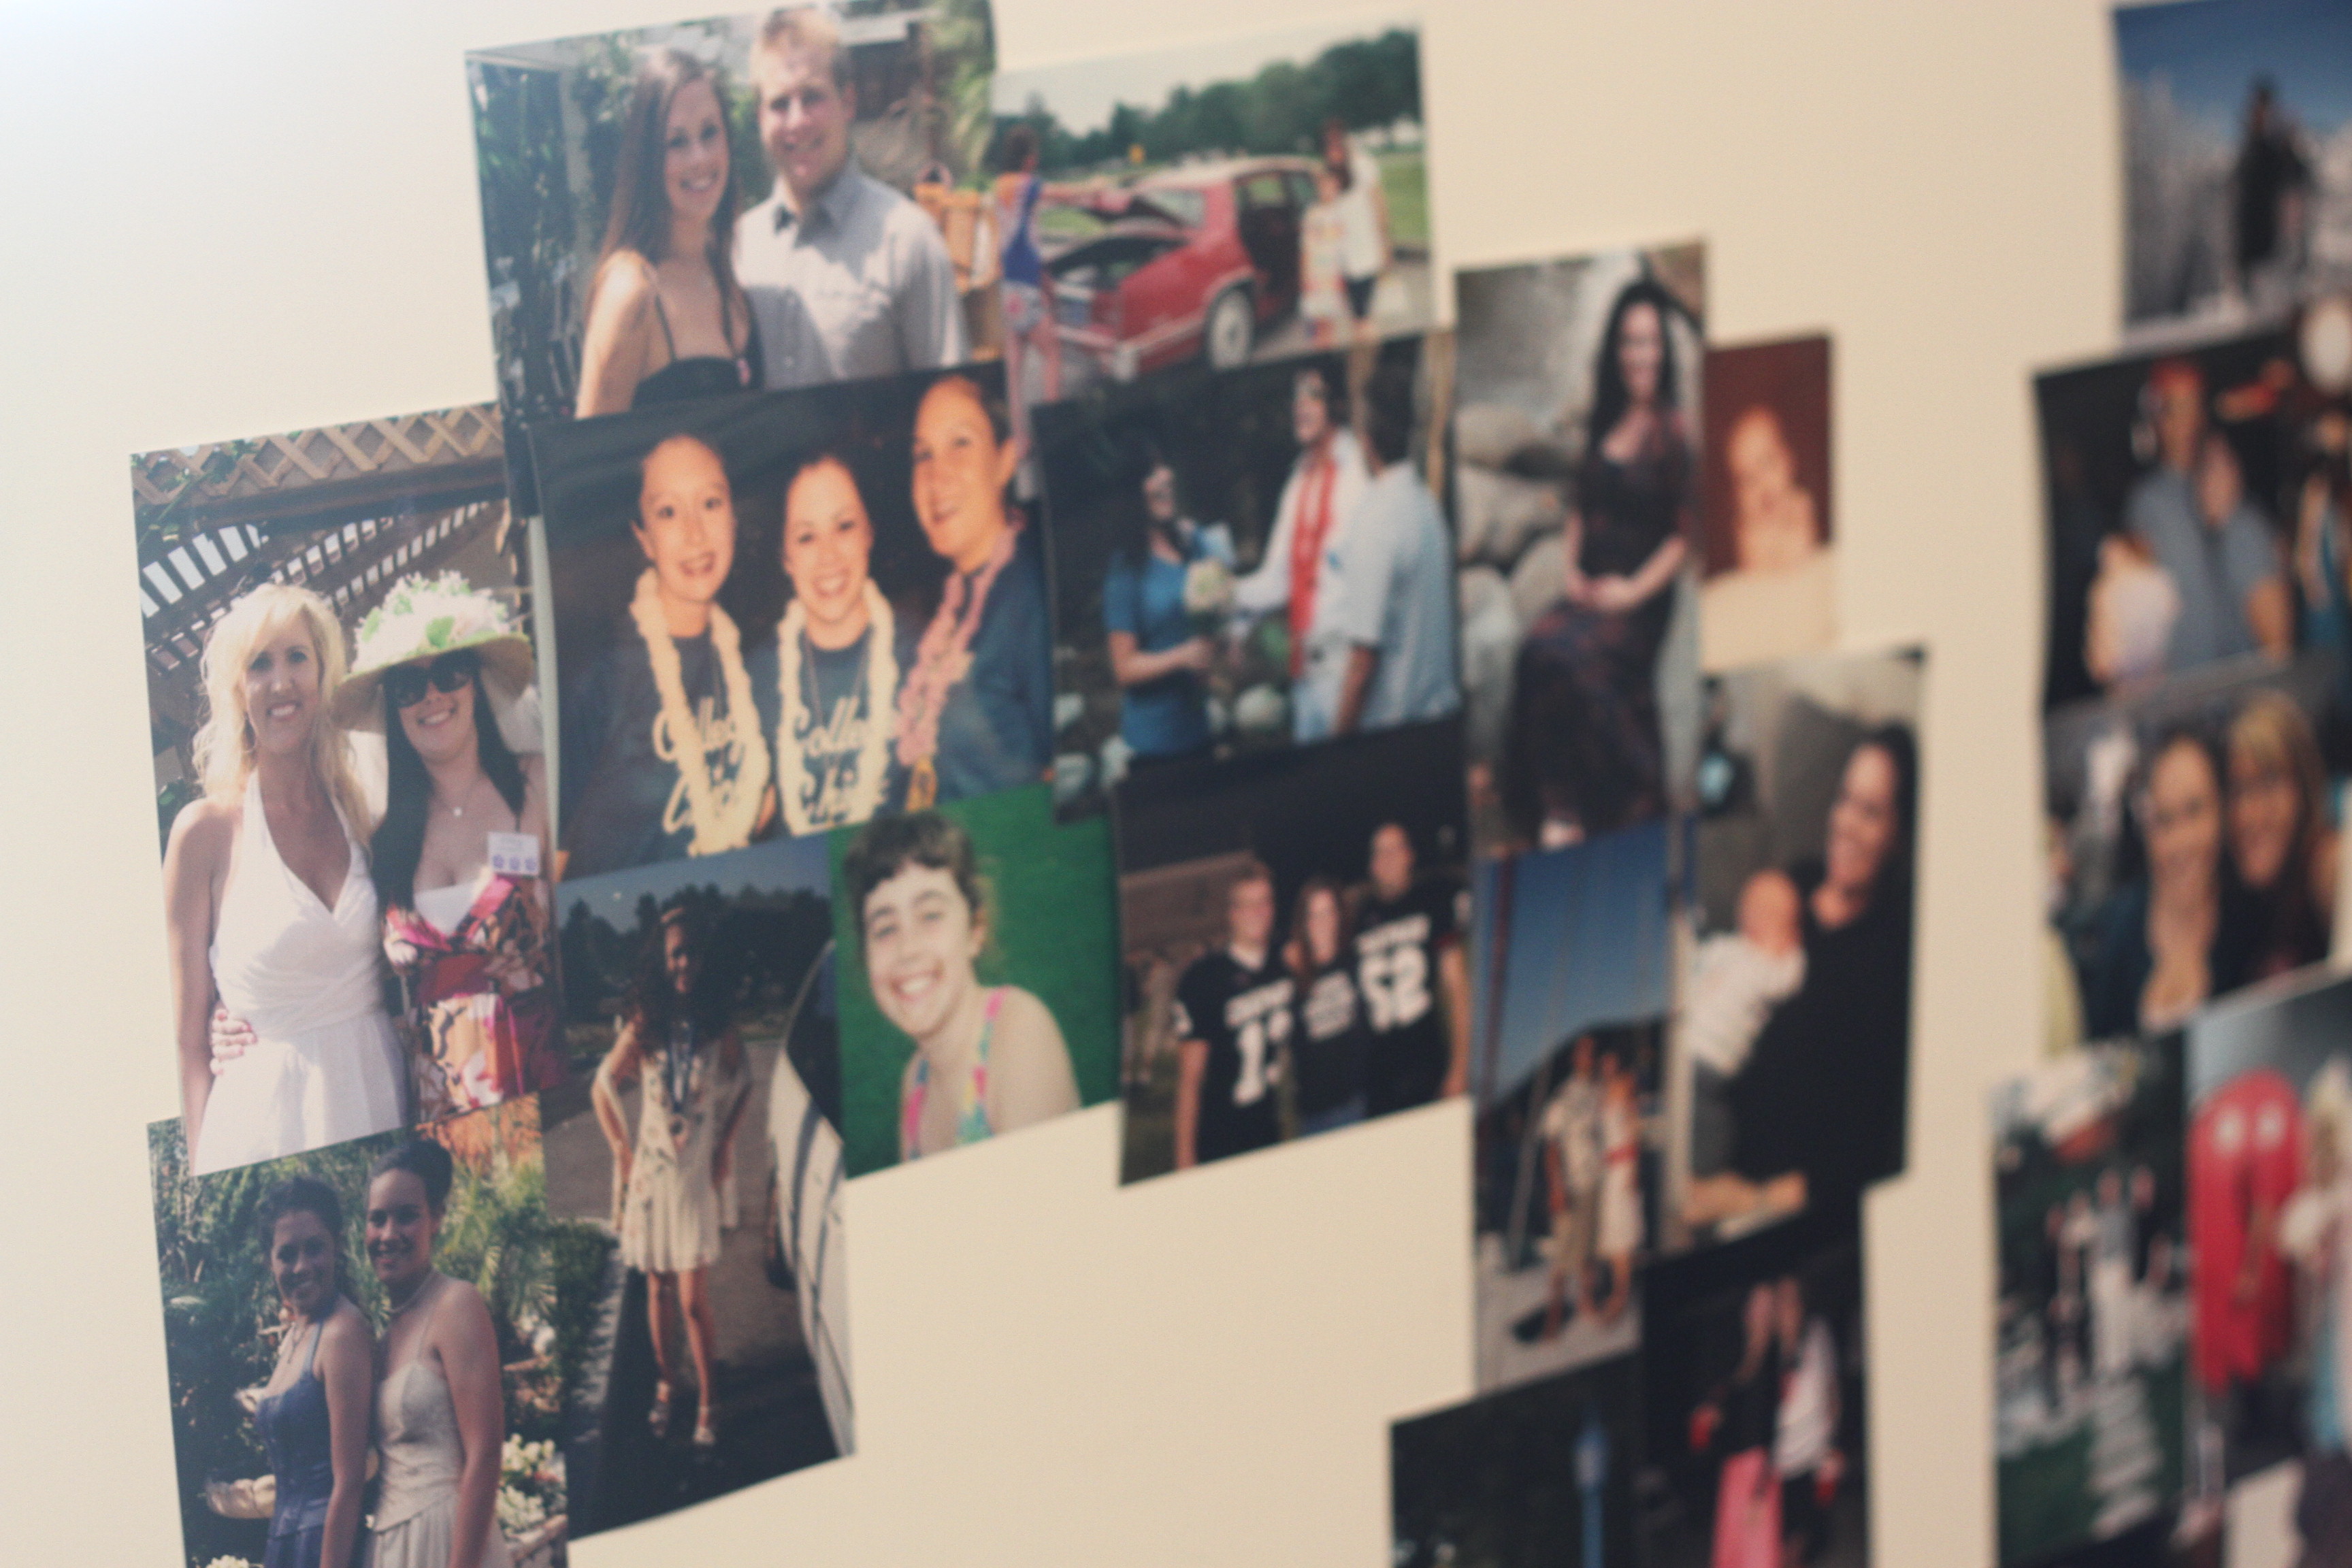
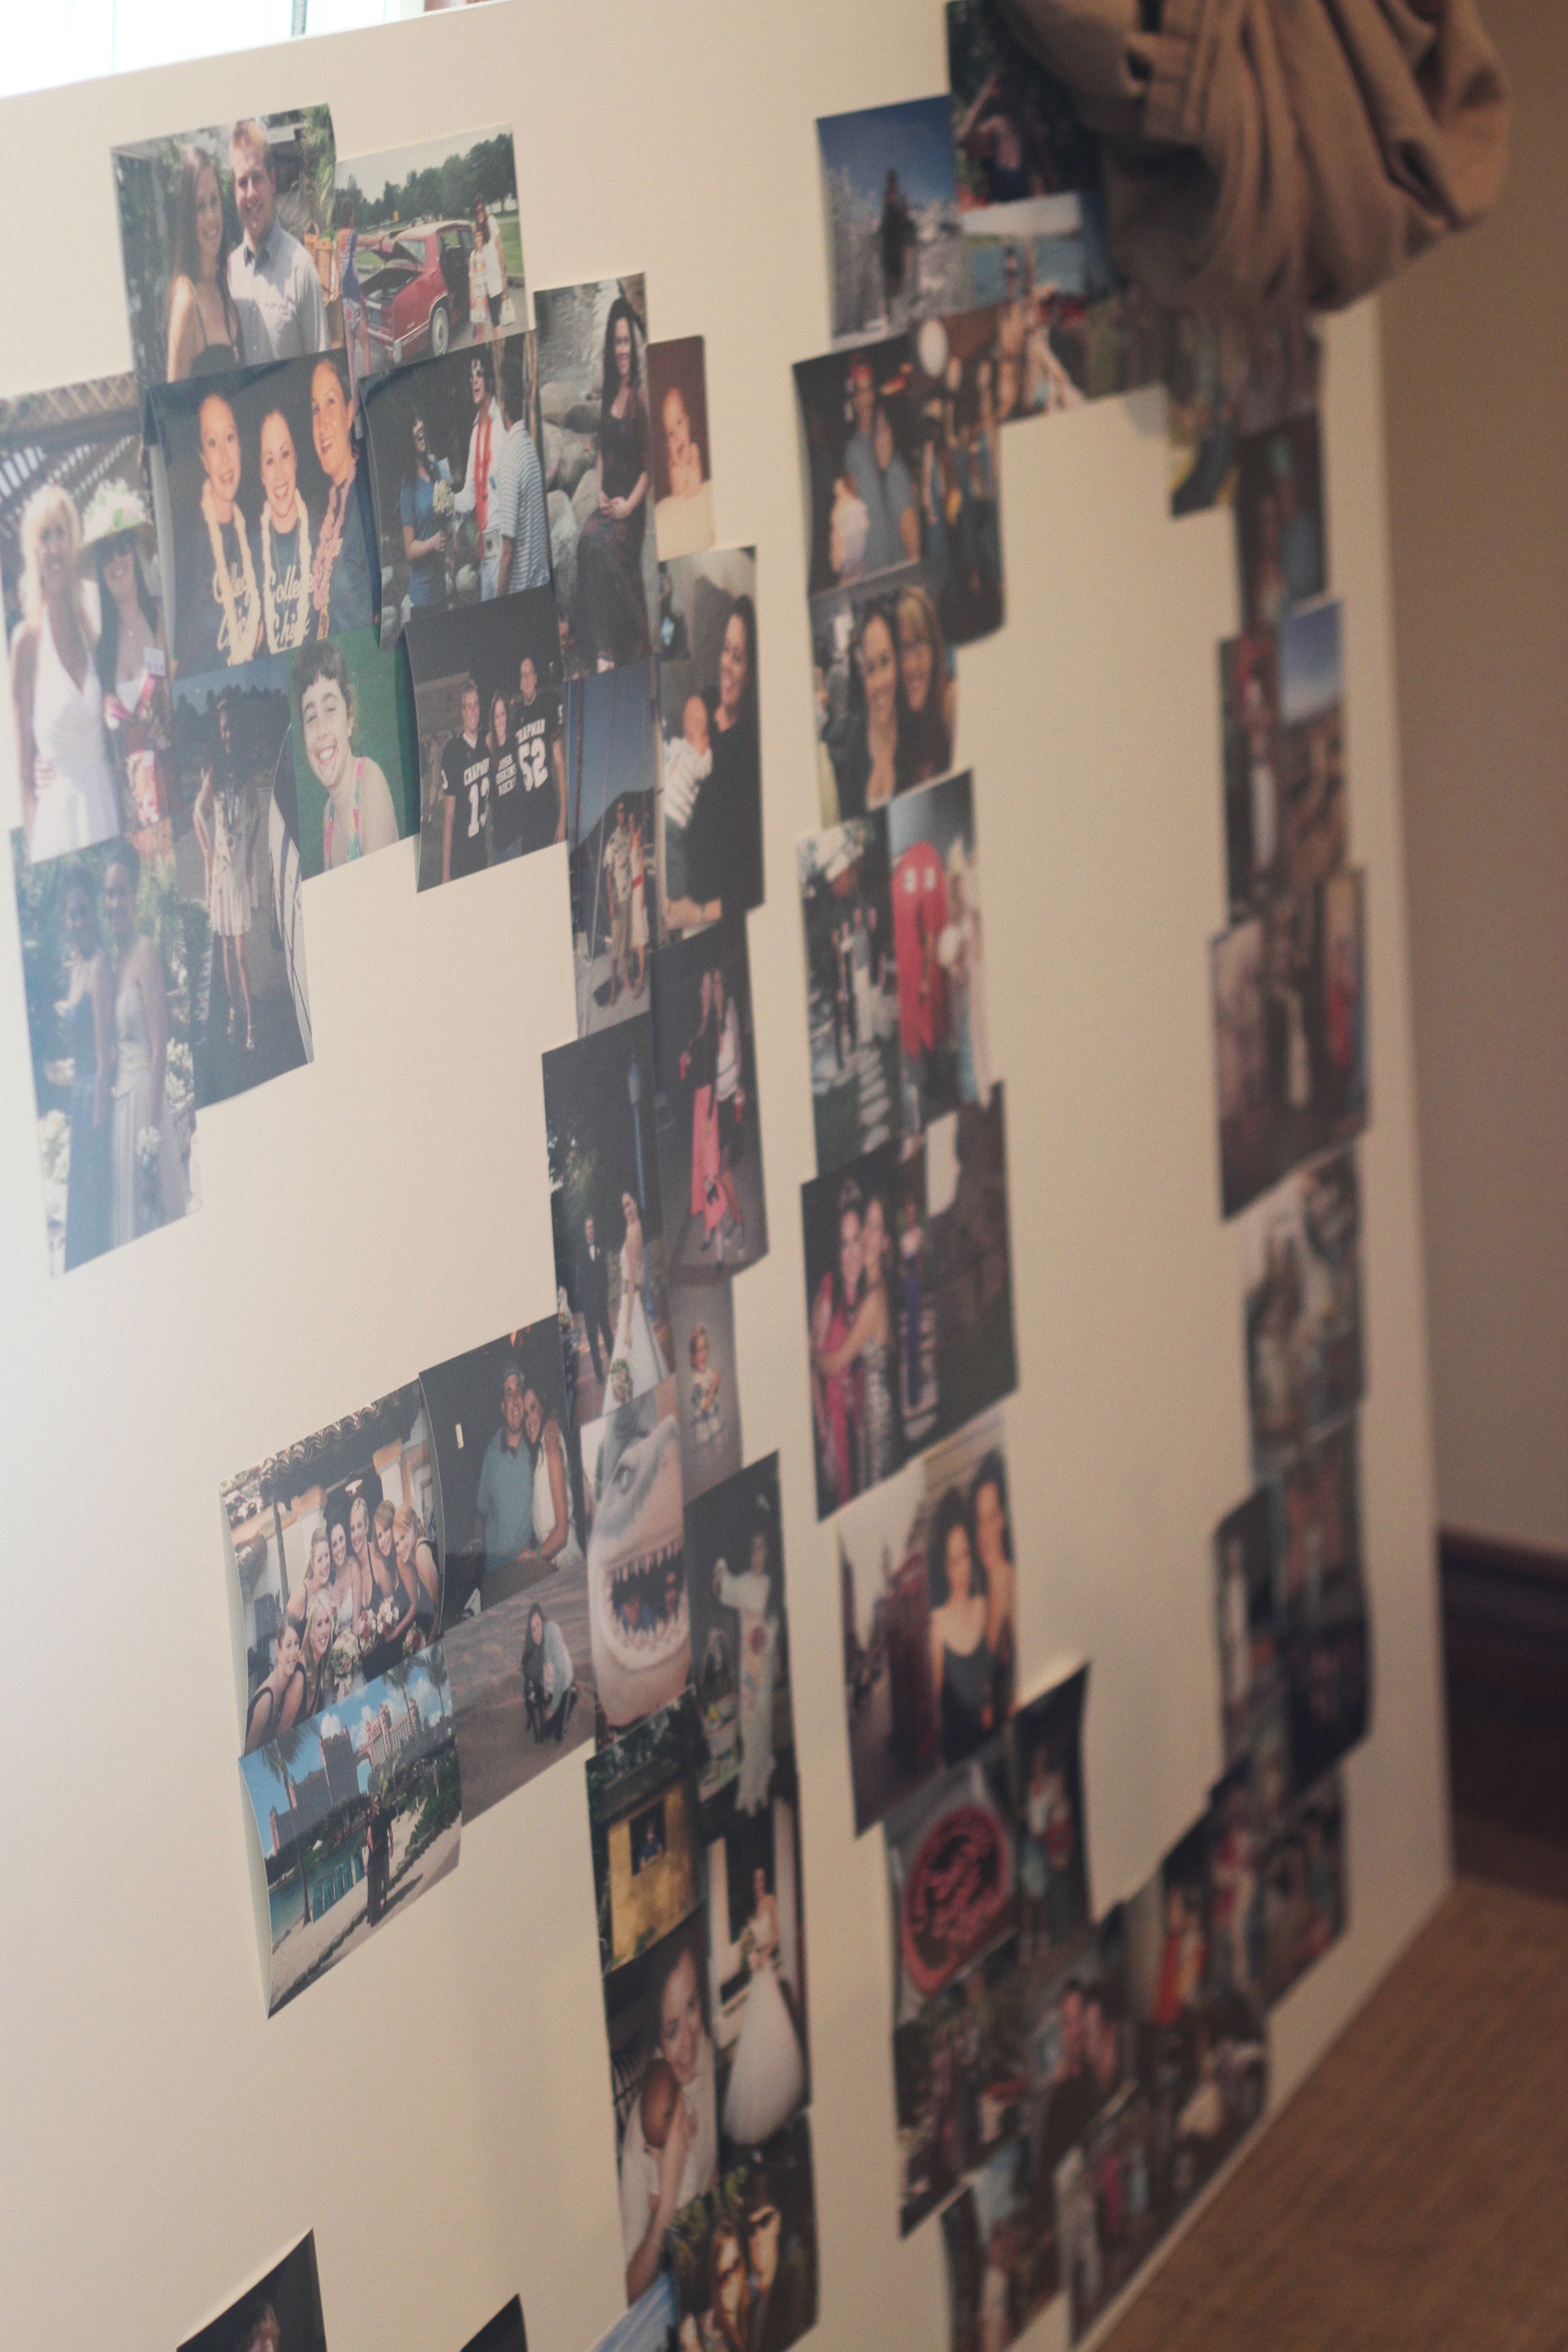
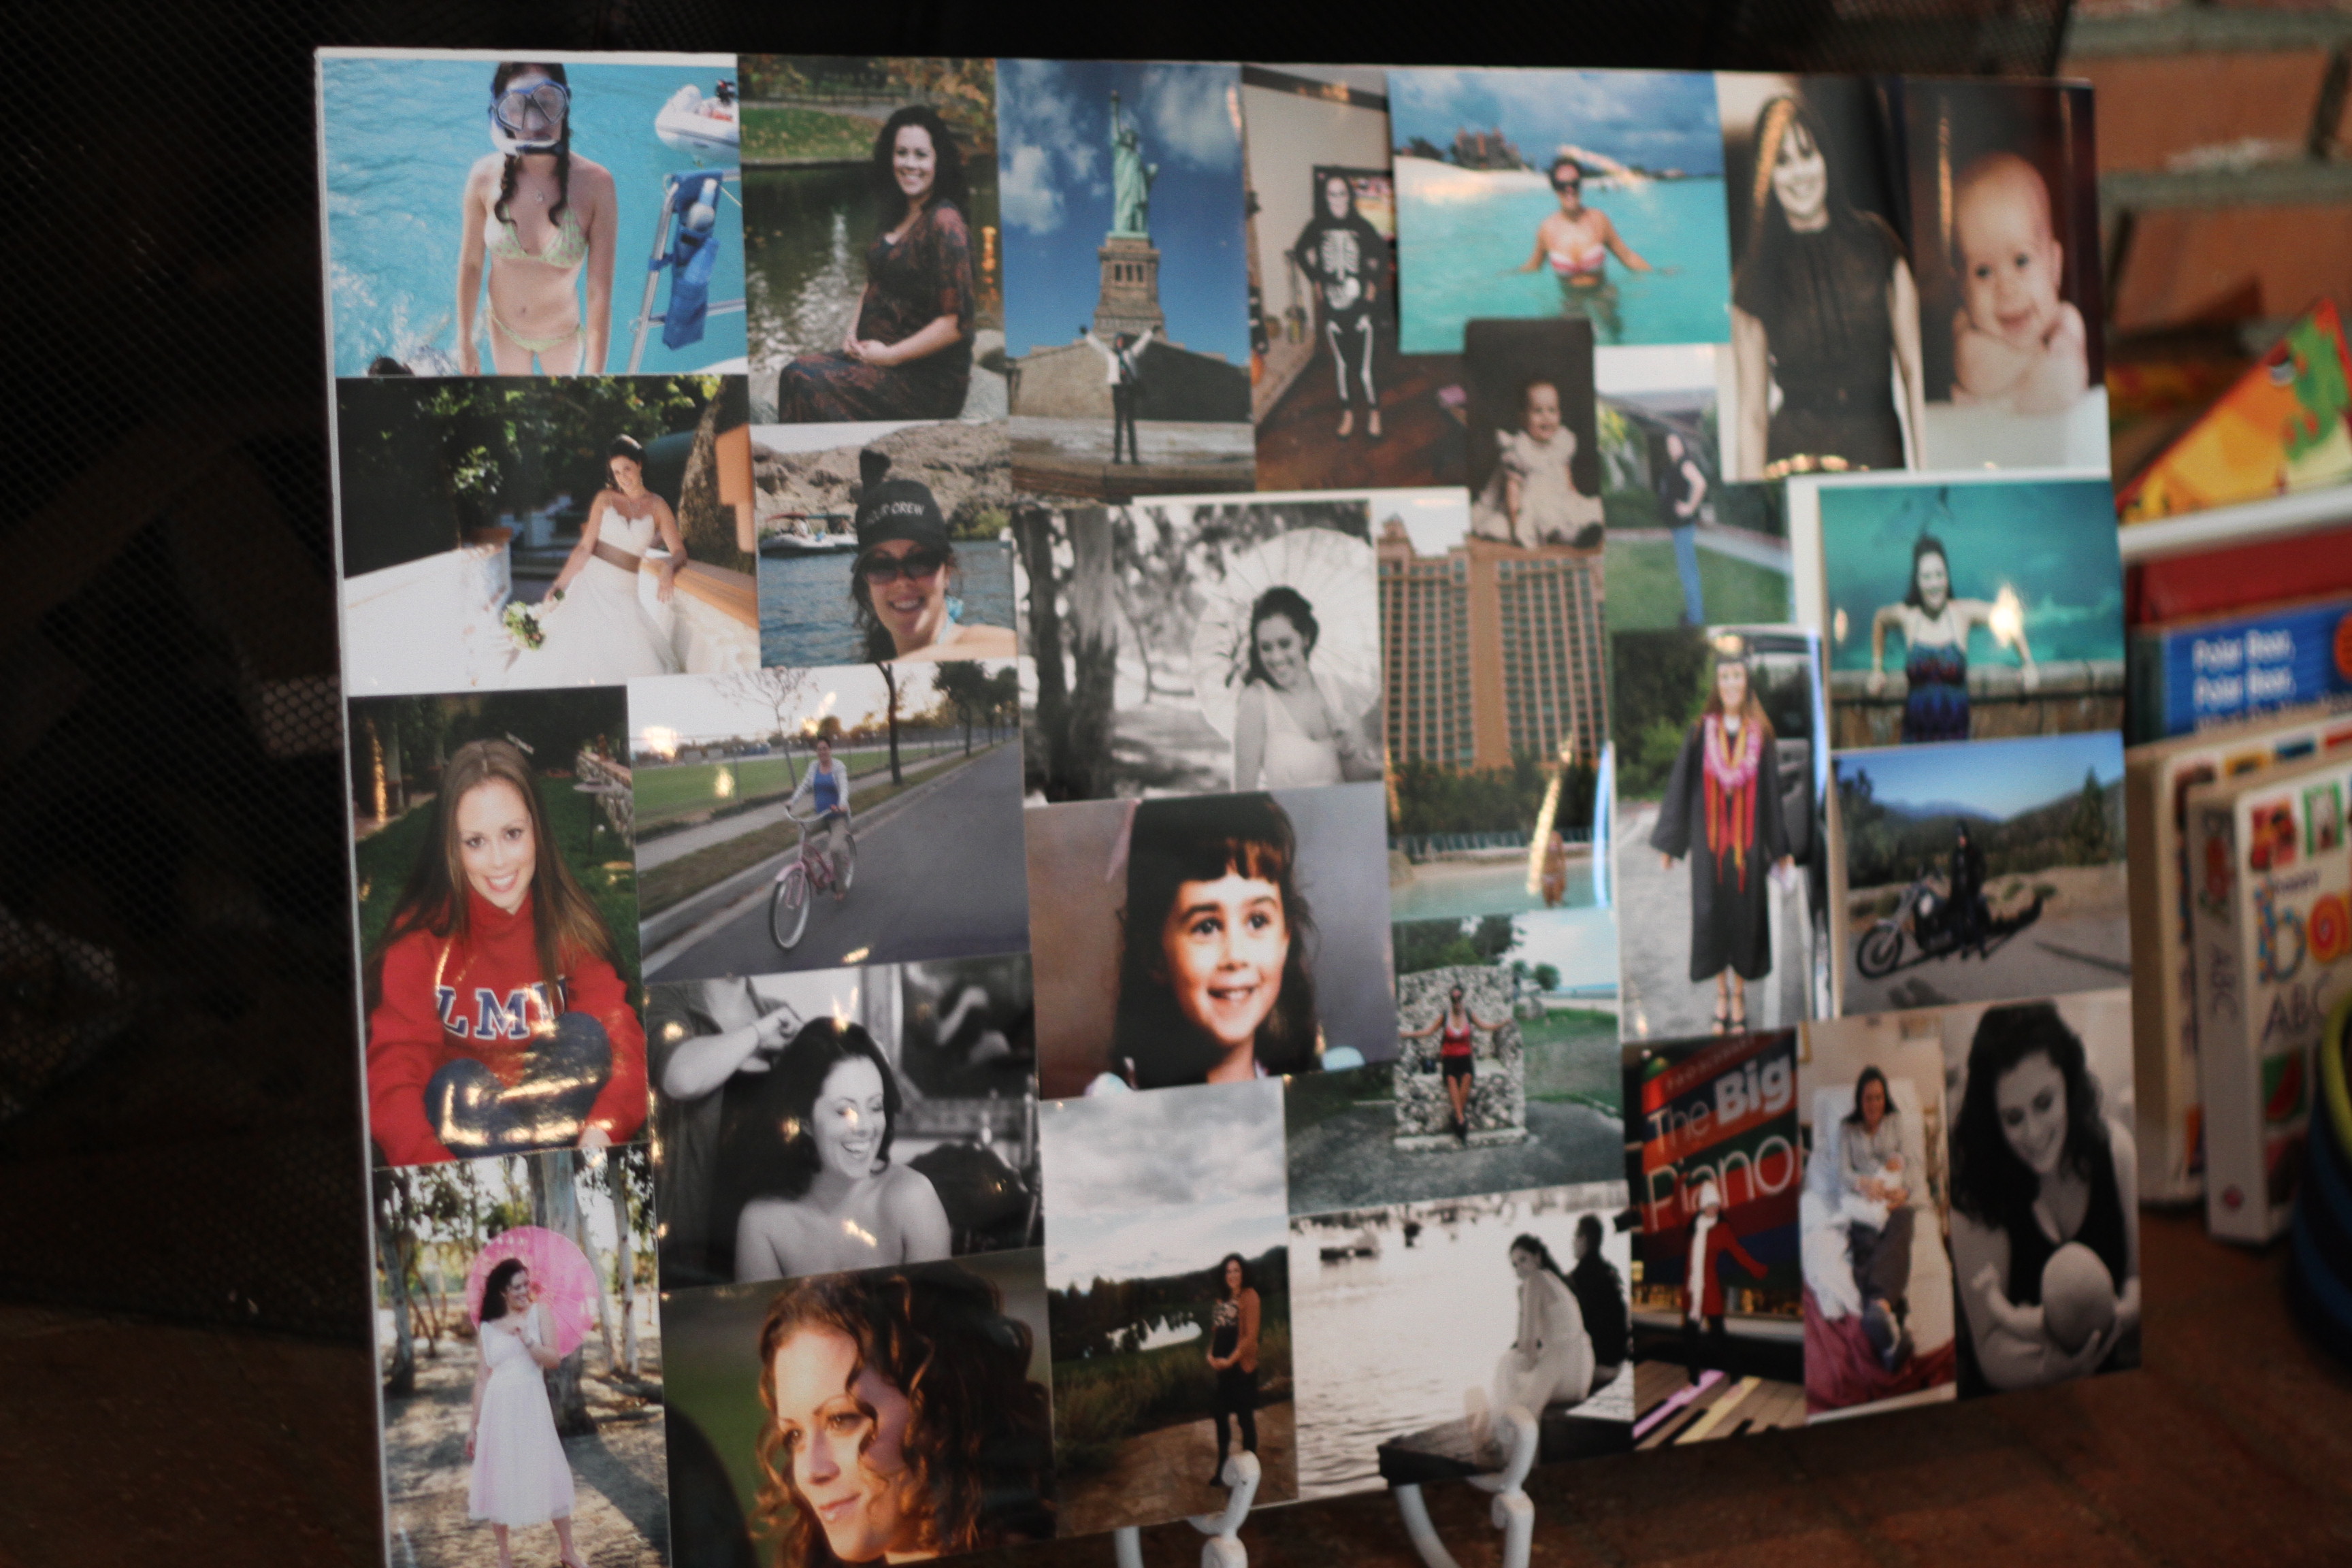
Here are closeups of the photos used in this collage. It’s made on a piece of white fiberboard.

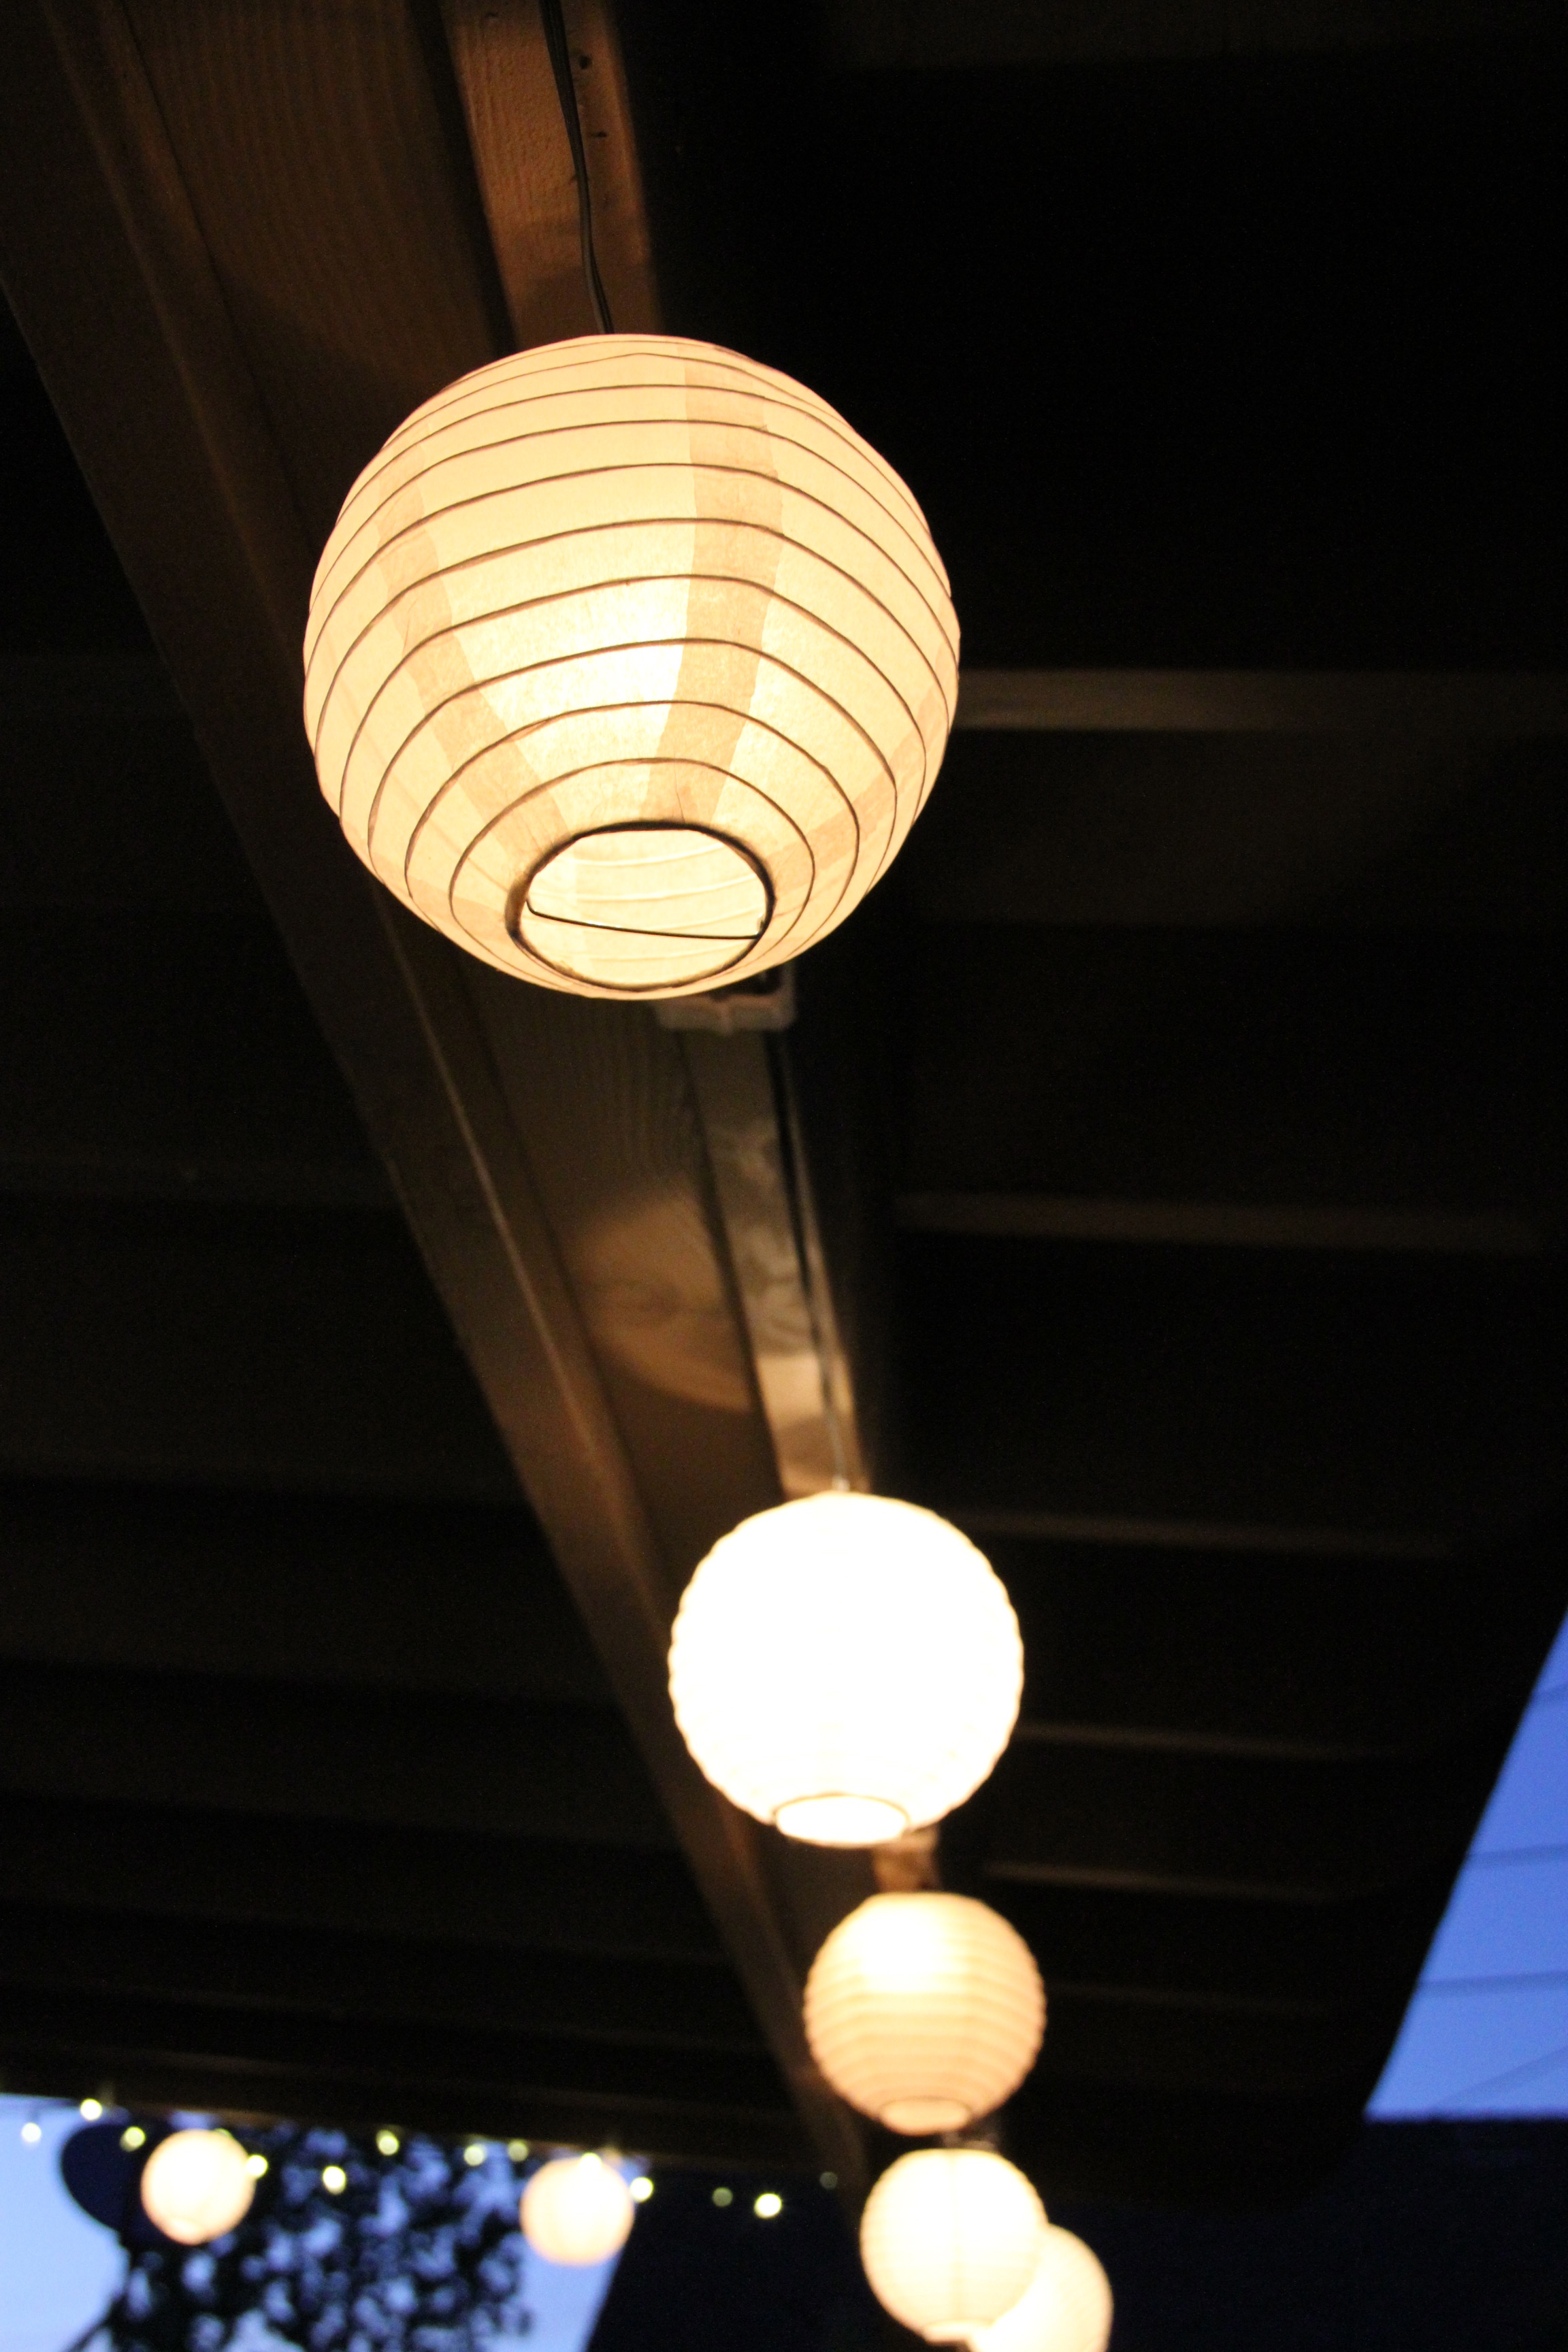
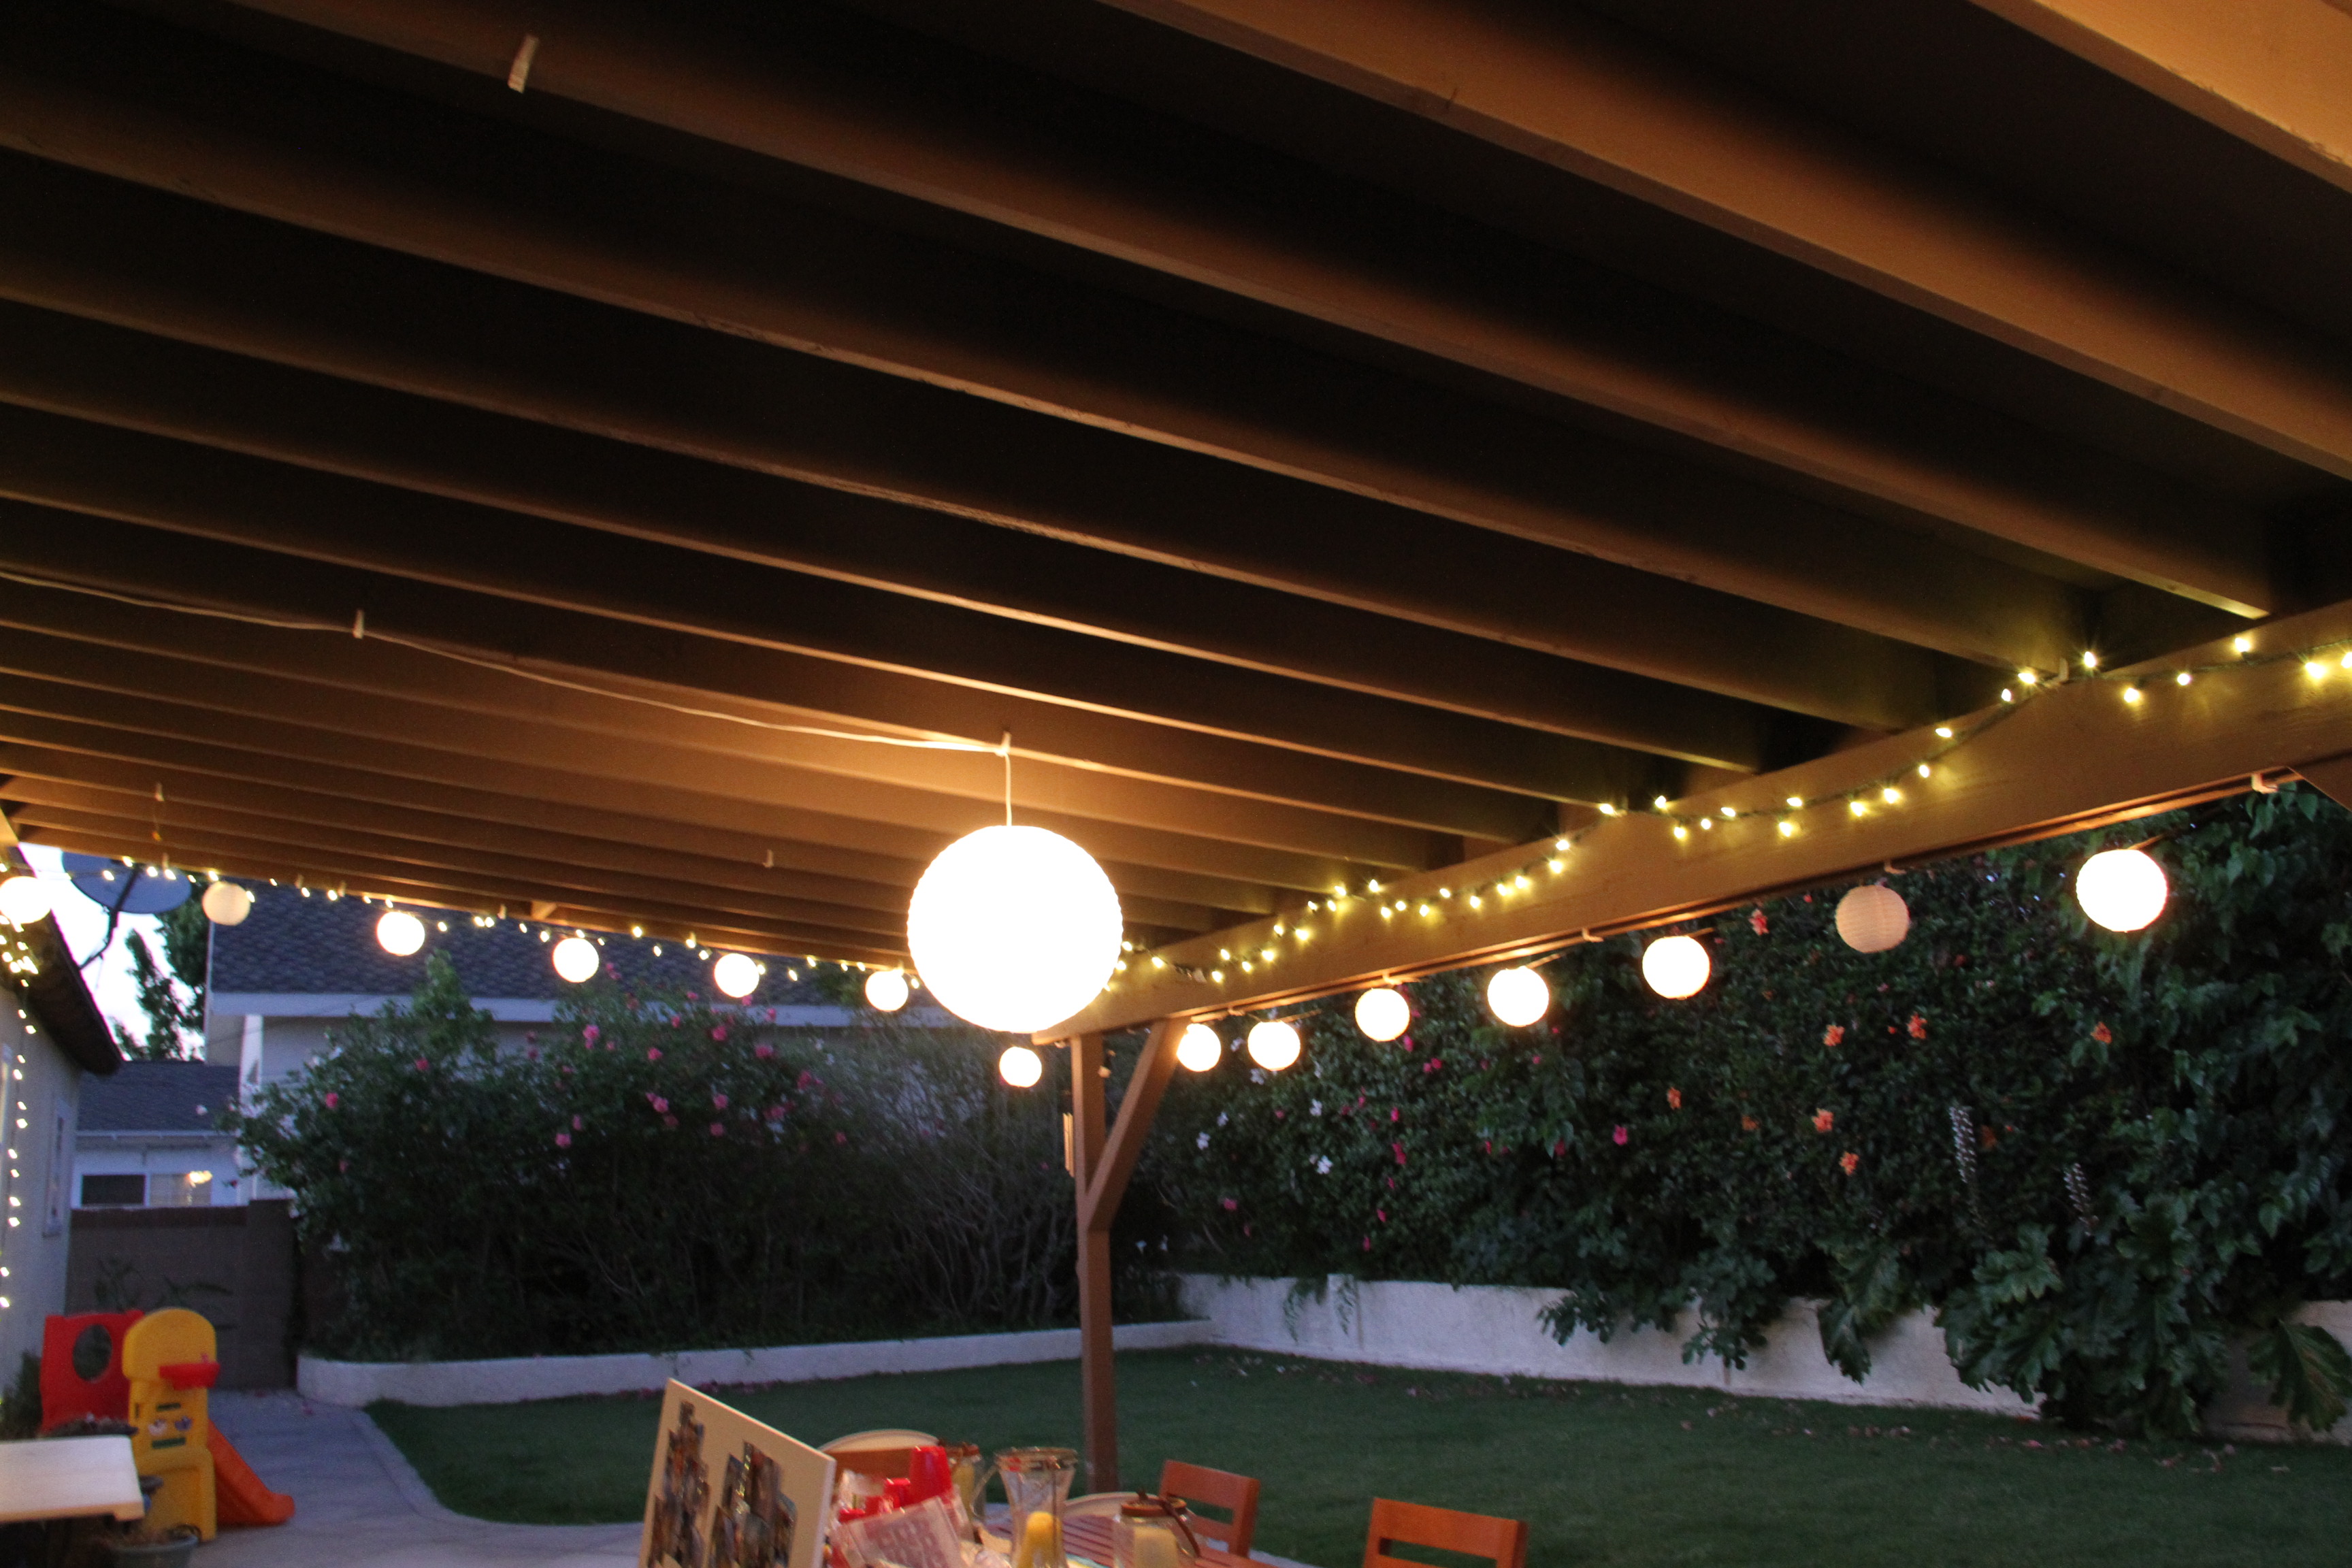
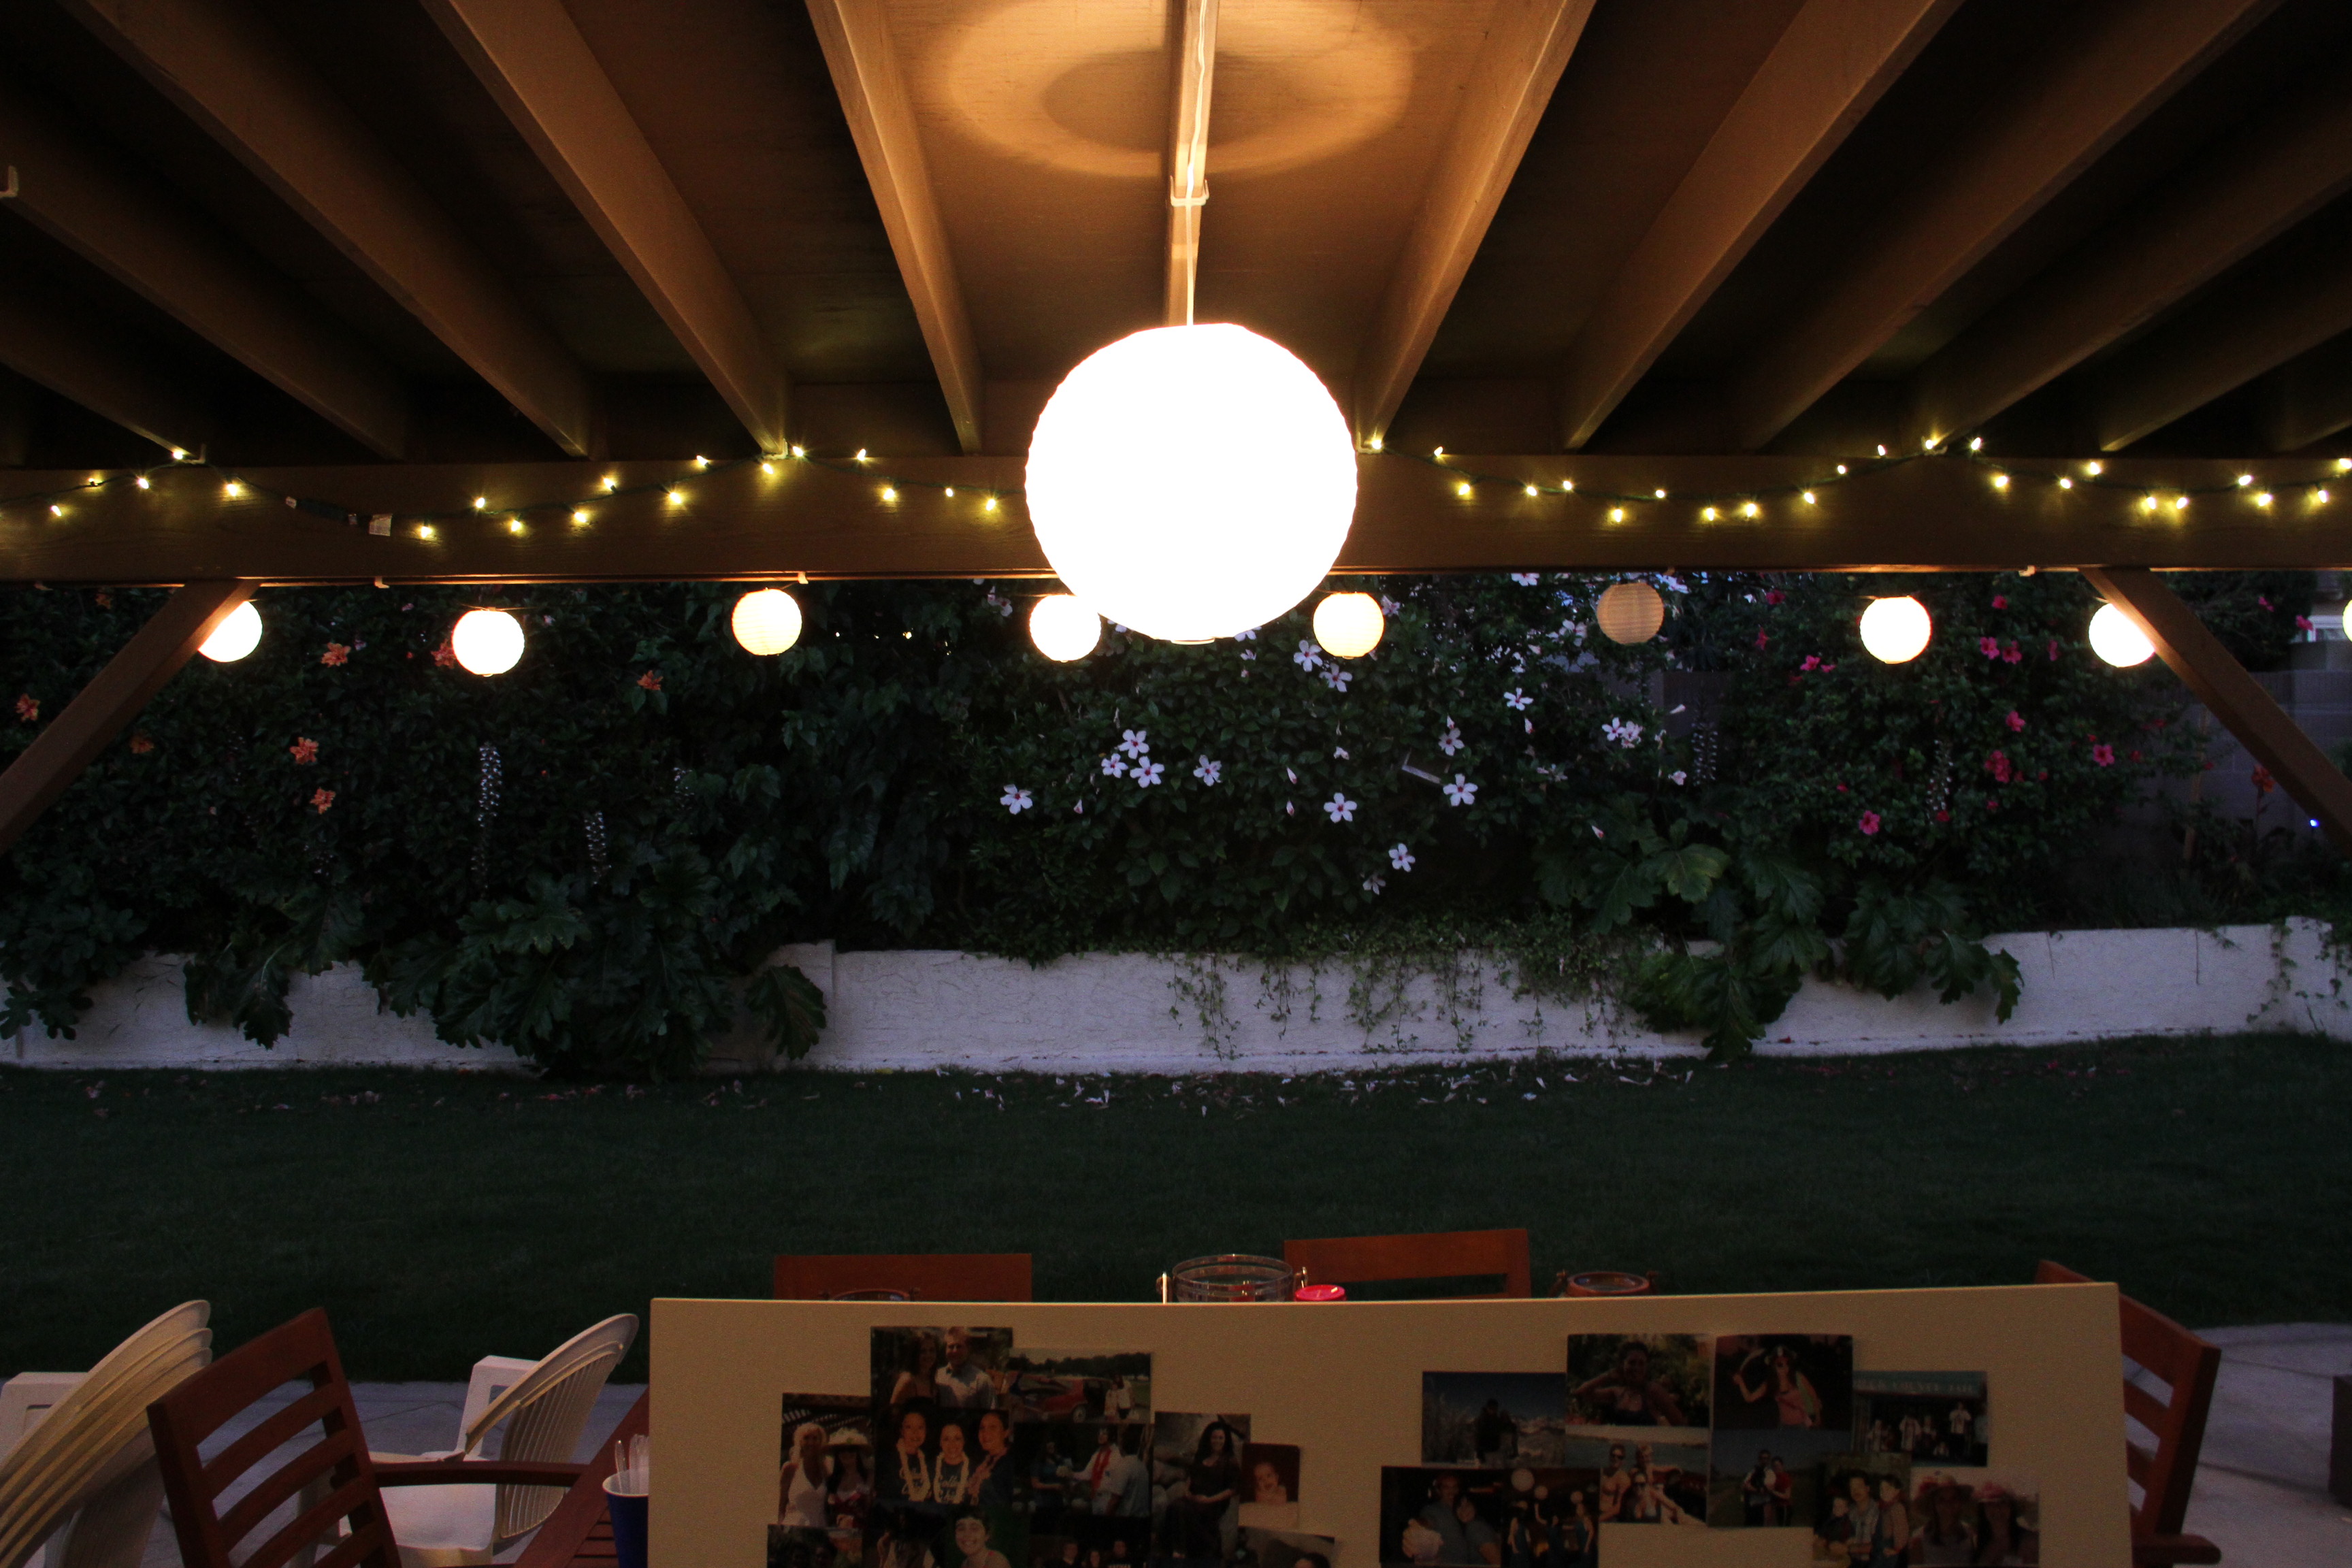
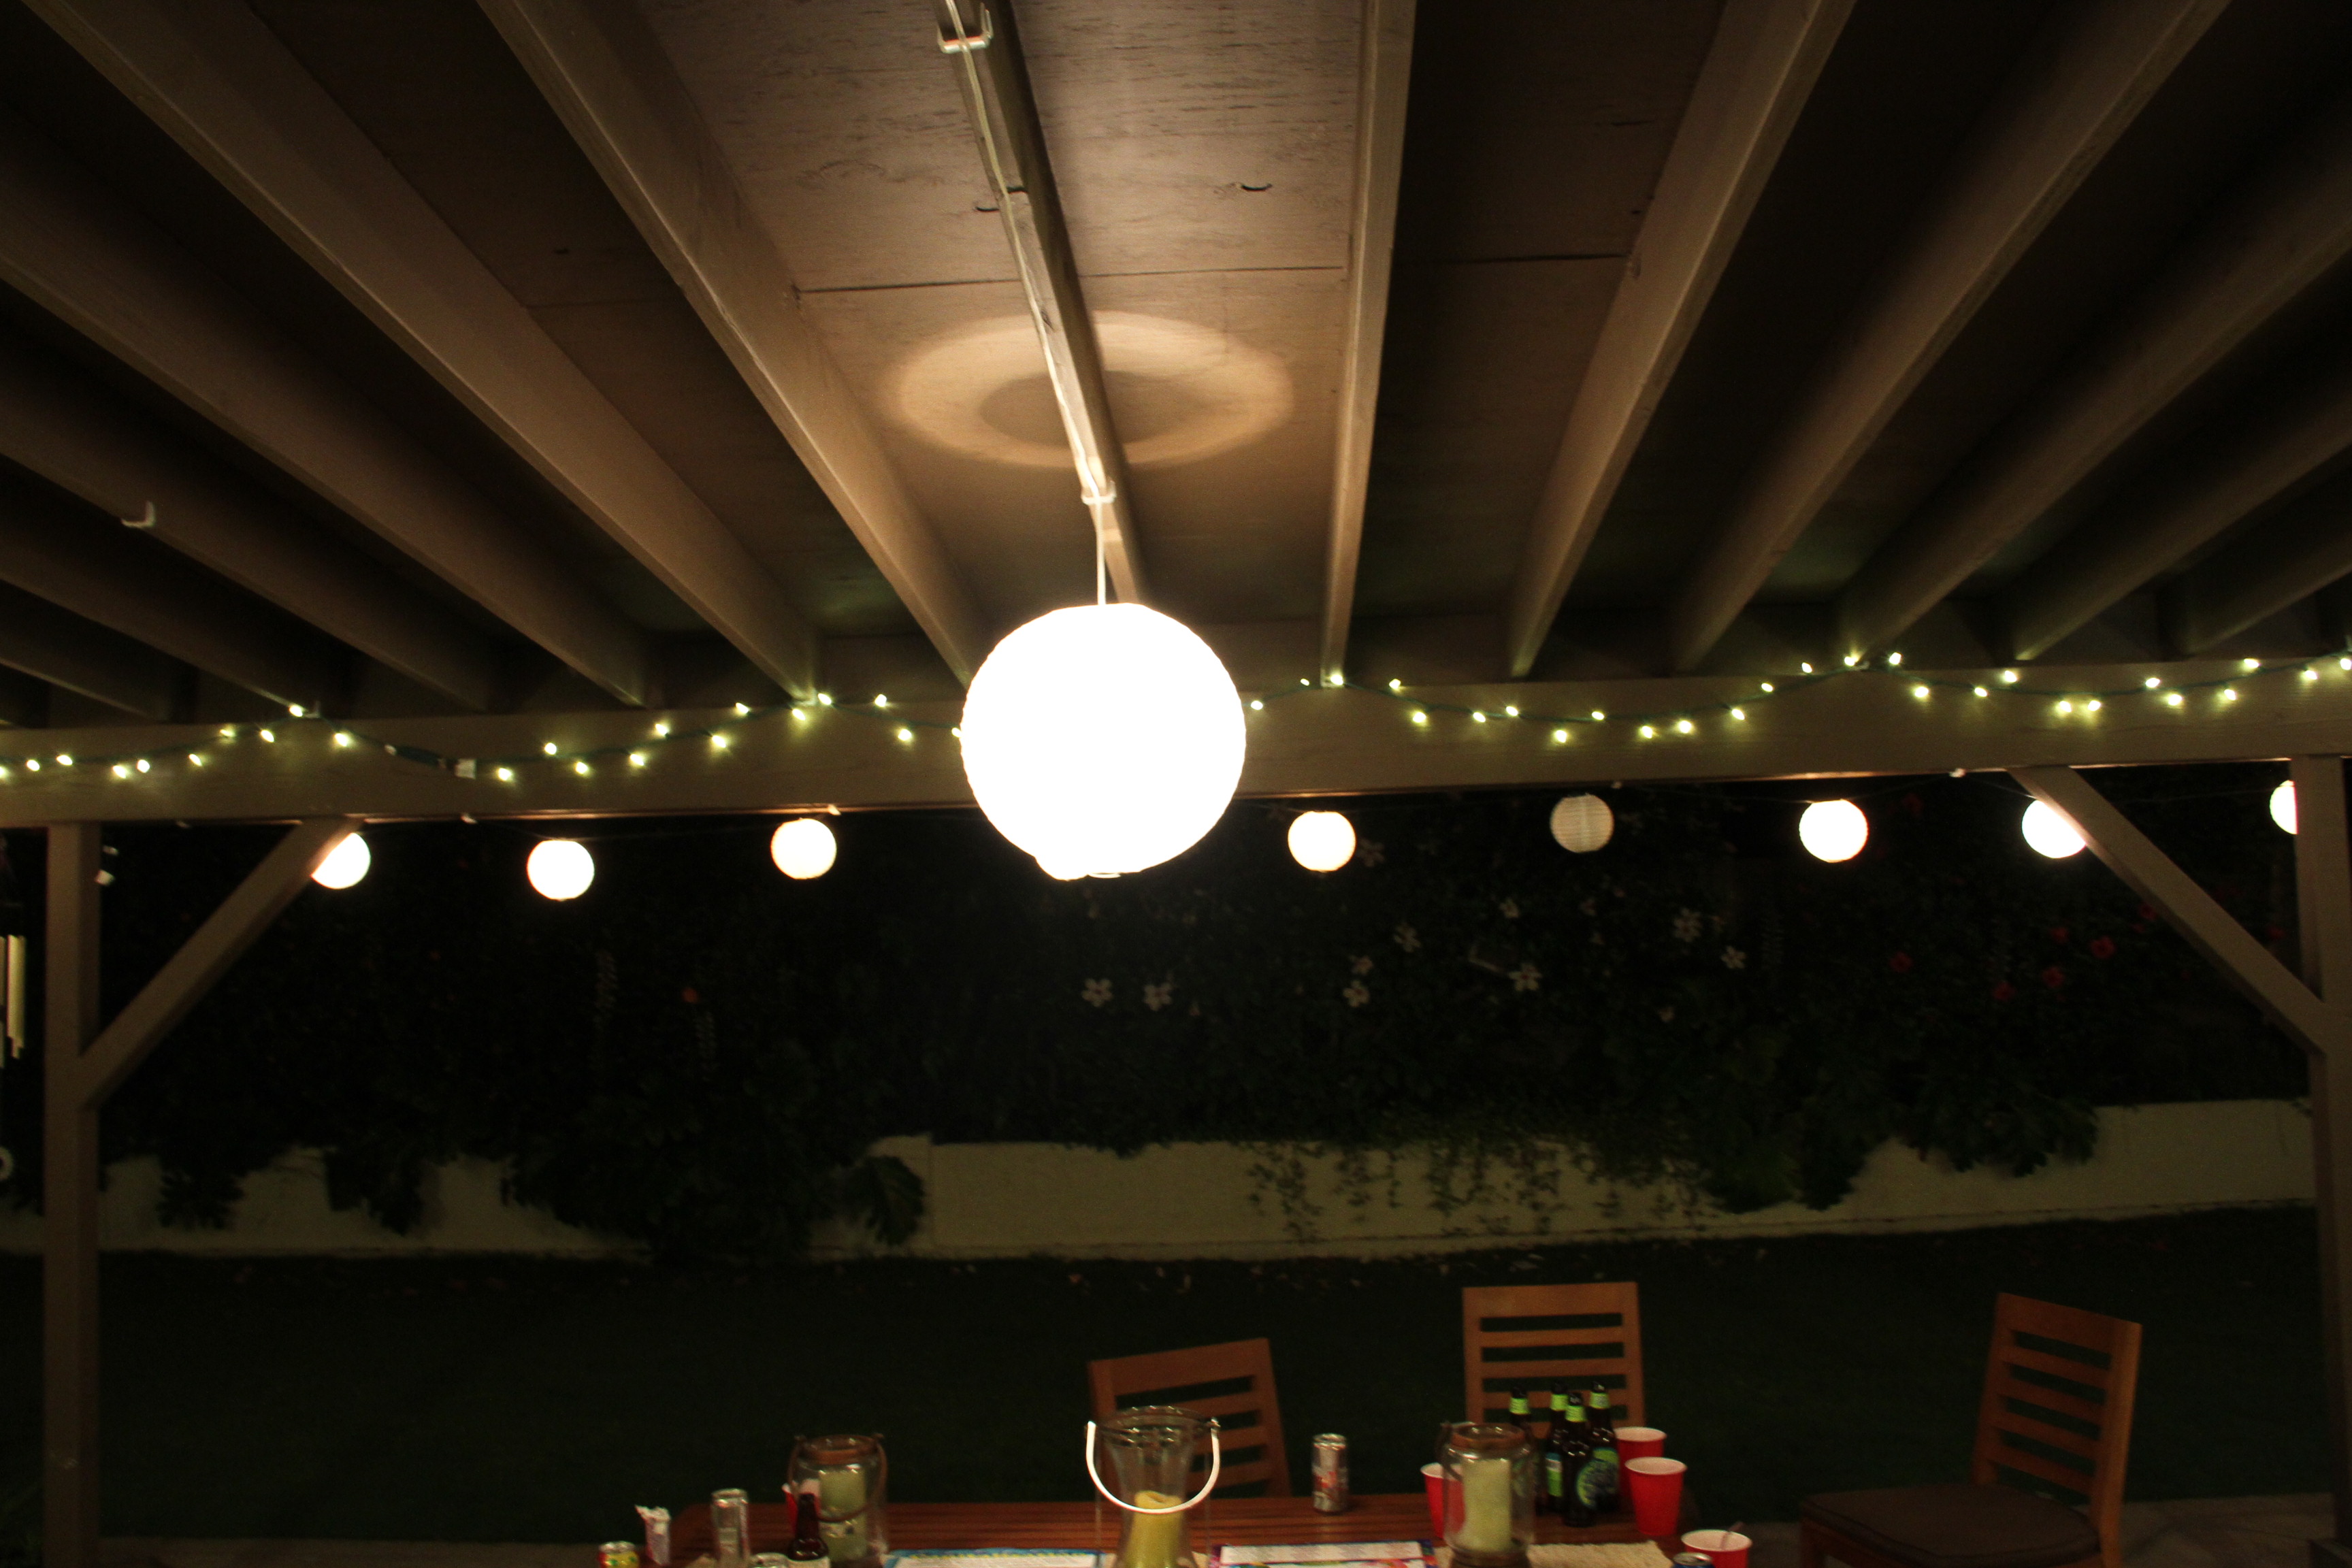
Josh and my dad hung these beautiful lanterns (thanks, Lisa!)
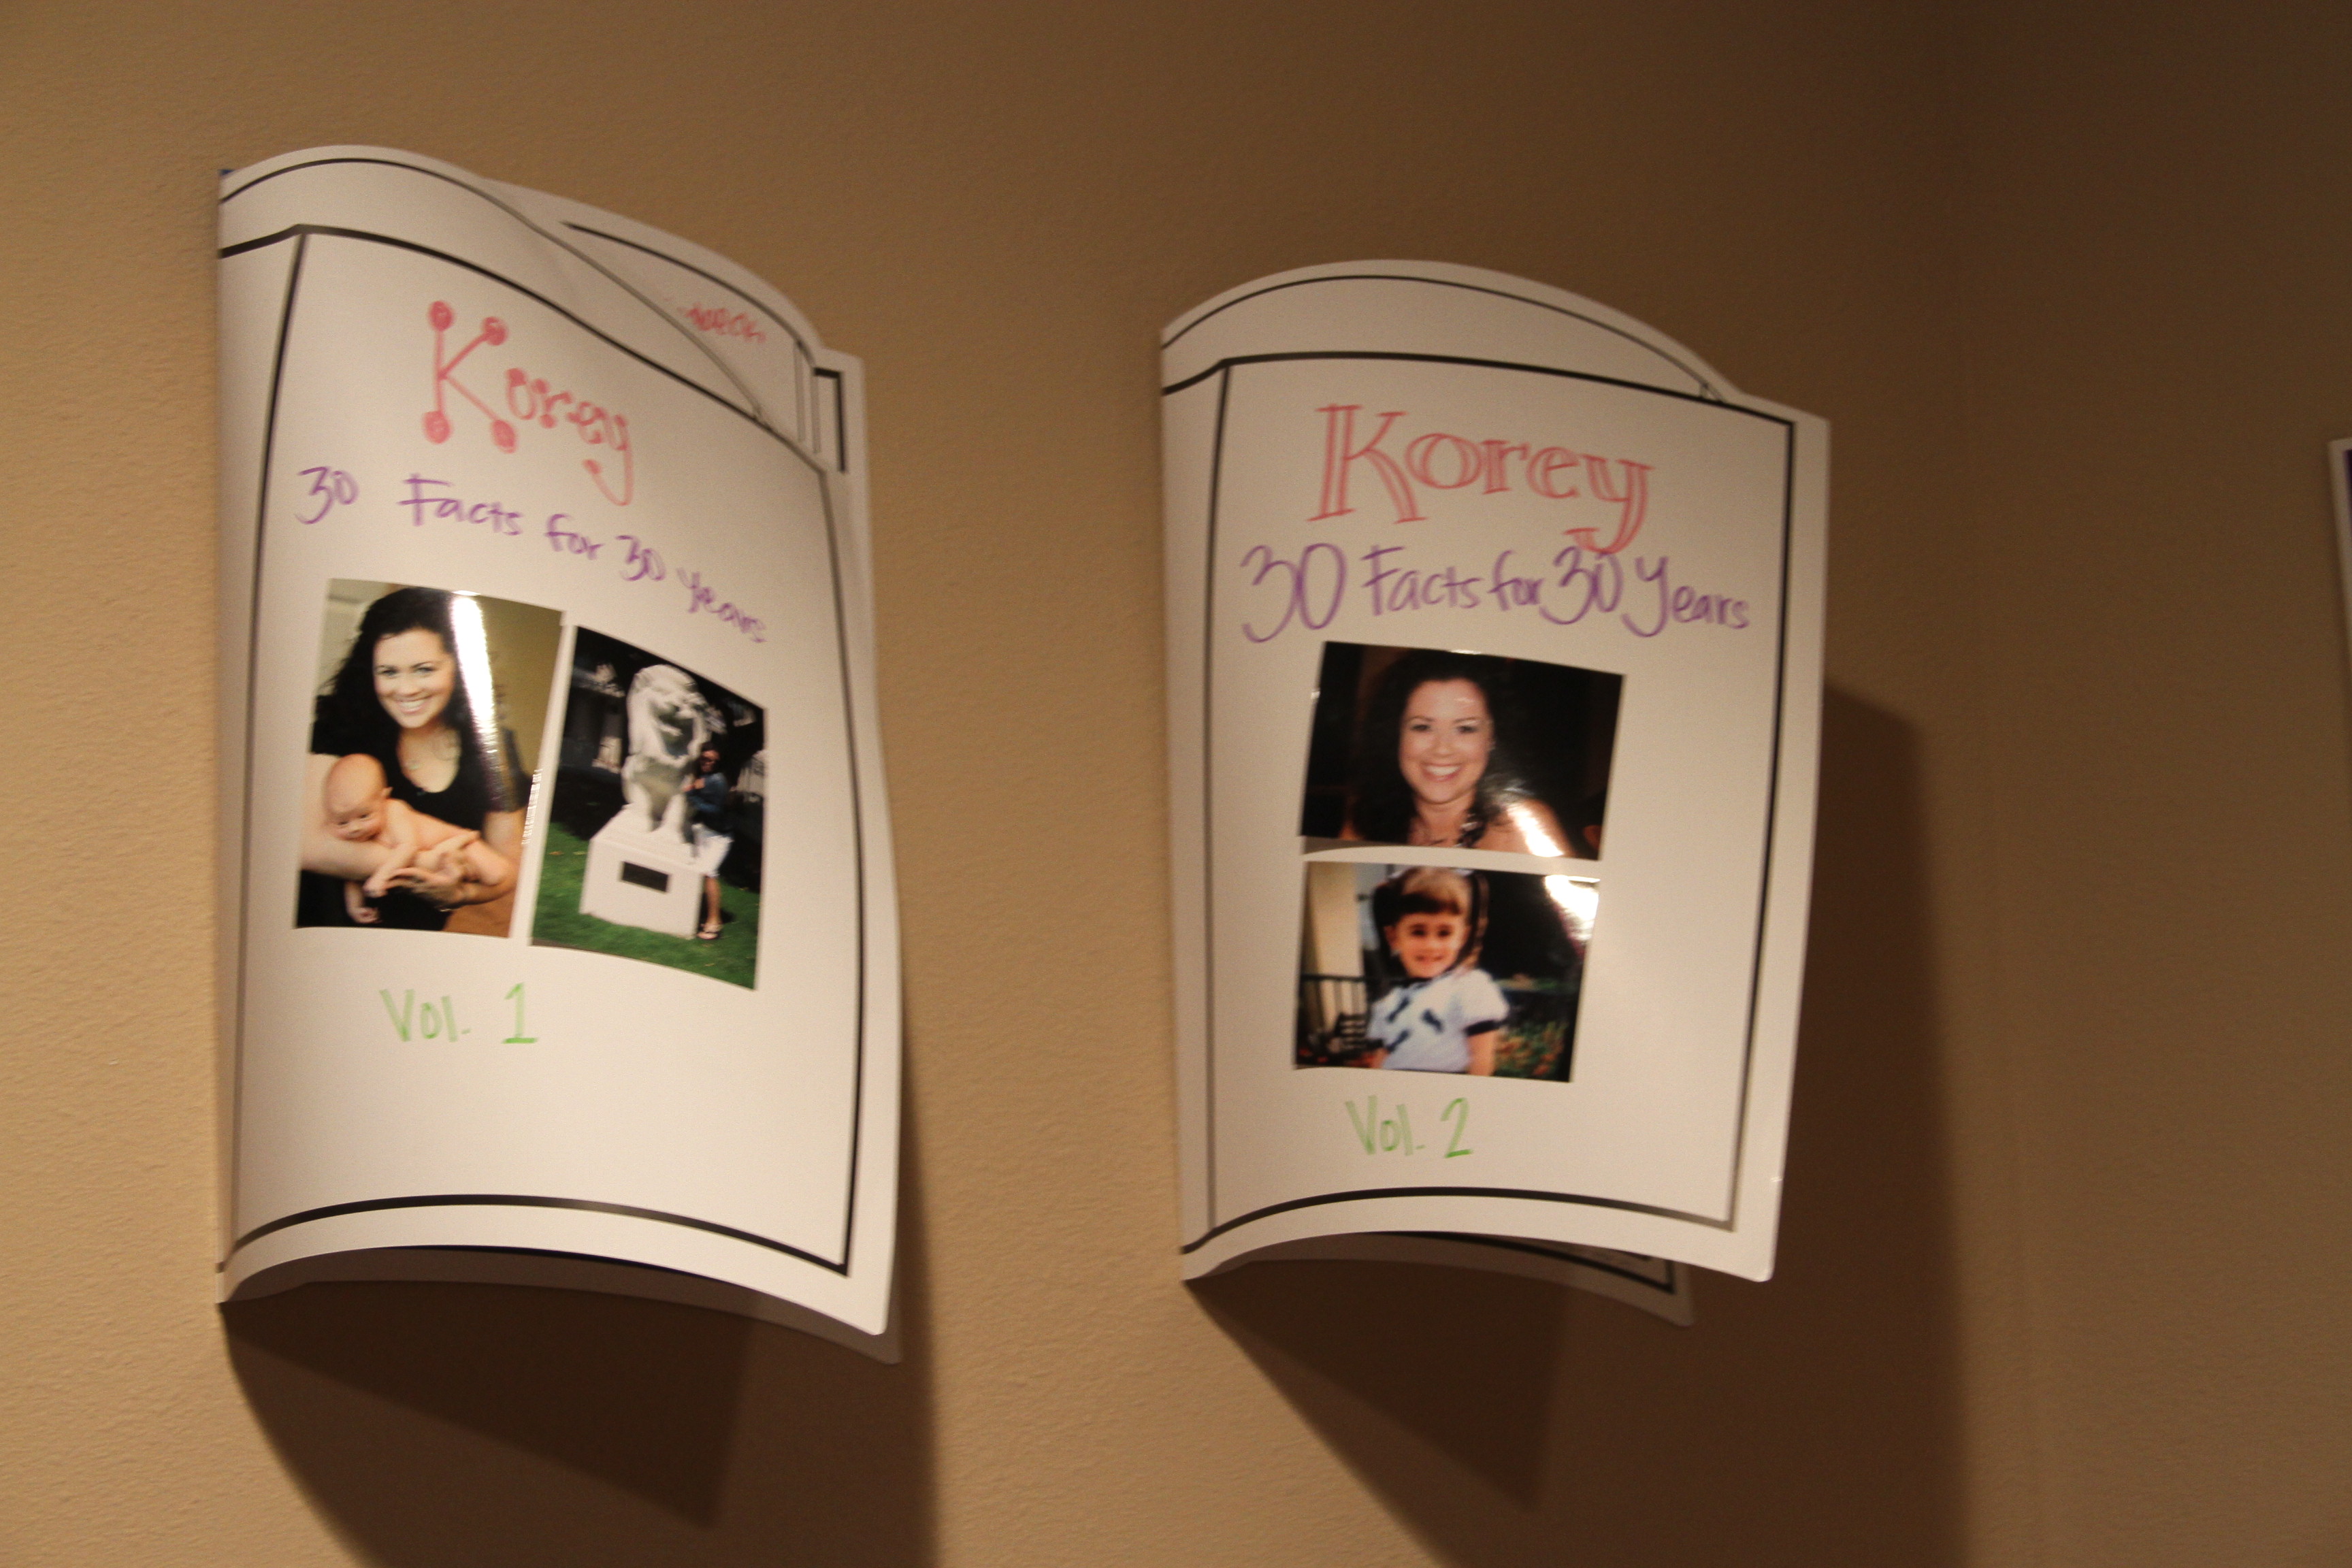
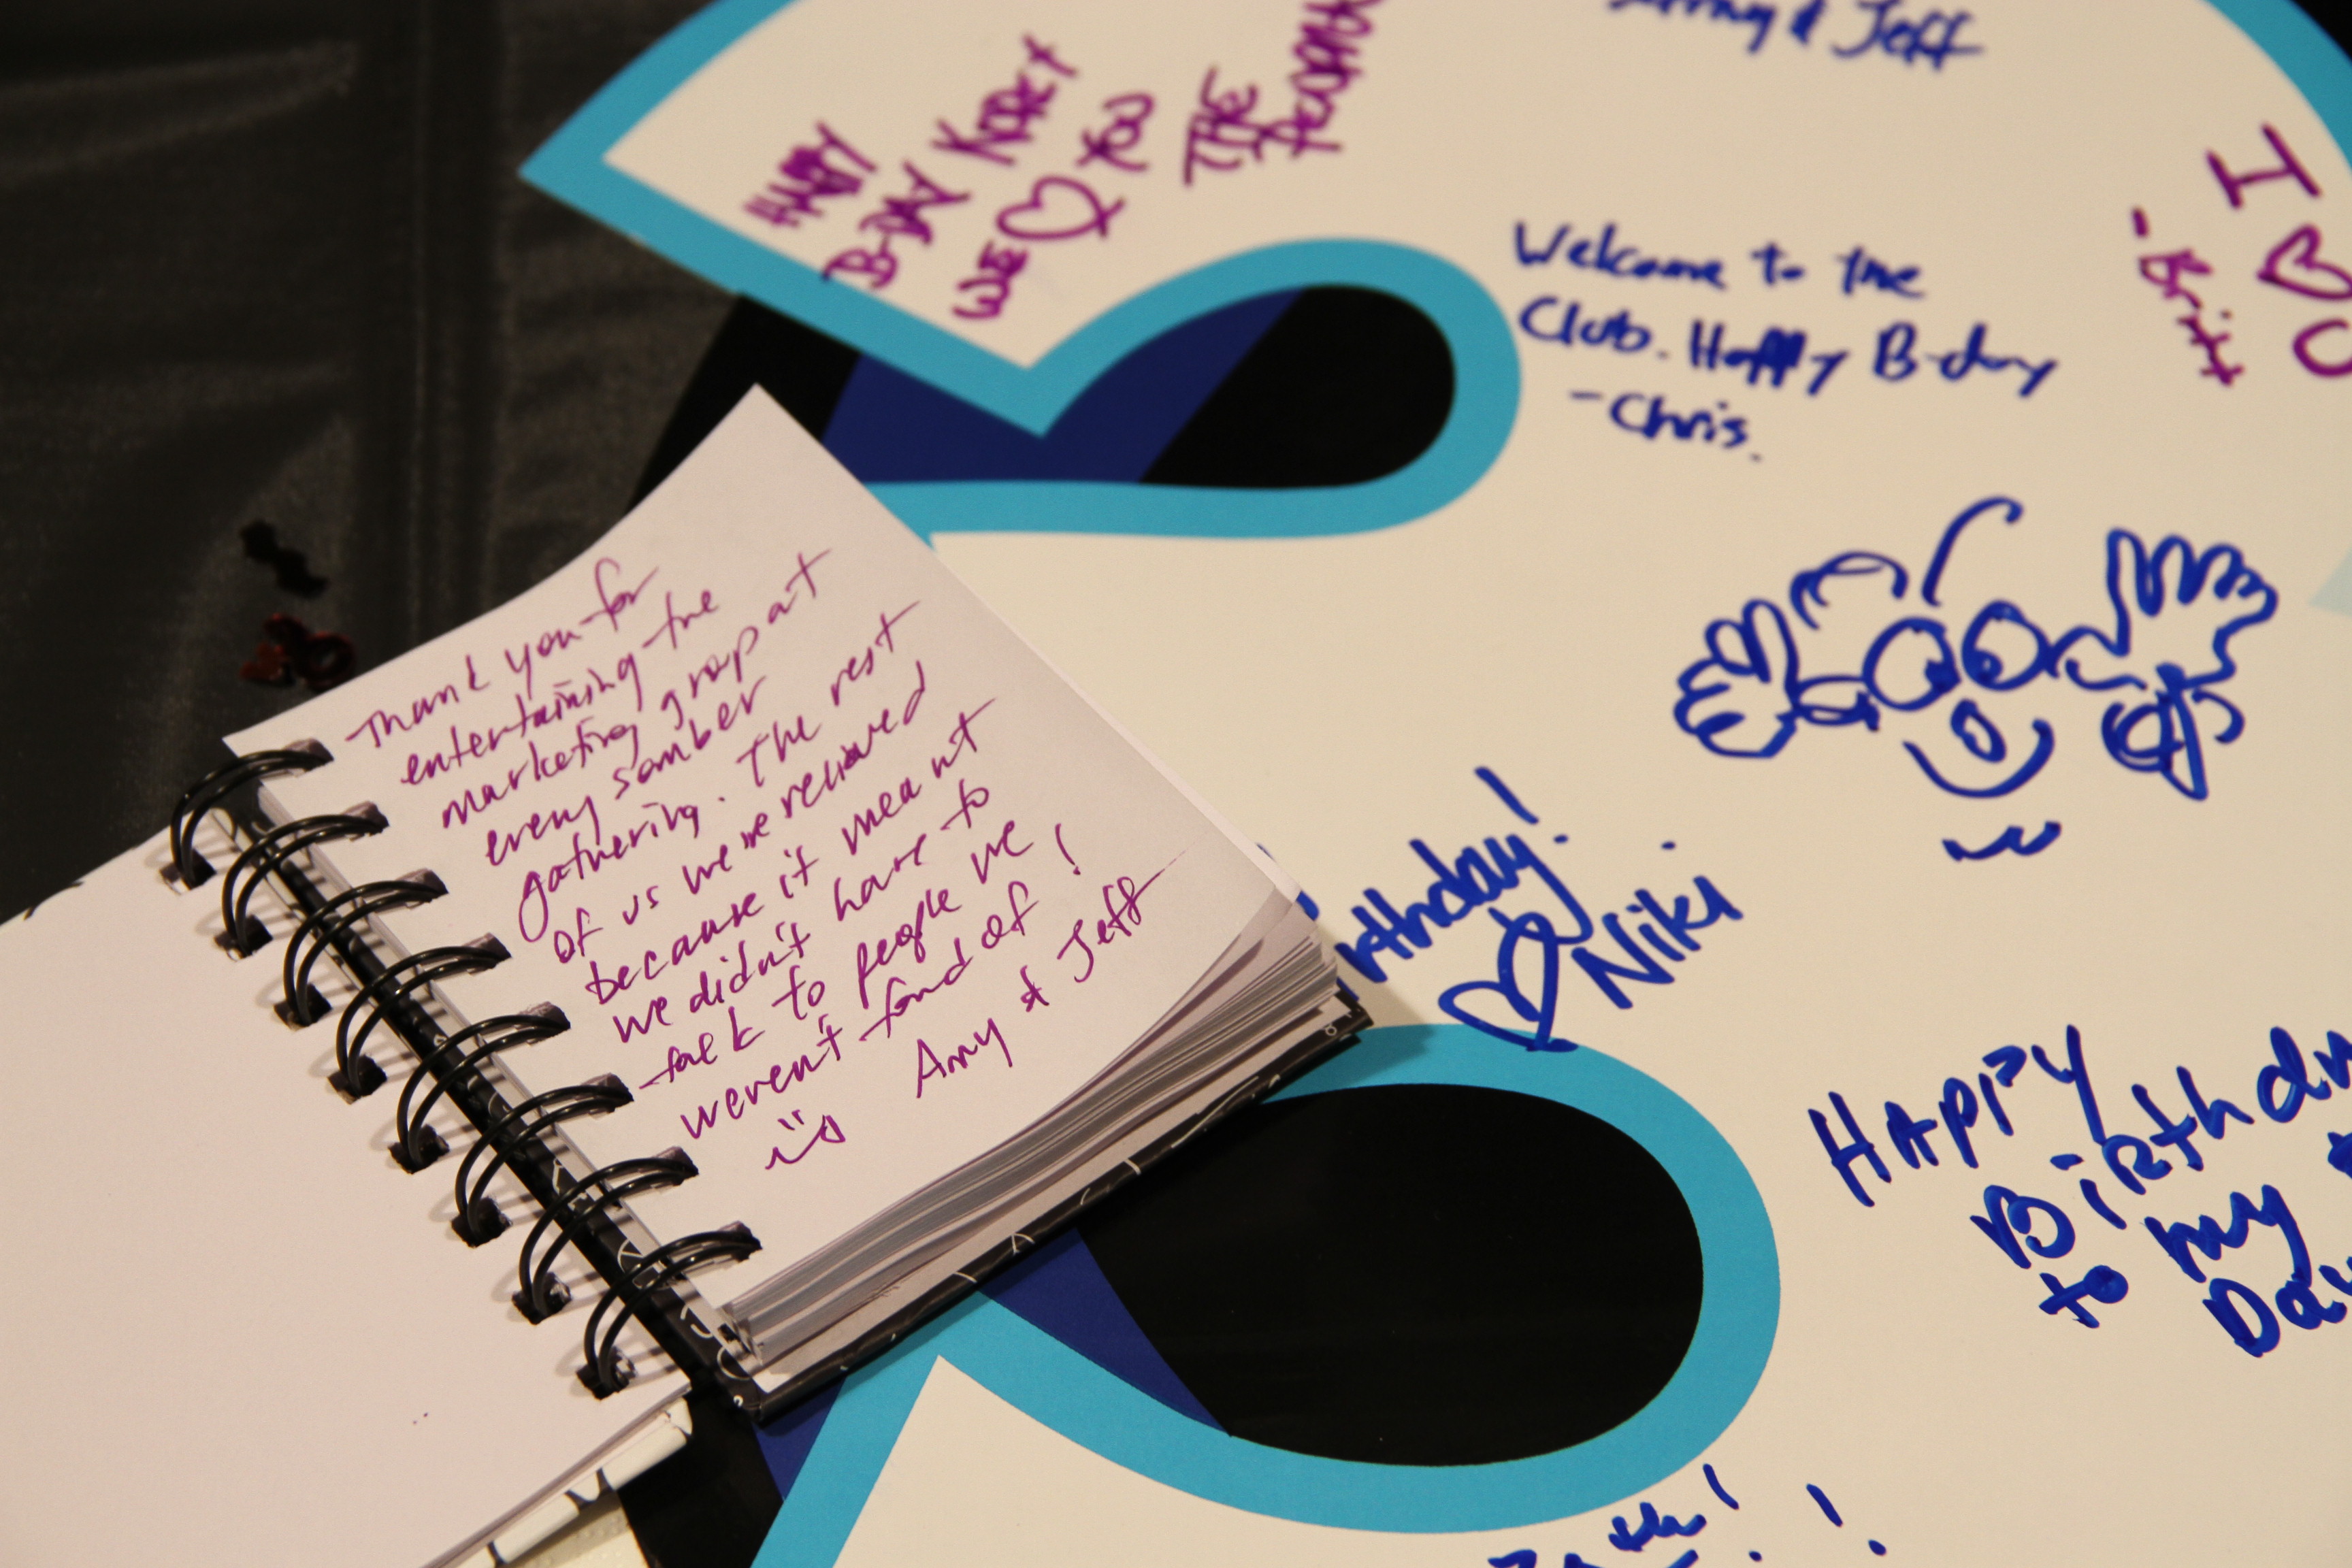
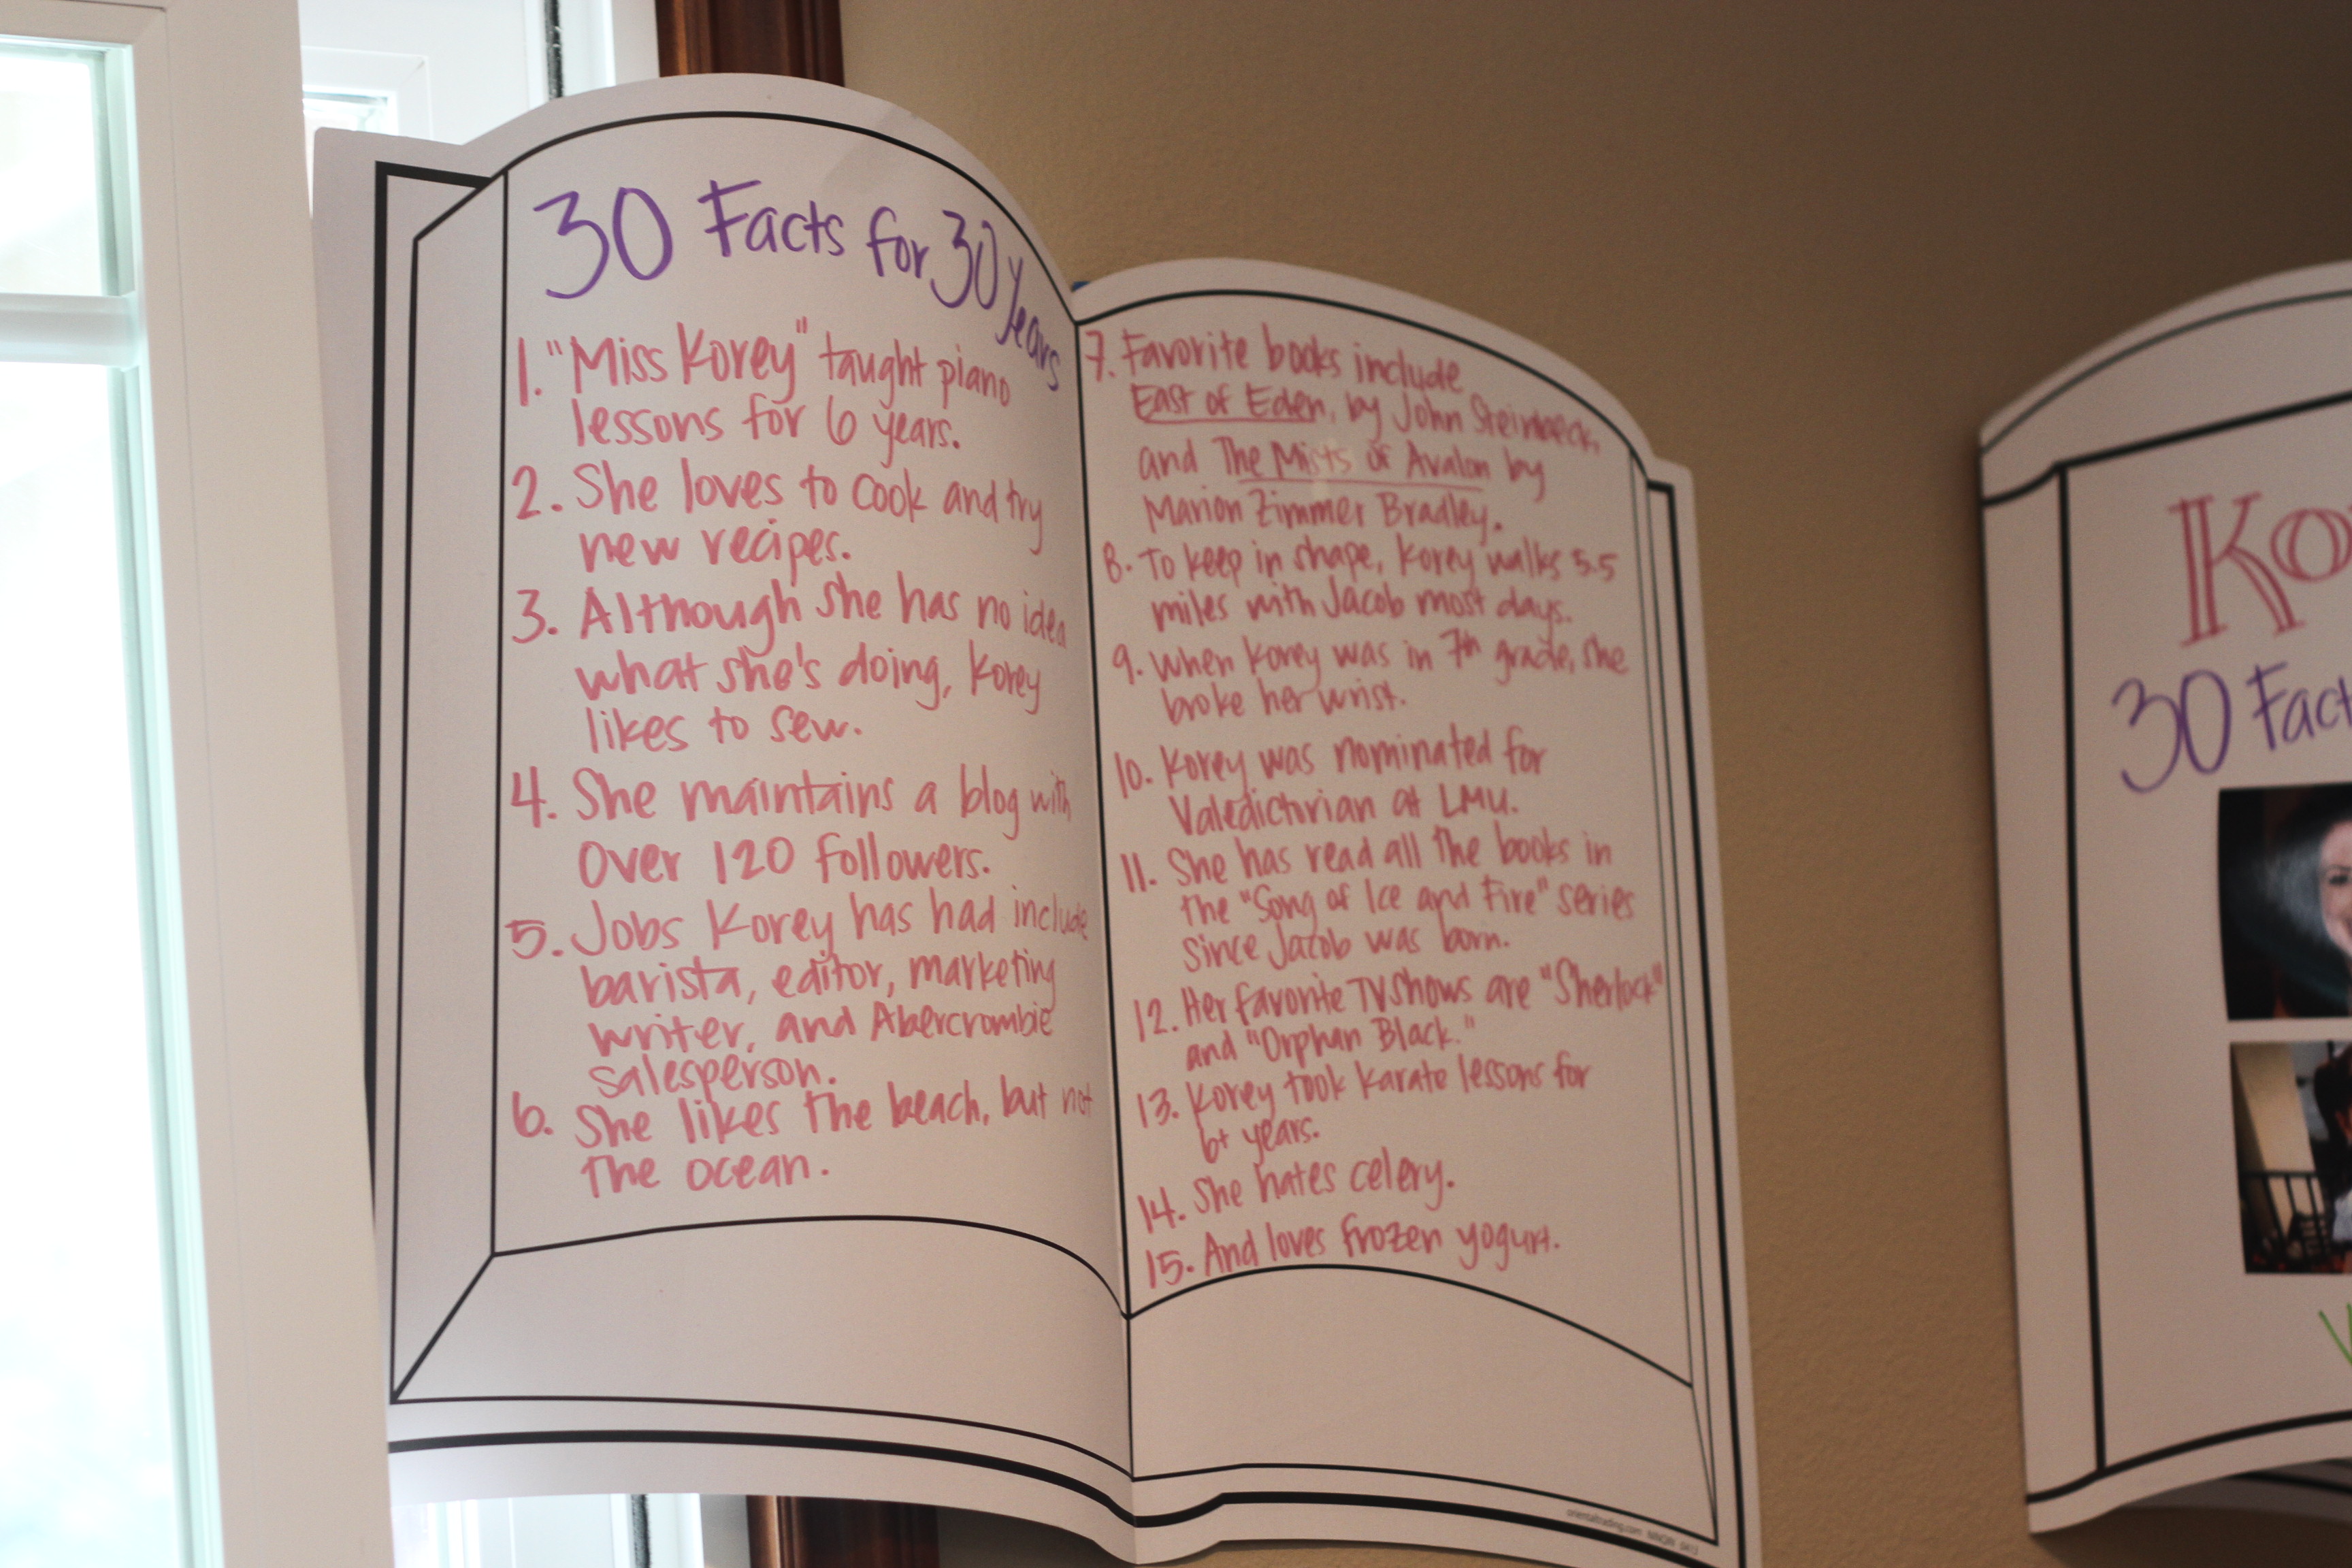
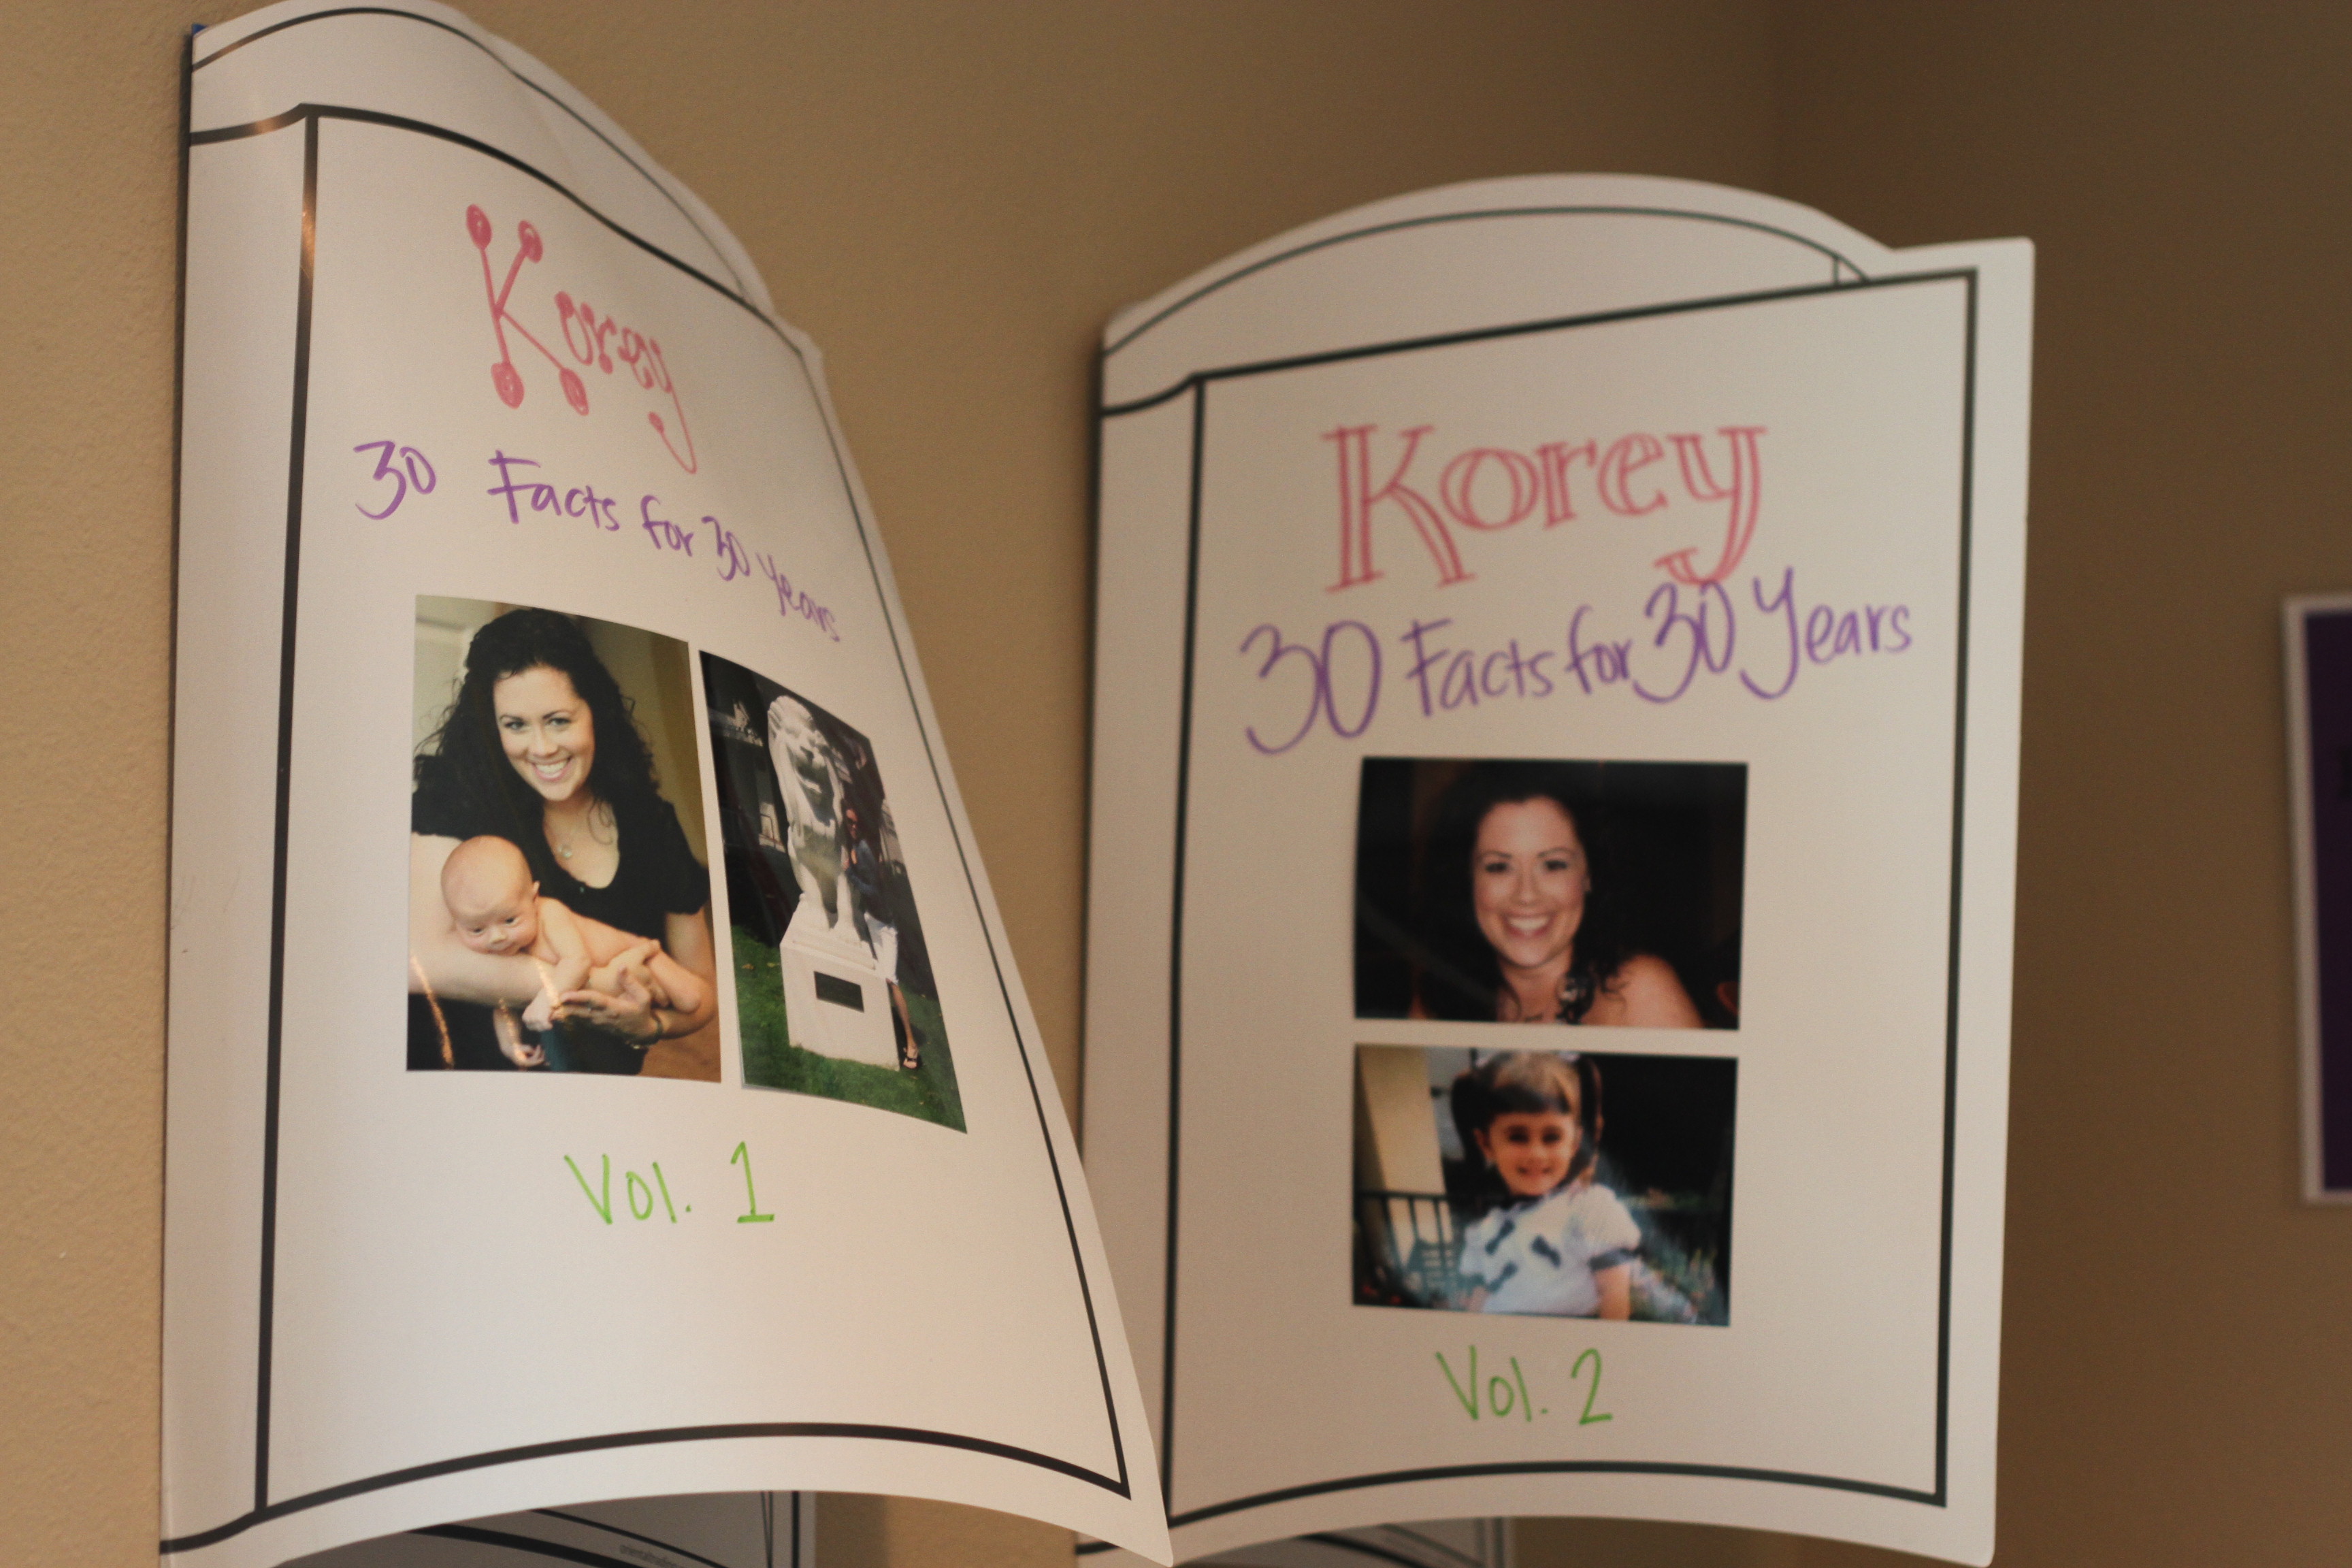
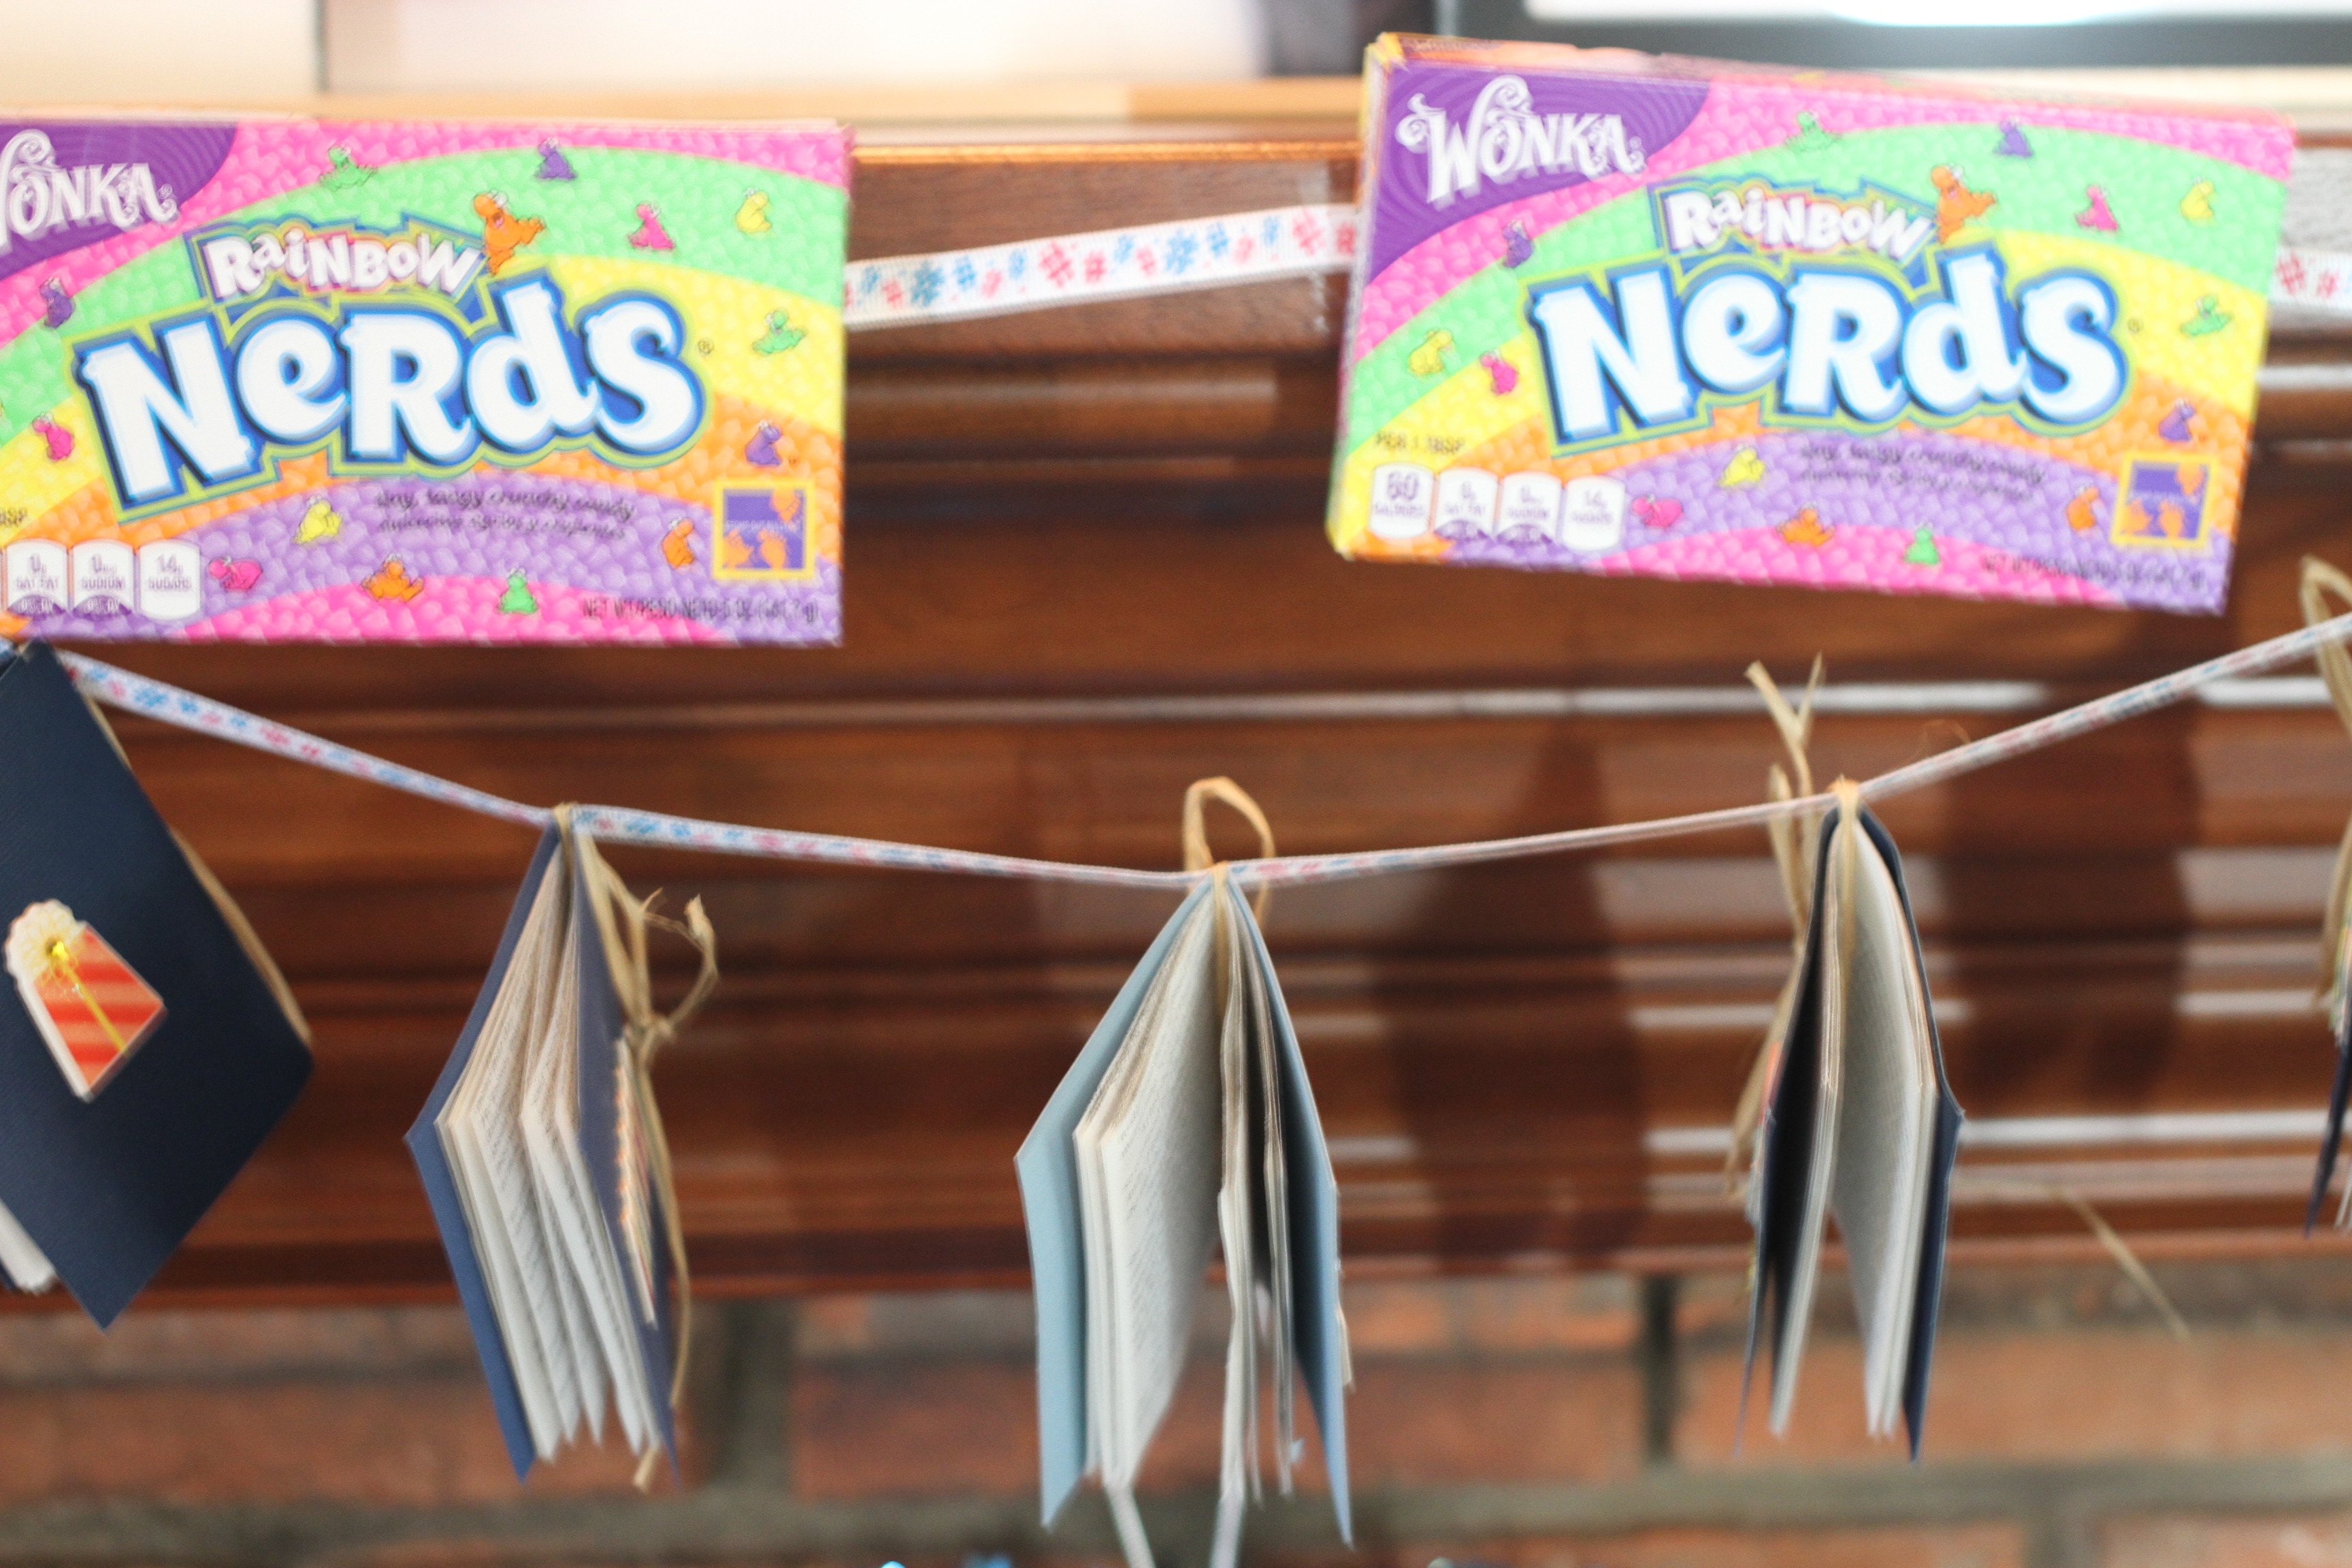
I made these “30 Facts for 30 Years” books…the books themselves were found on Oriental Trading Company.
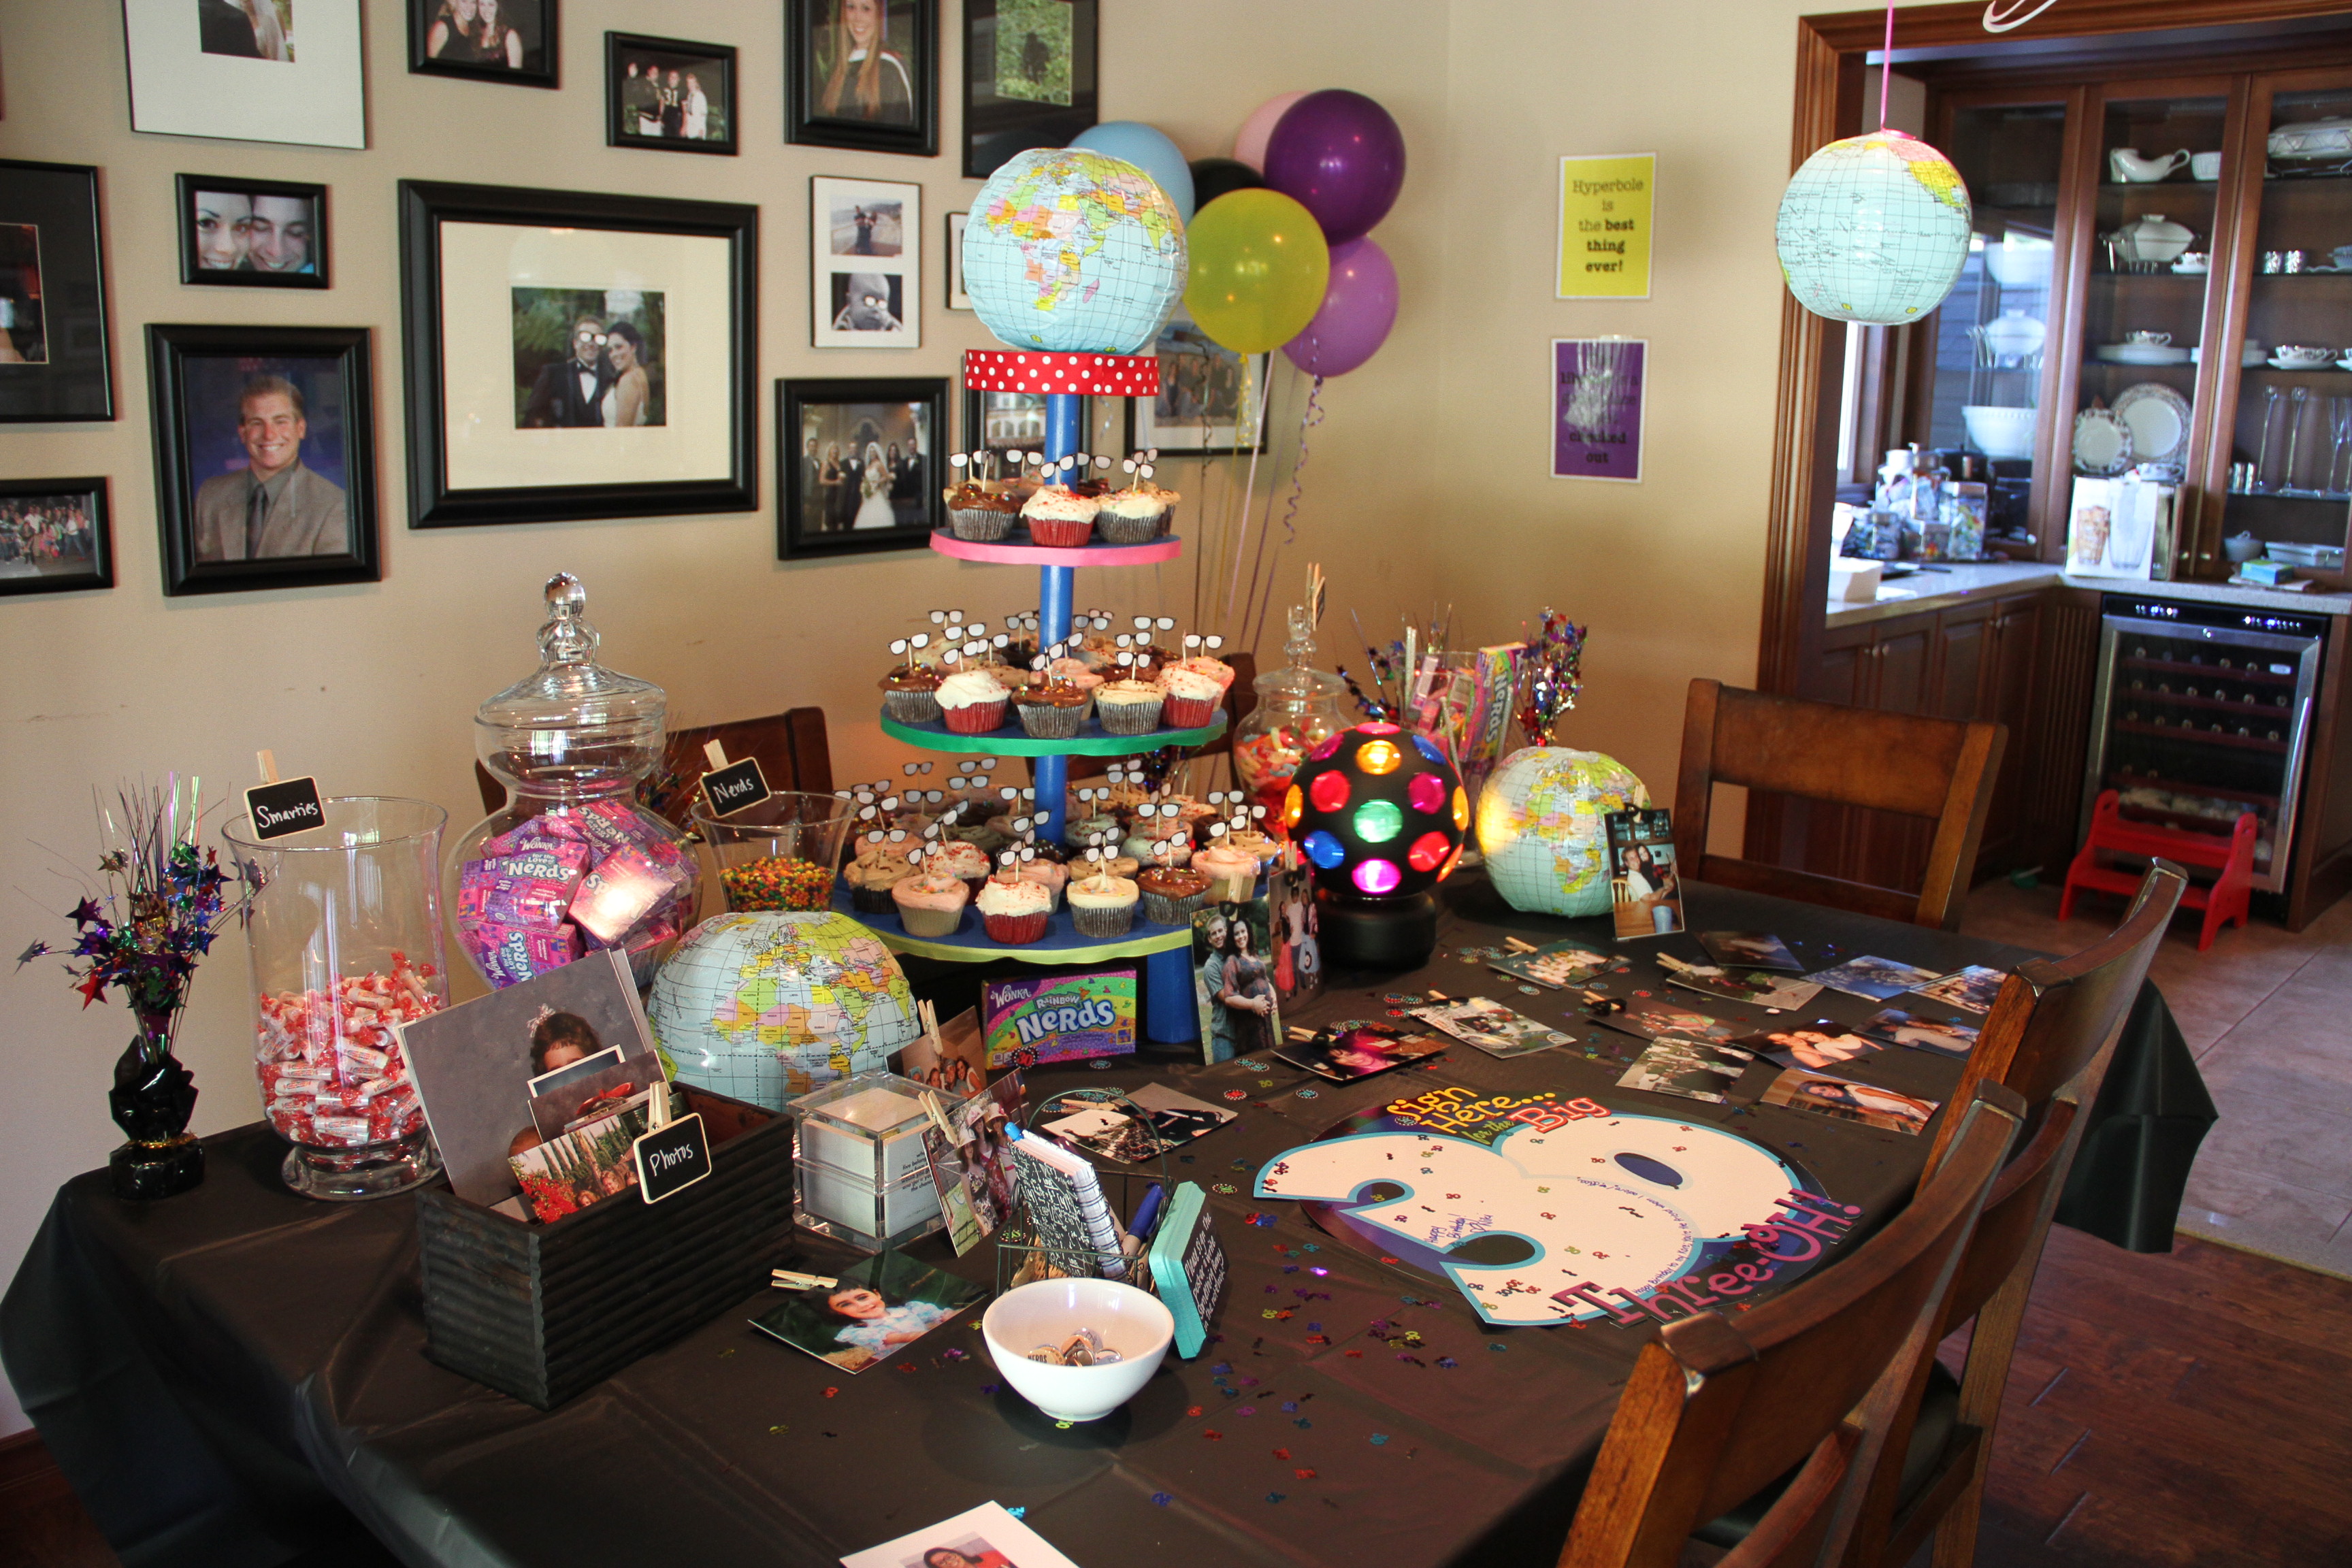
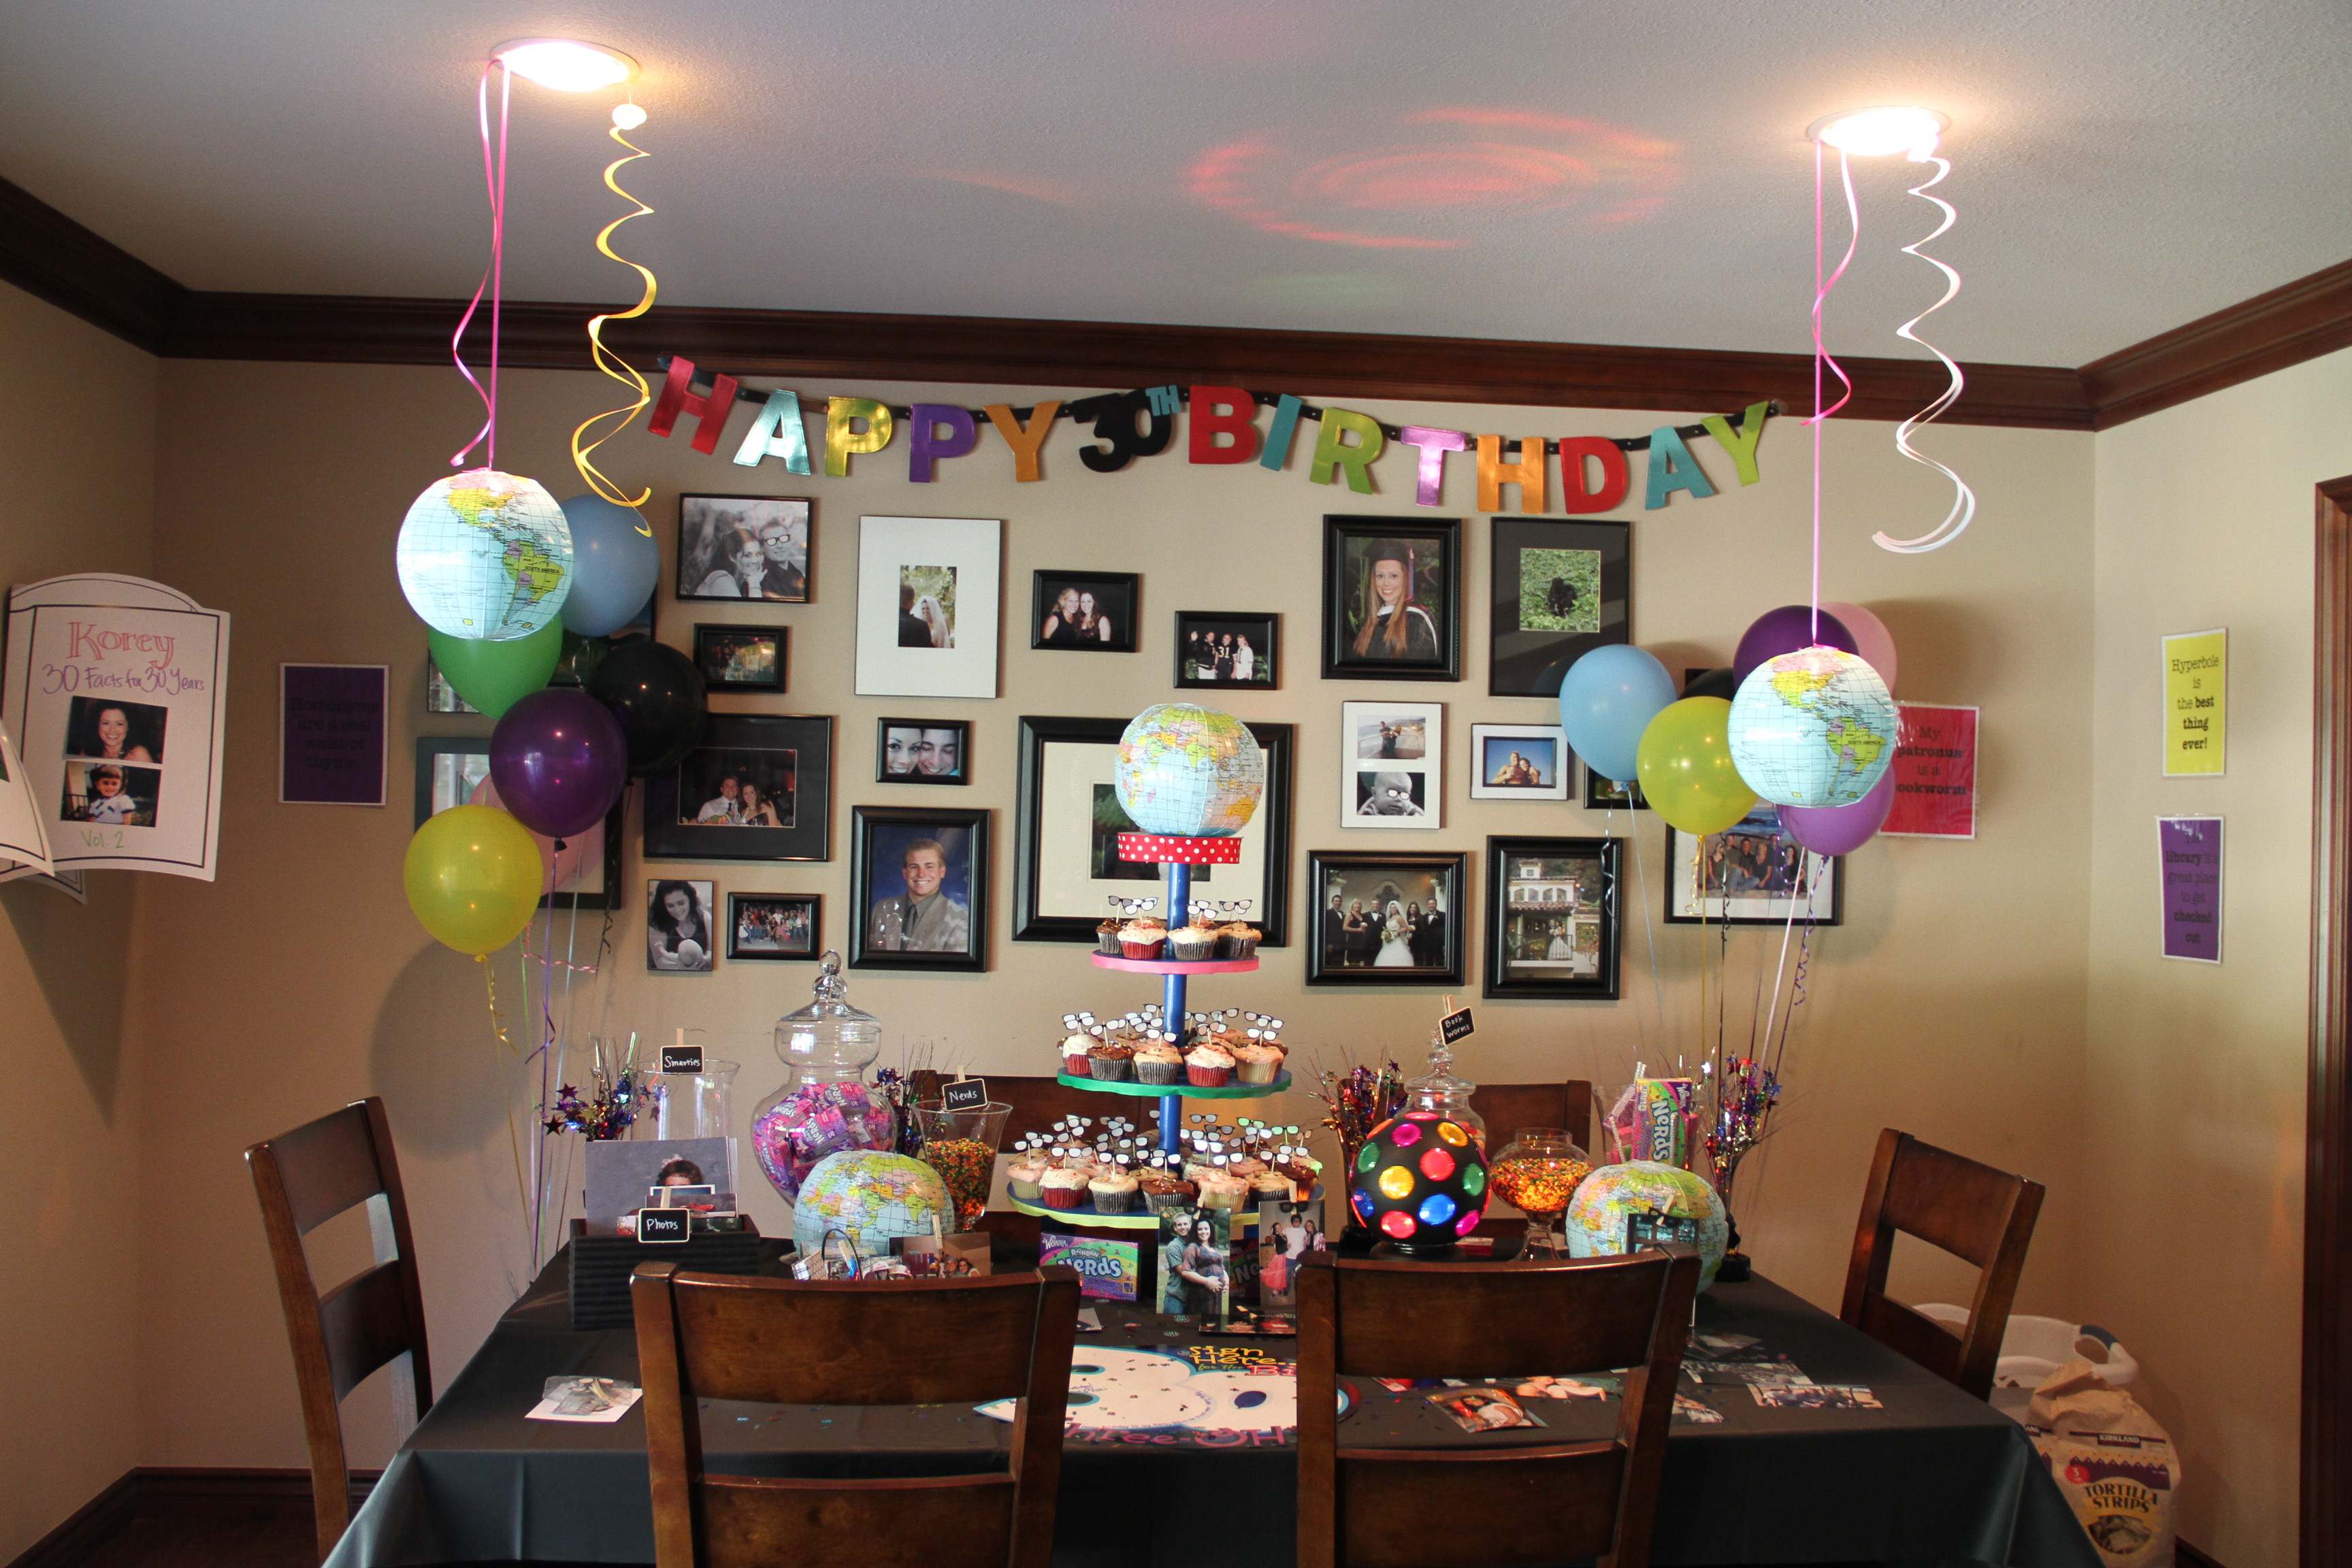
Balloons, and notice in the background that I added nerd glasses to some of our existing pictures…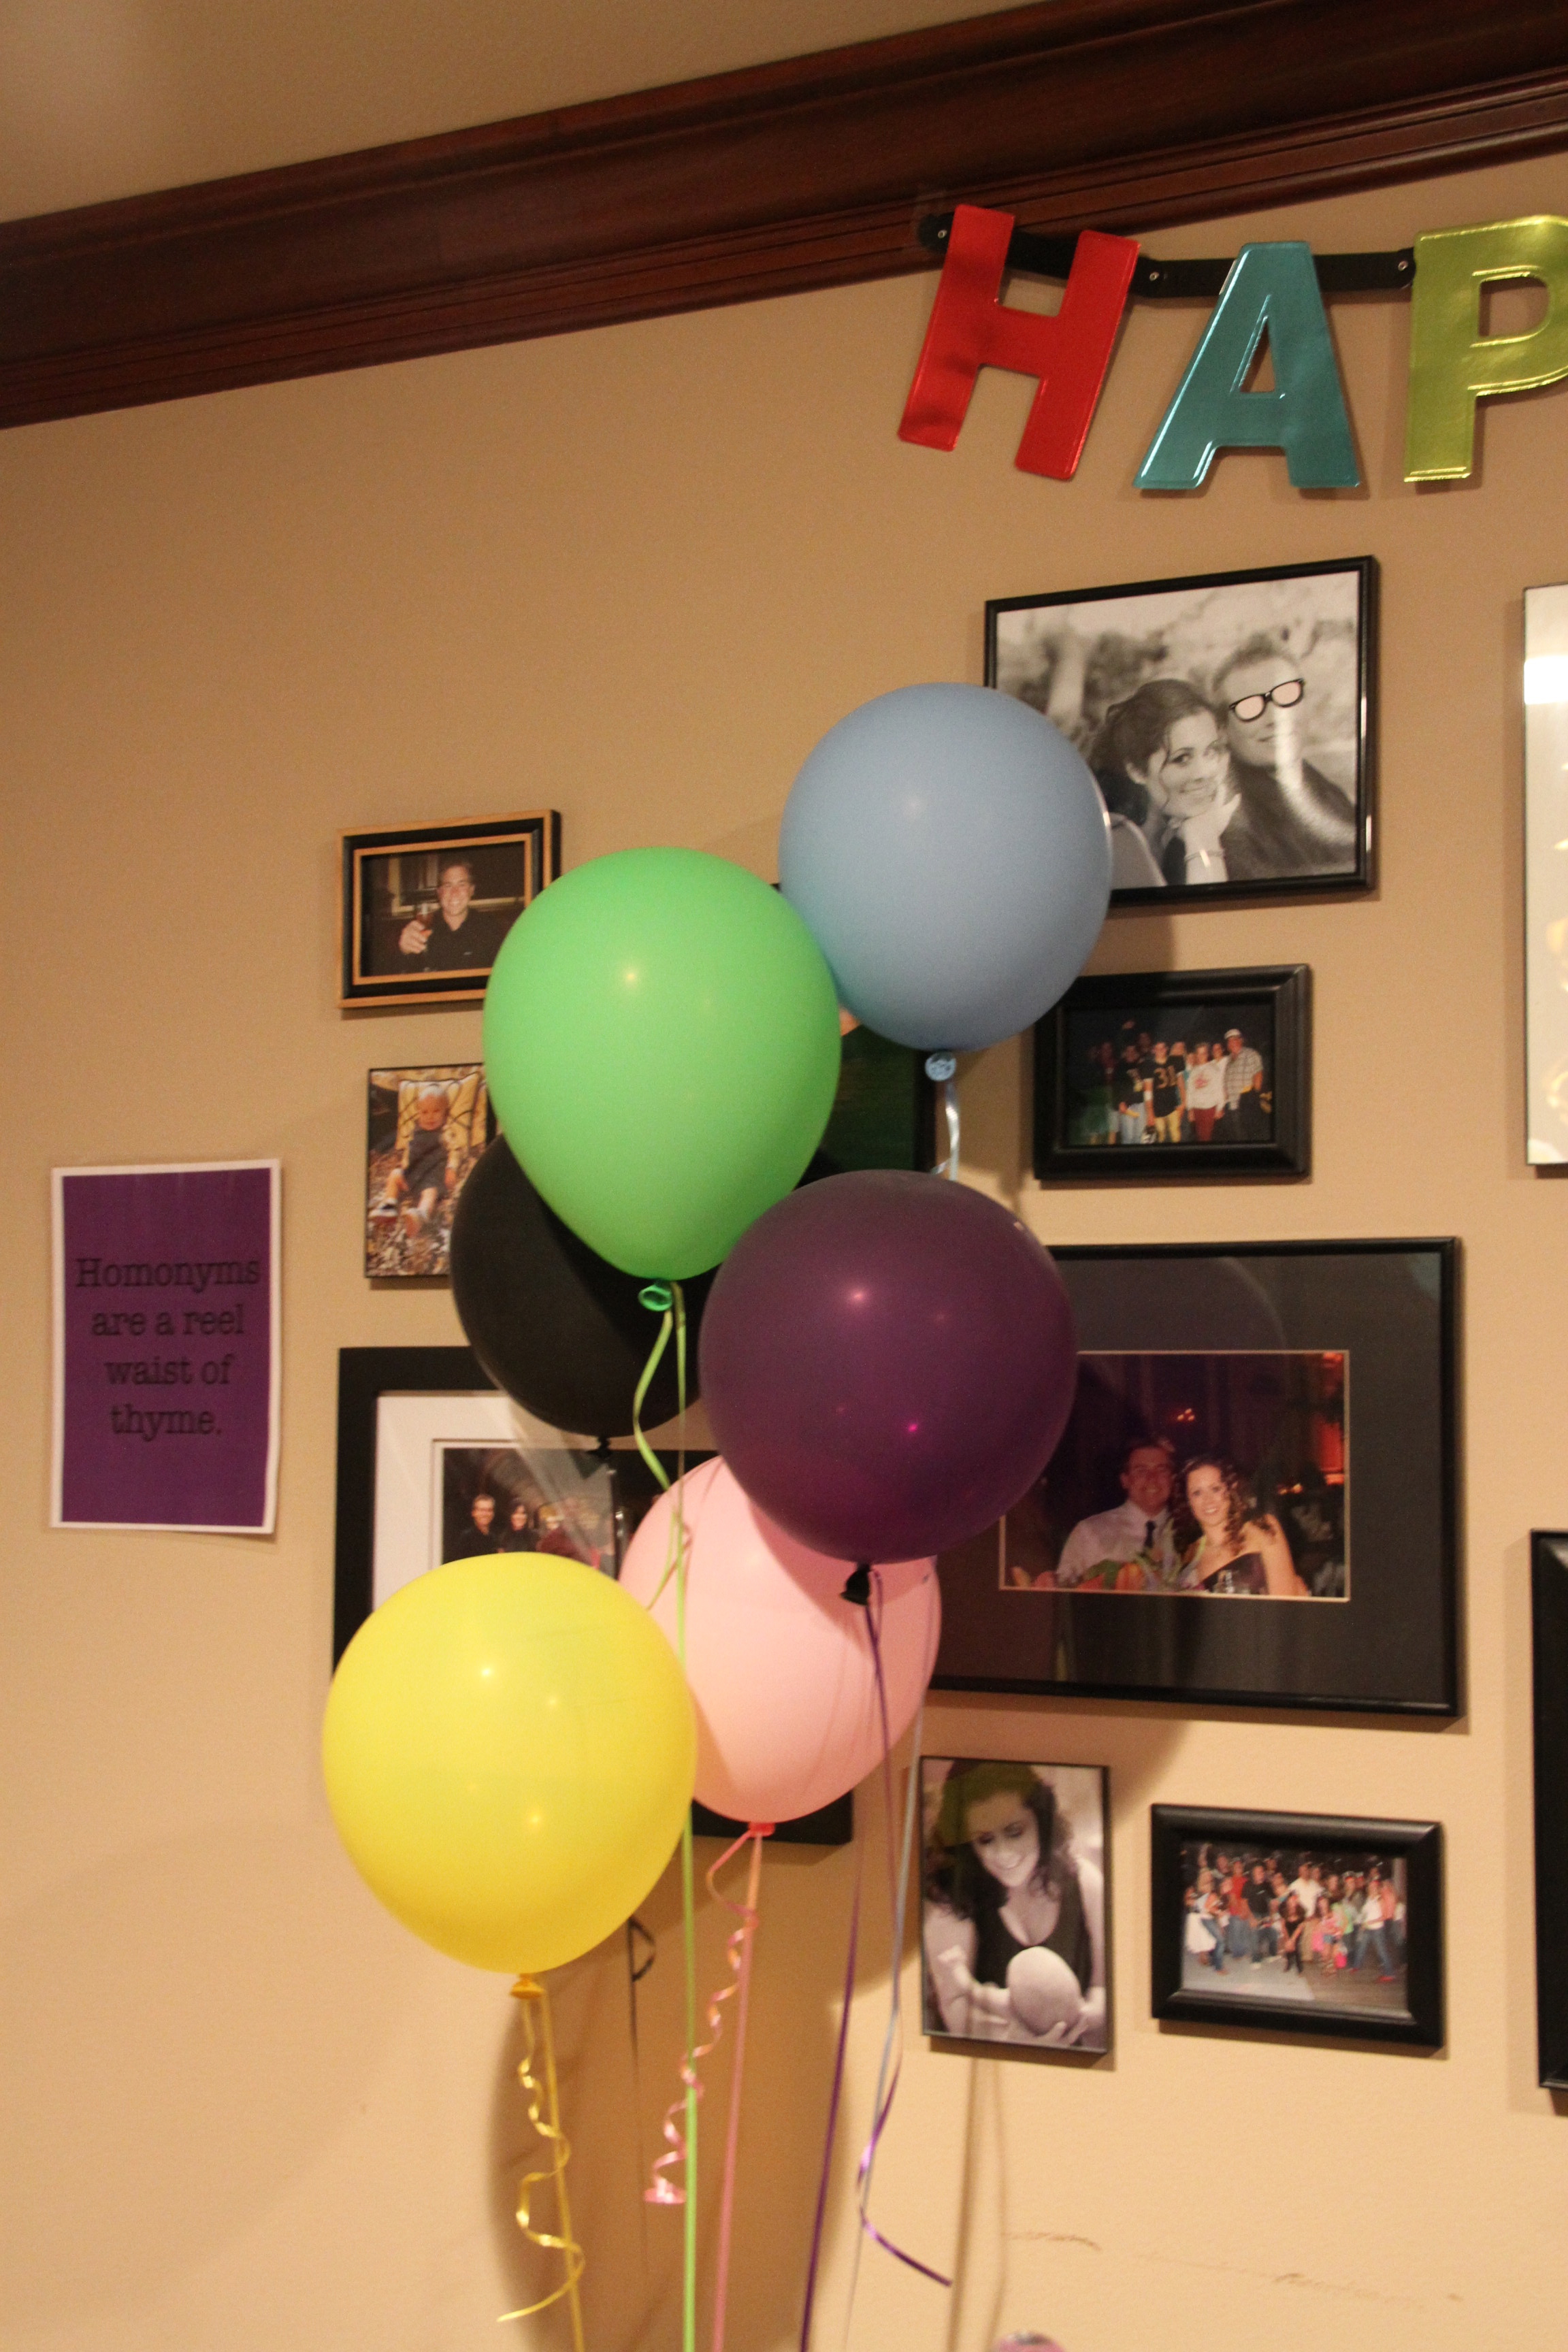
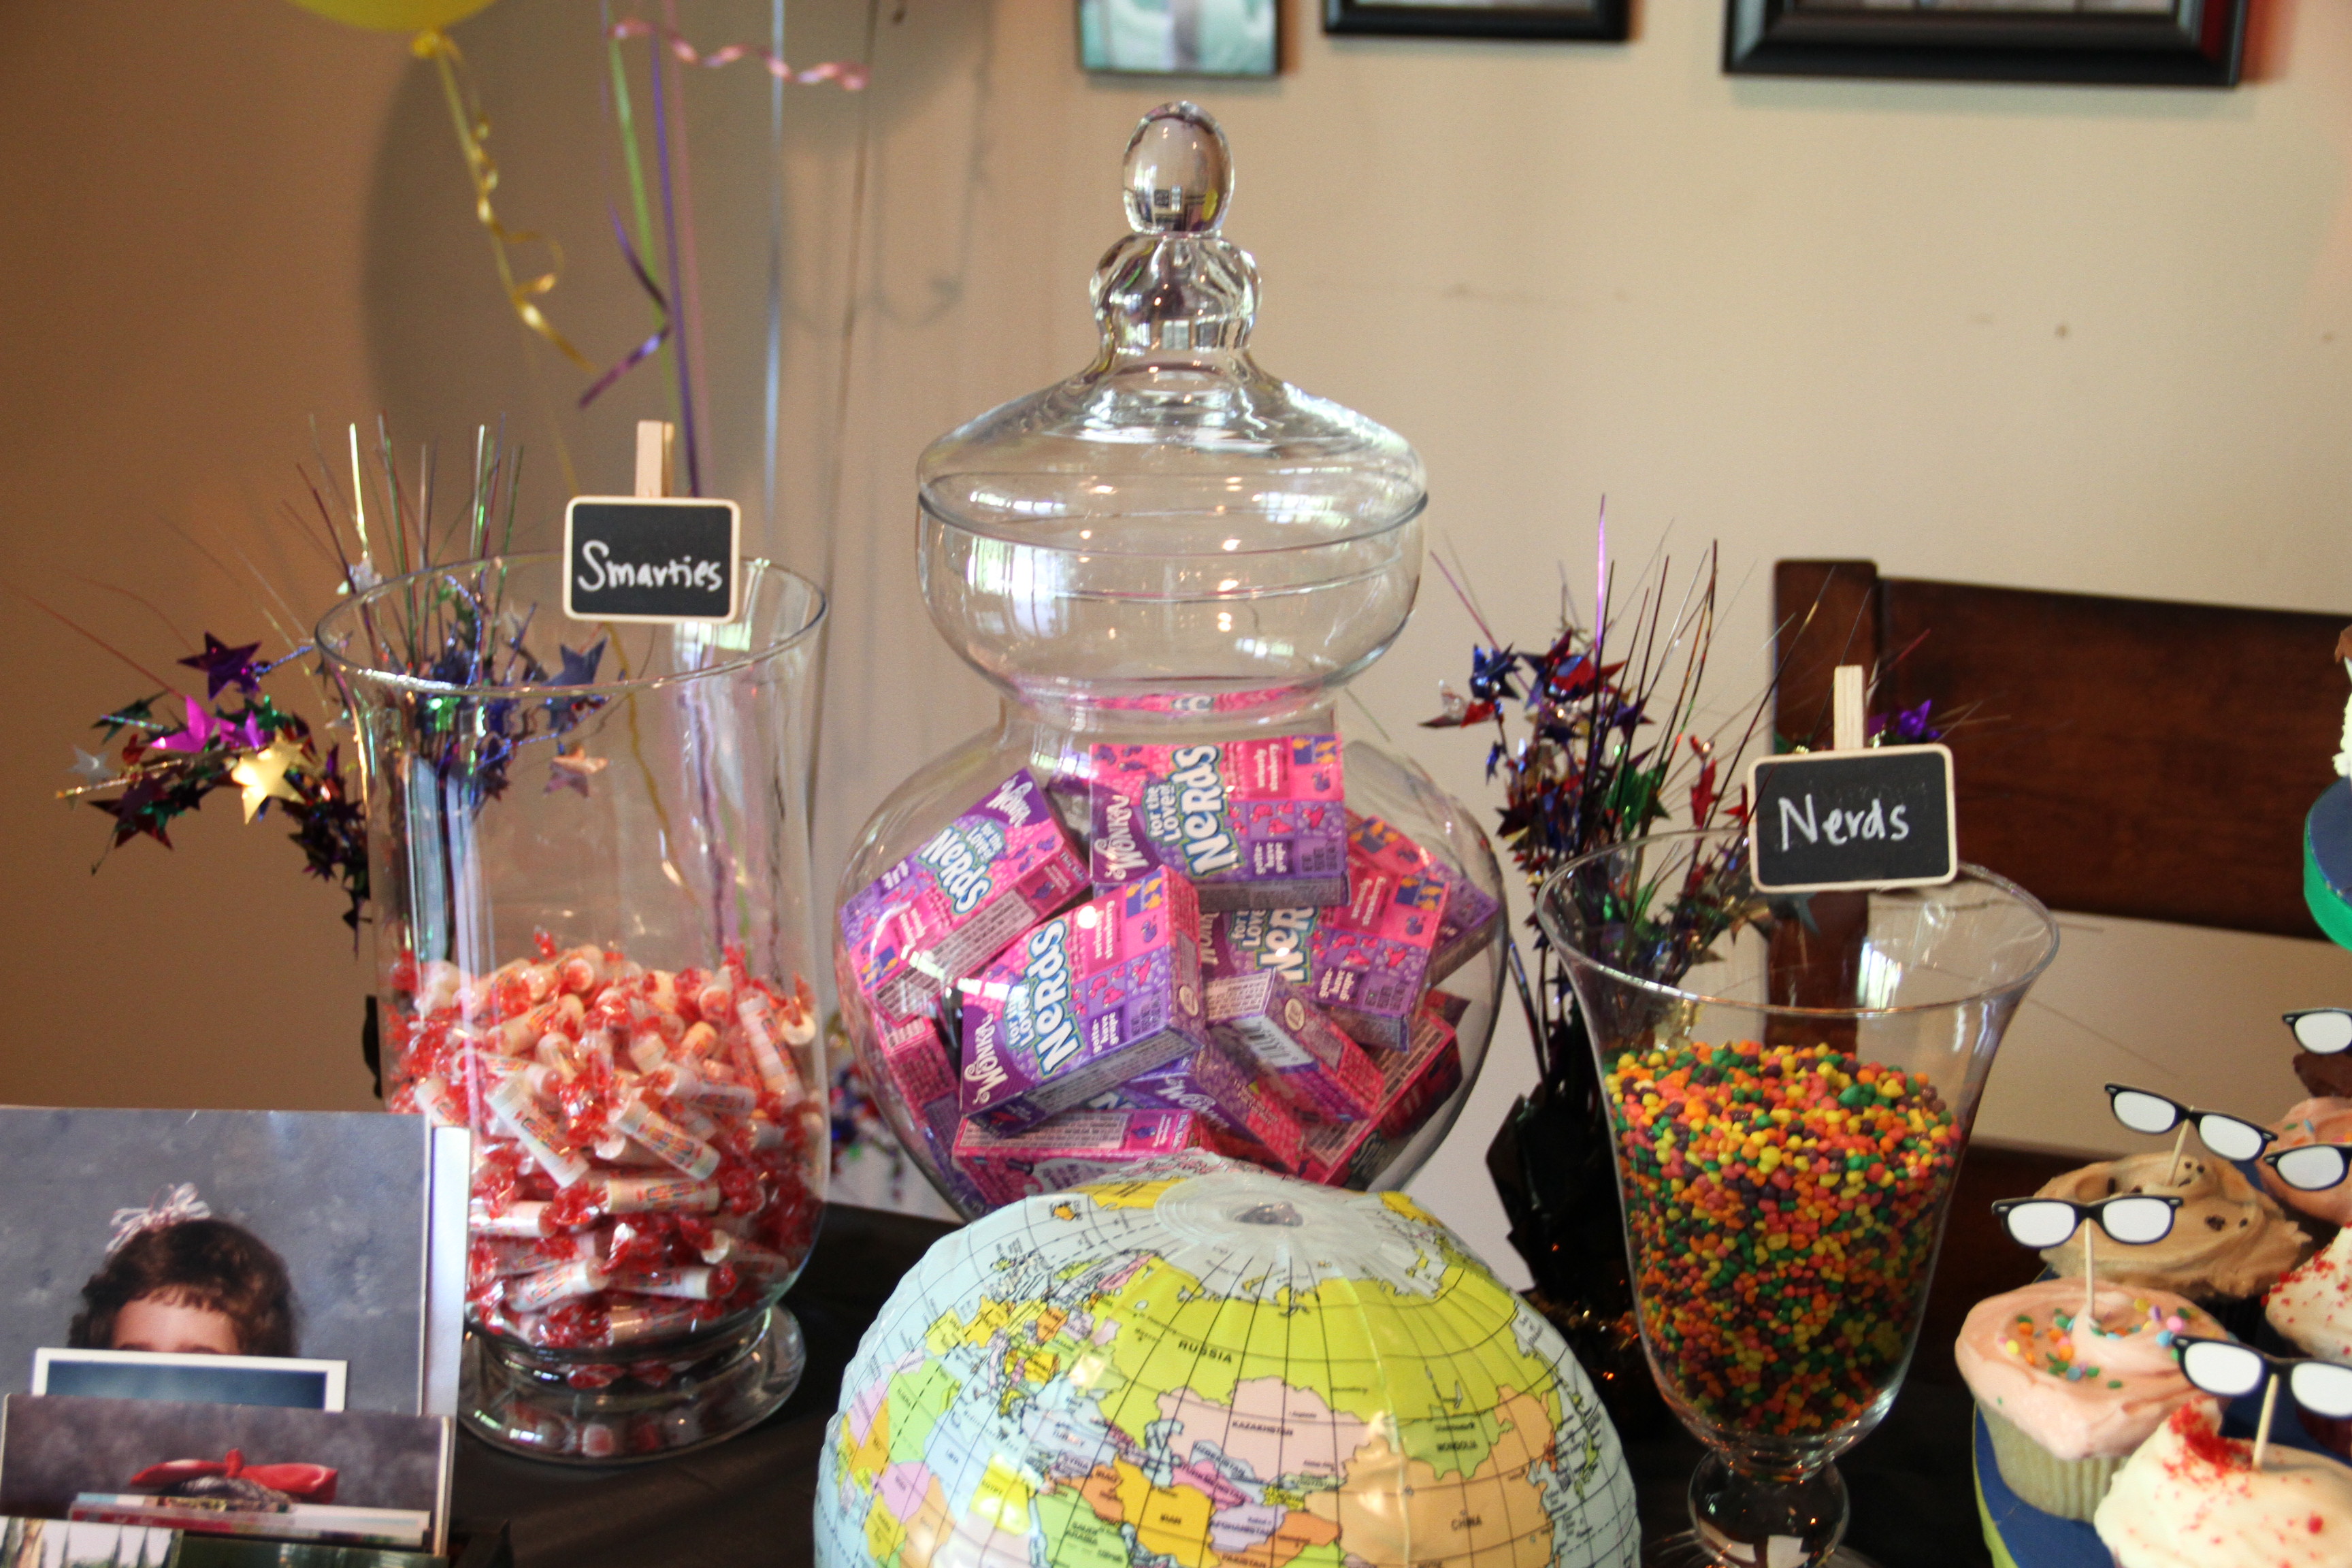
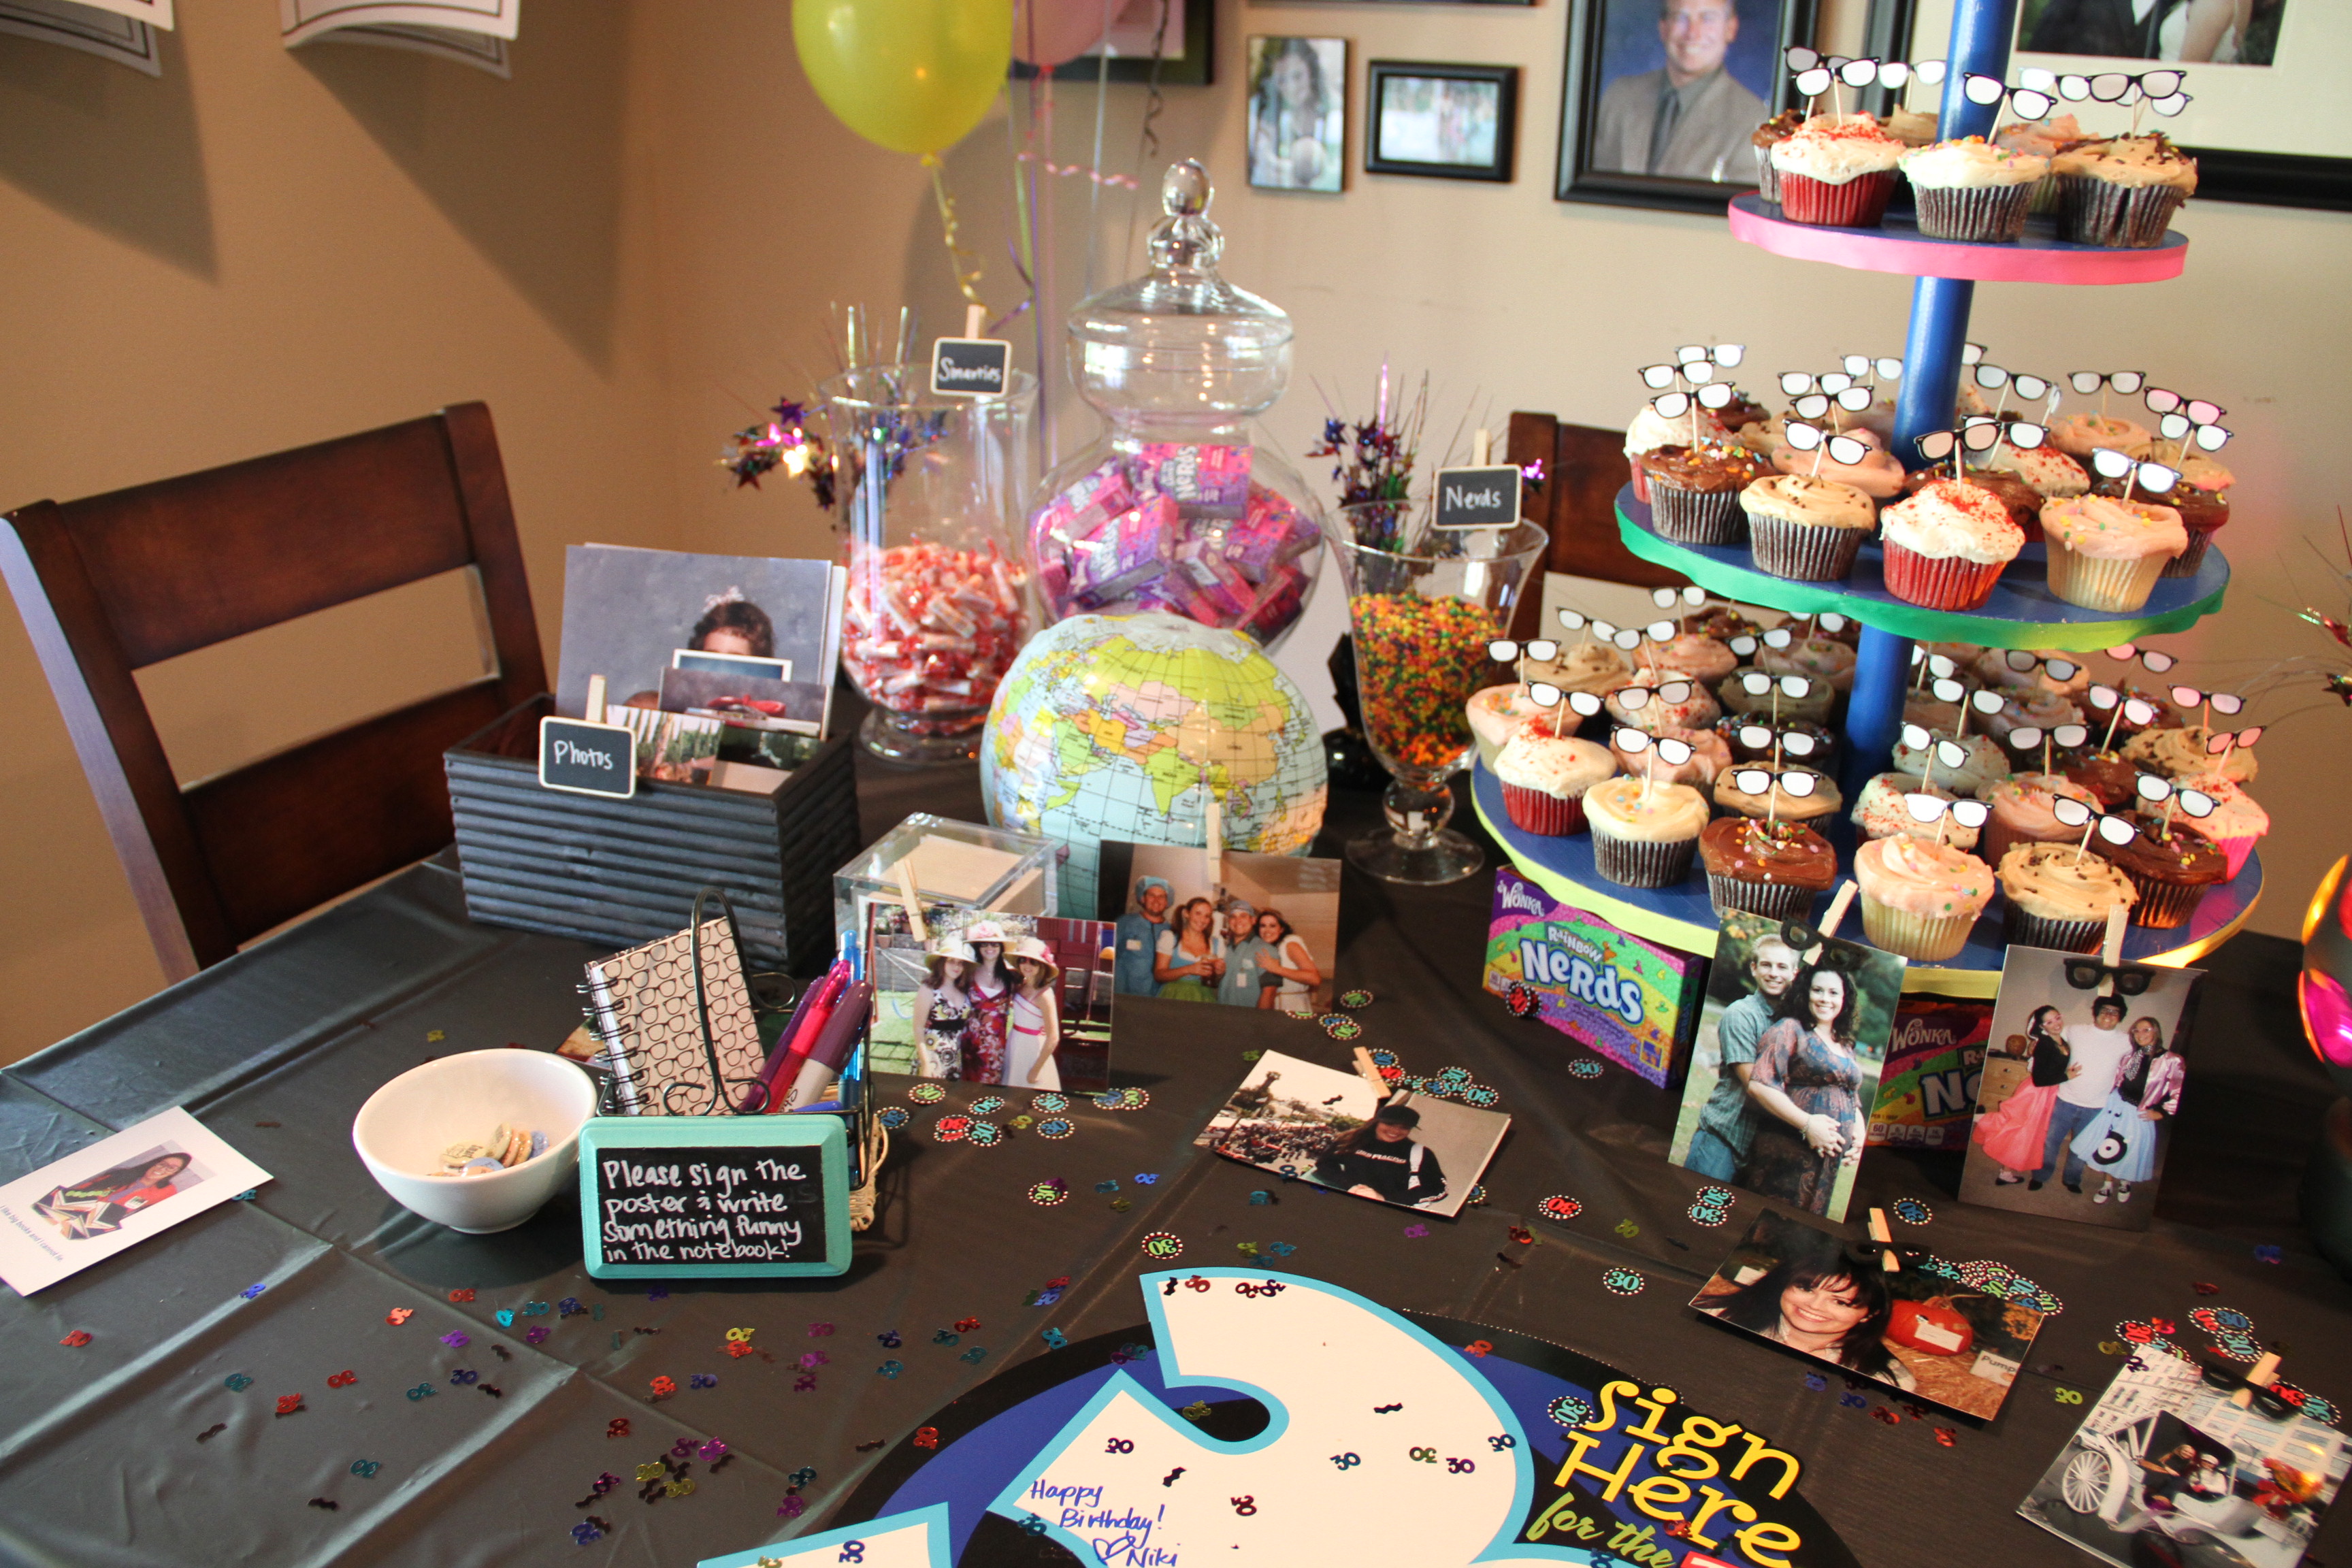
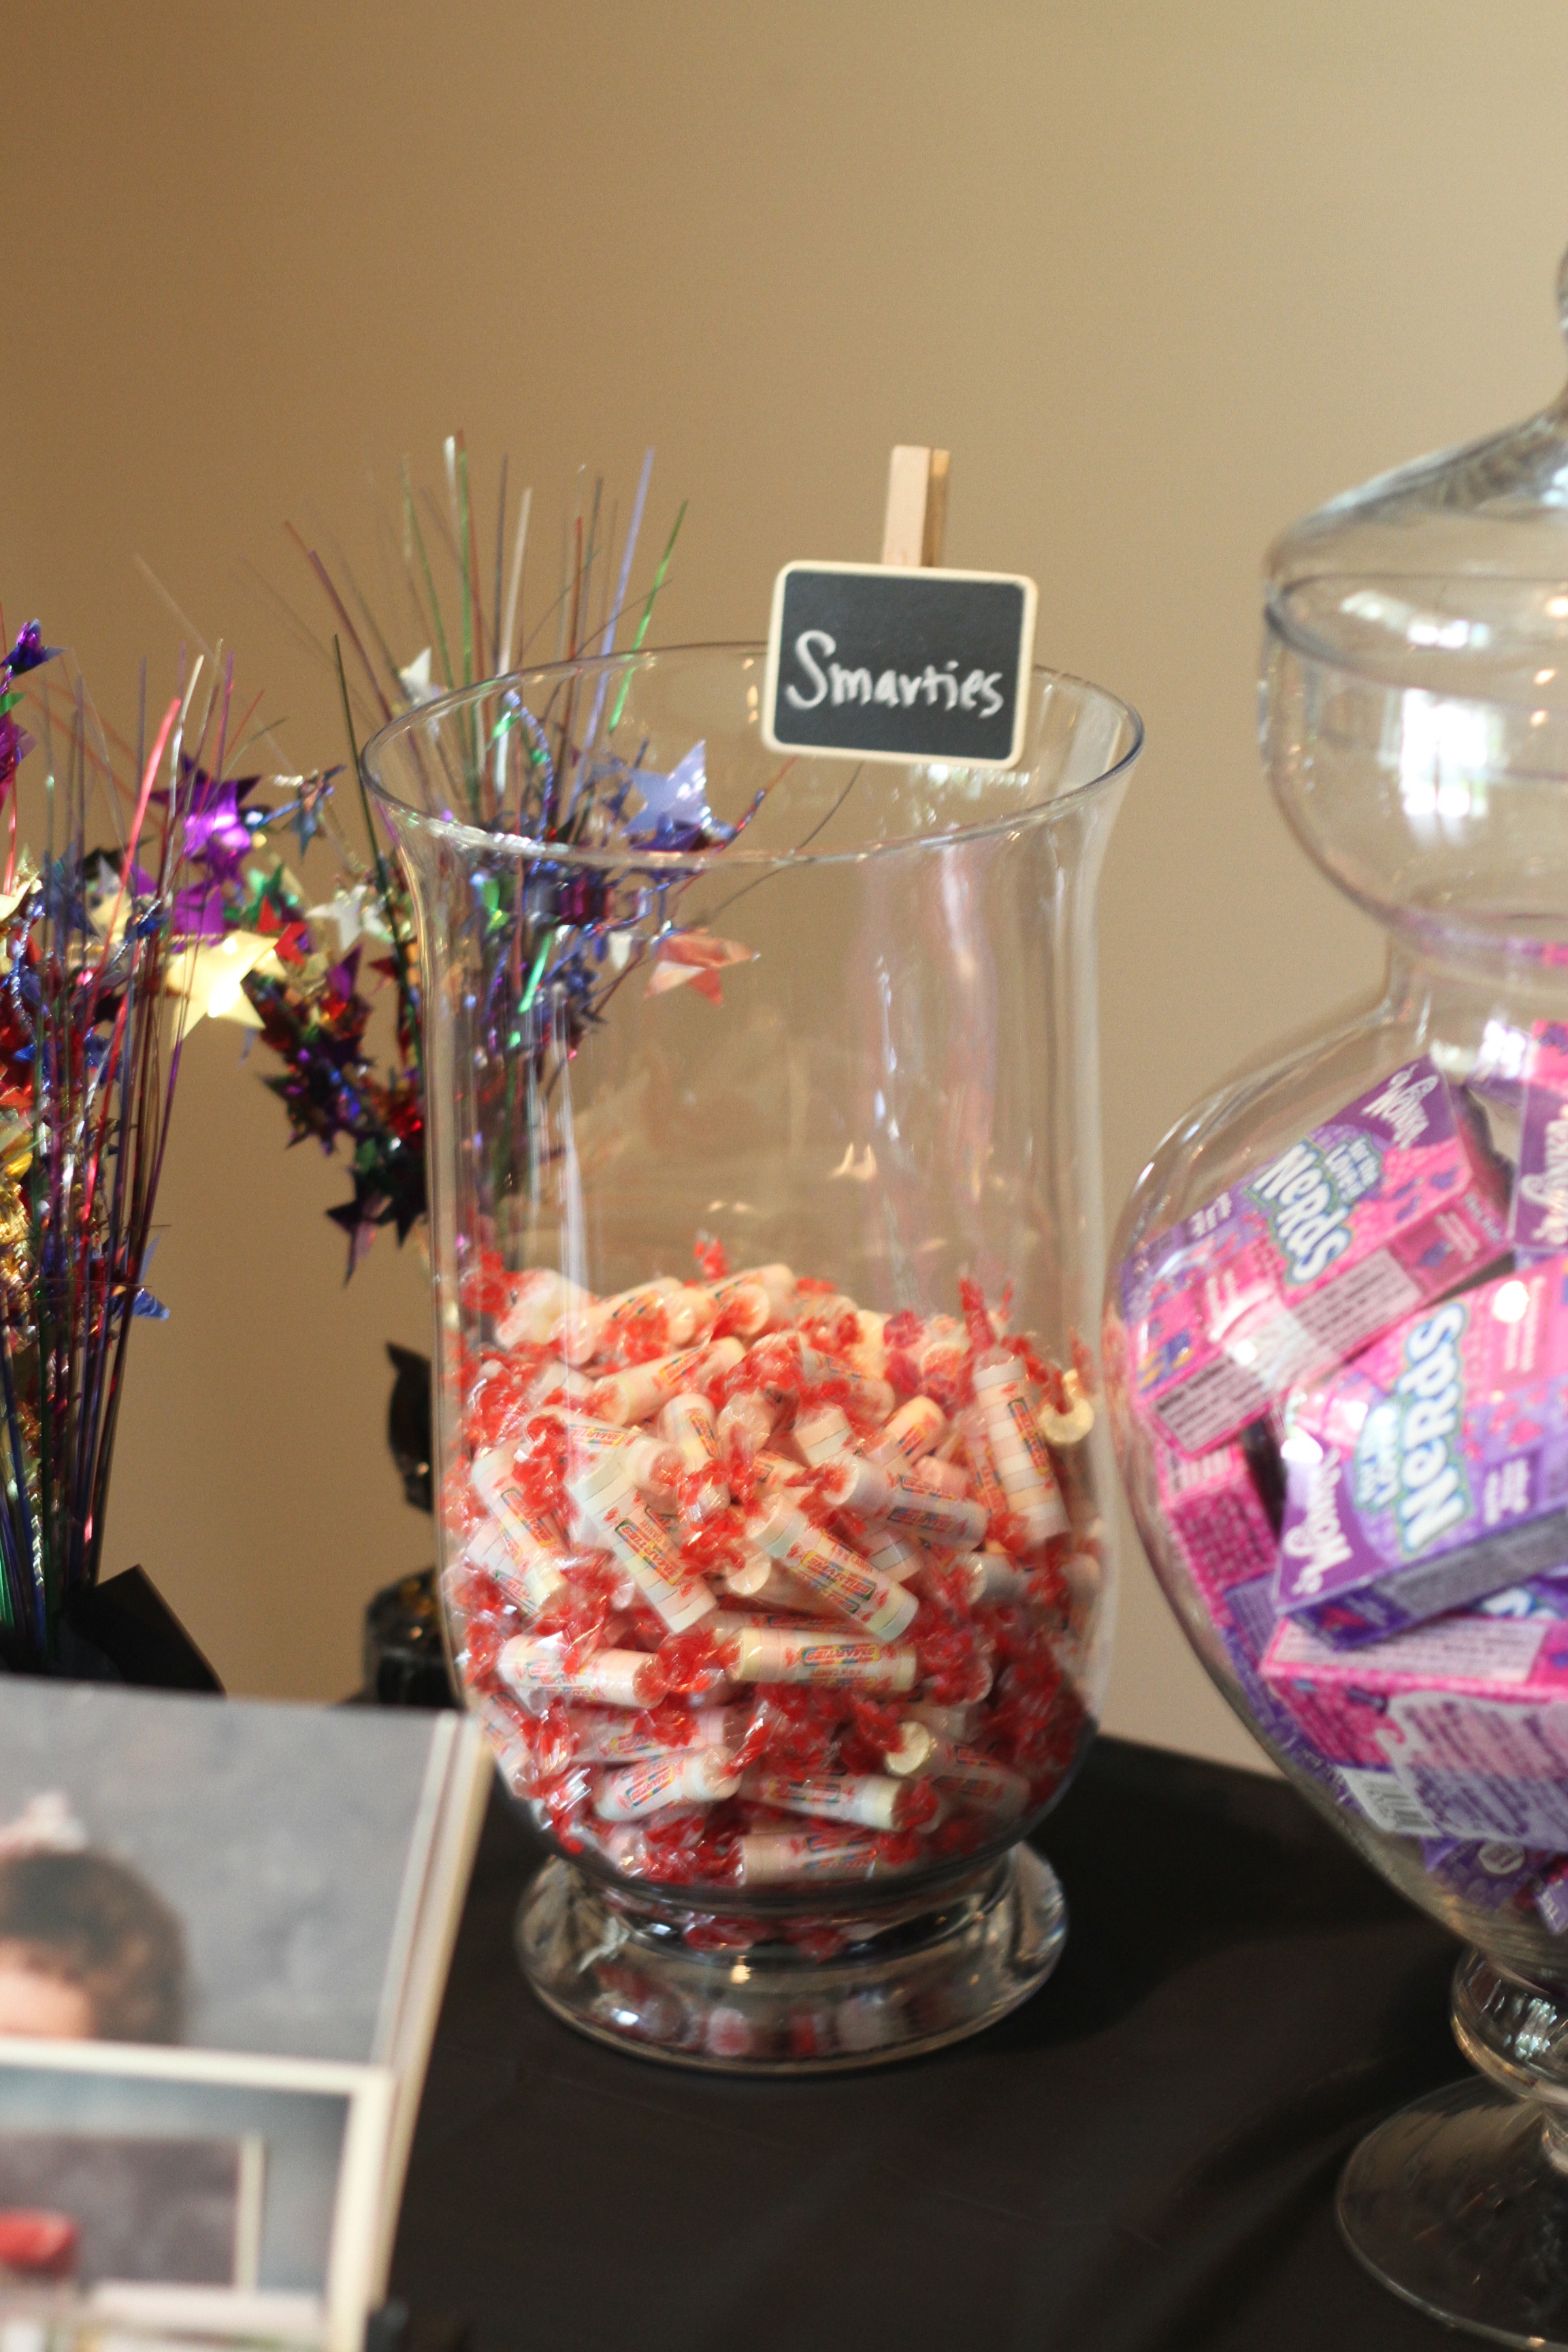
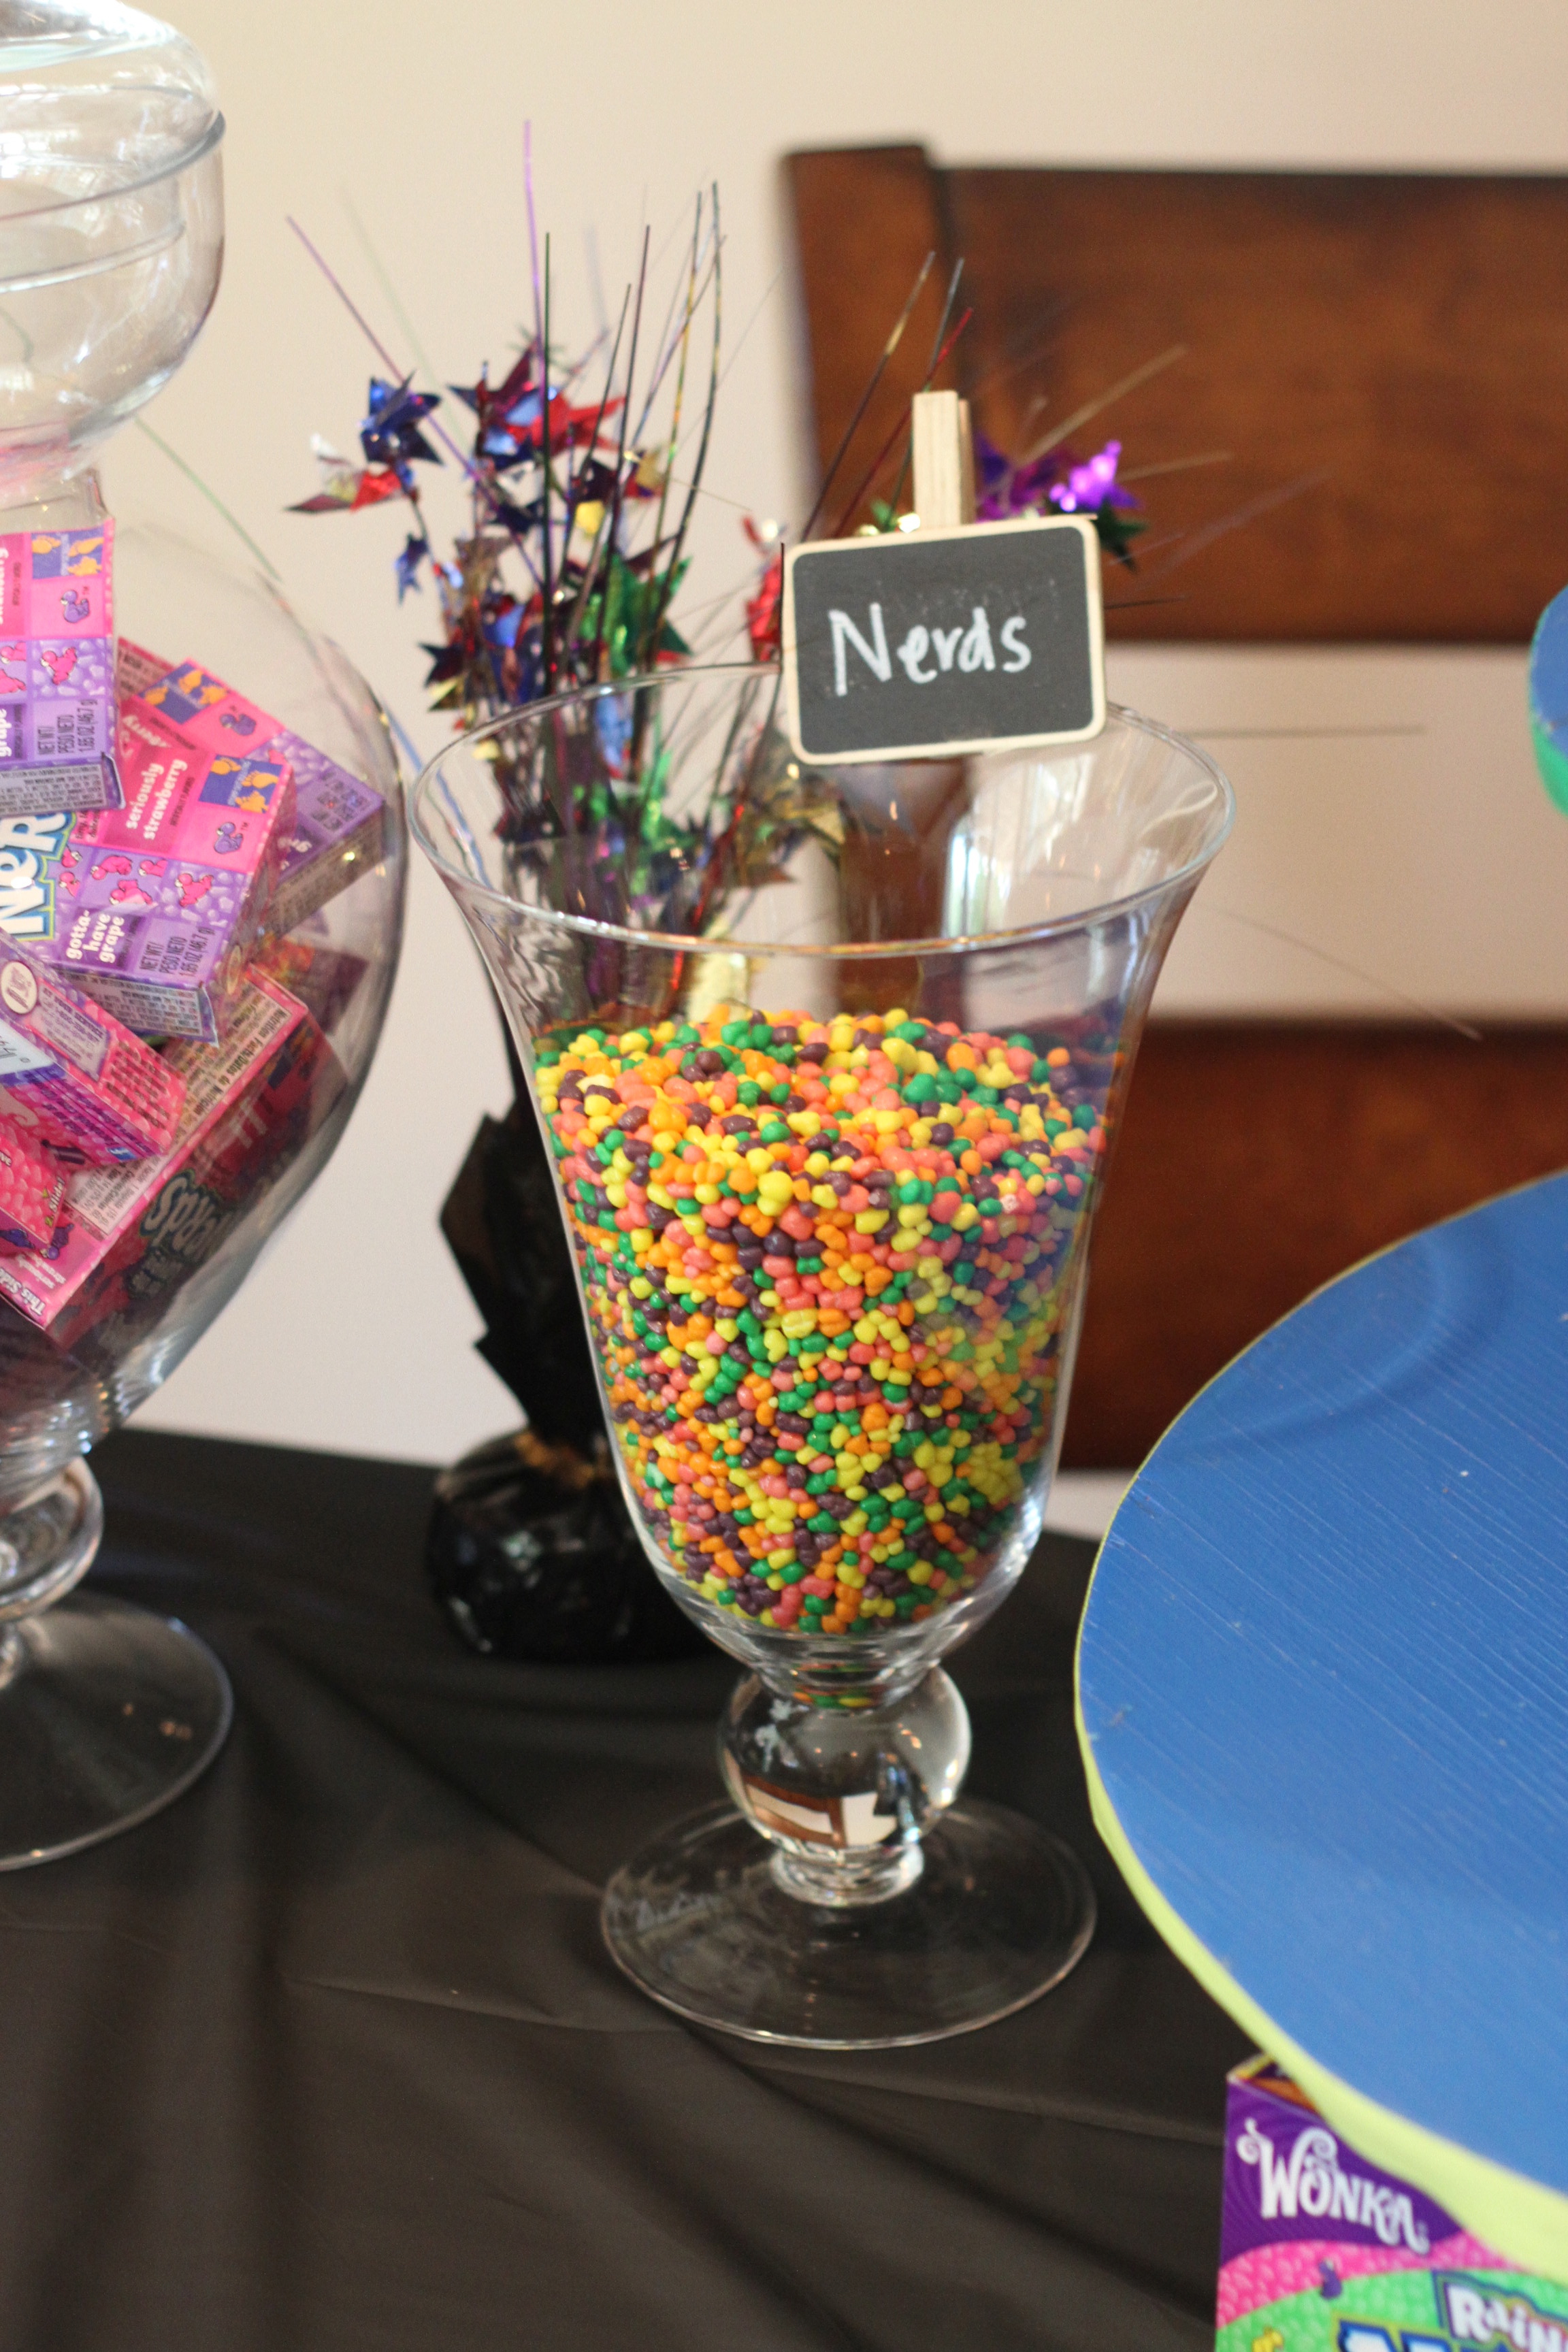
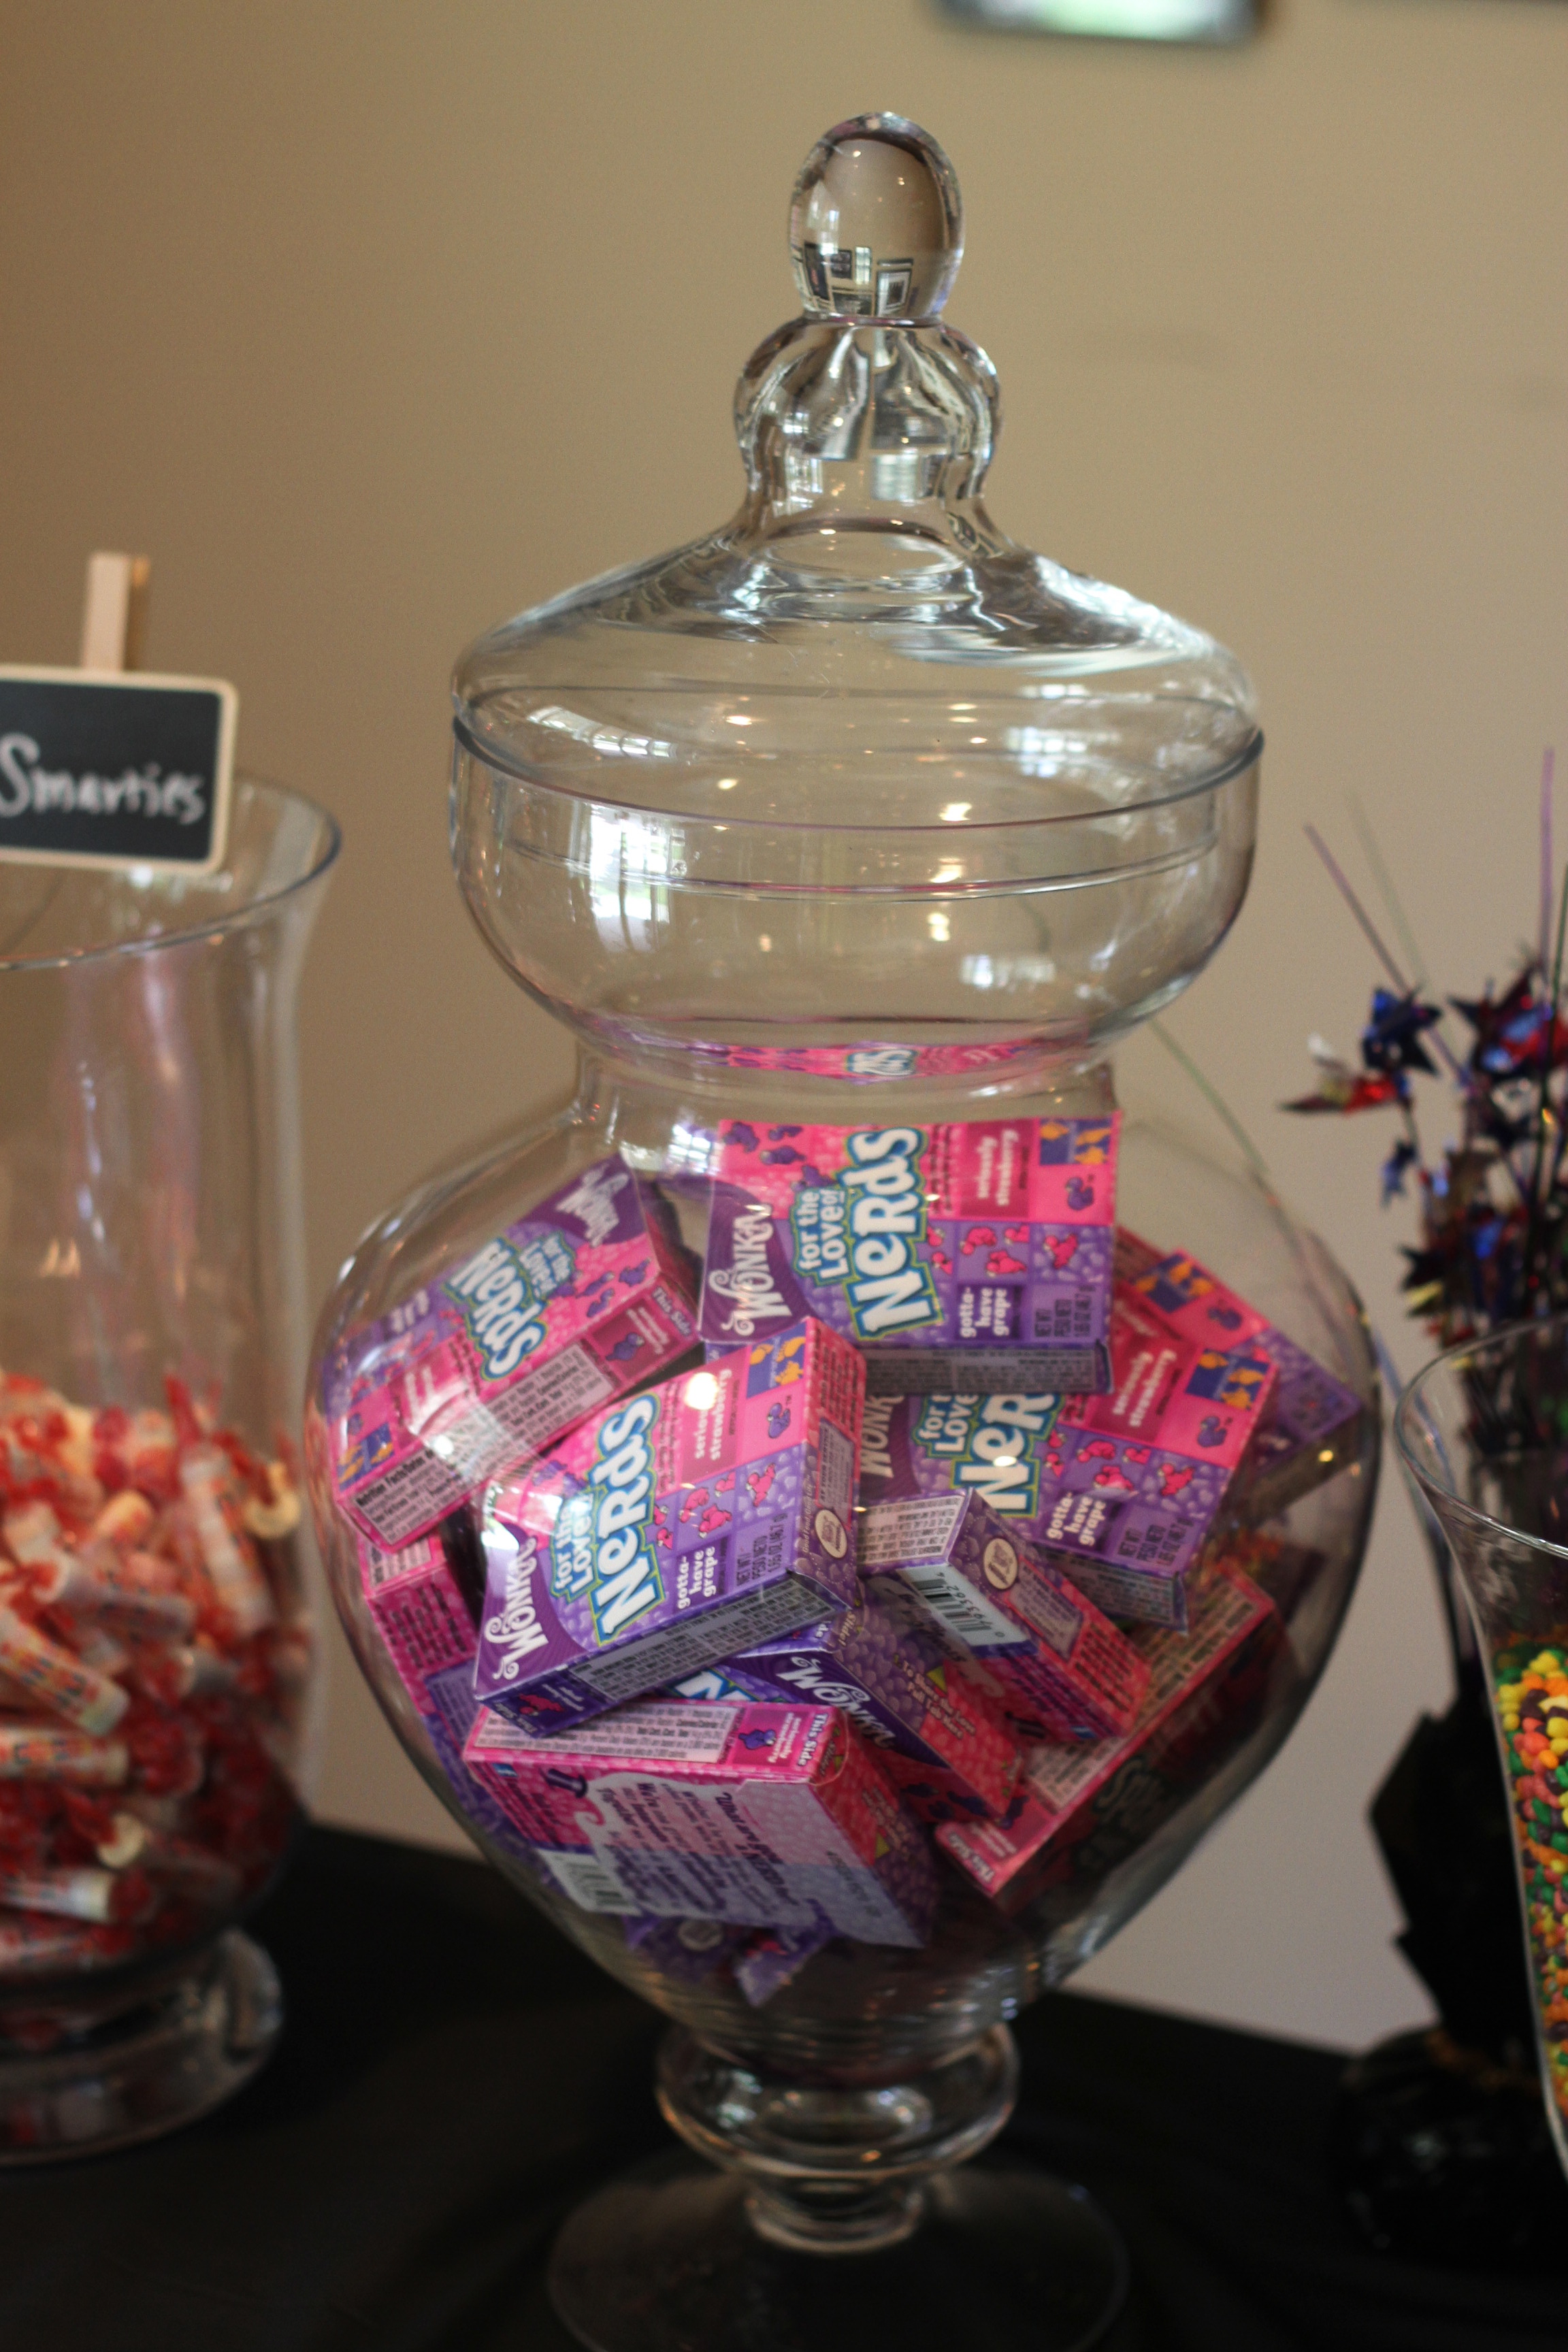
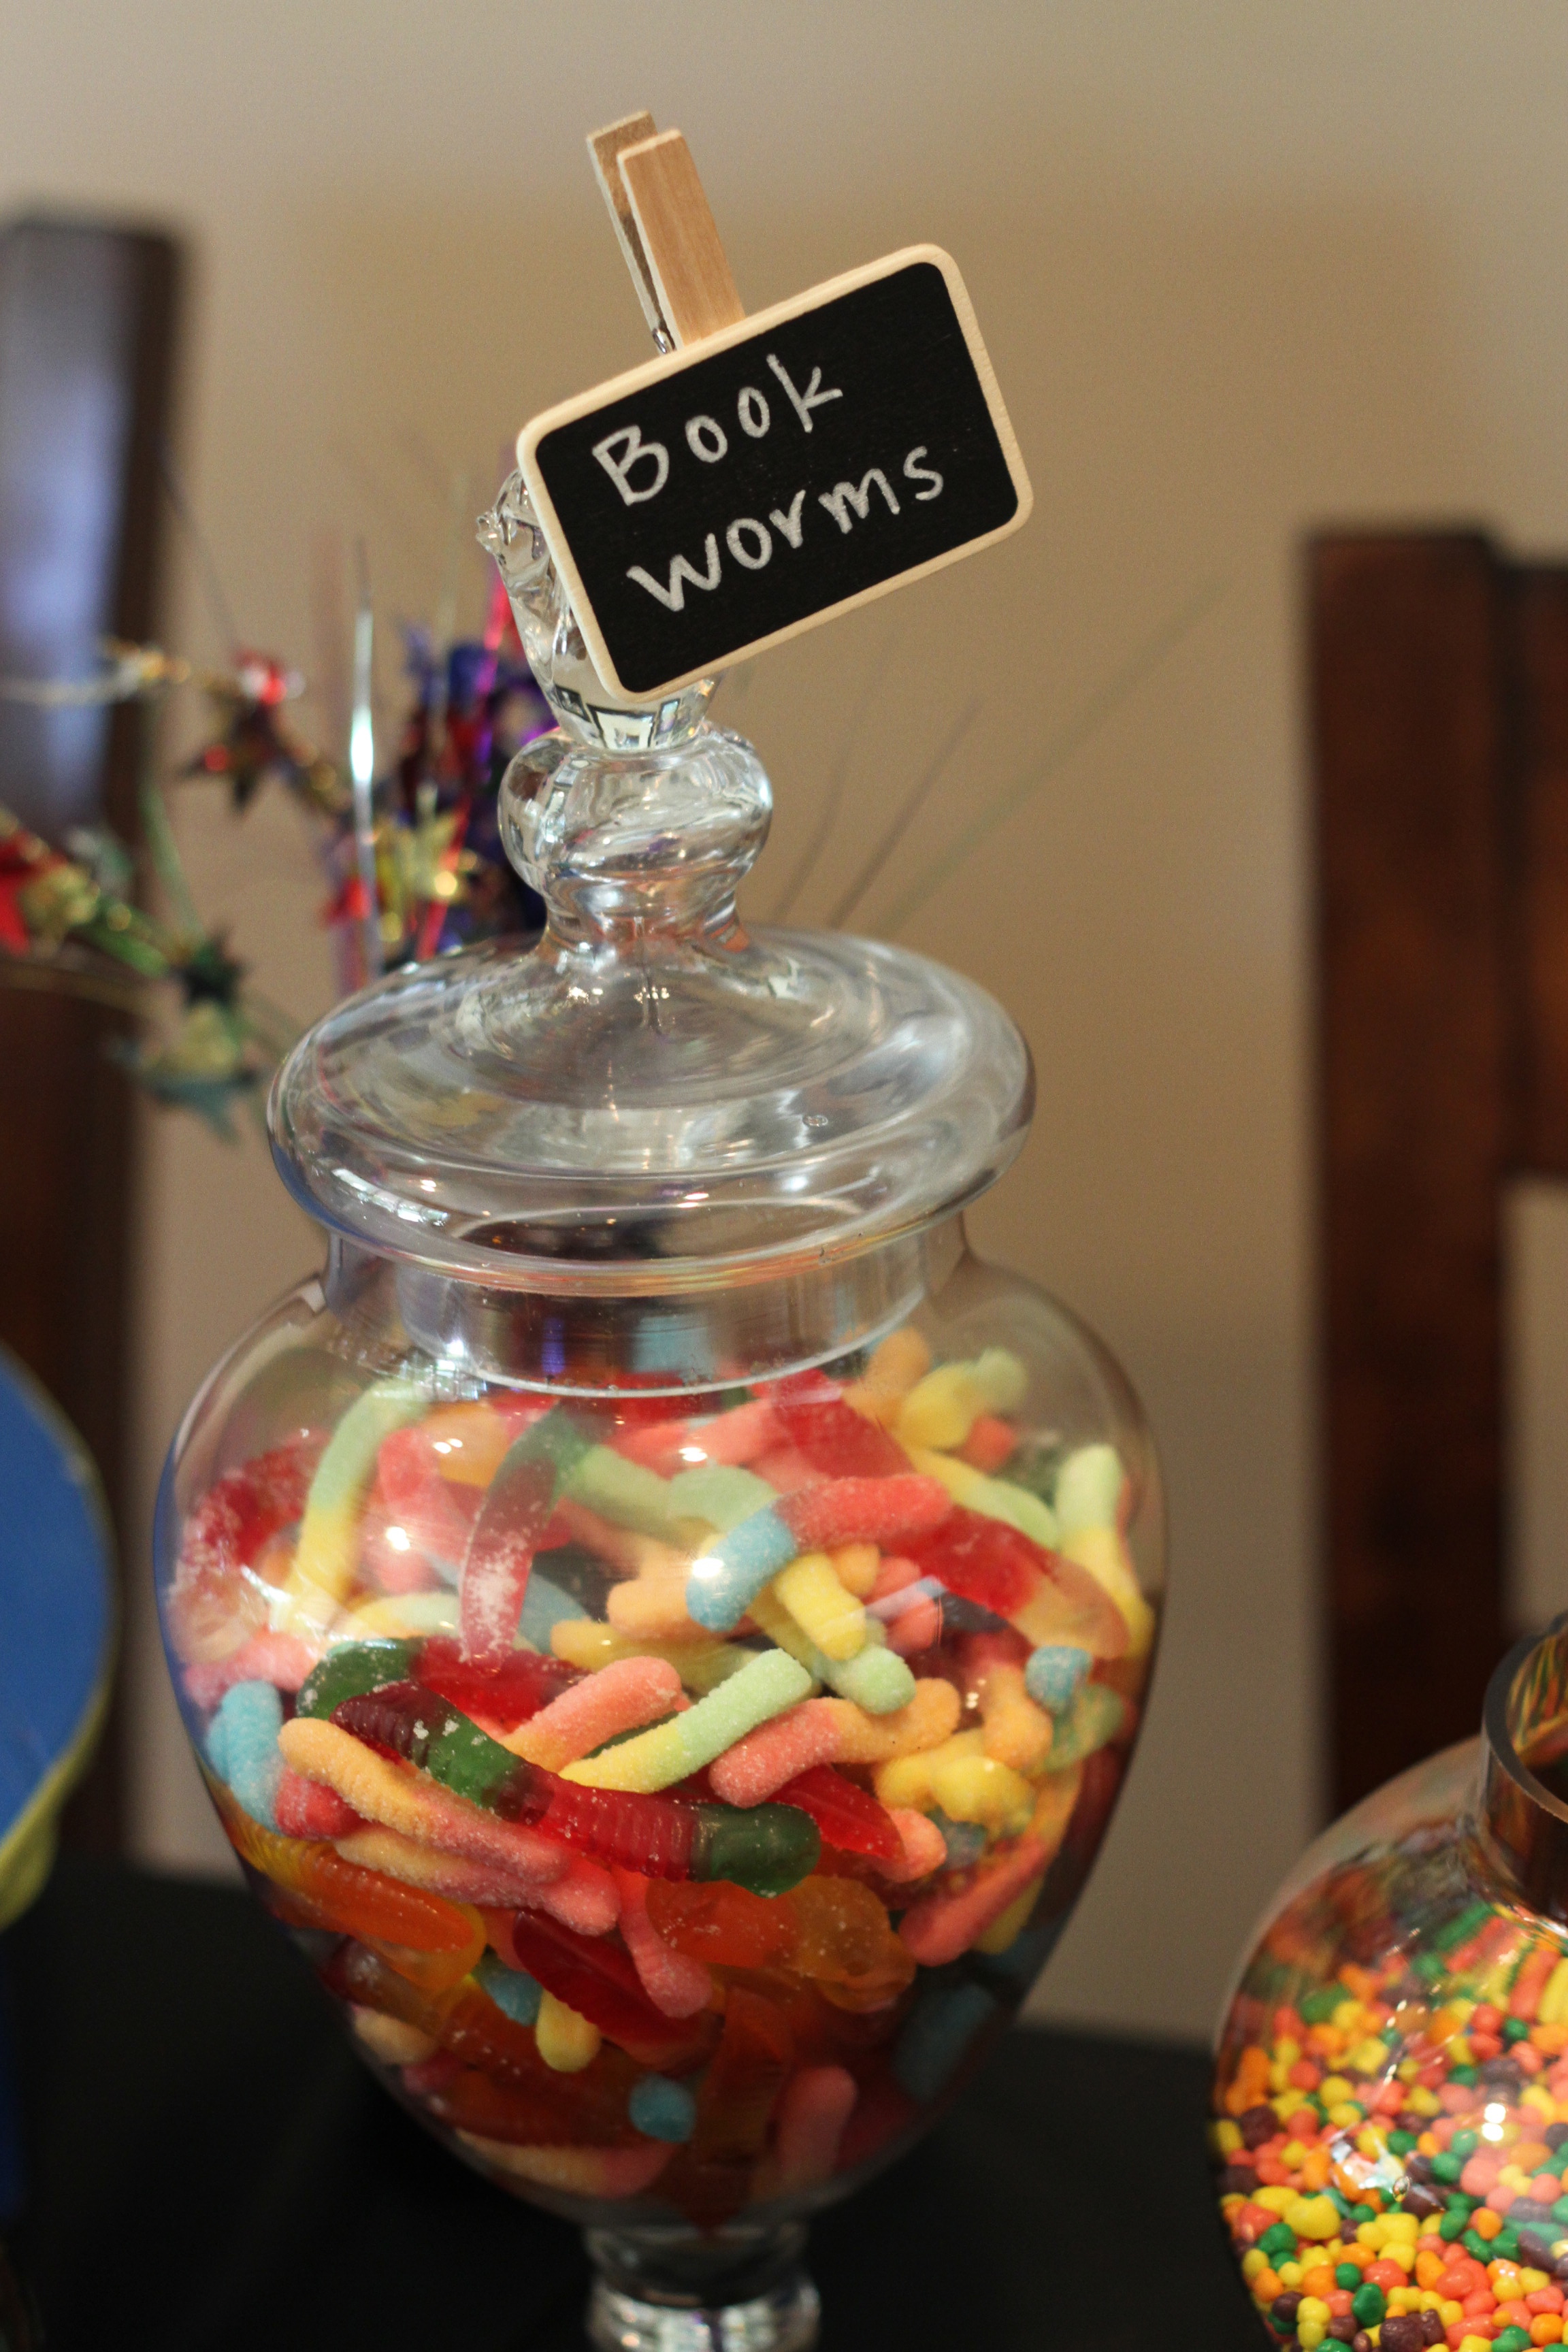
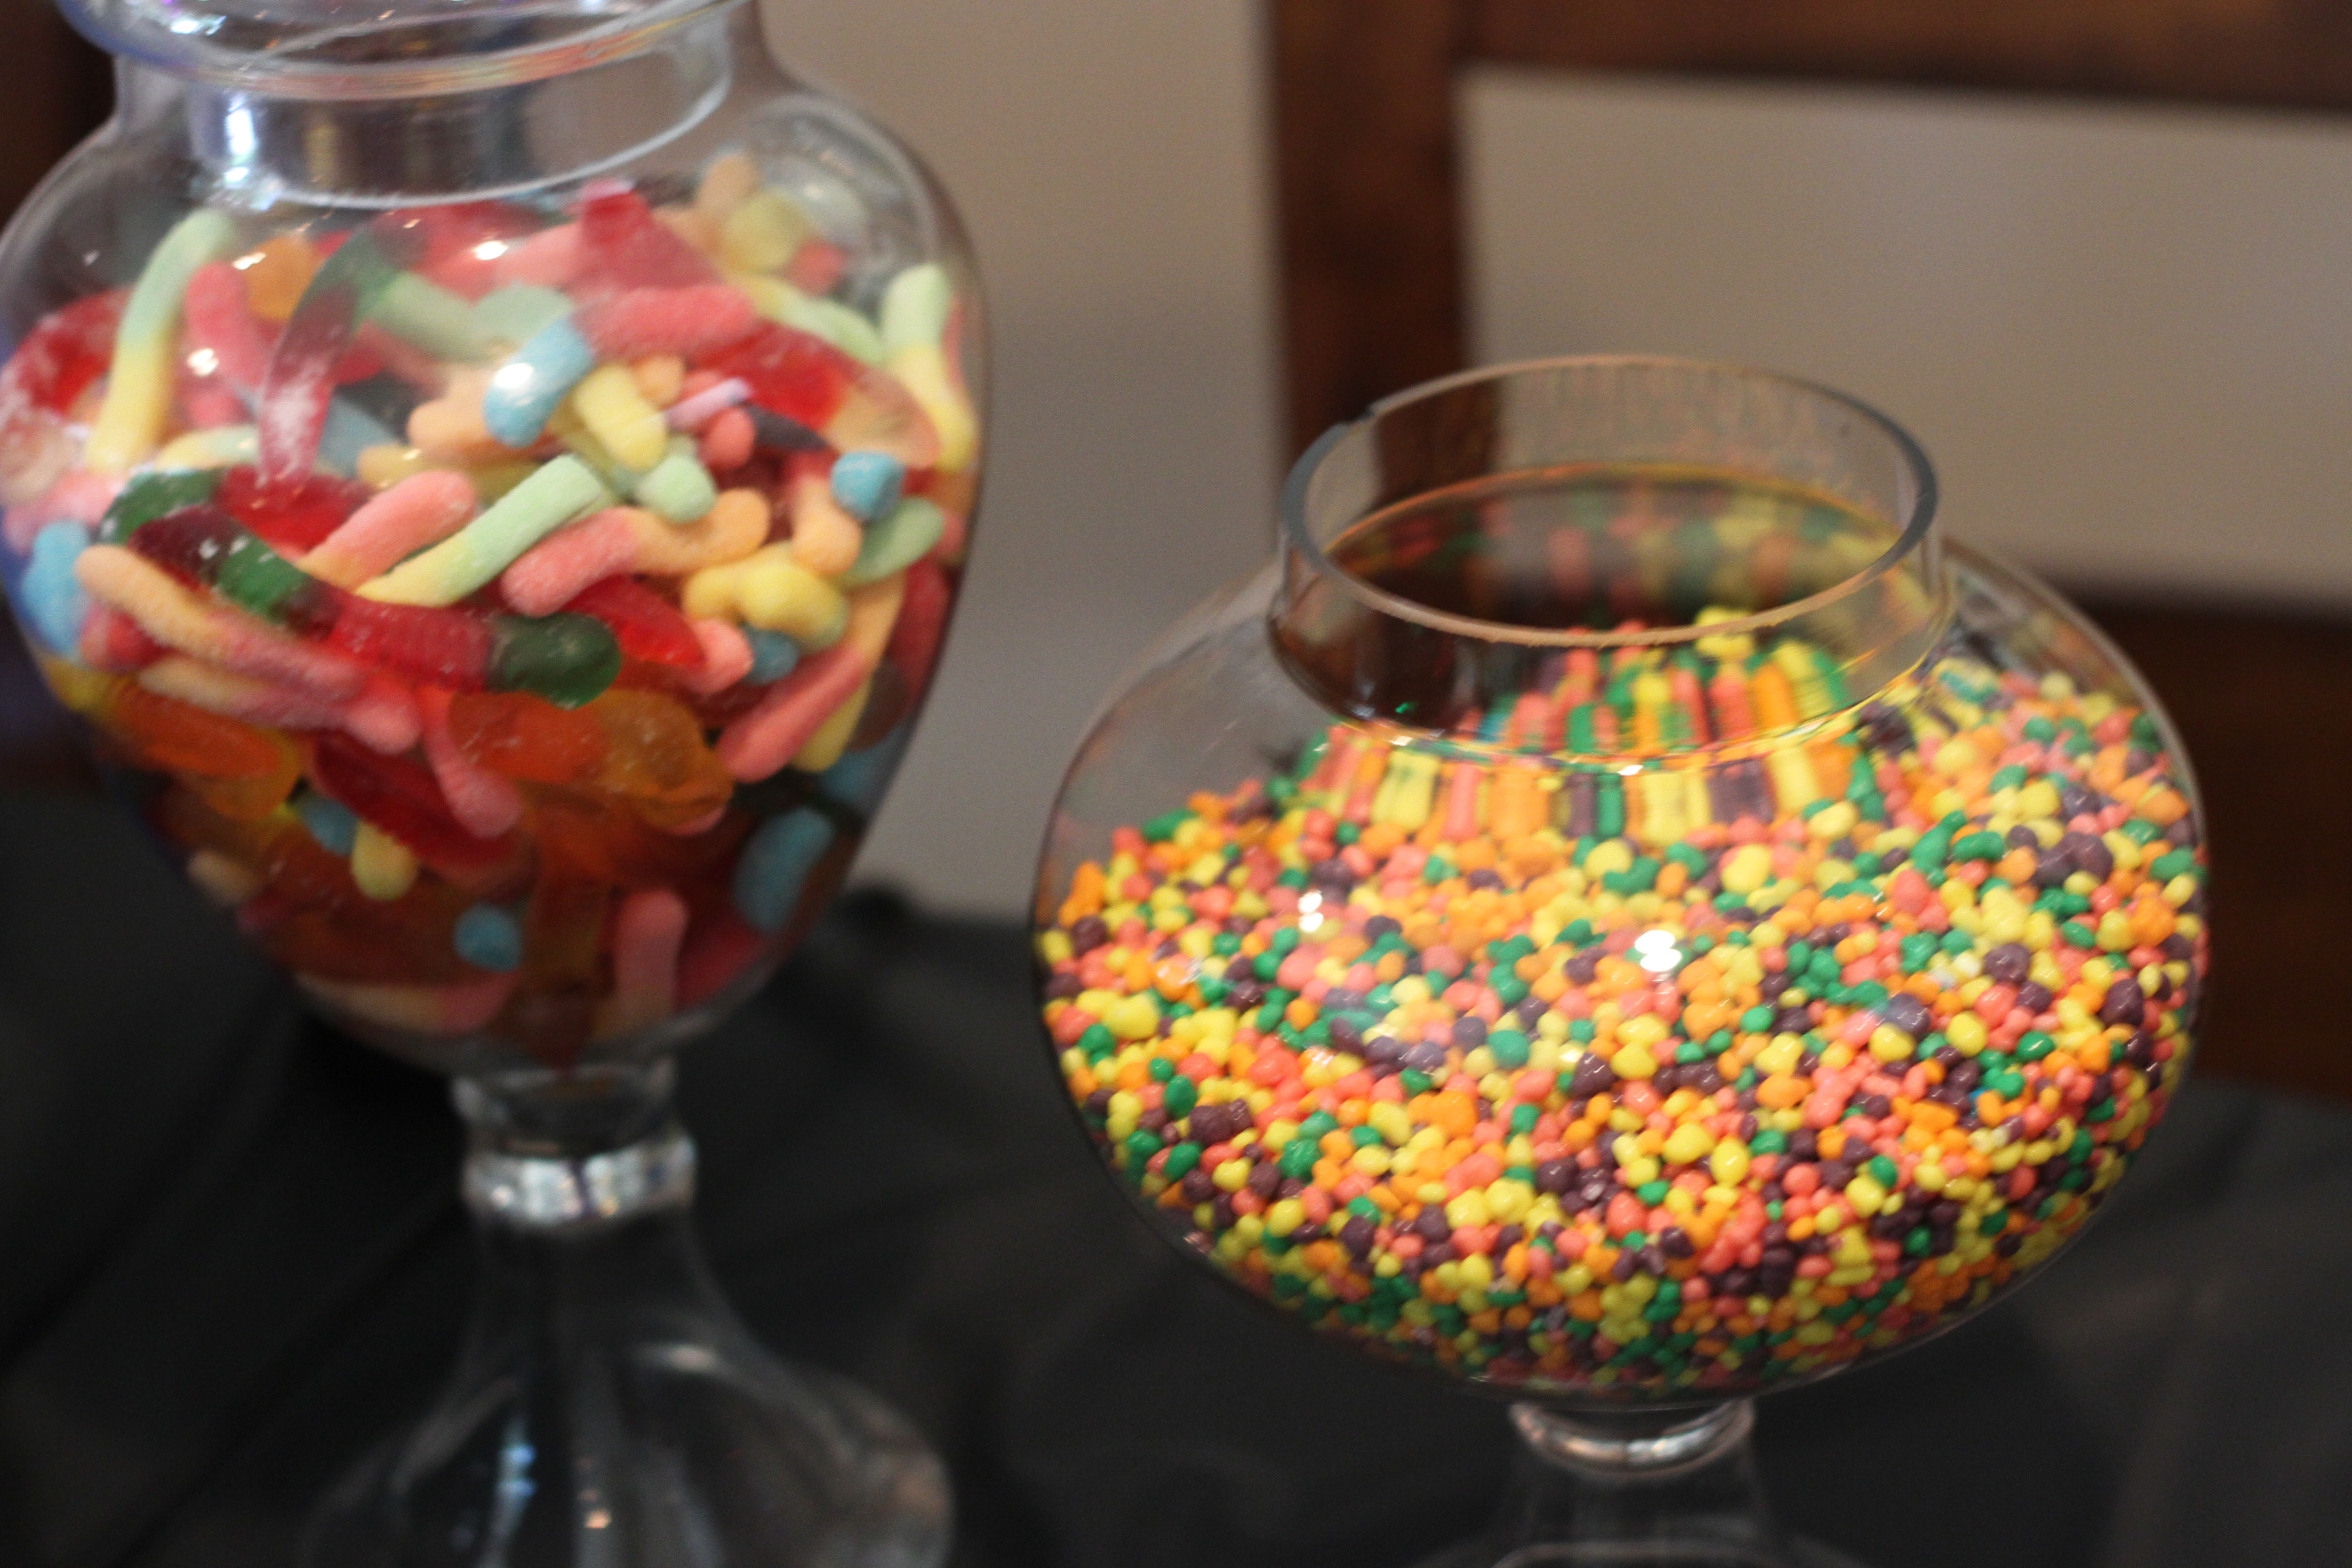
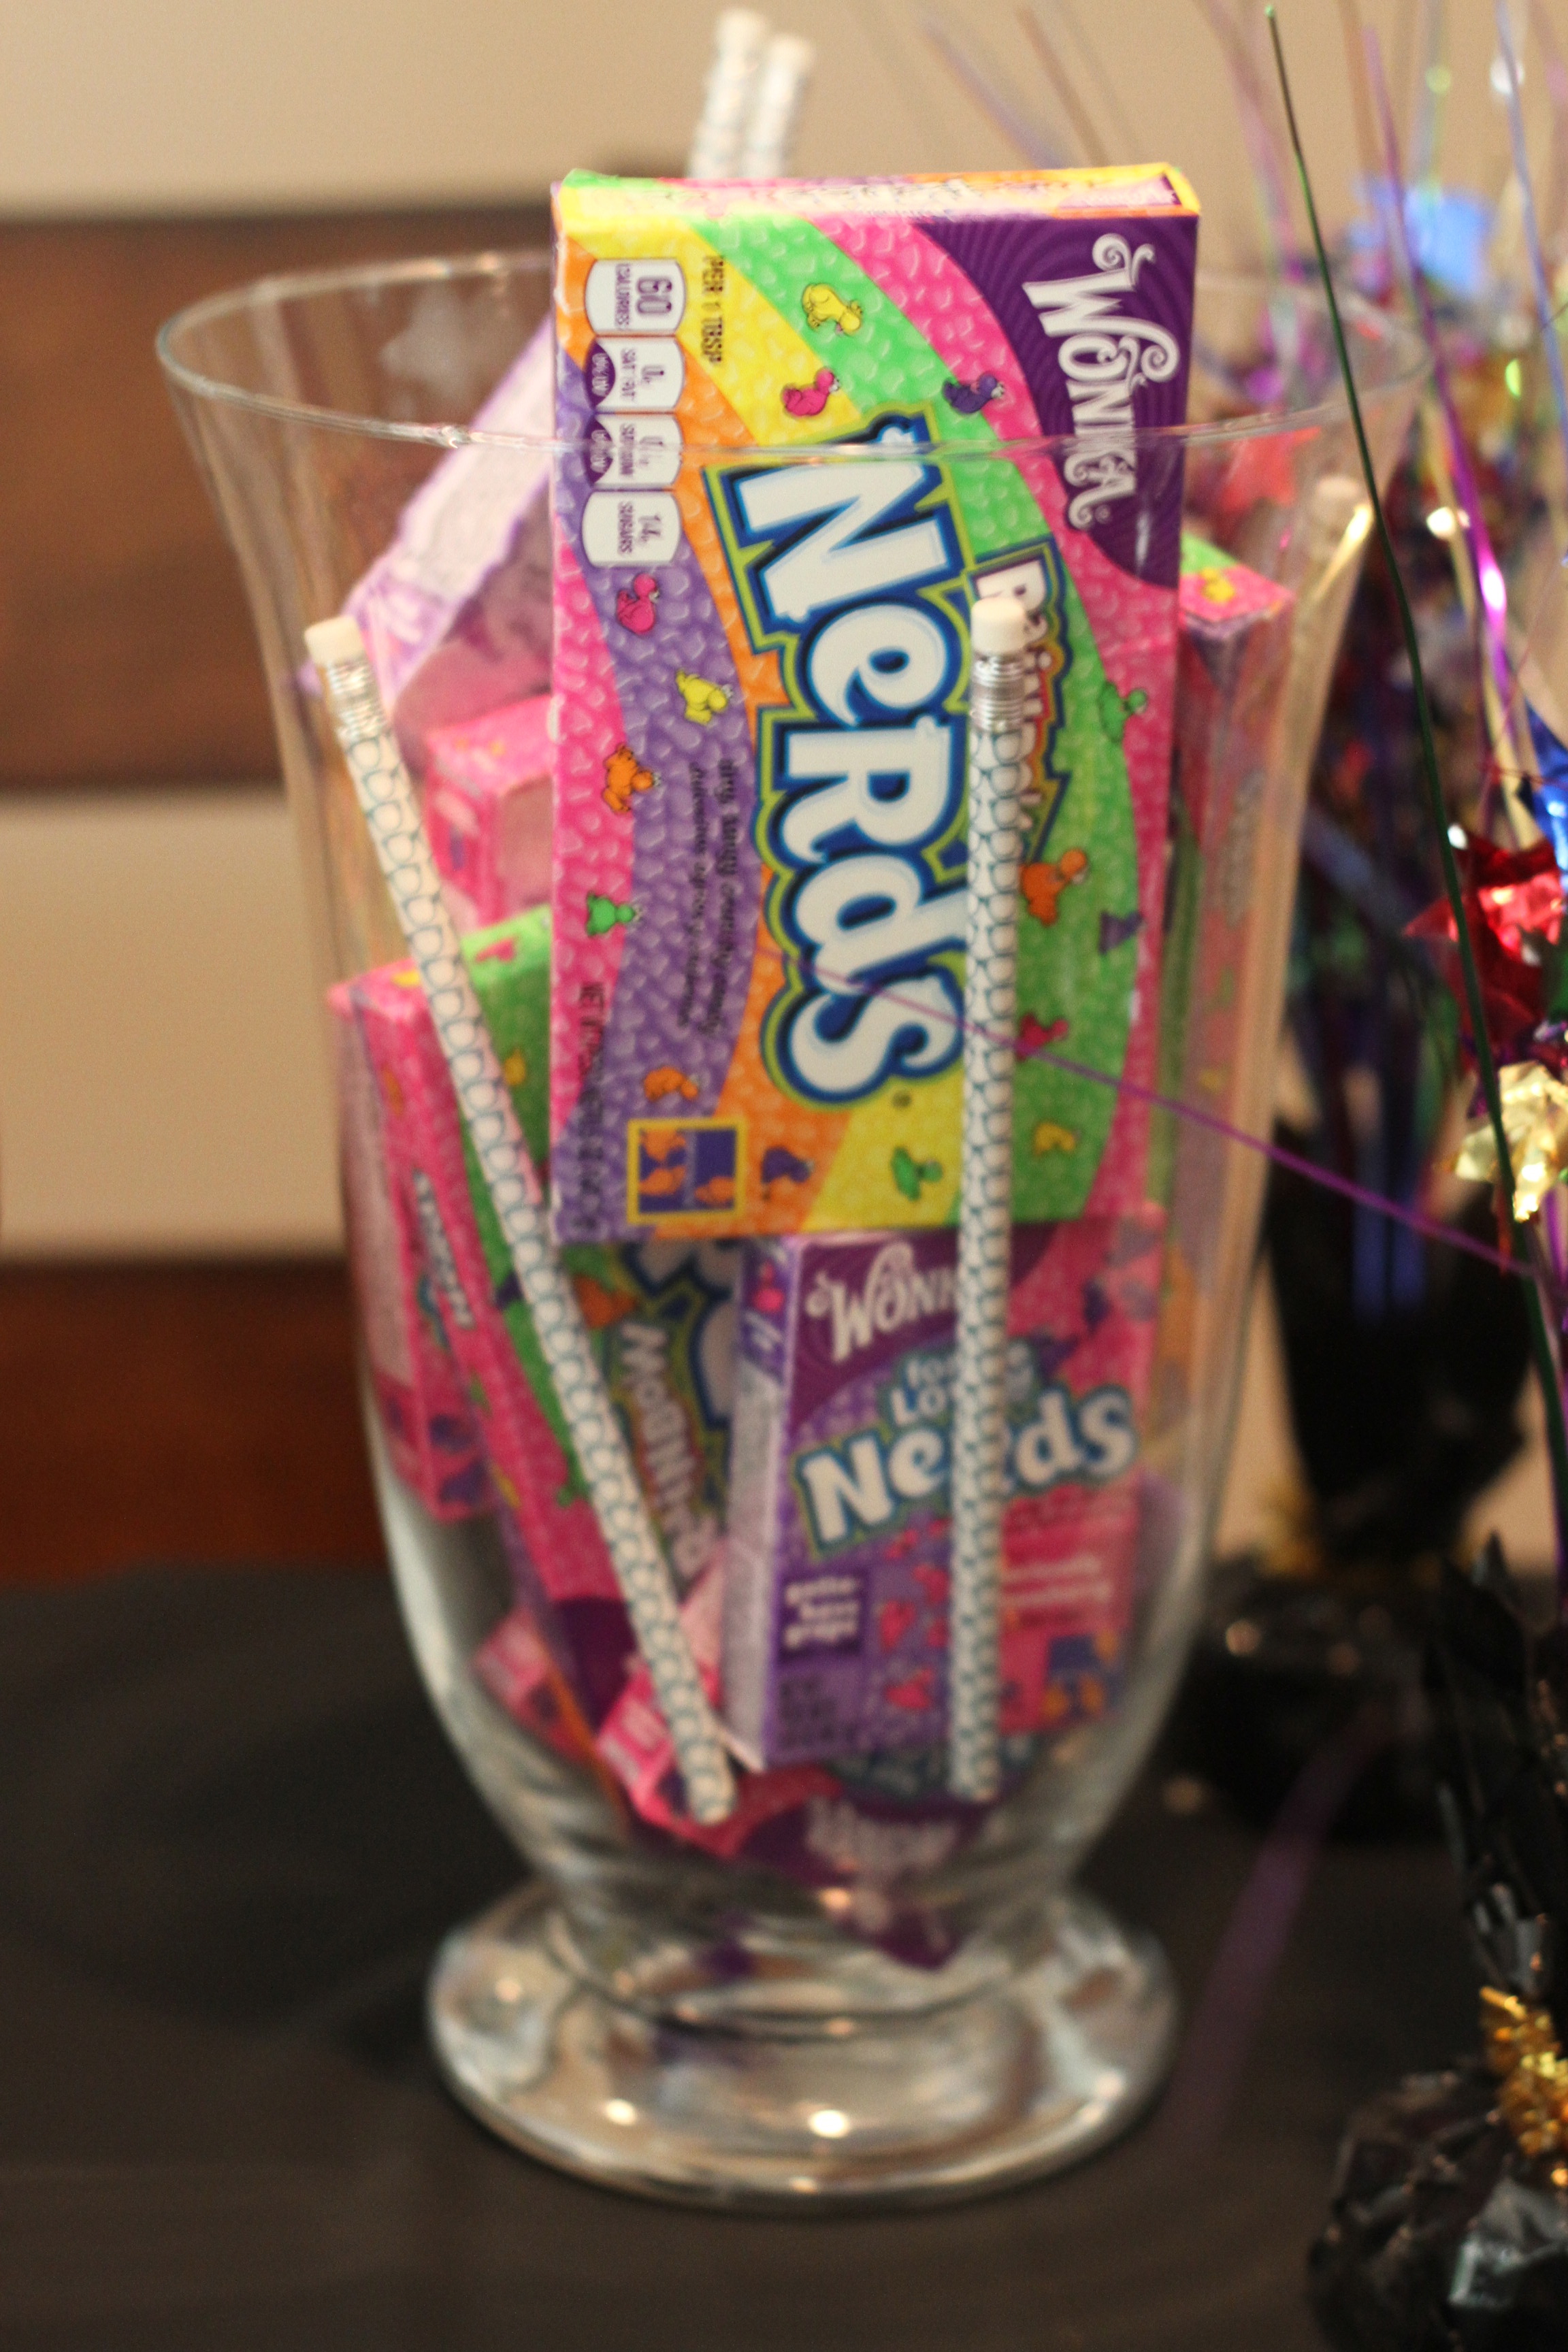
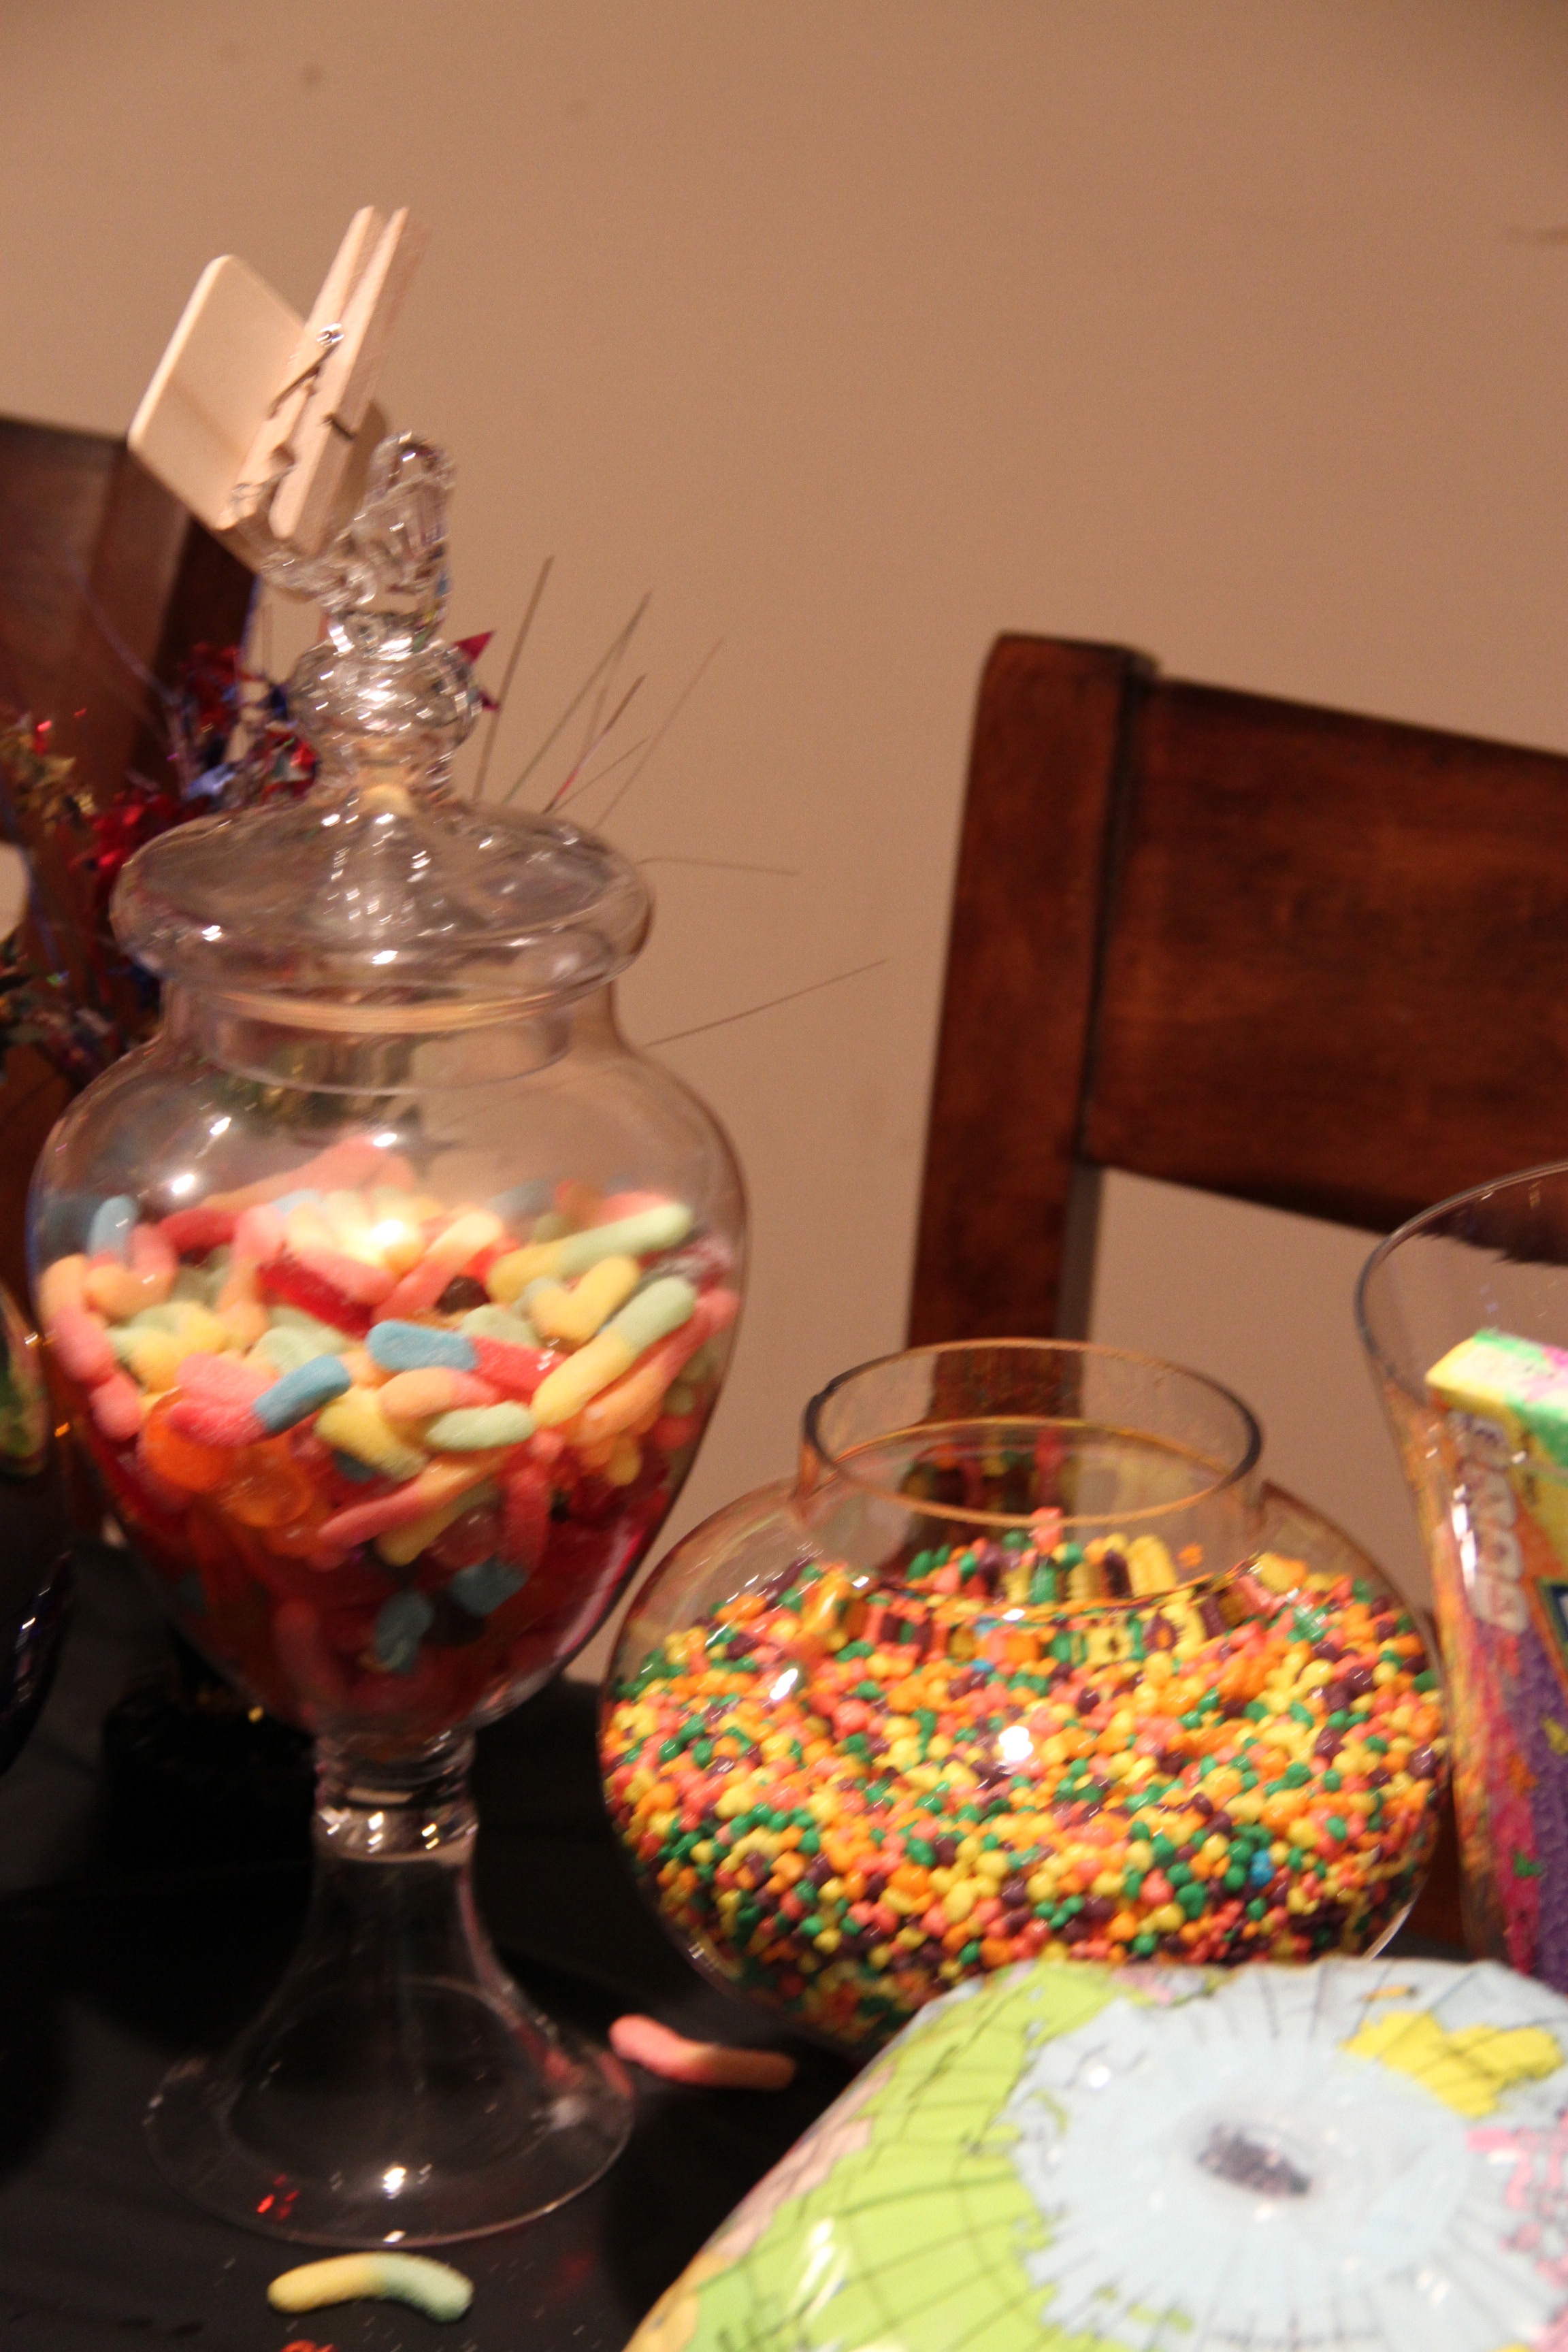
Thanks to my wonderful friend Lisa (get used to my thanking her), I was able to borrow her apothecary jars yet again. You have smarties, nerds (in boxes) and loose nerds. 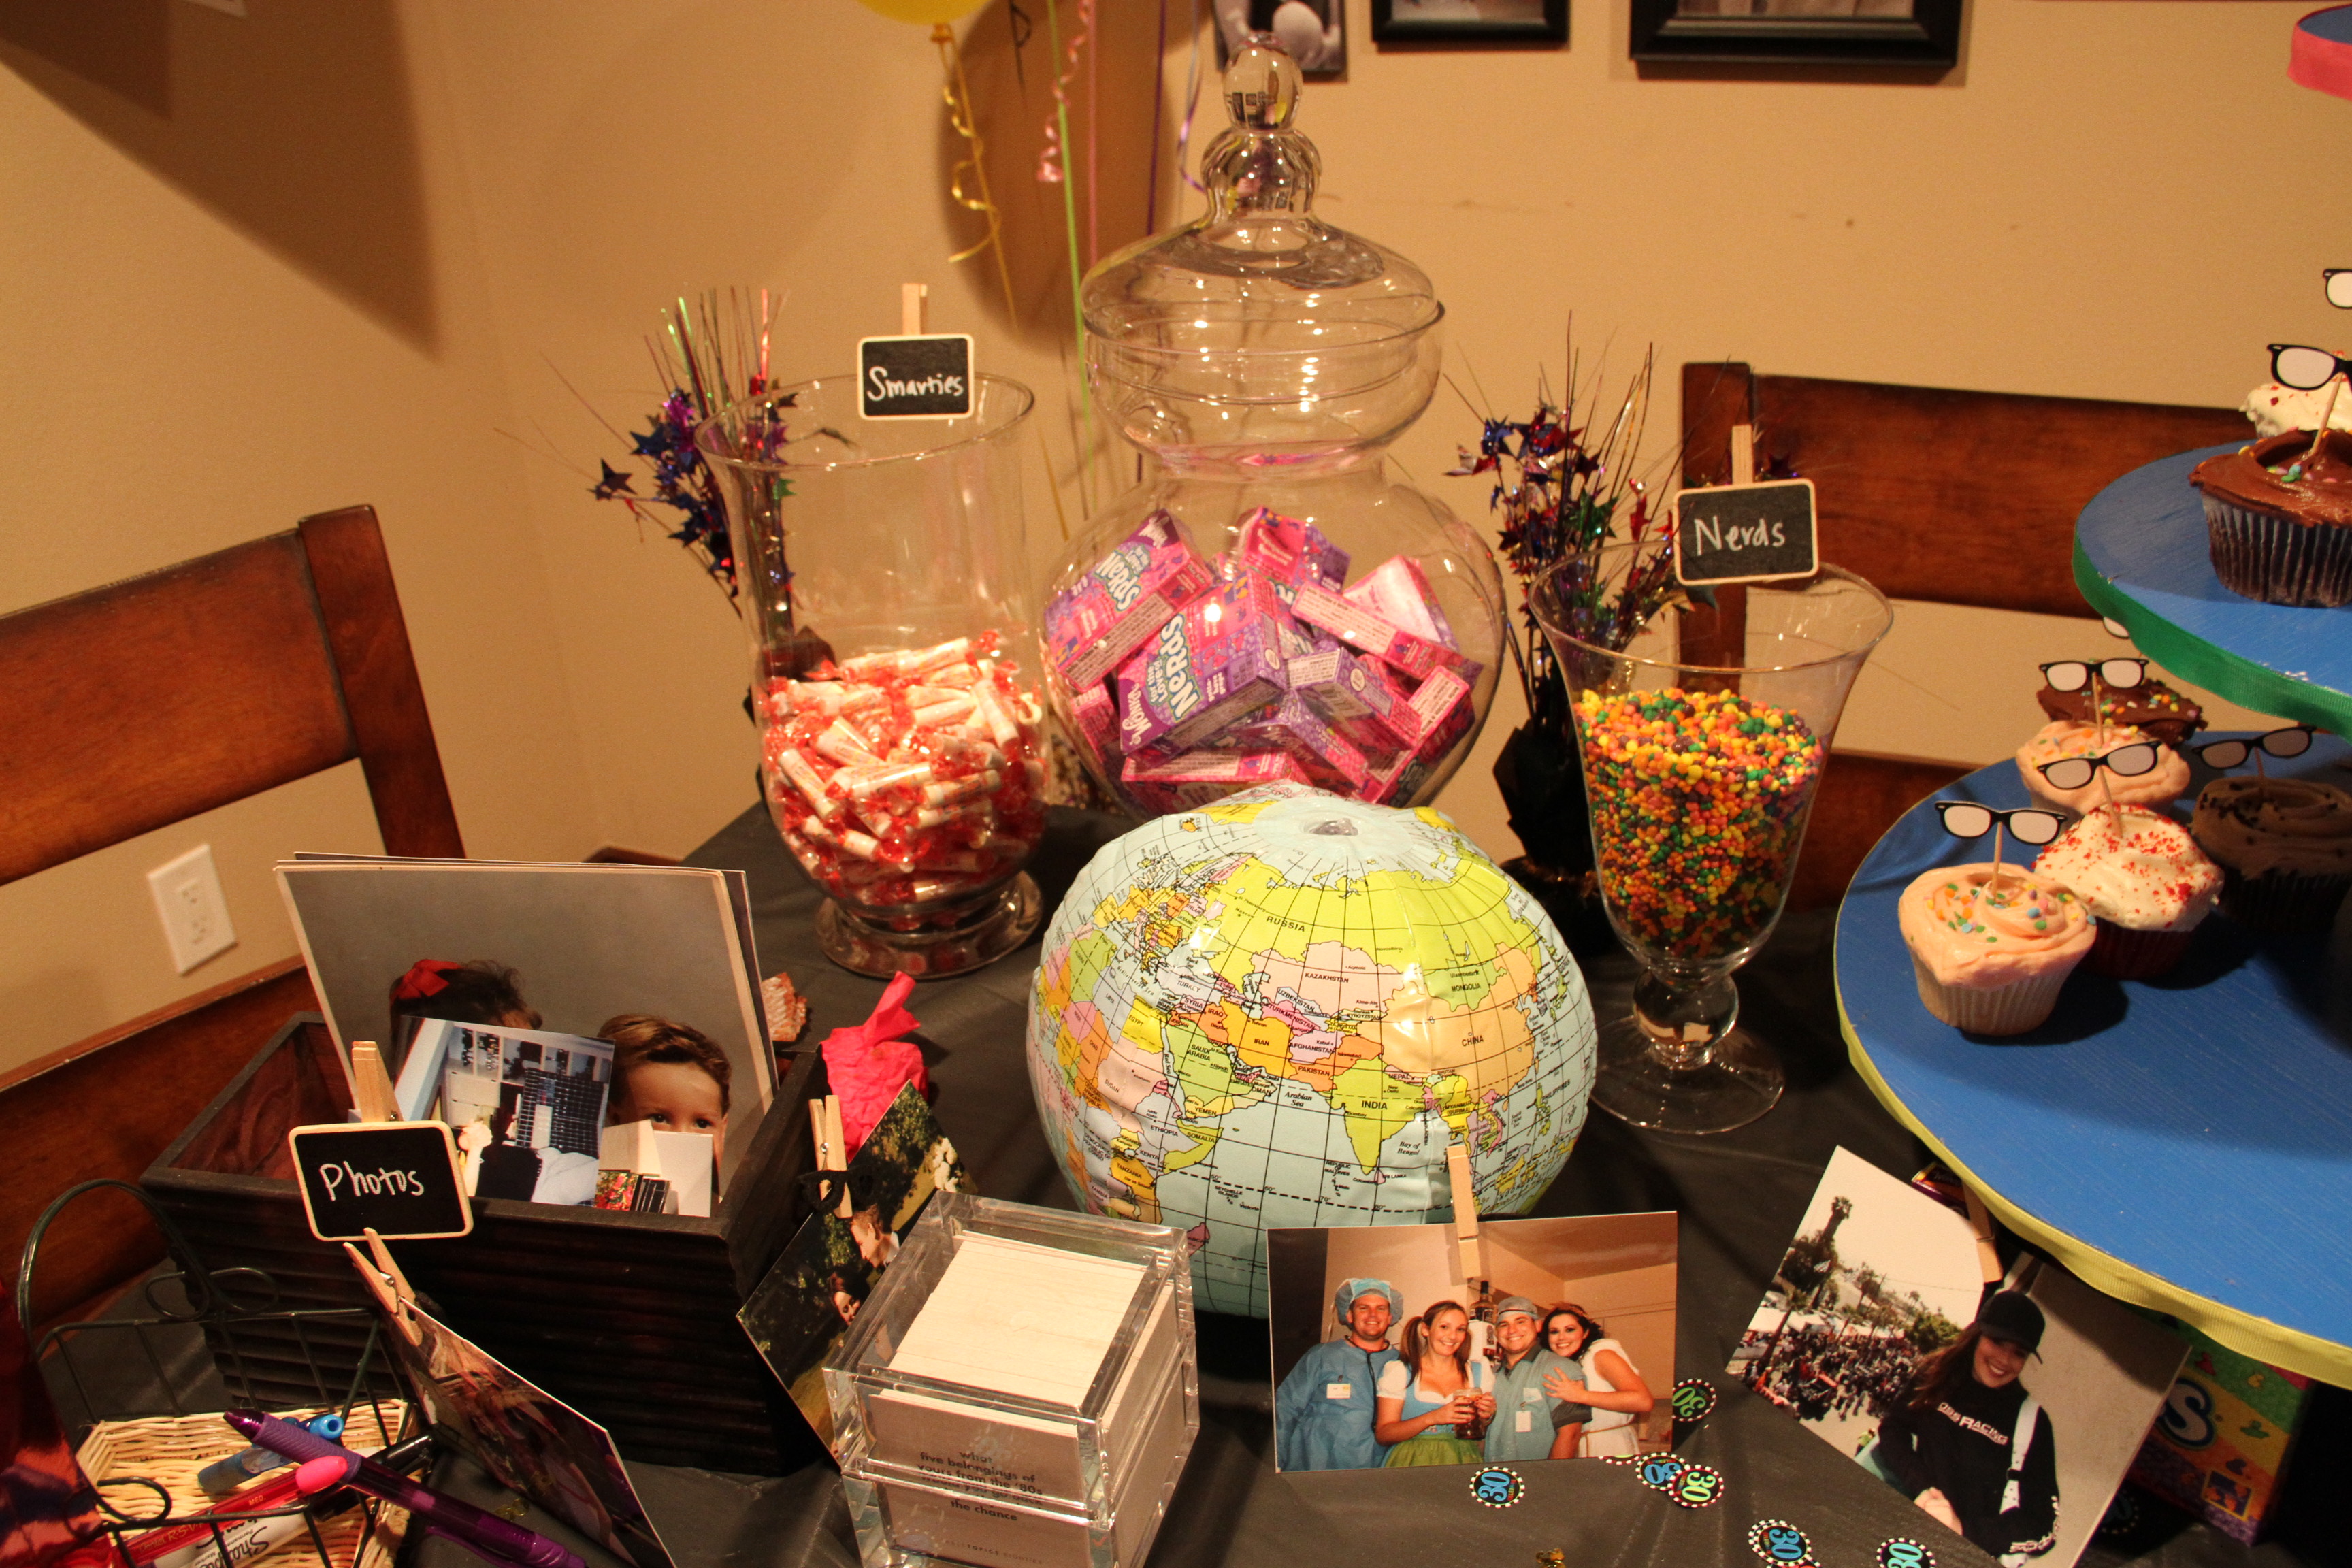
It’s hard to tell, but the clothespins on the photos on the table have felt eyeglasses on them.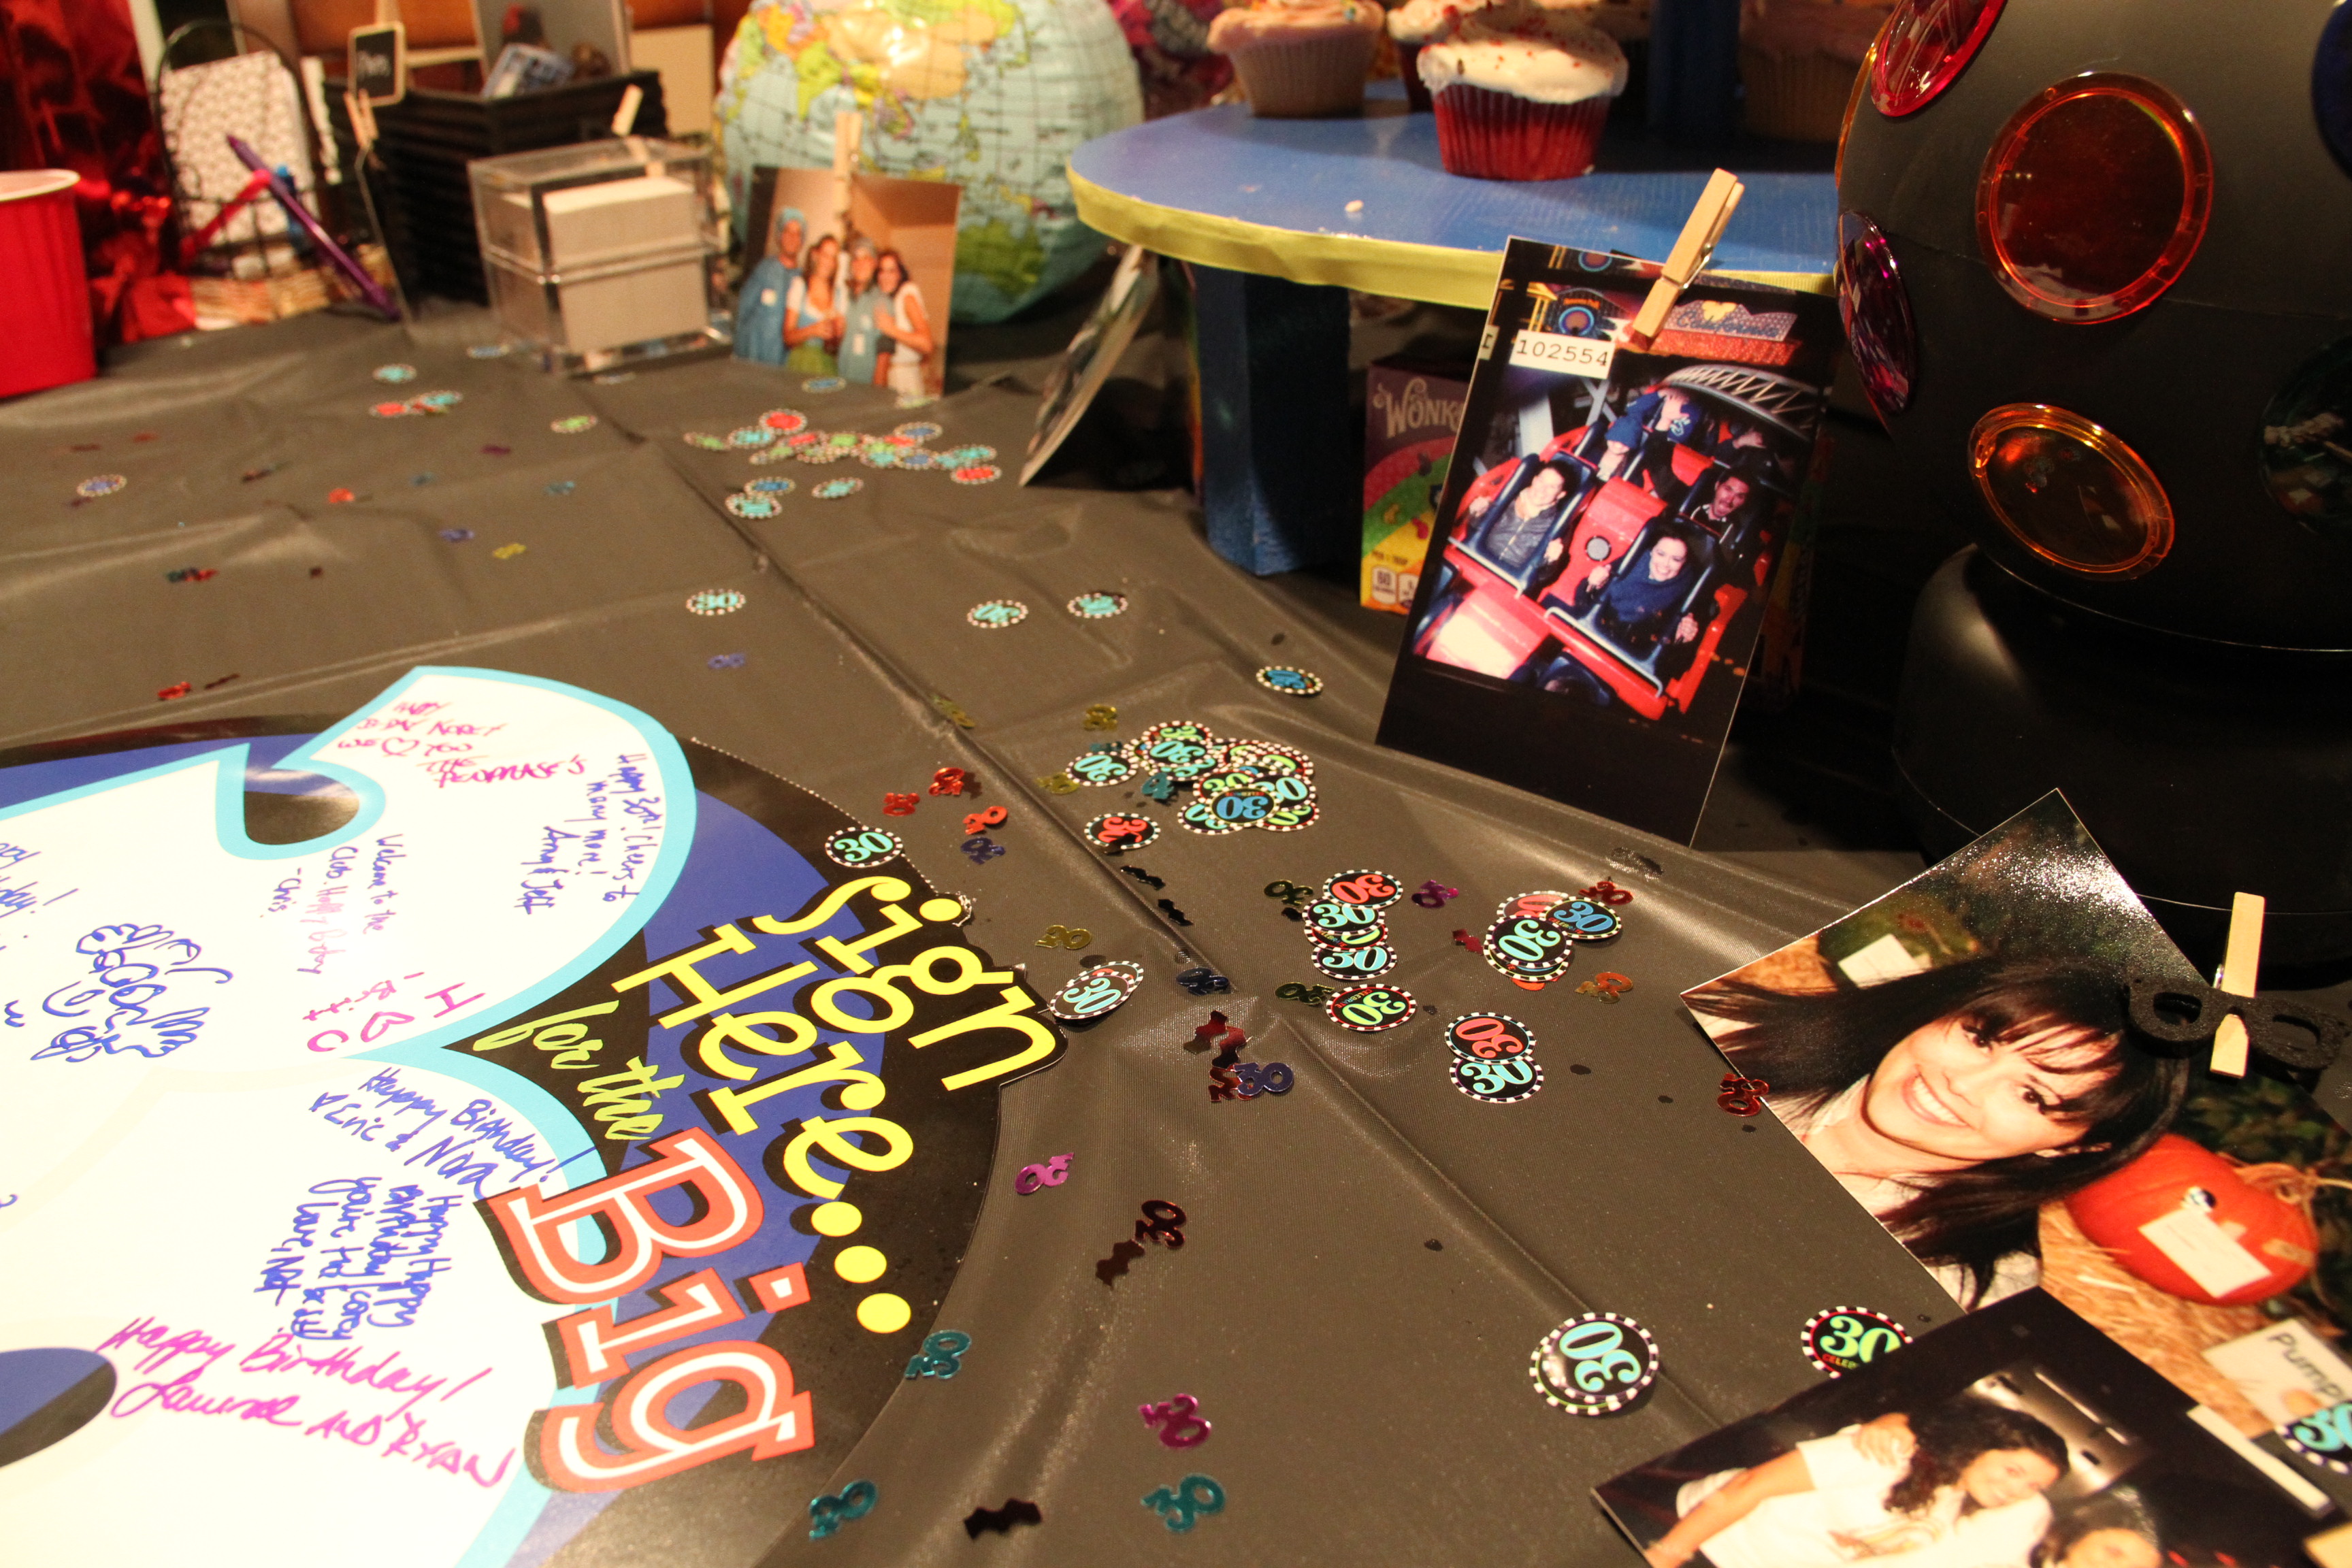
I borrowed the disco balls from my mom. They went well with the multi-color theme.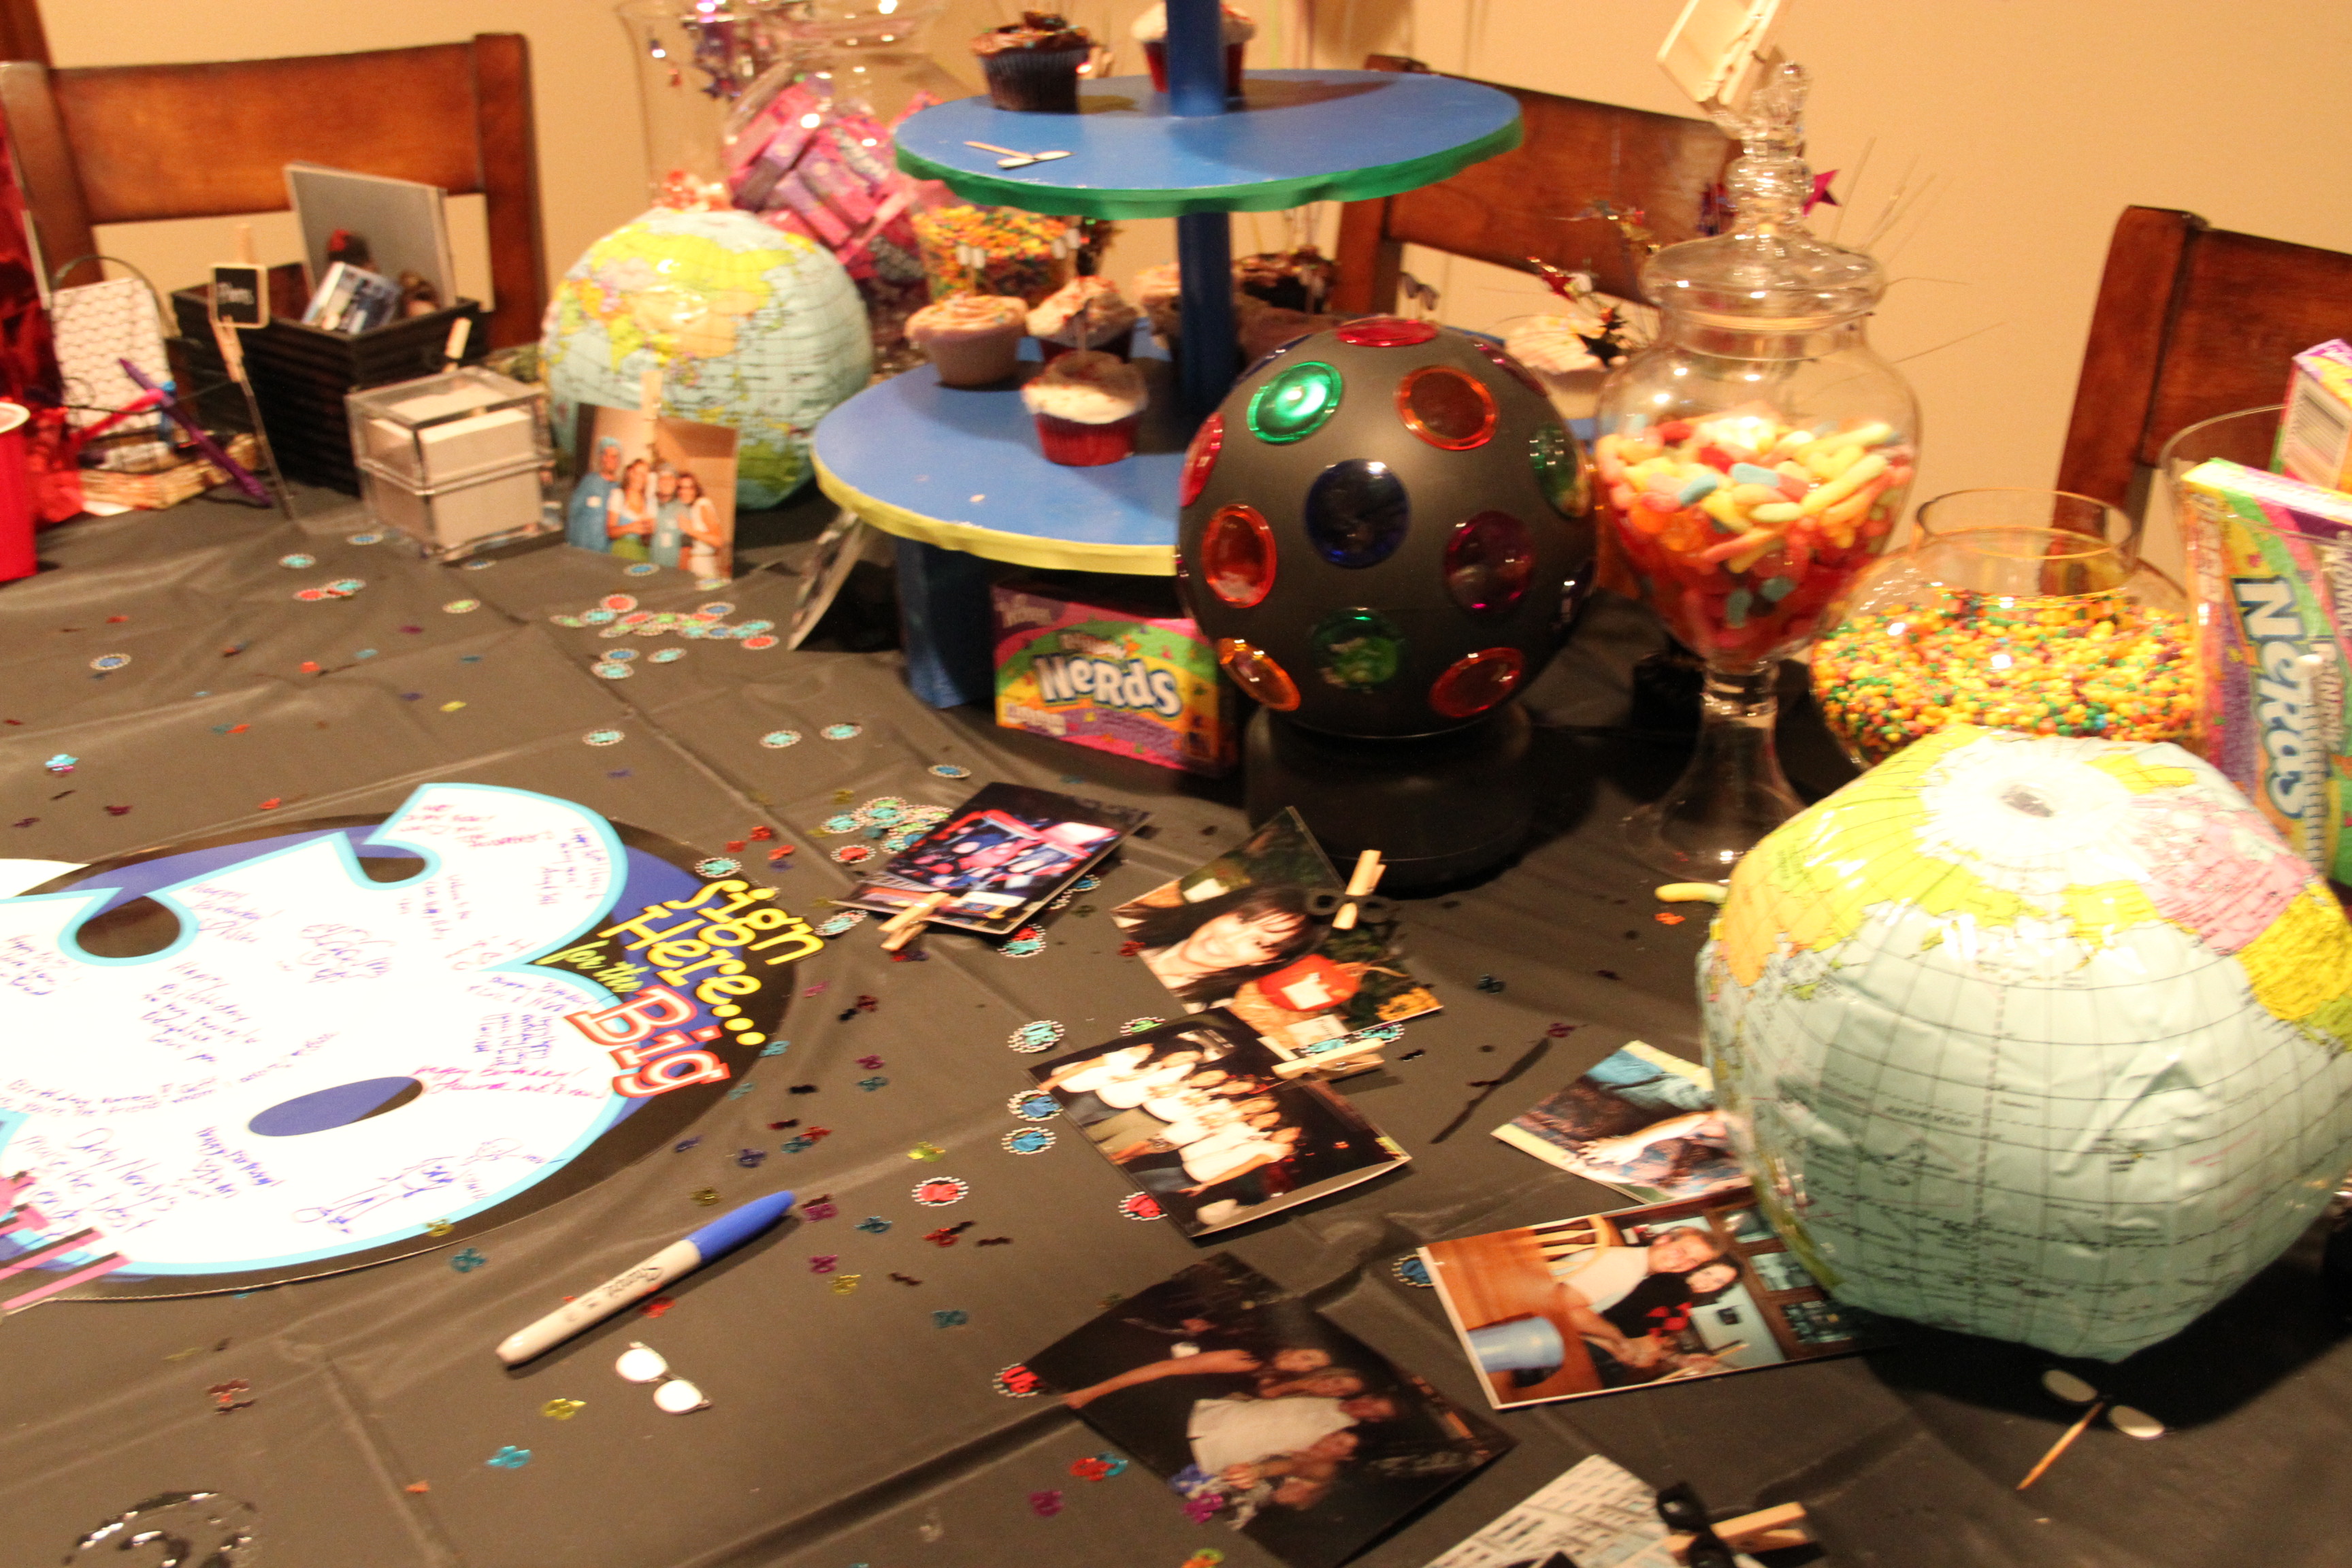
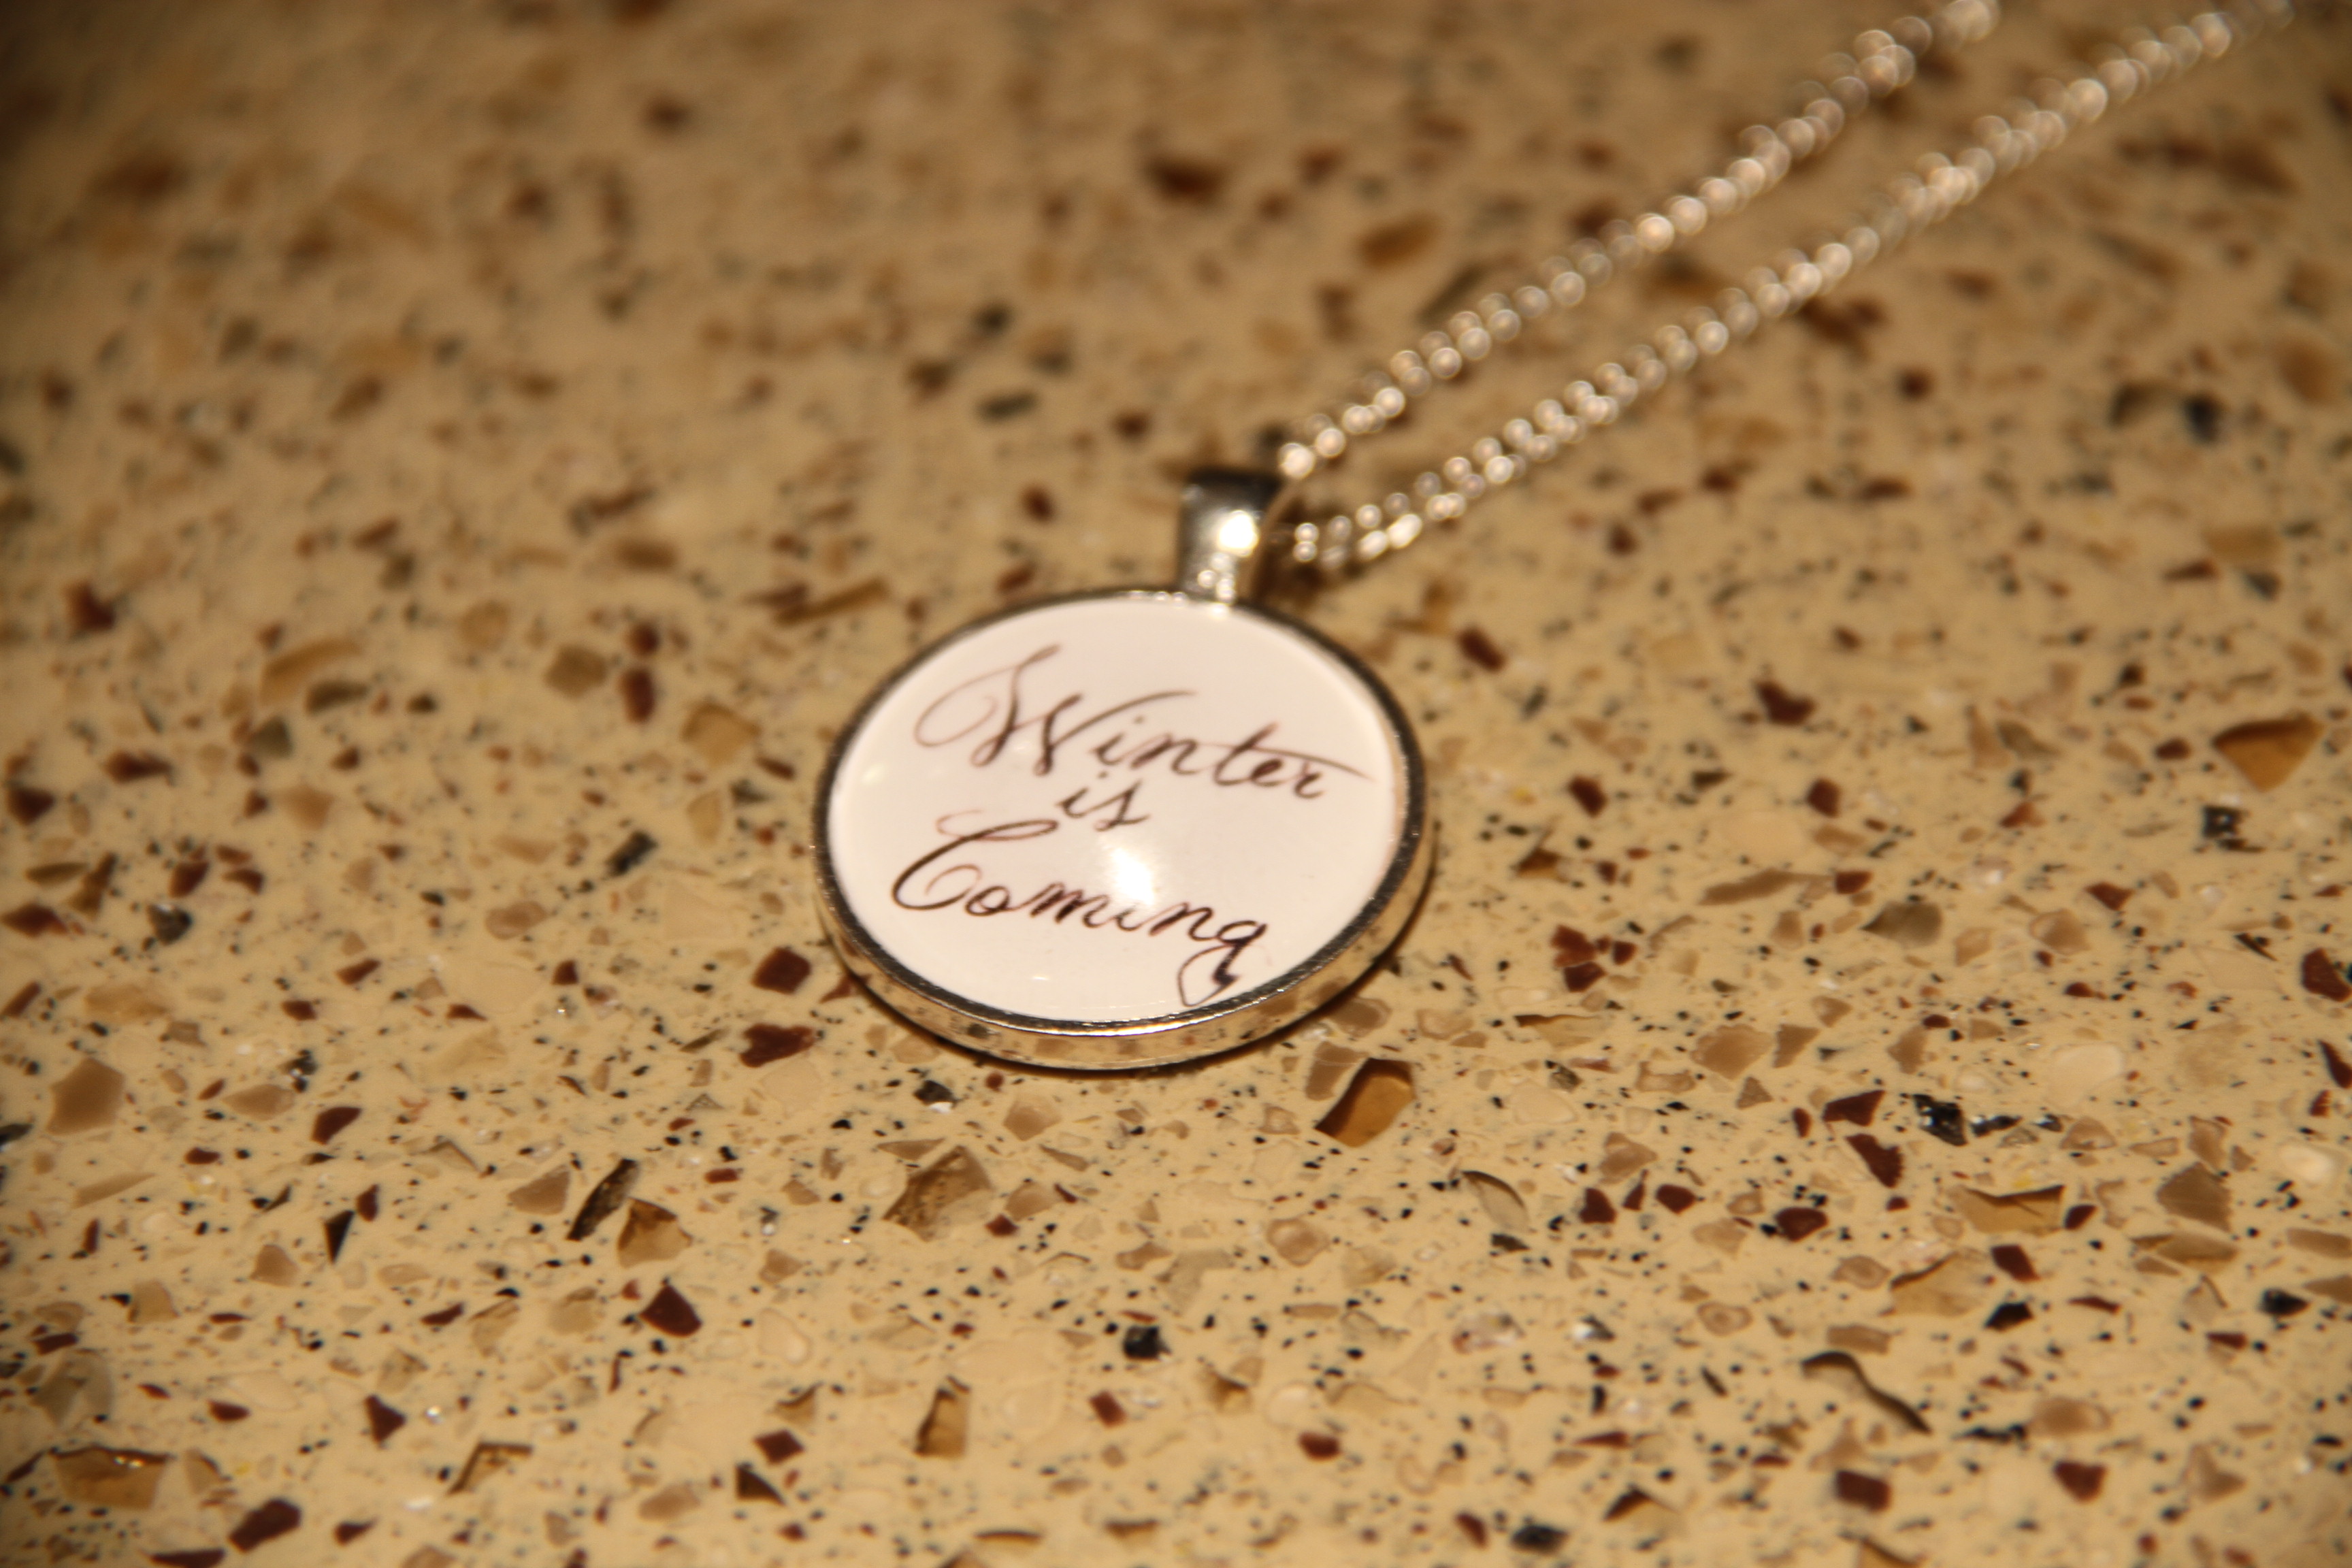
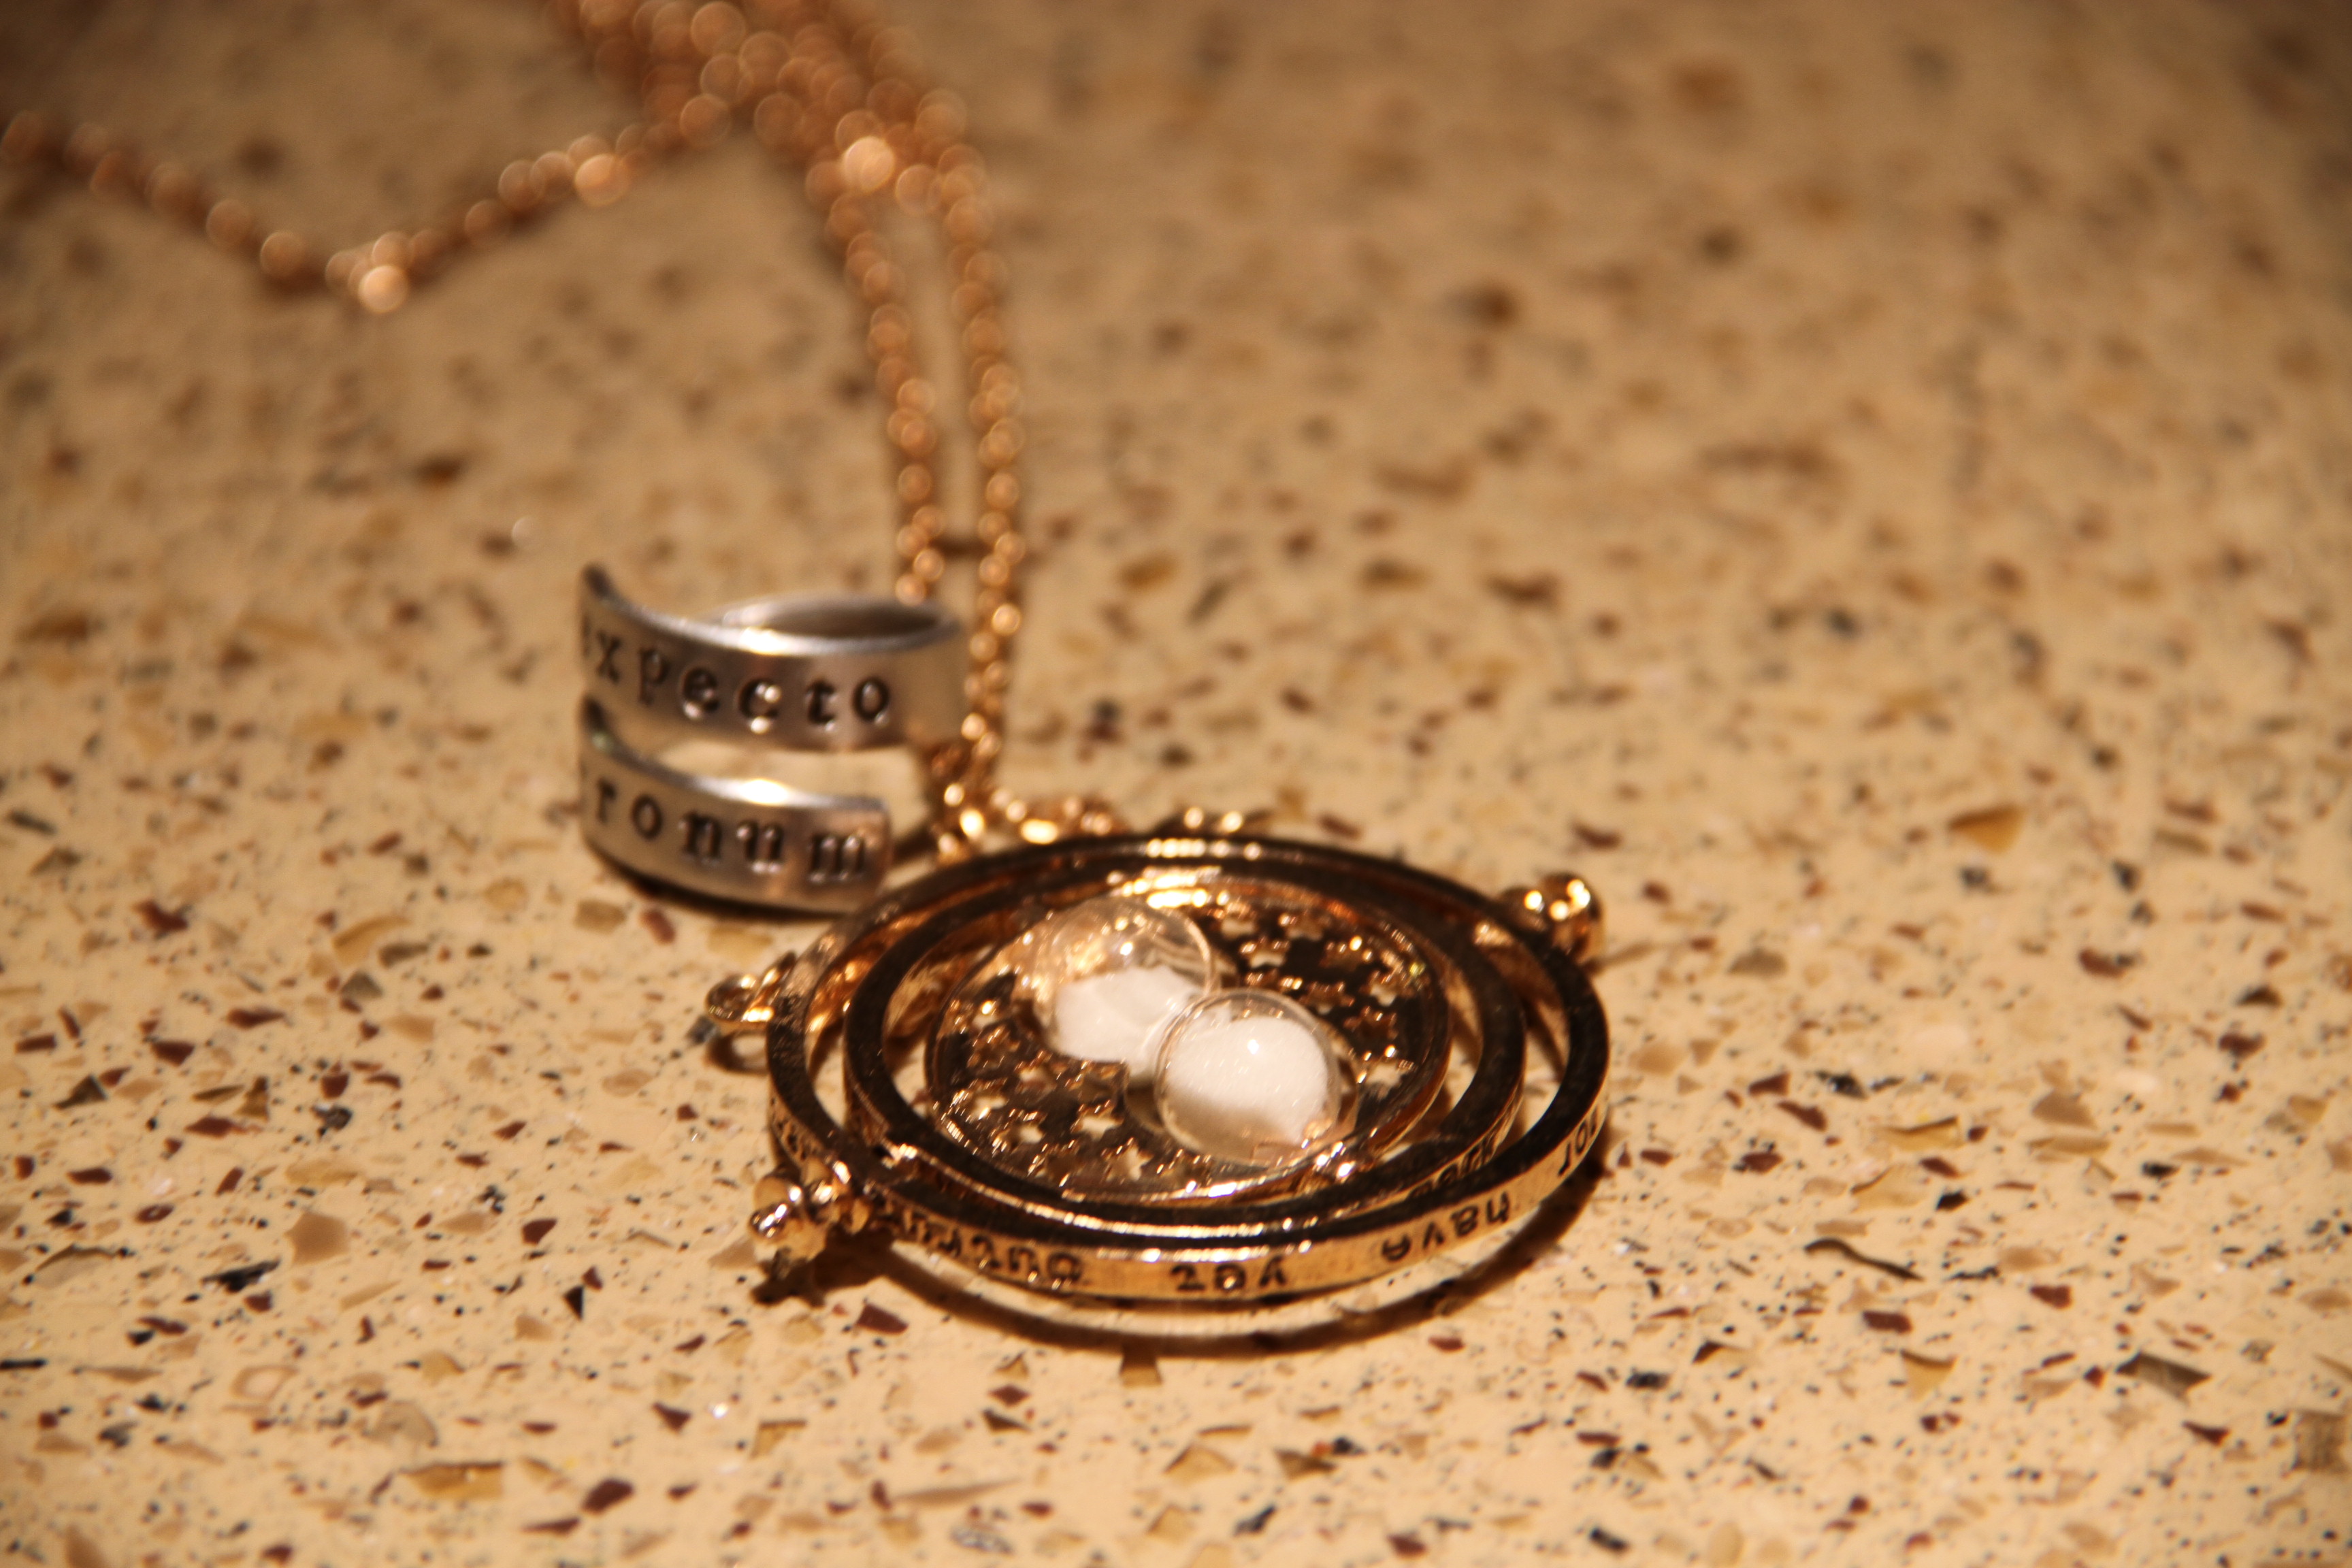
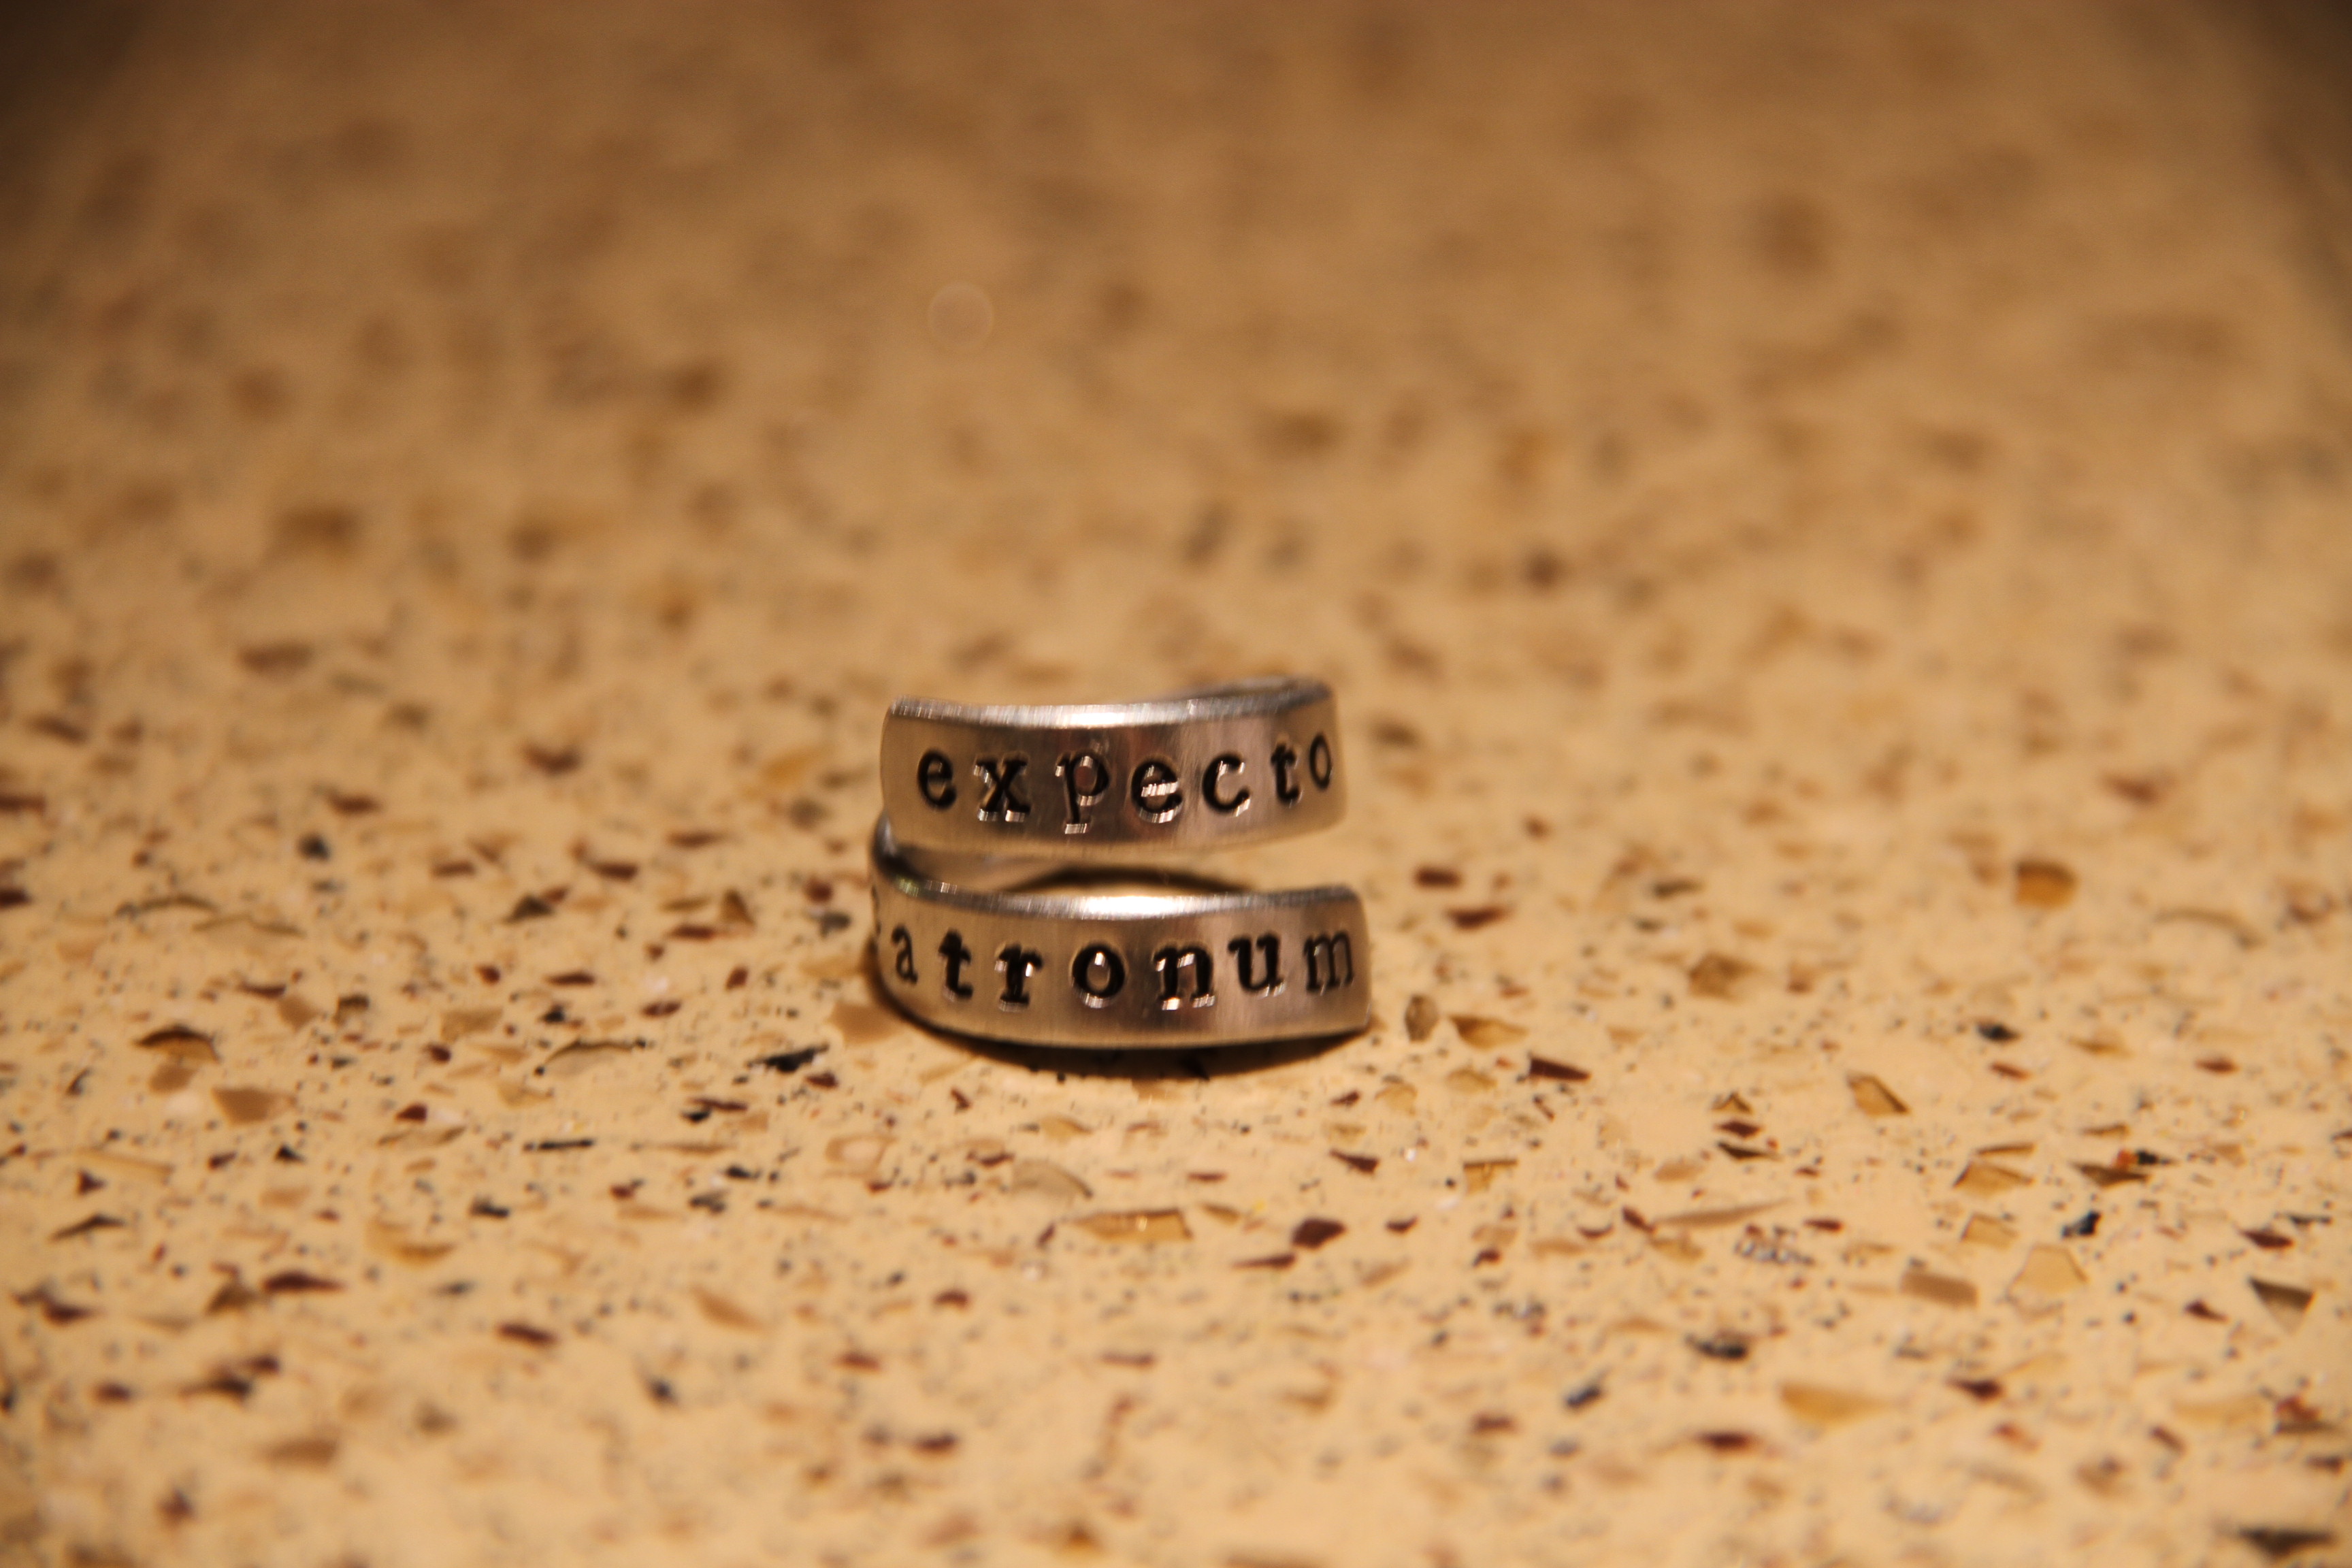
My nerdy jewelry, from Etsy.
“Winter is Coming” necklace by BeneathGlass.
Eyeglass necklace by DebraMarieDesigns.
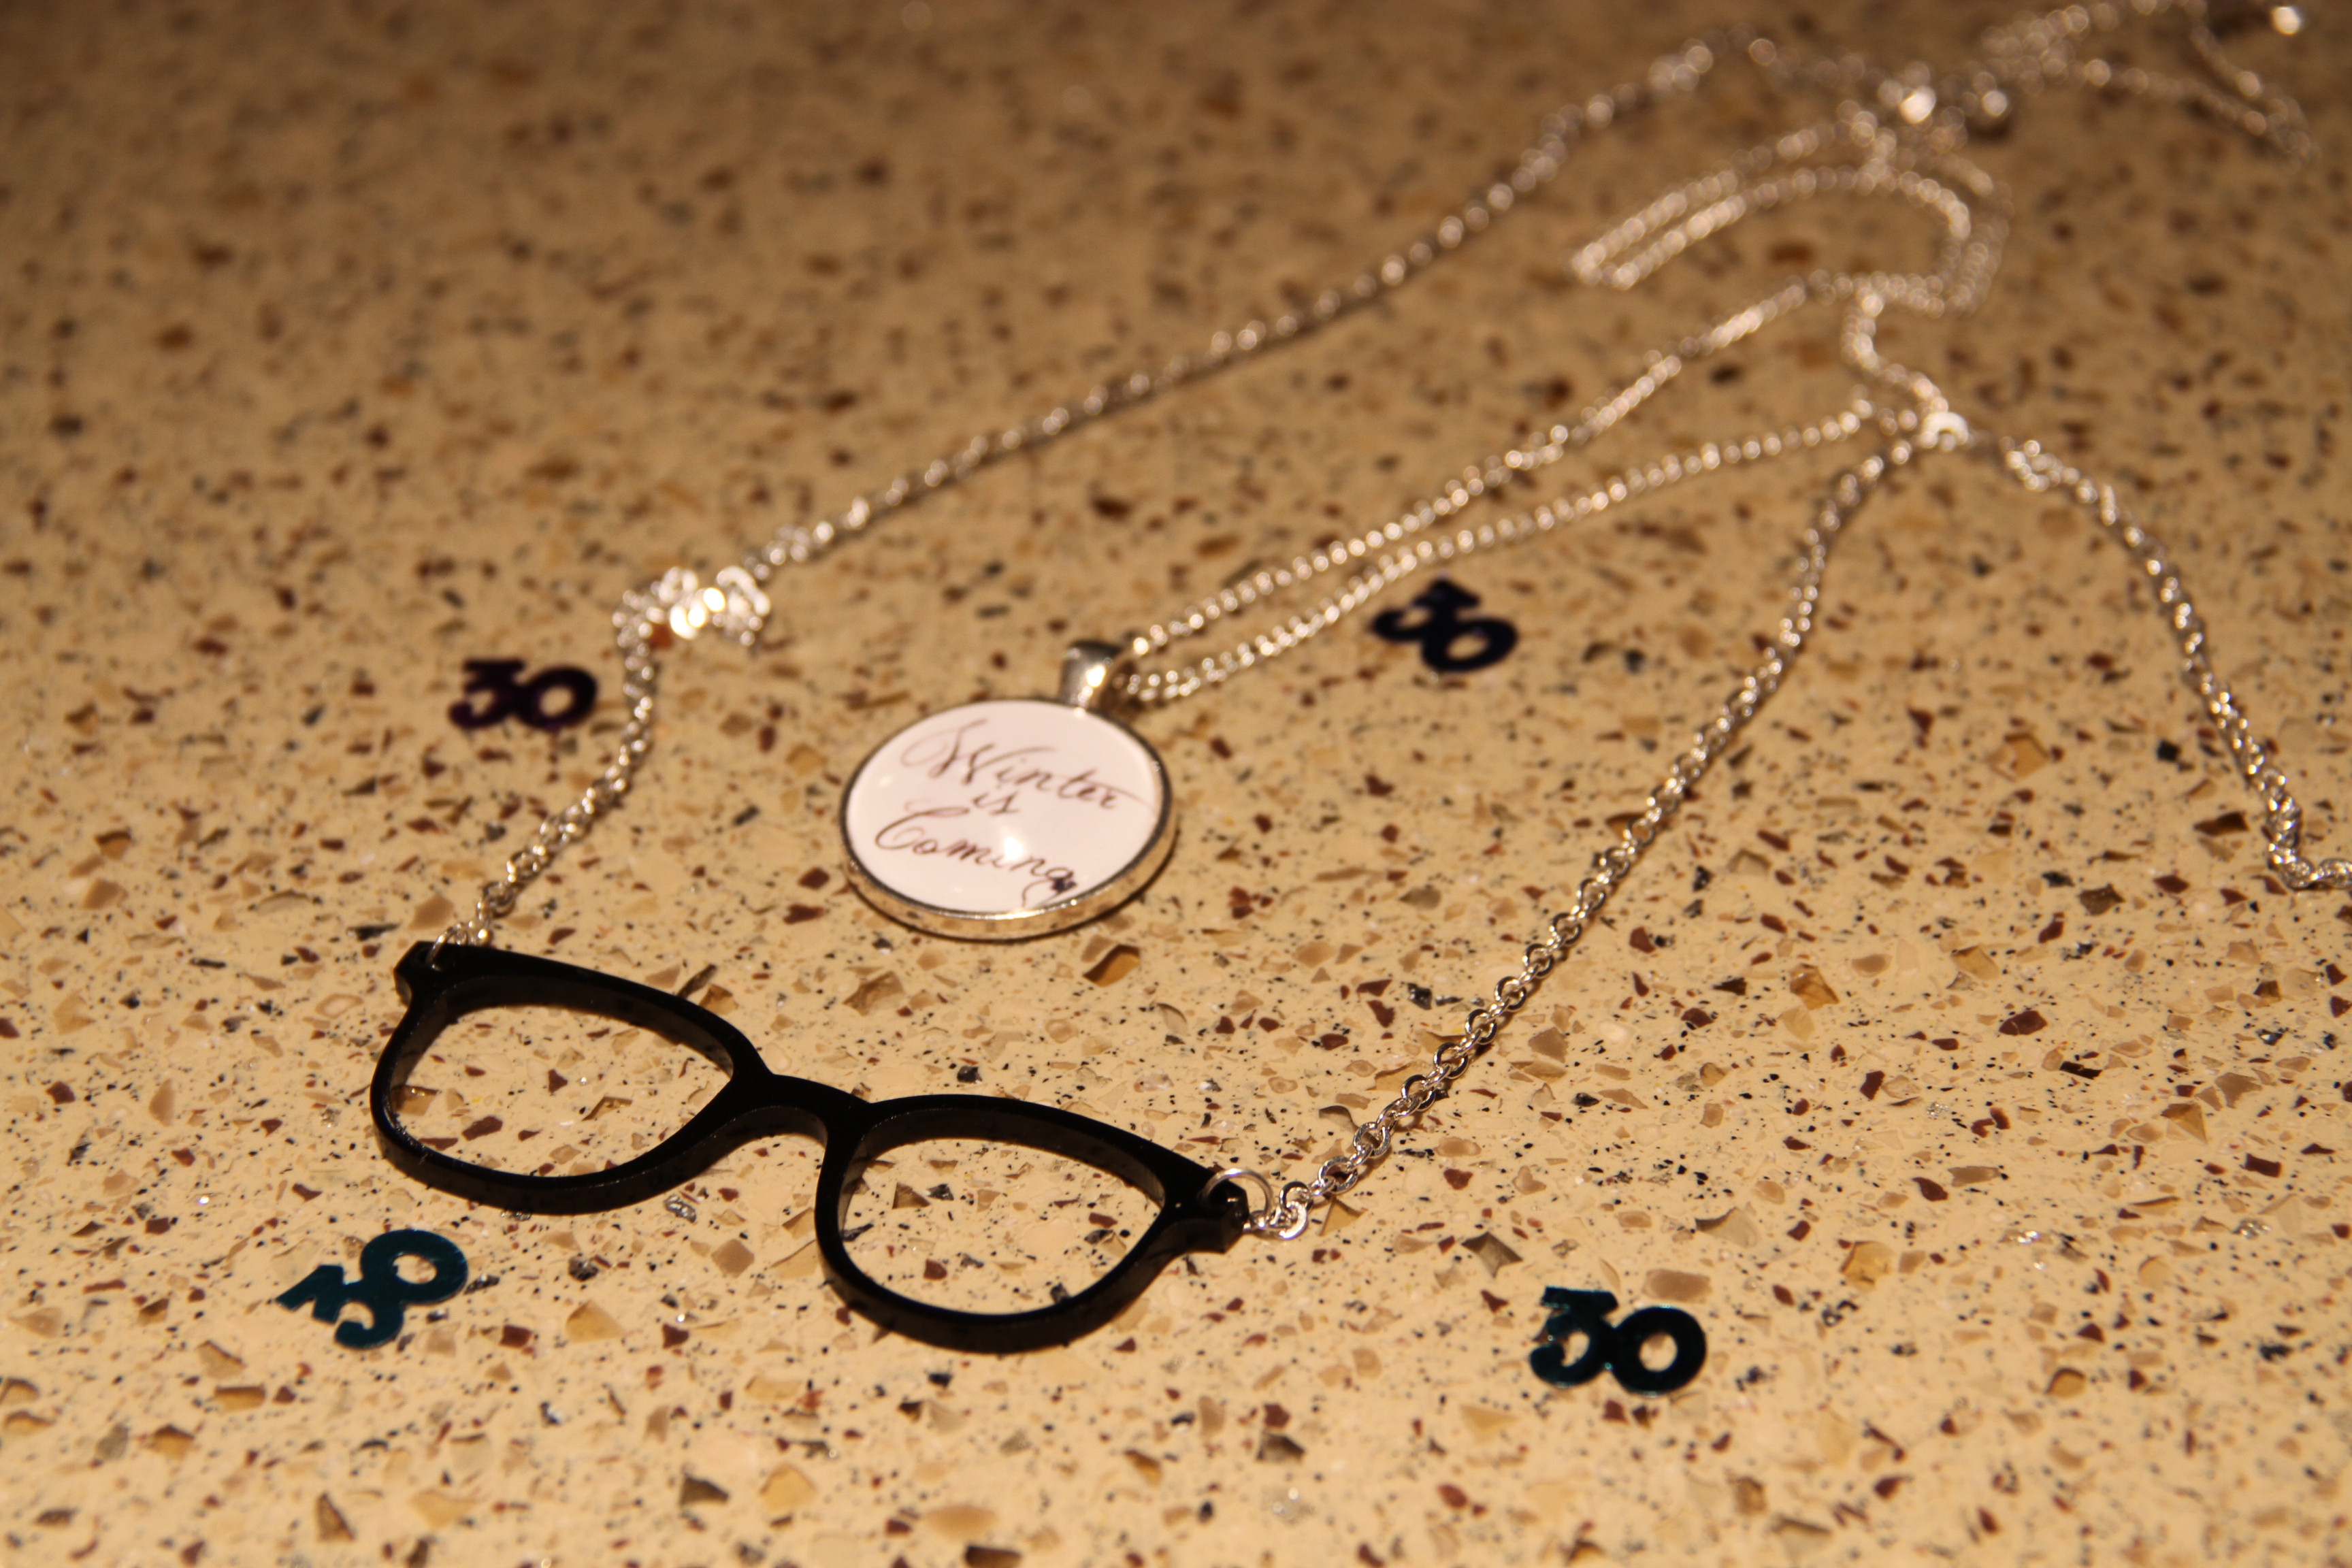
“Expectro Patronum” ring by FamilyHouseStampin.
Hermione’s time-turner necklace from SurpriseCollection.
I made these book earrings…I found the adorable book charms at Hobby Lobby, and used jump rings to attach them to silver earring hooks.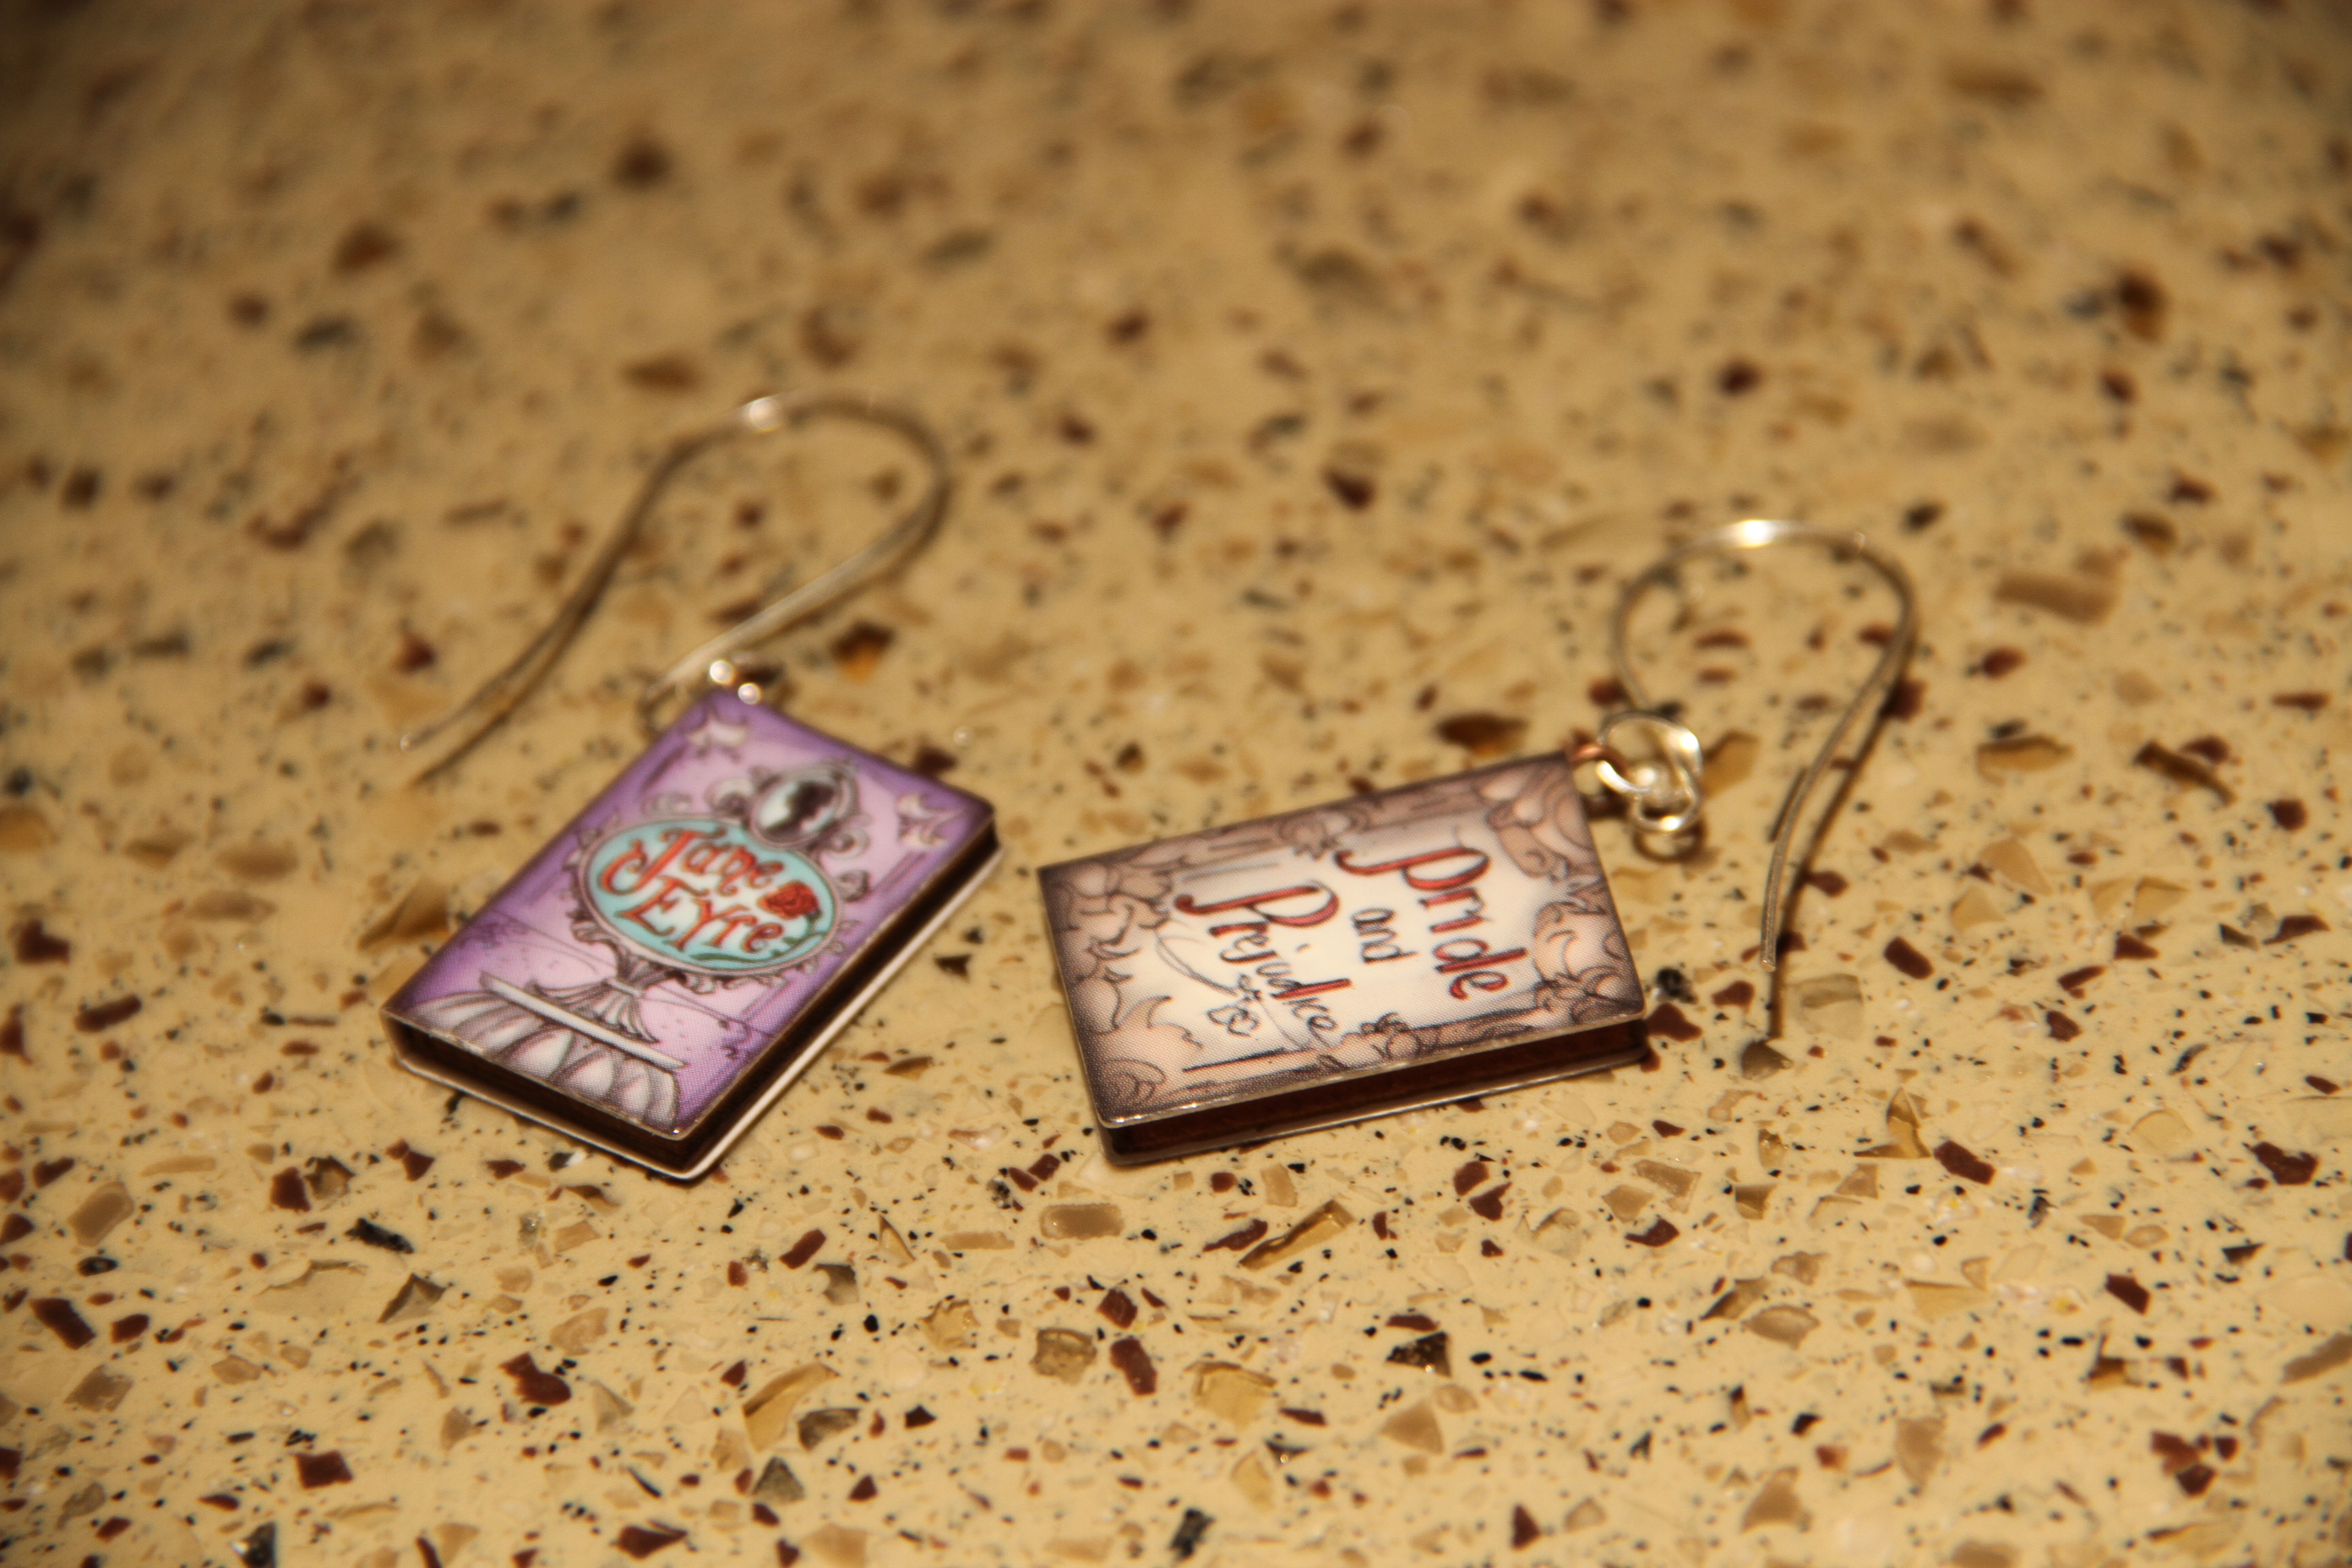
Hanging inflatable globes are from Oriental Trading.
The cupcake stand has been “in the family” — my mom’s friend Trasie made it years ago, and it has been several different colors!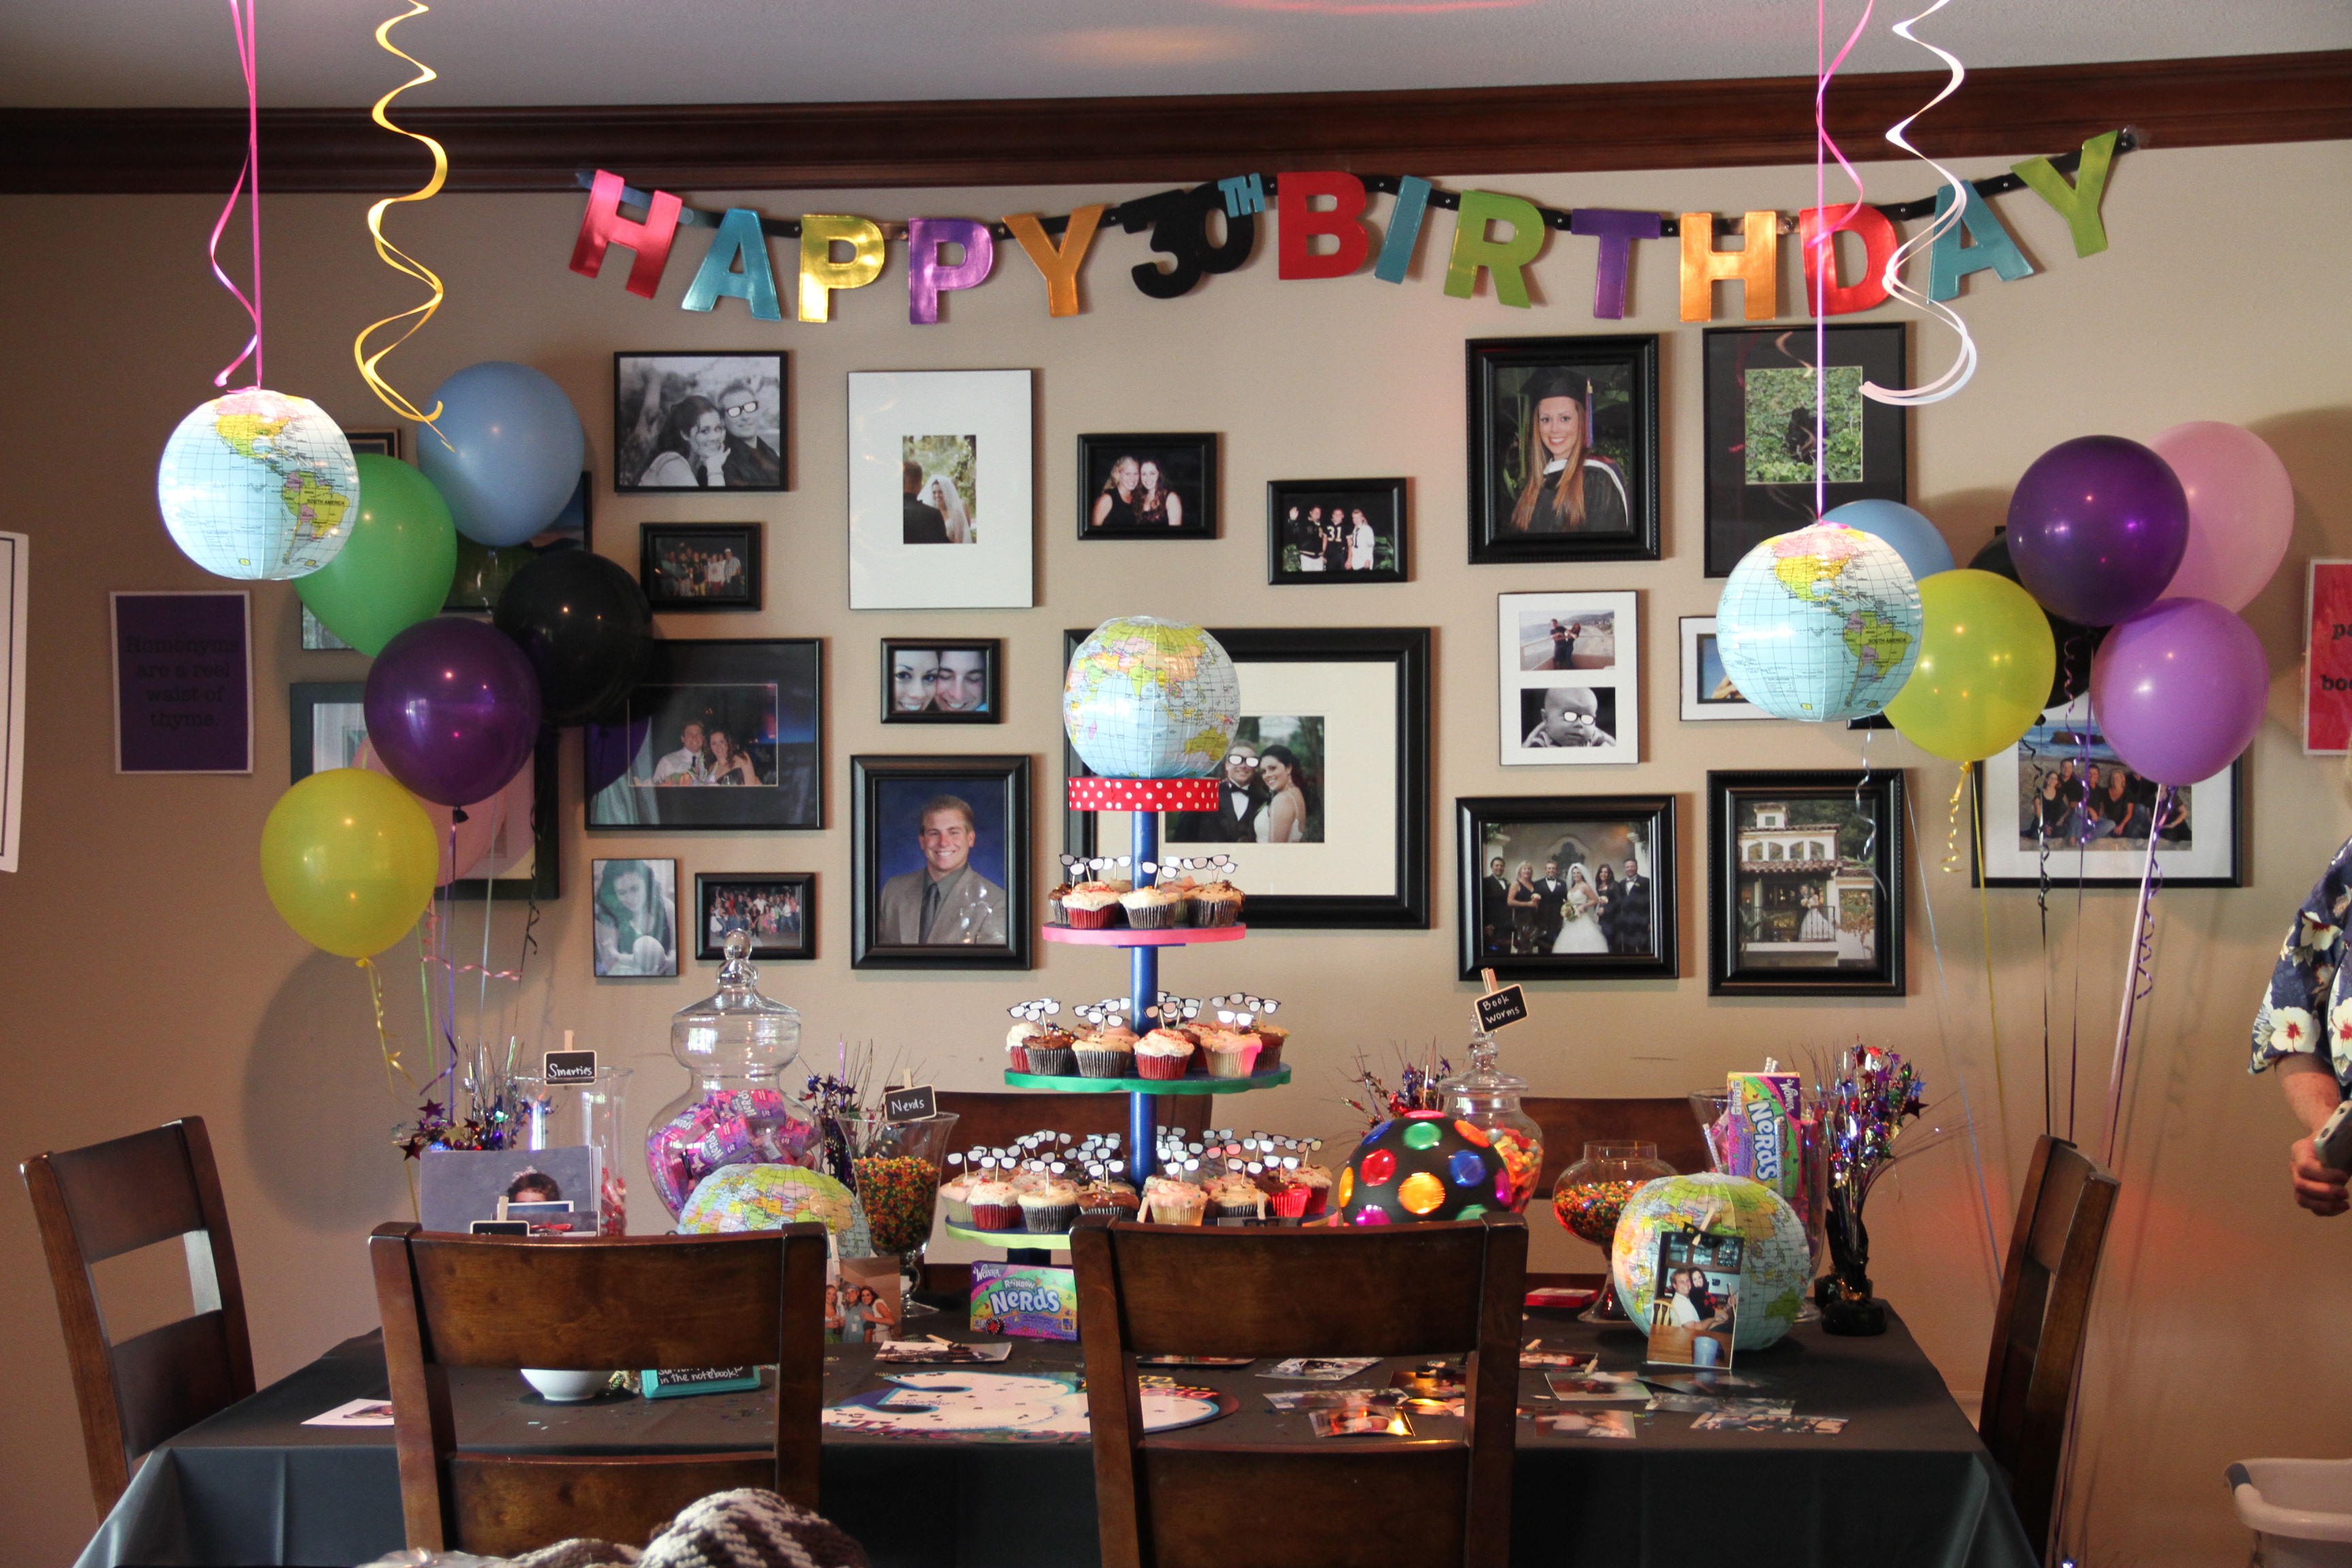
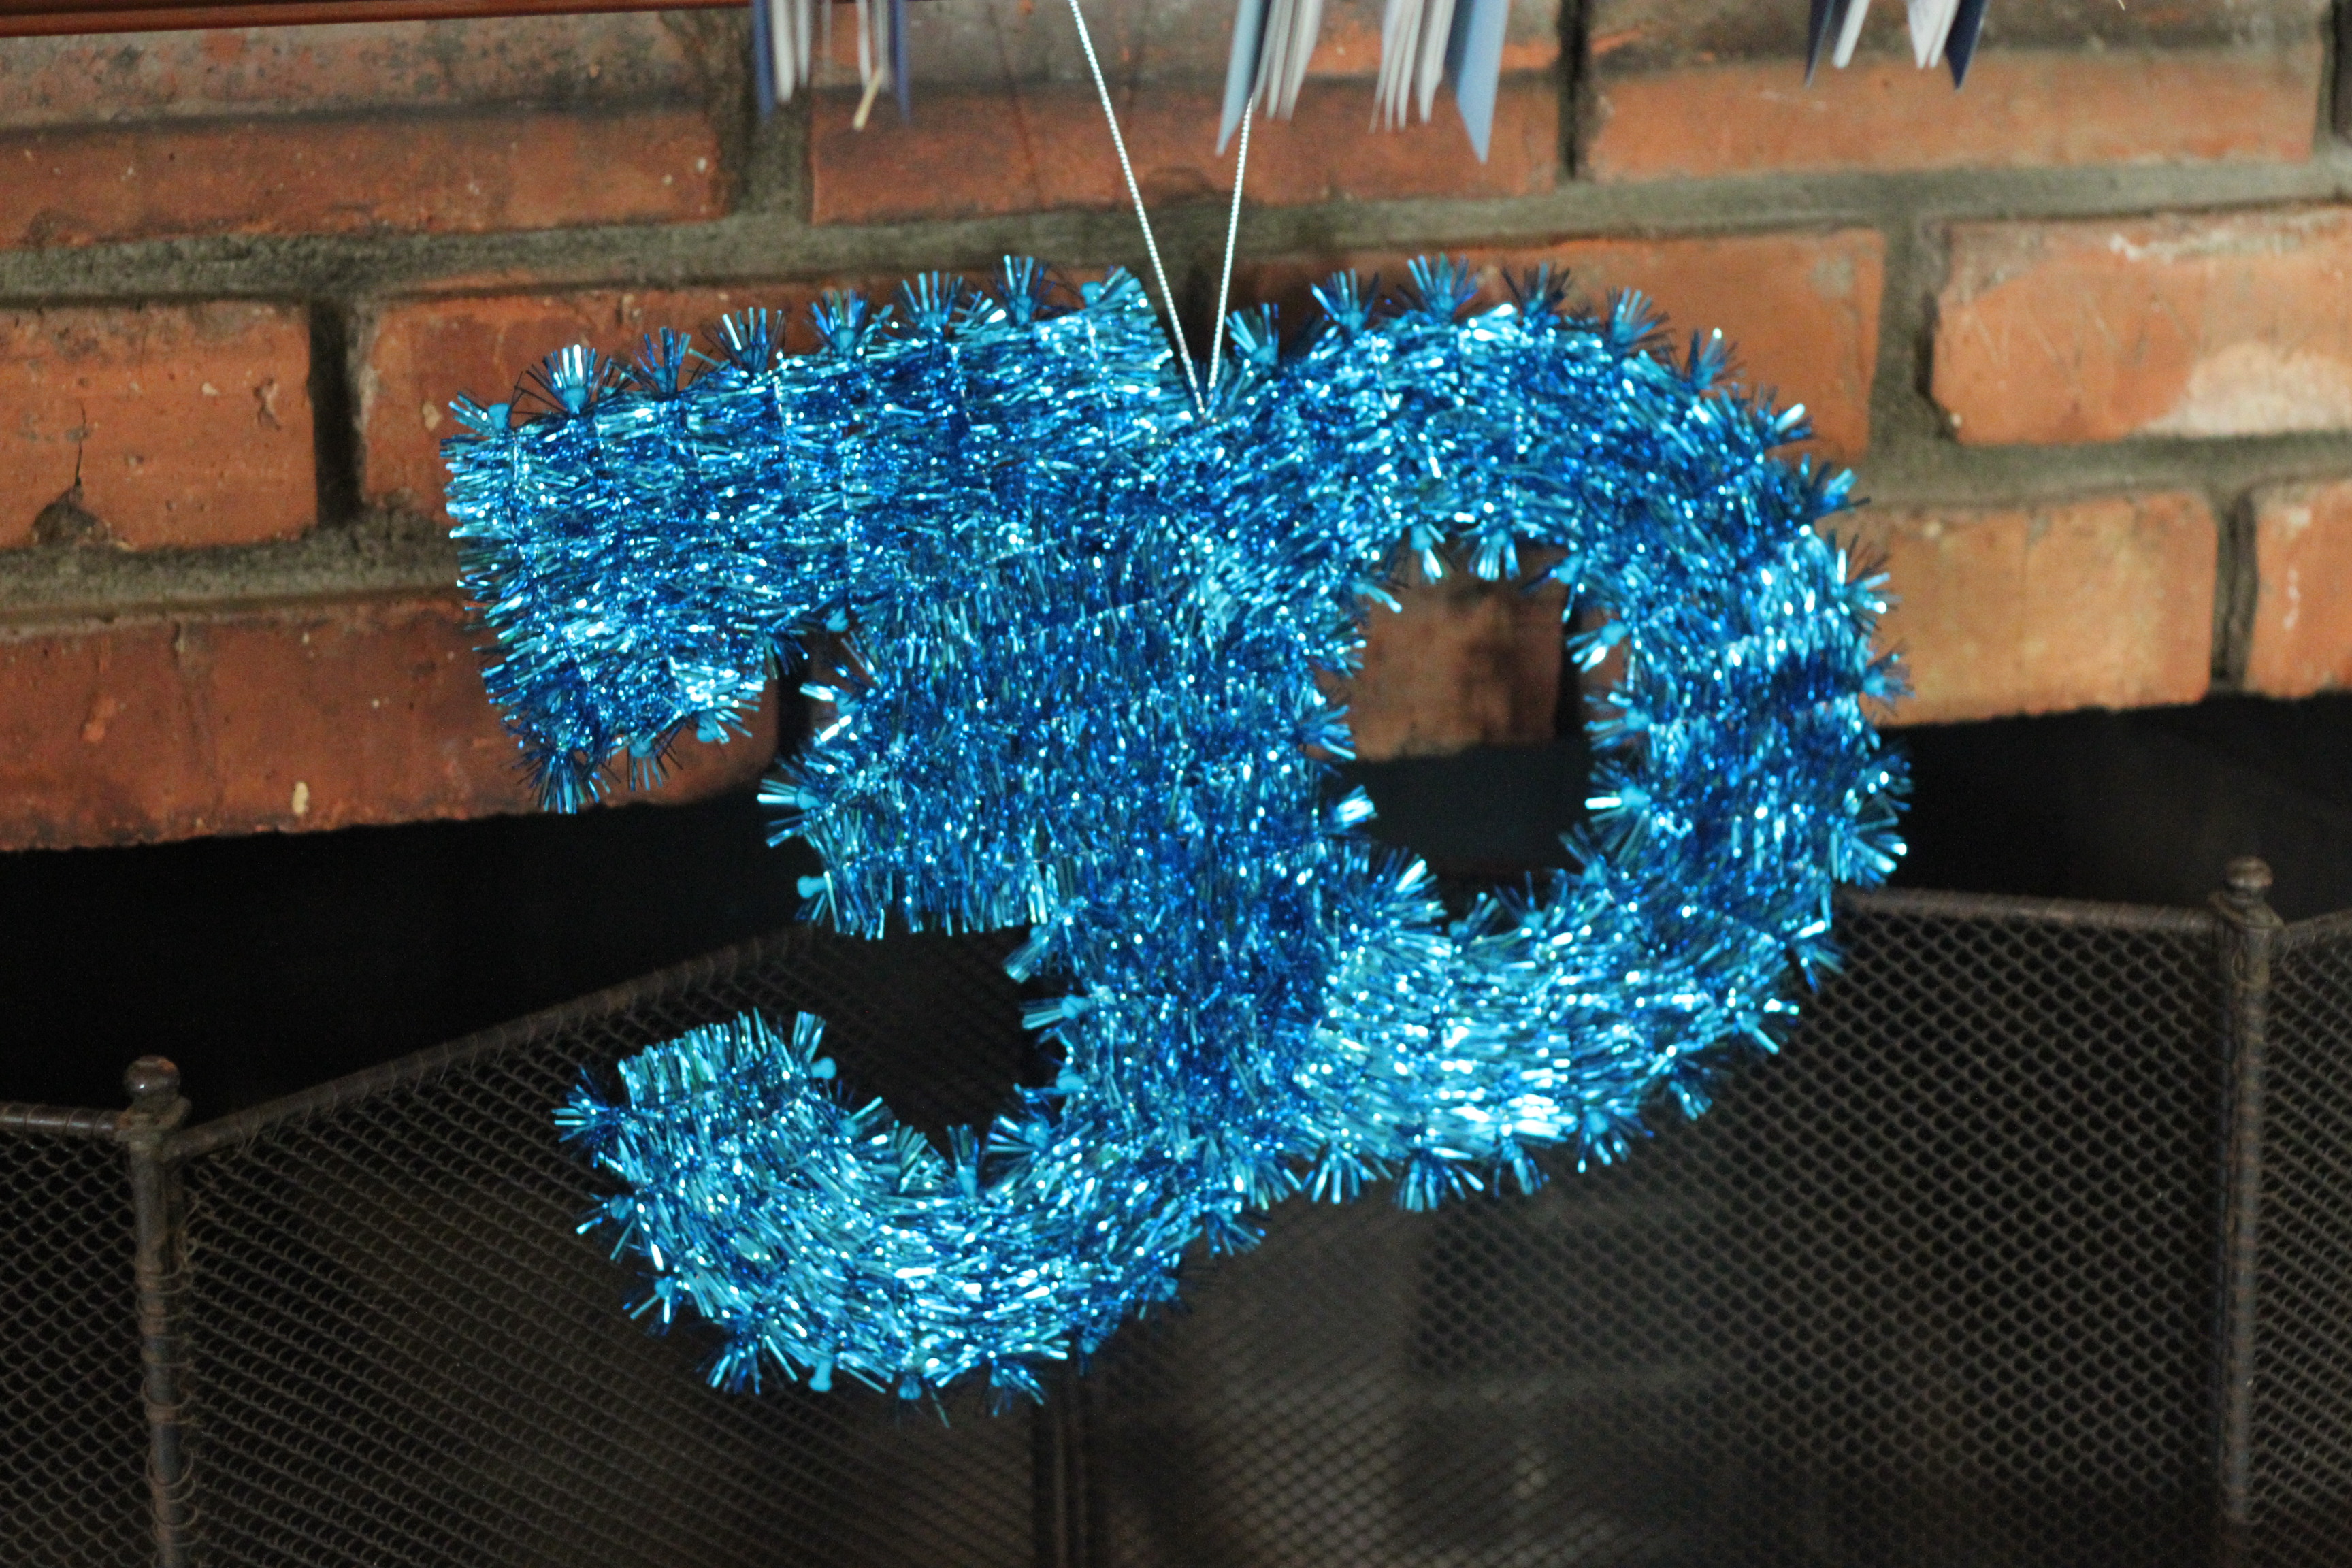
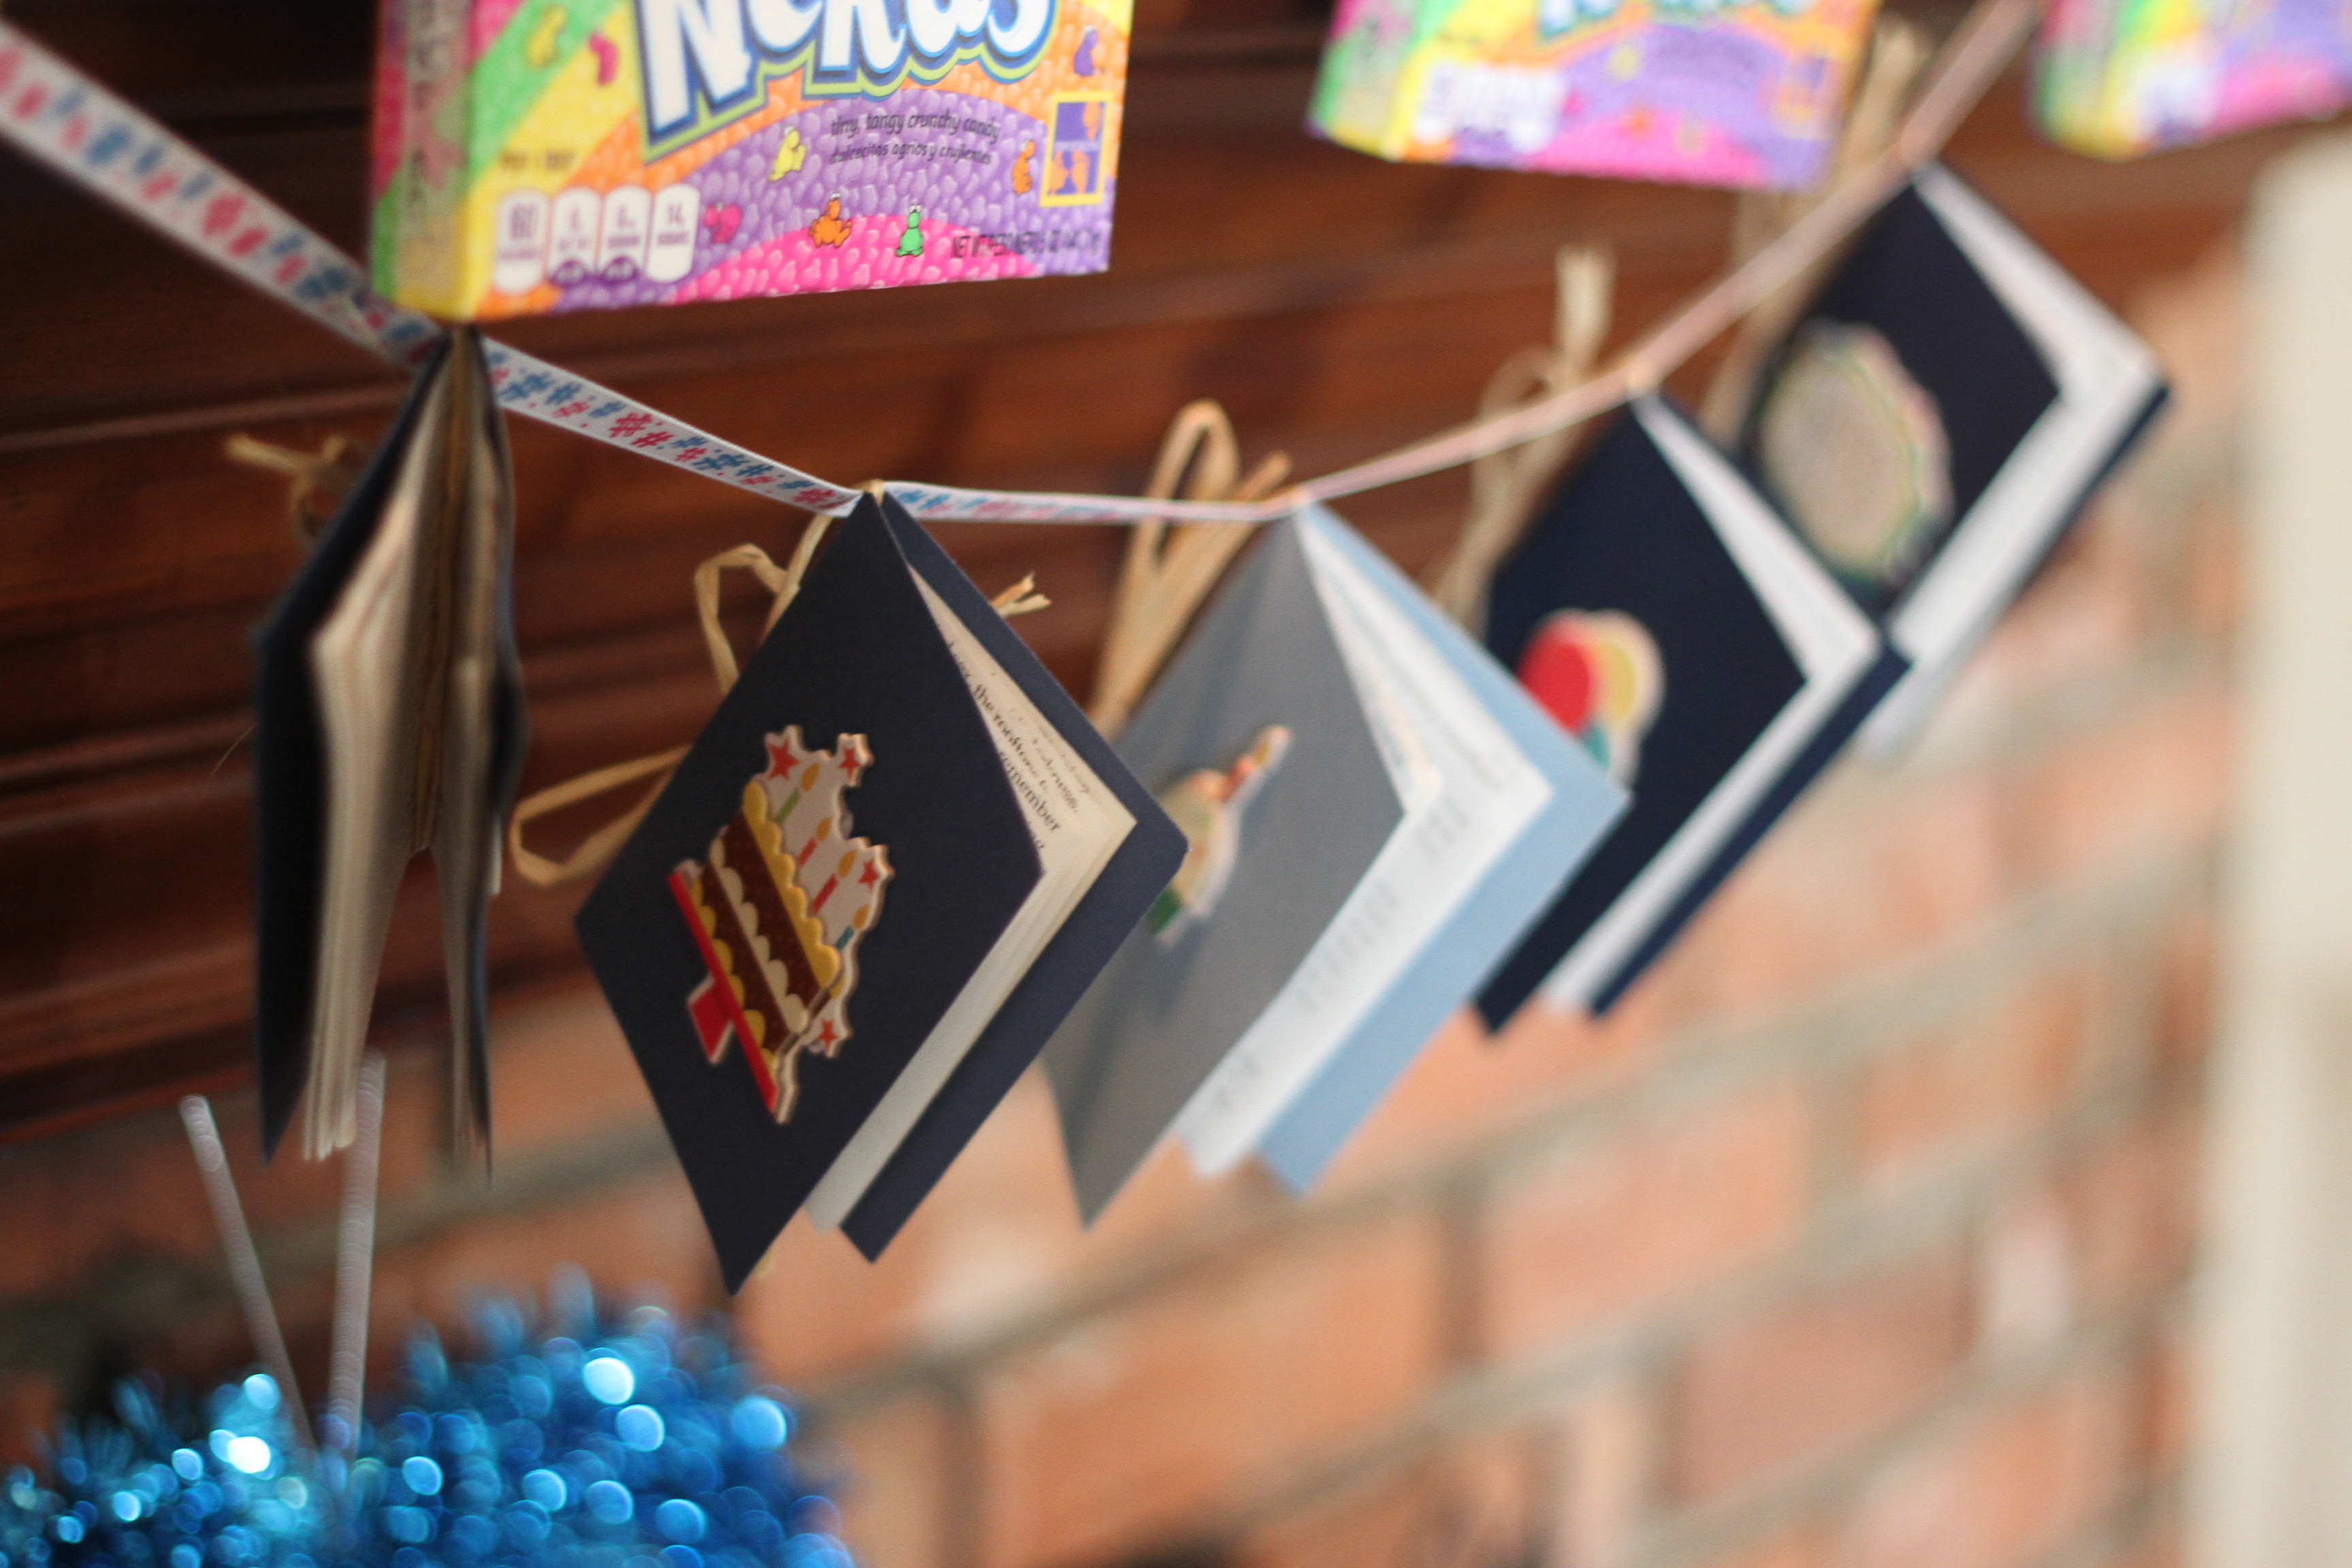
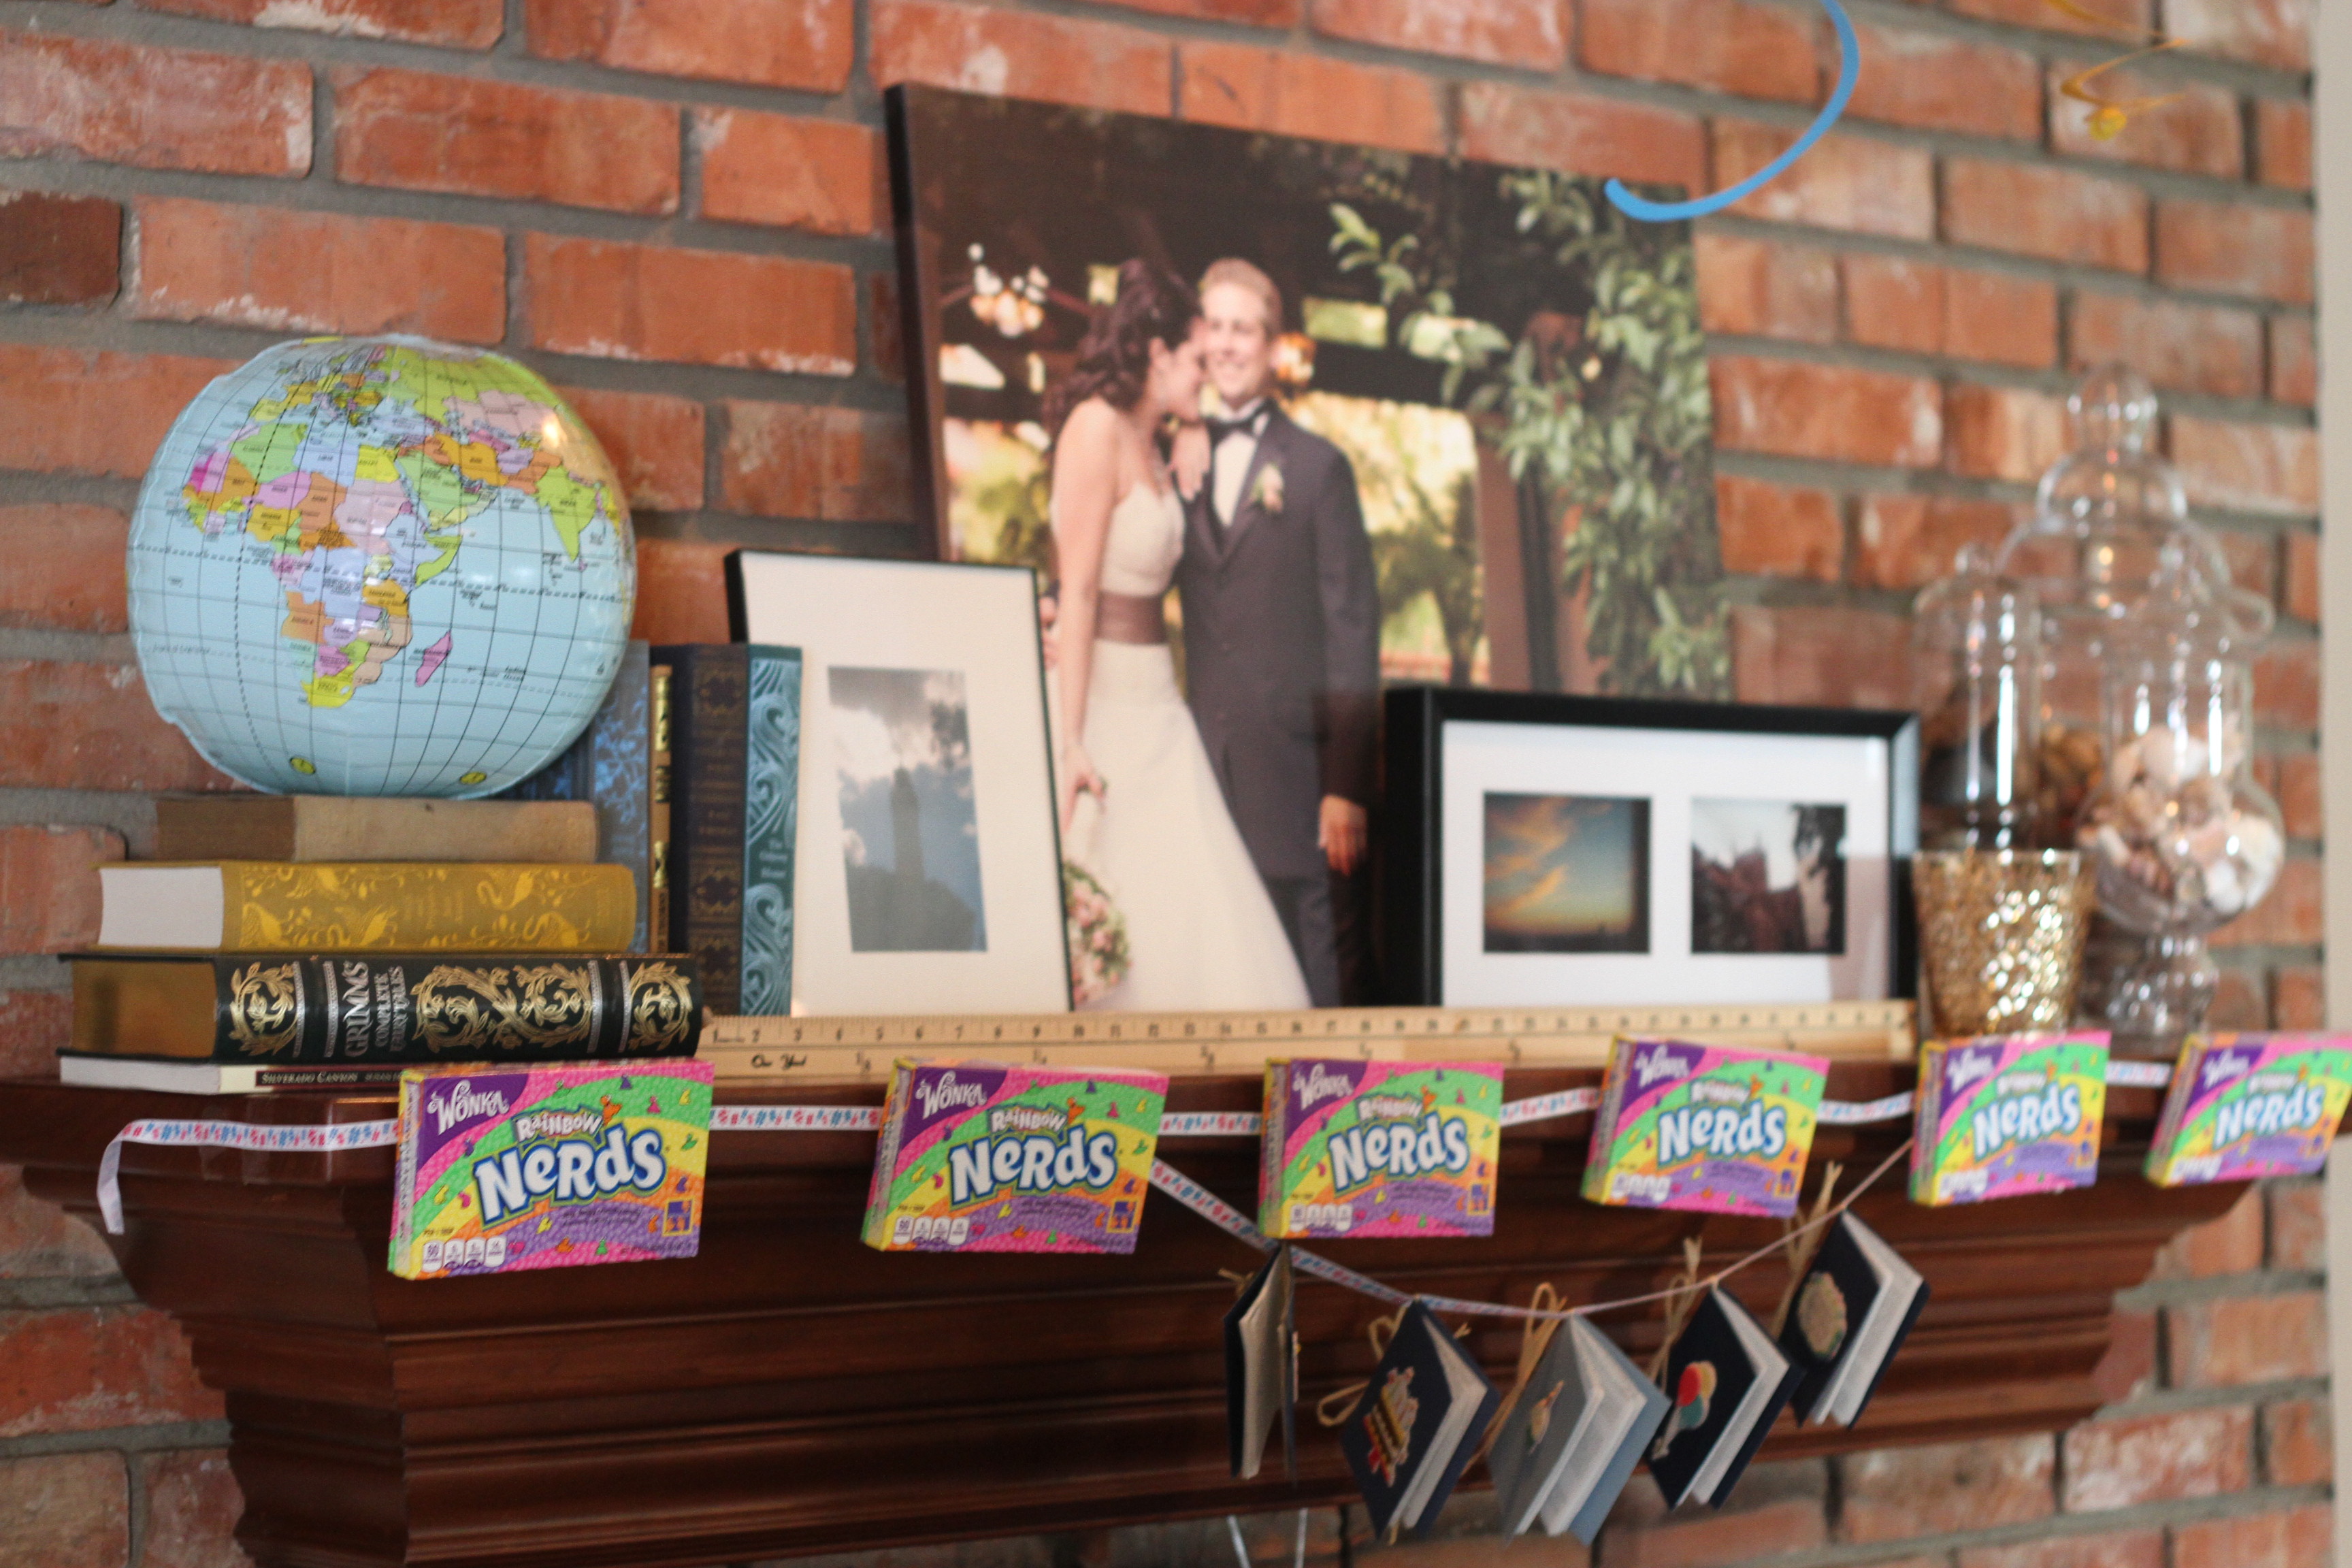
I made this Nerd garland using hastag ribbon (that’s pretty dorky). 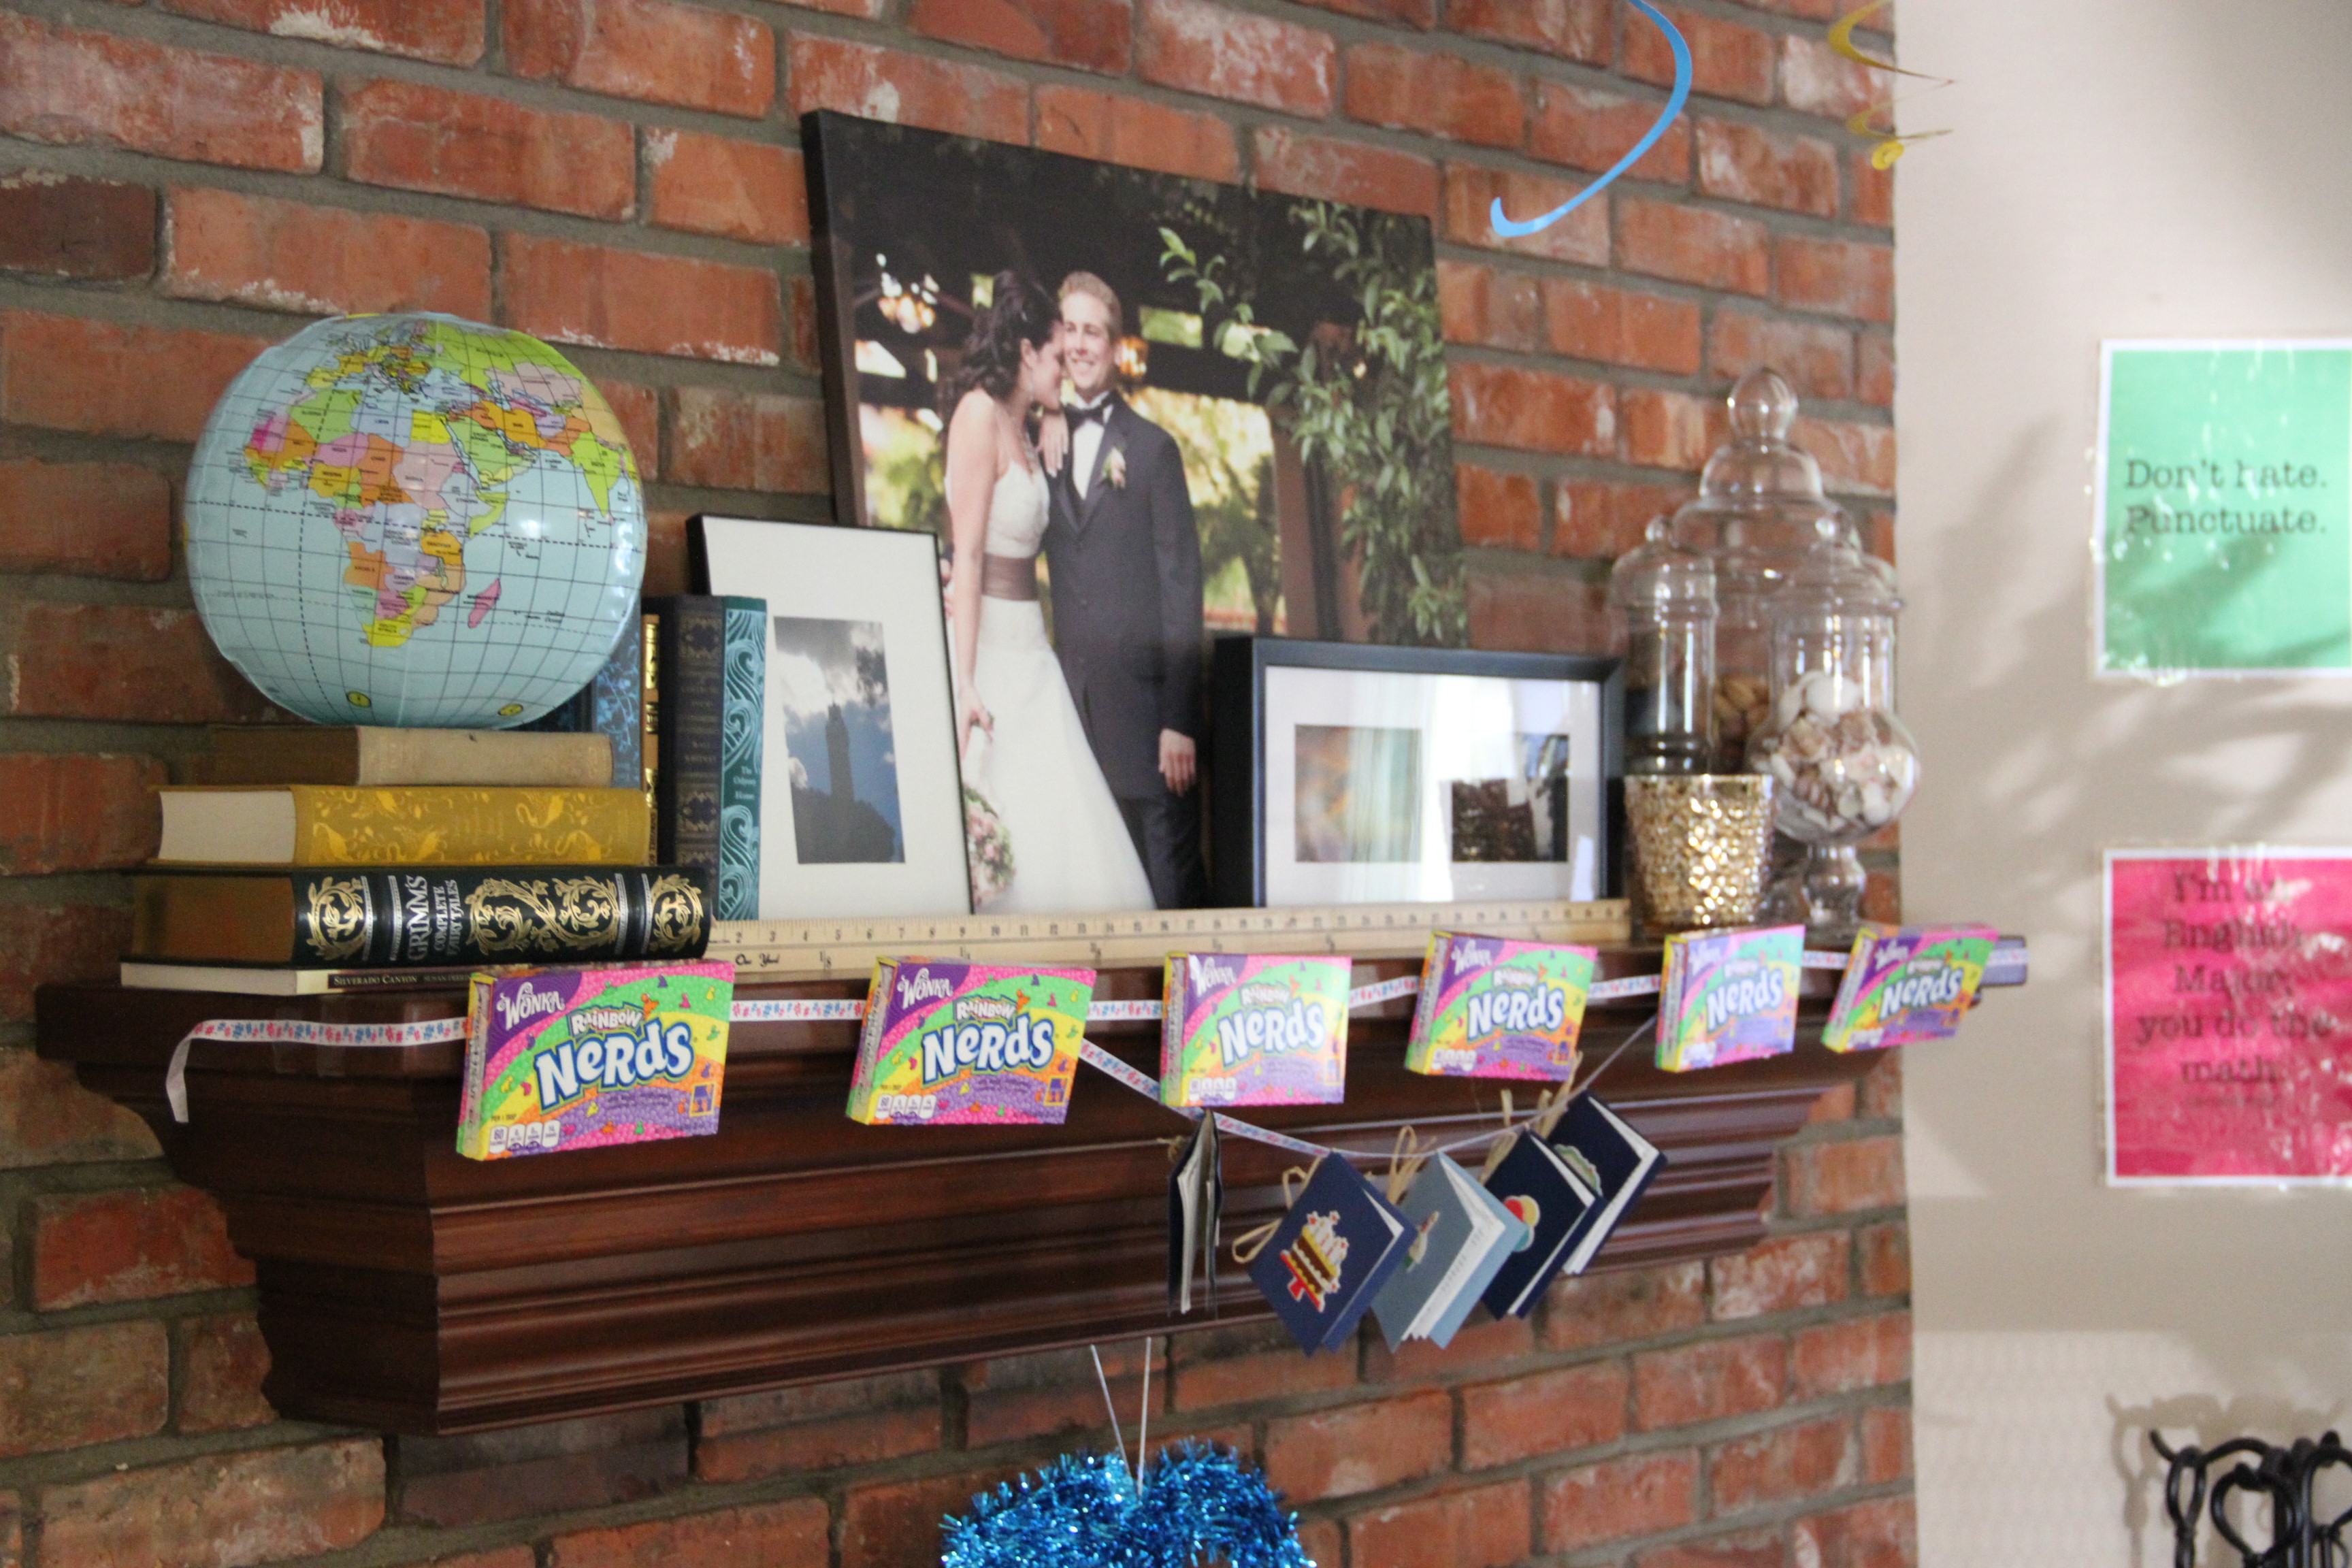
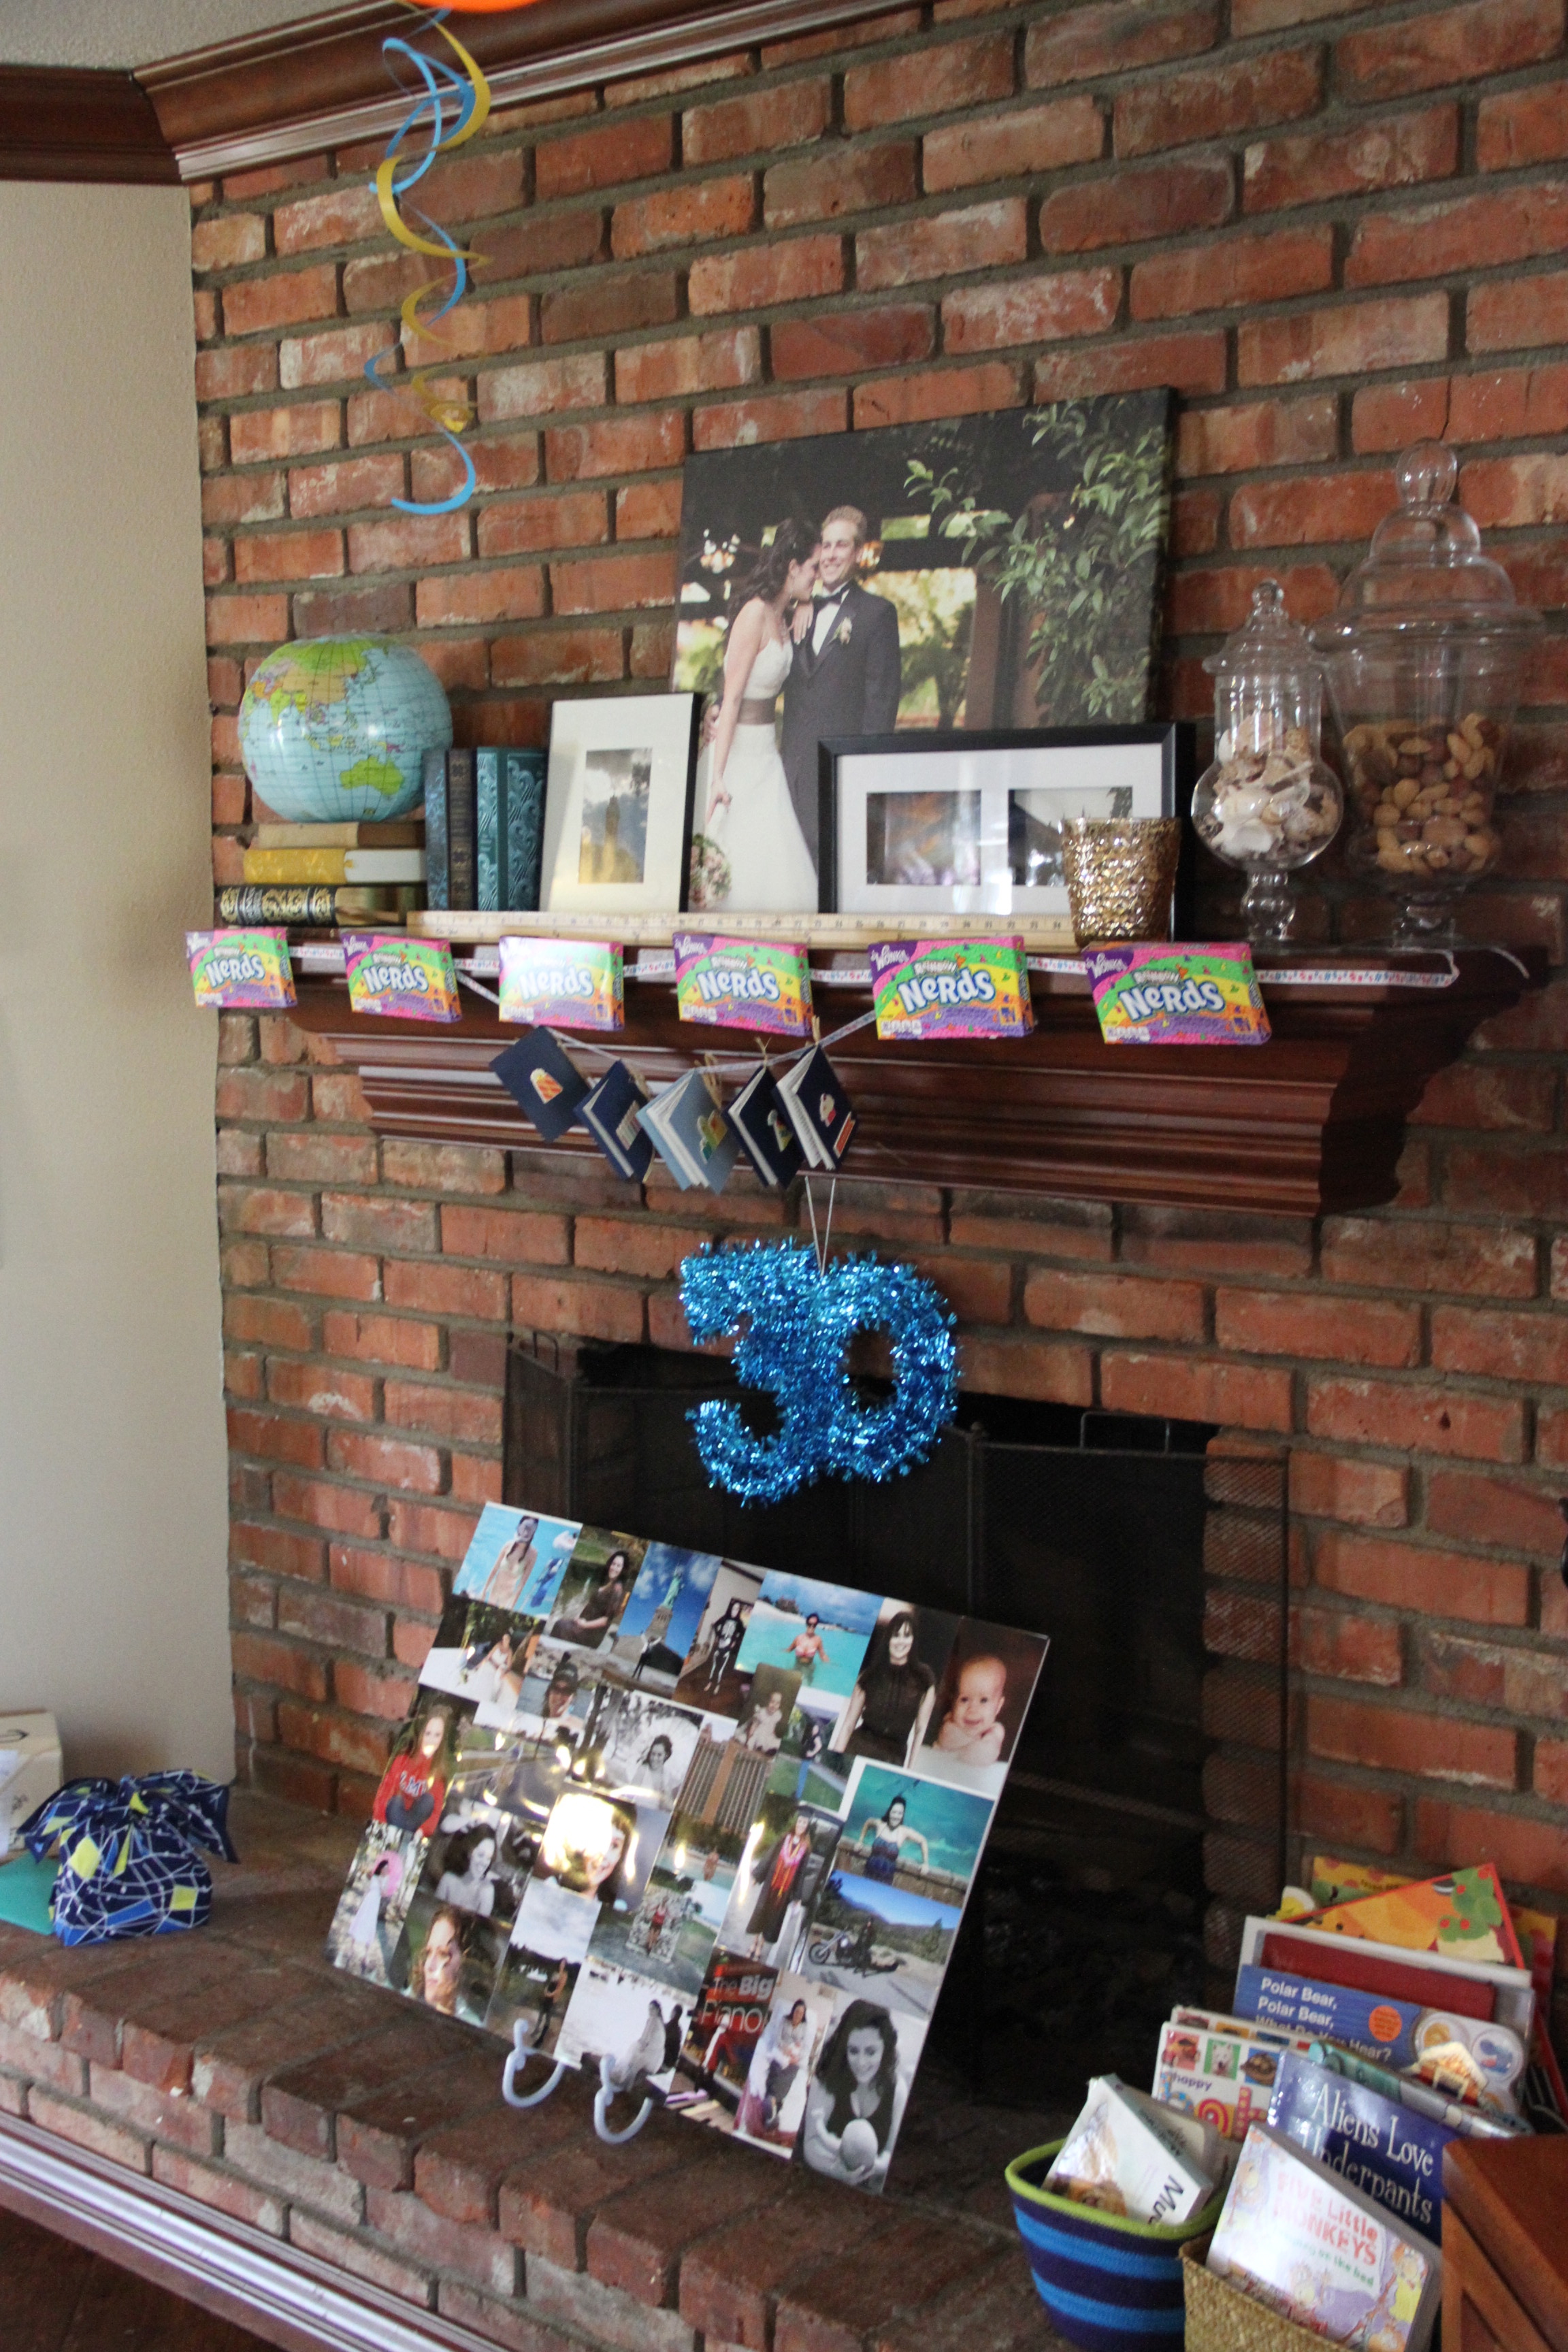
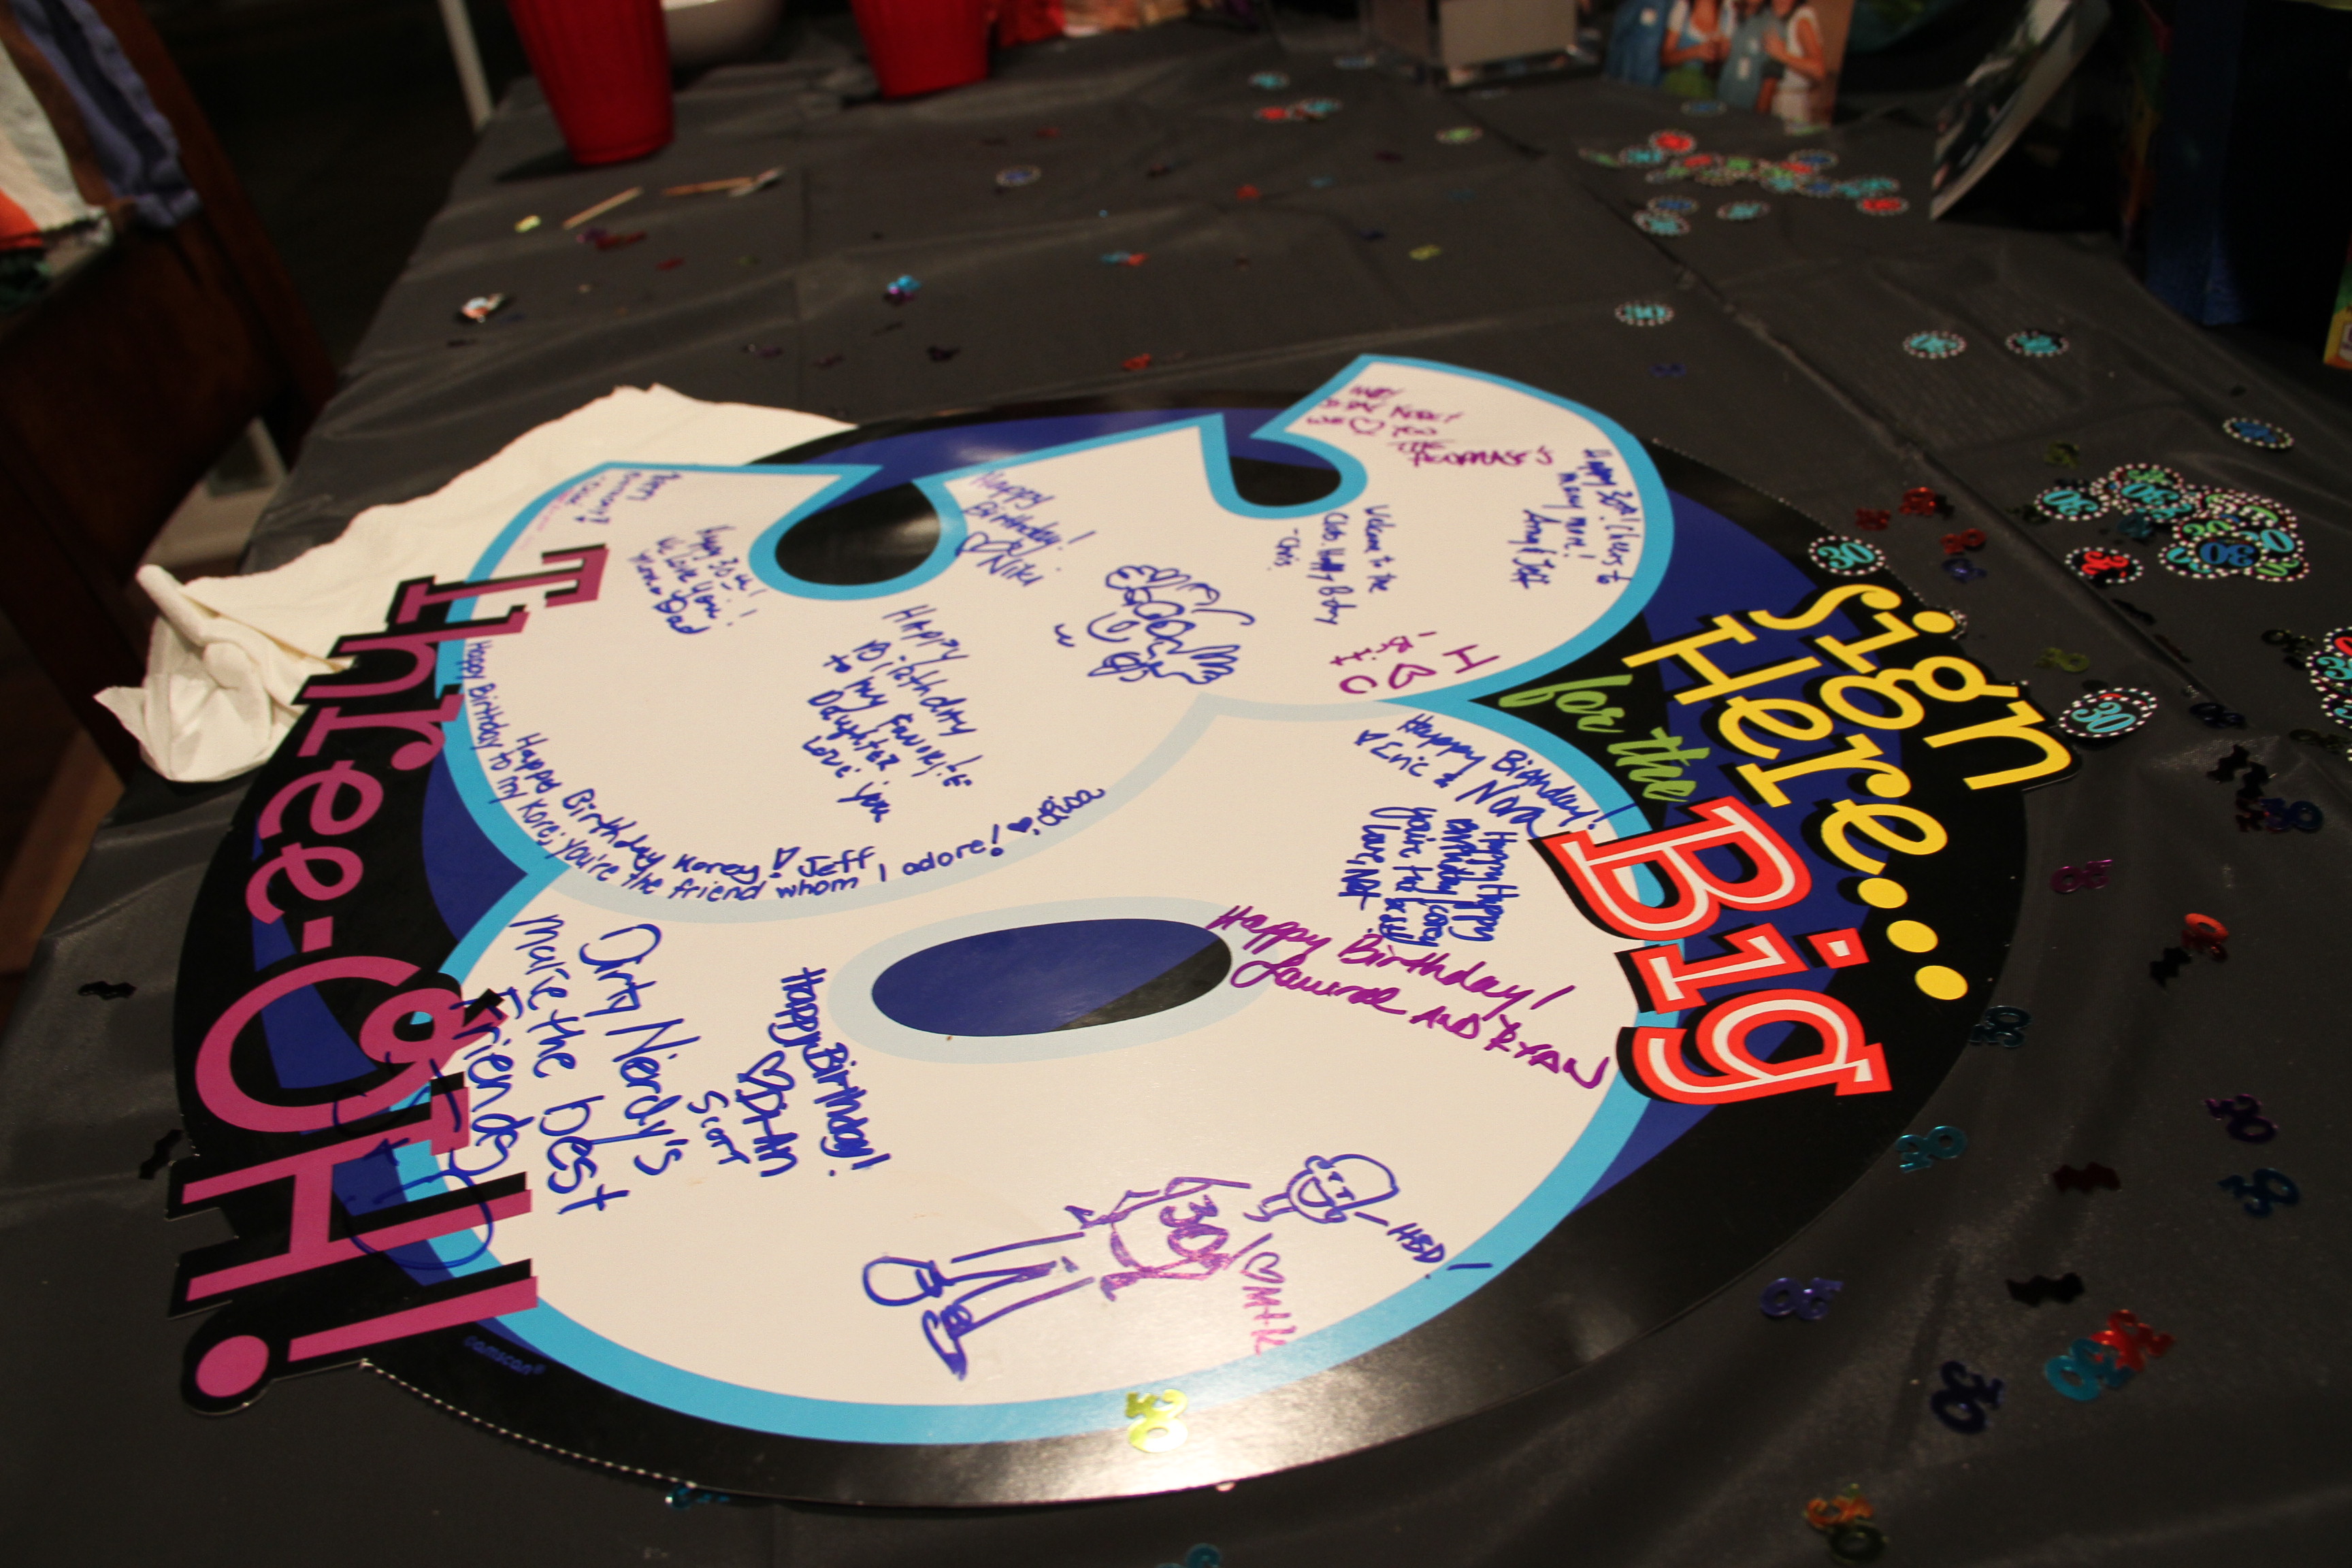
Here is the “30” collage in action.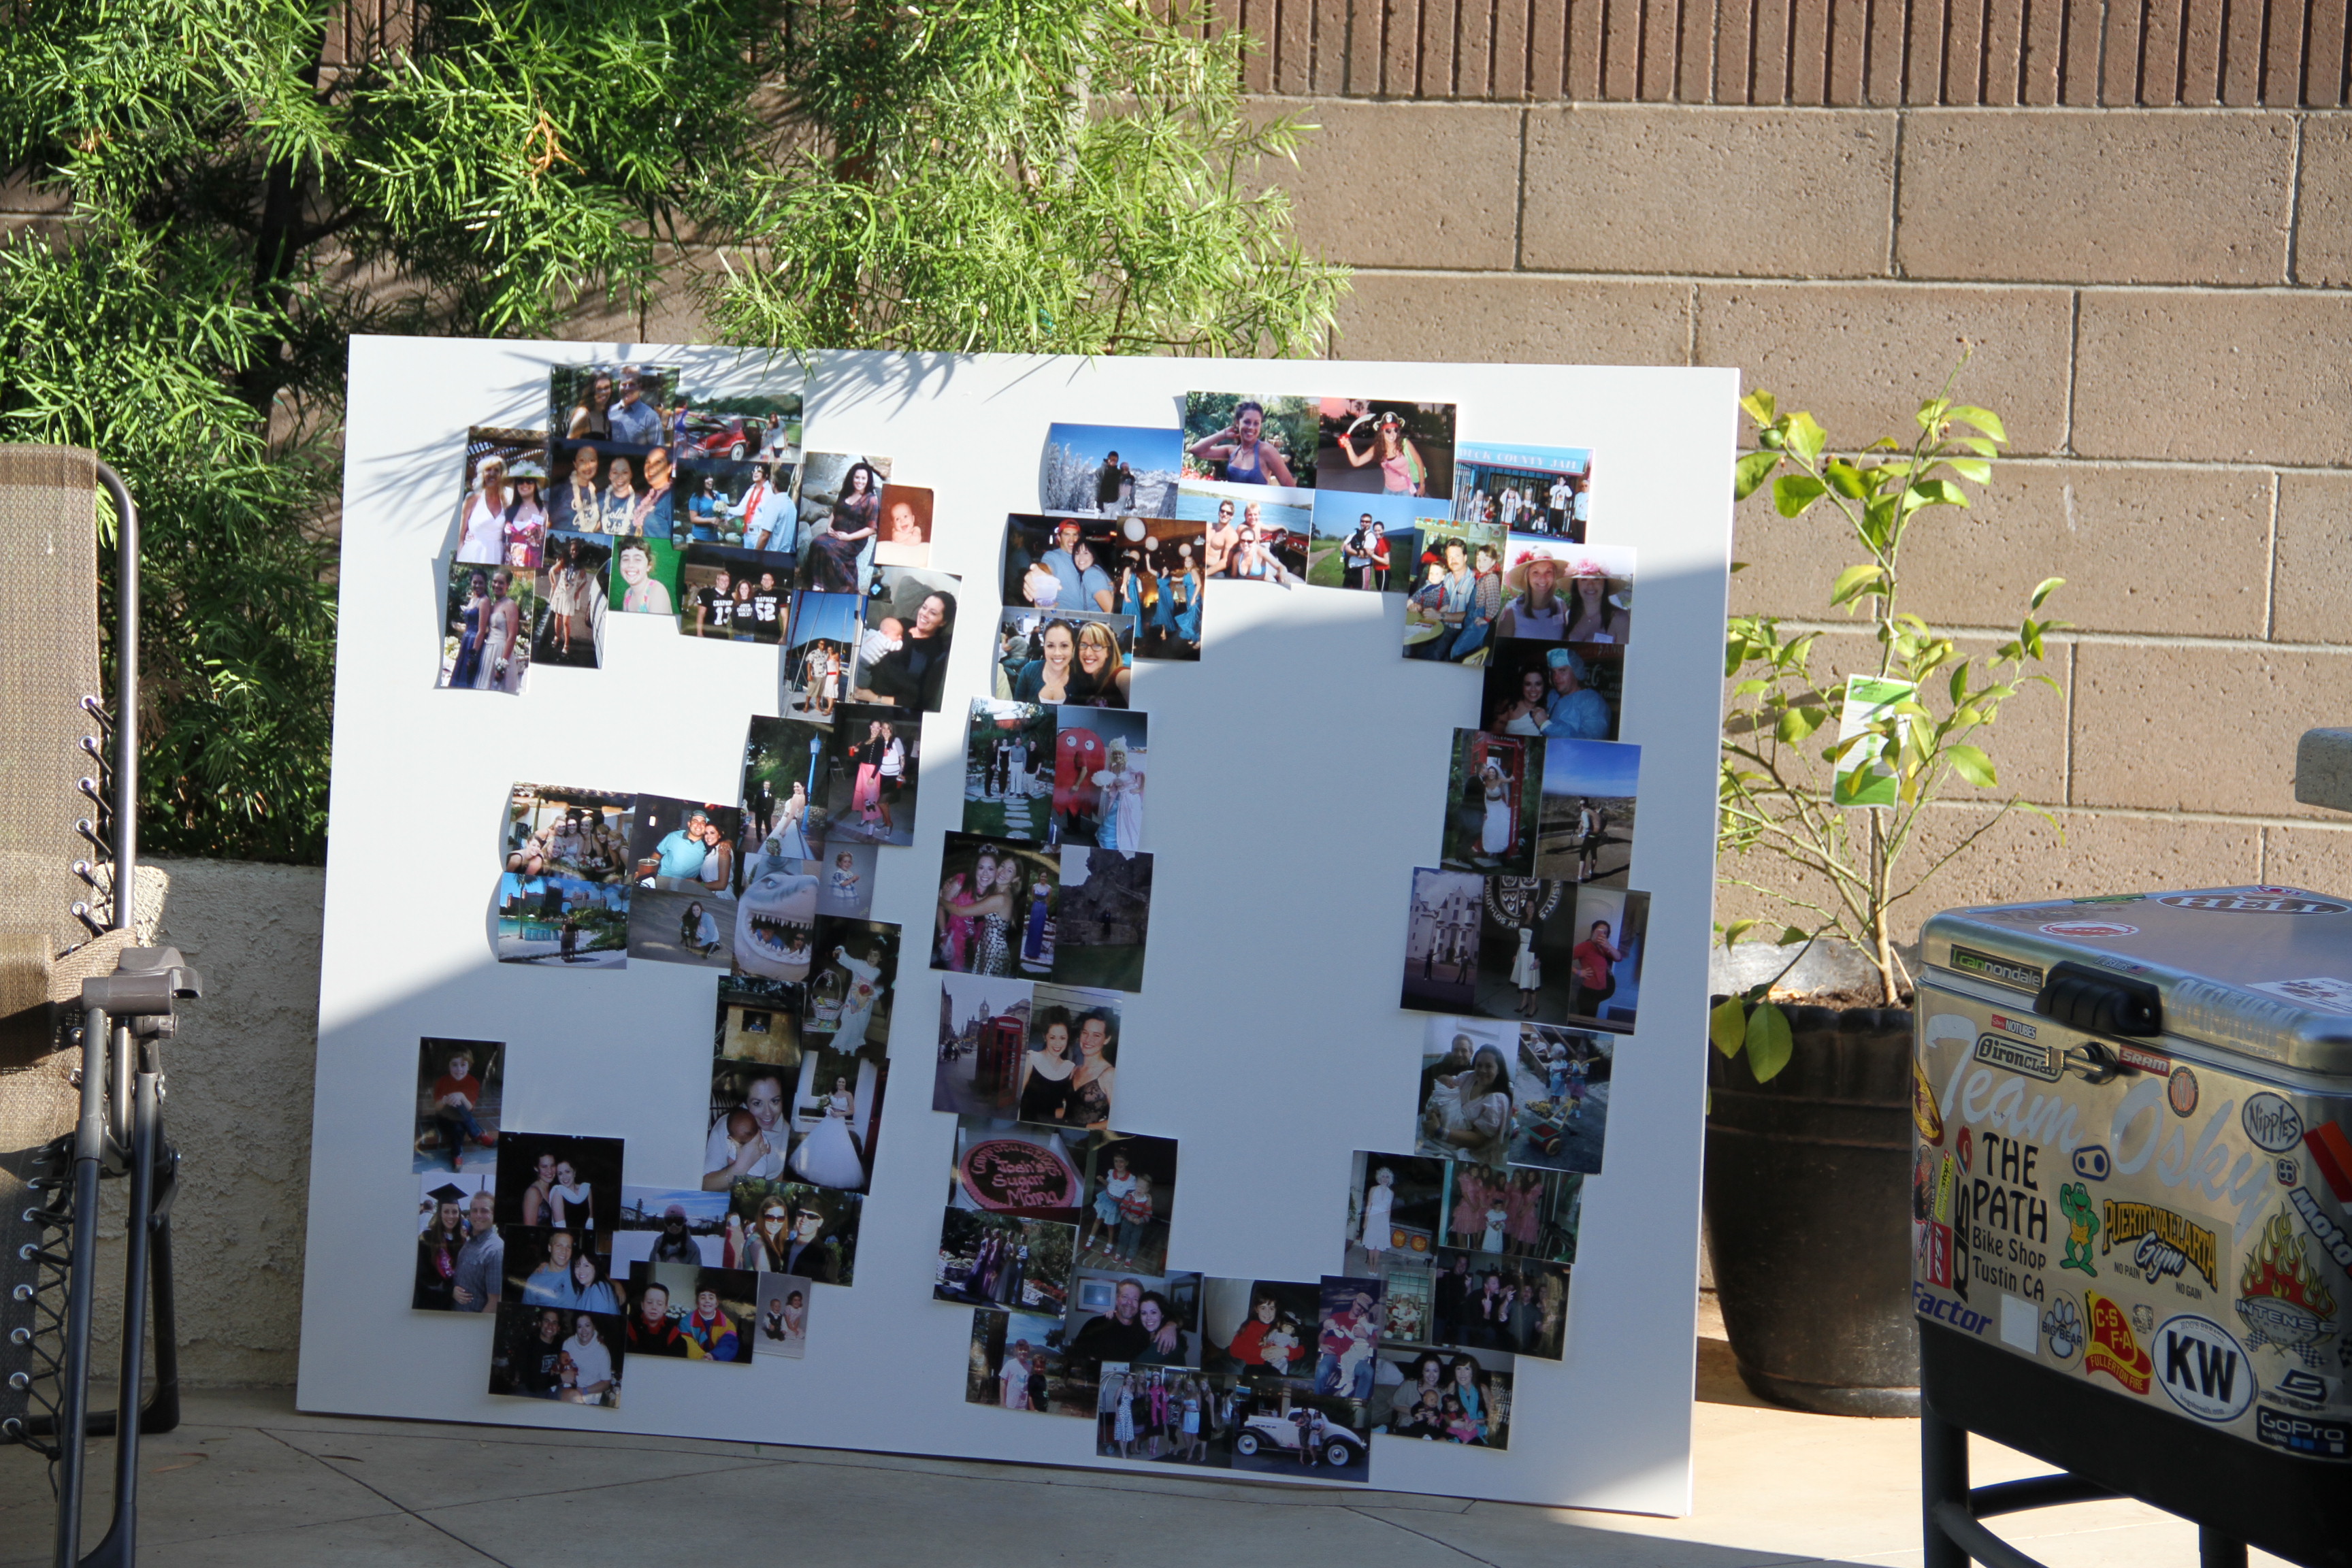
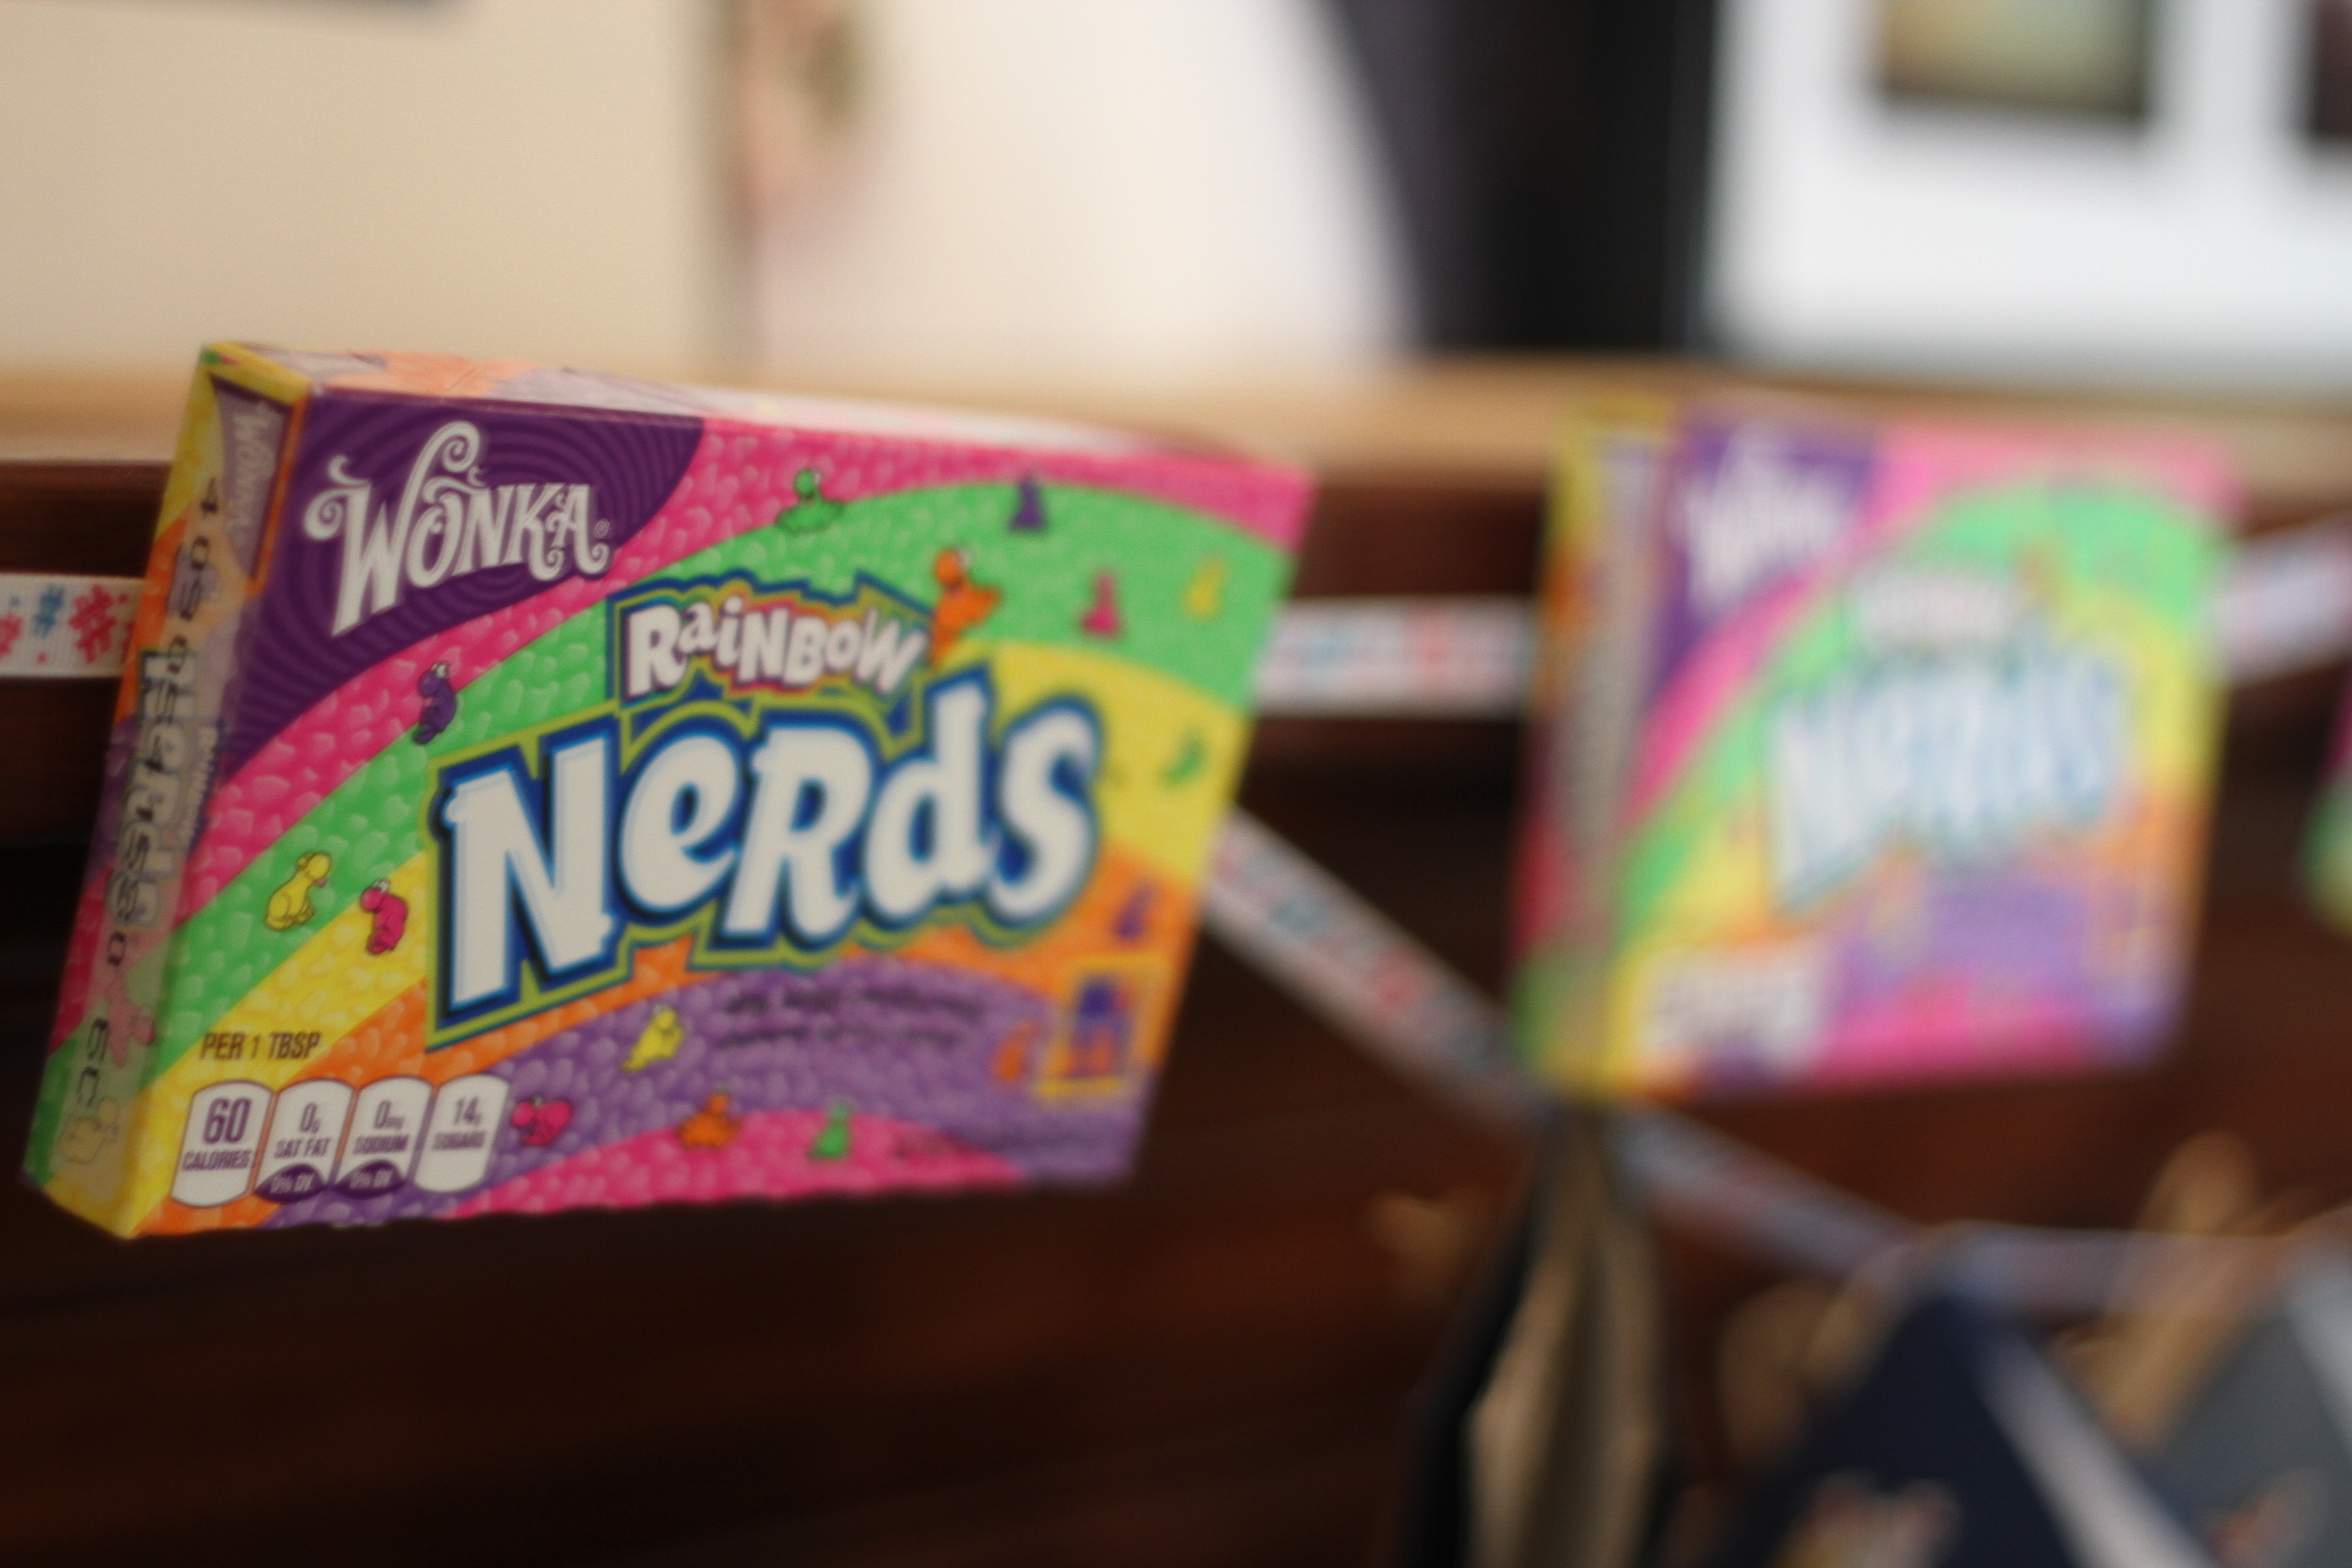
Large movie theatre-style Nerds boxes and eyeglass pencils, along with “book worms.”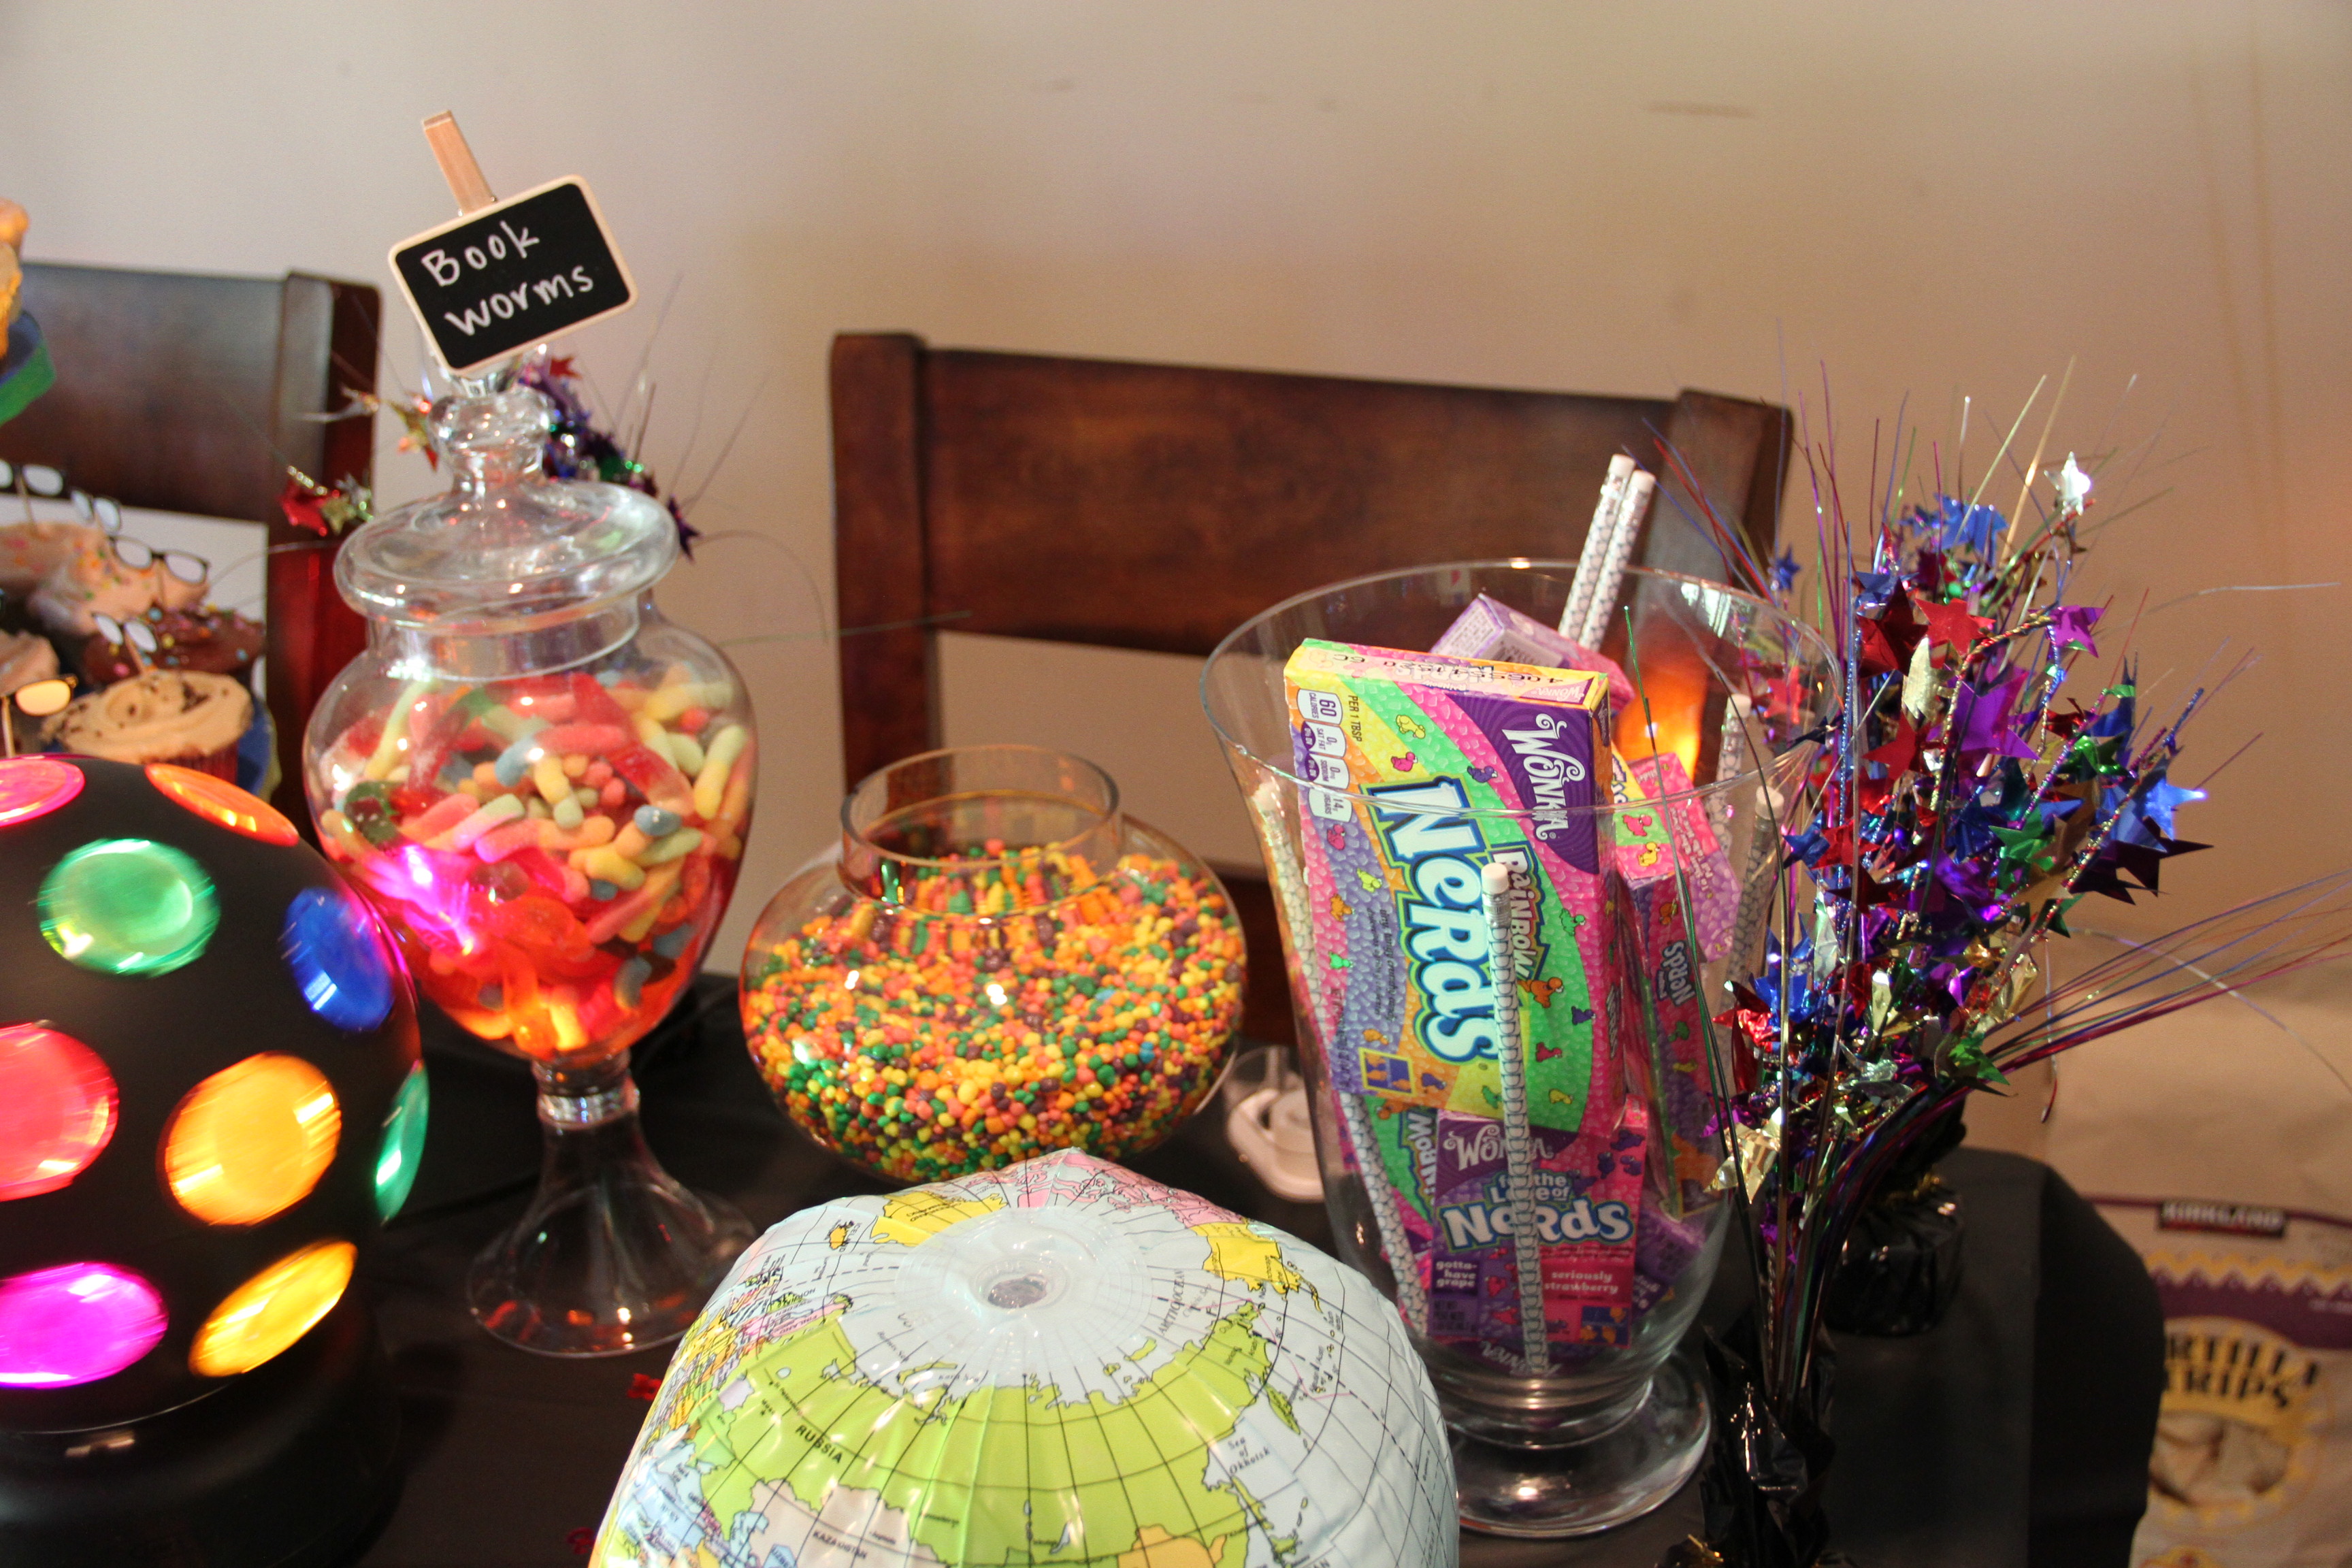
The cupcake toppers were from Michael’s.
The cupcakes are from the fabulous Susie Cakes, and were a gift from my friend Lisa and her husband Jeff. They are amazingly delicious and frosting filled.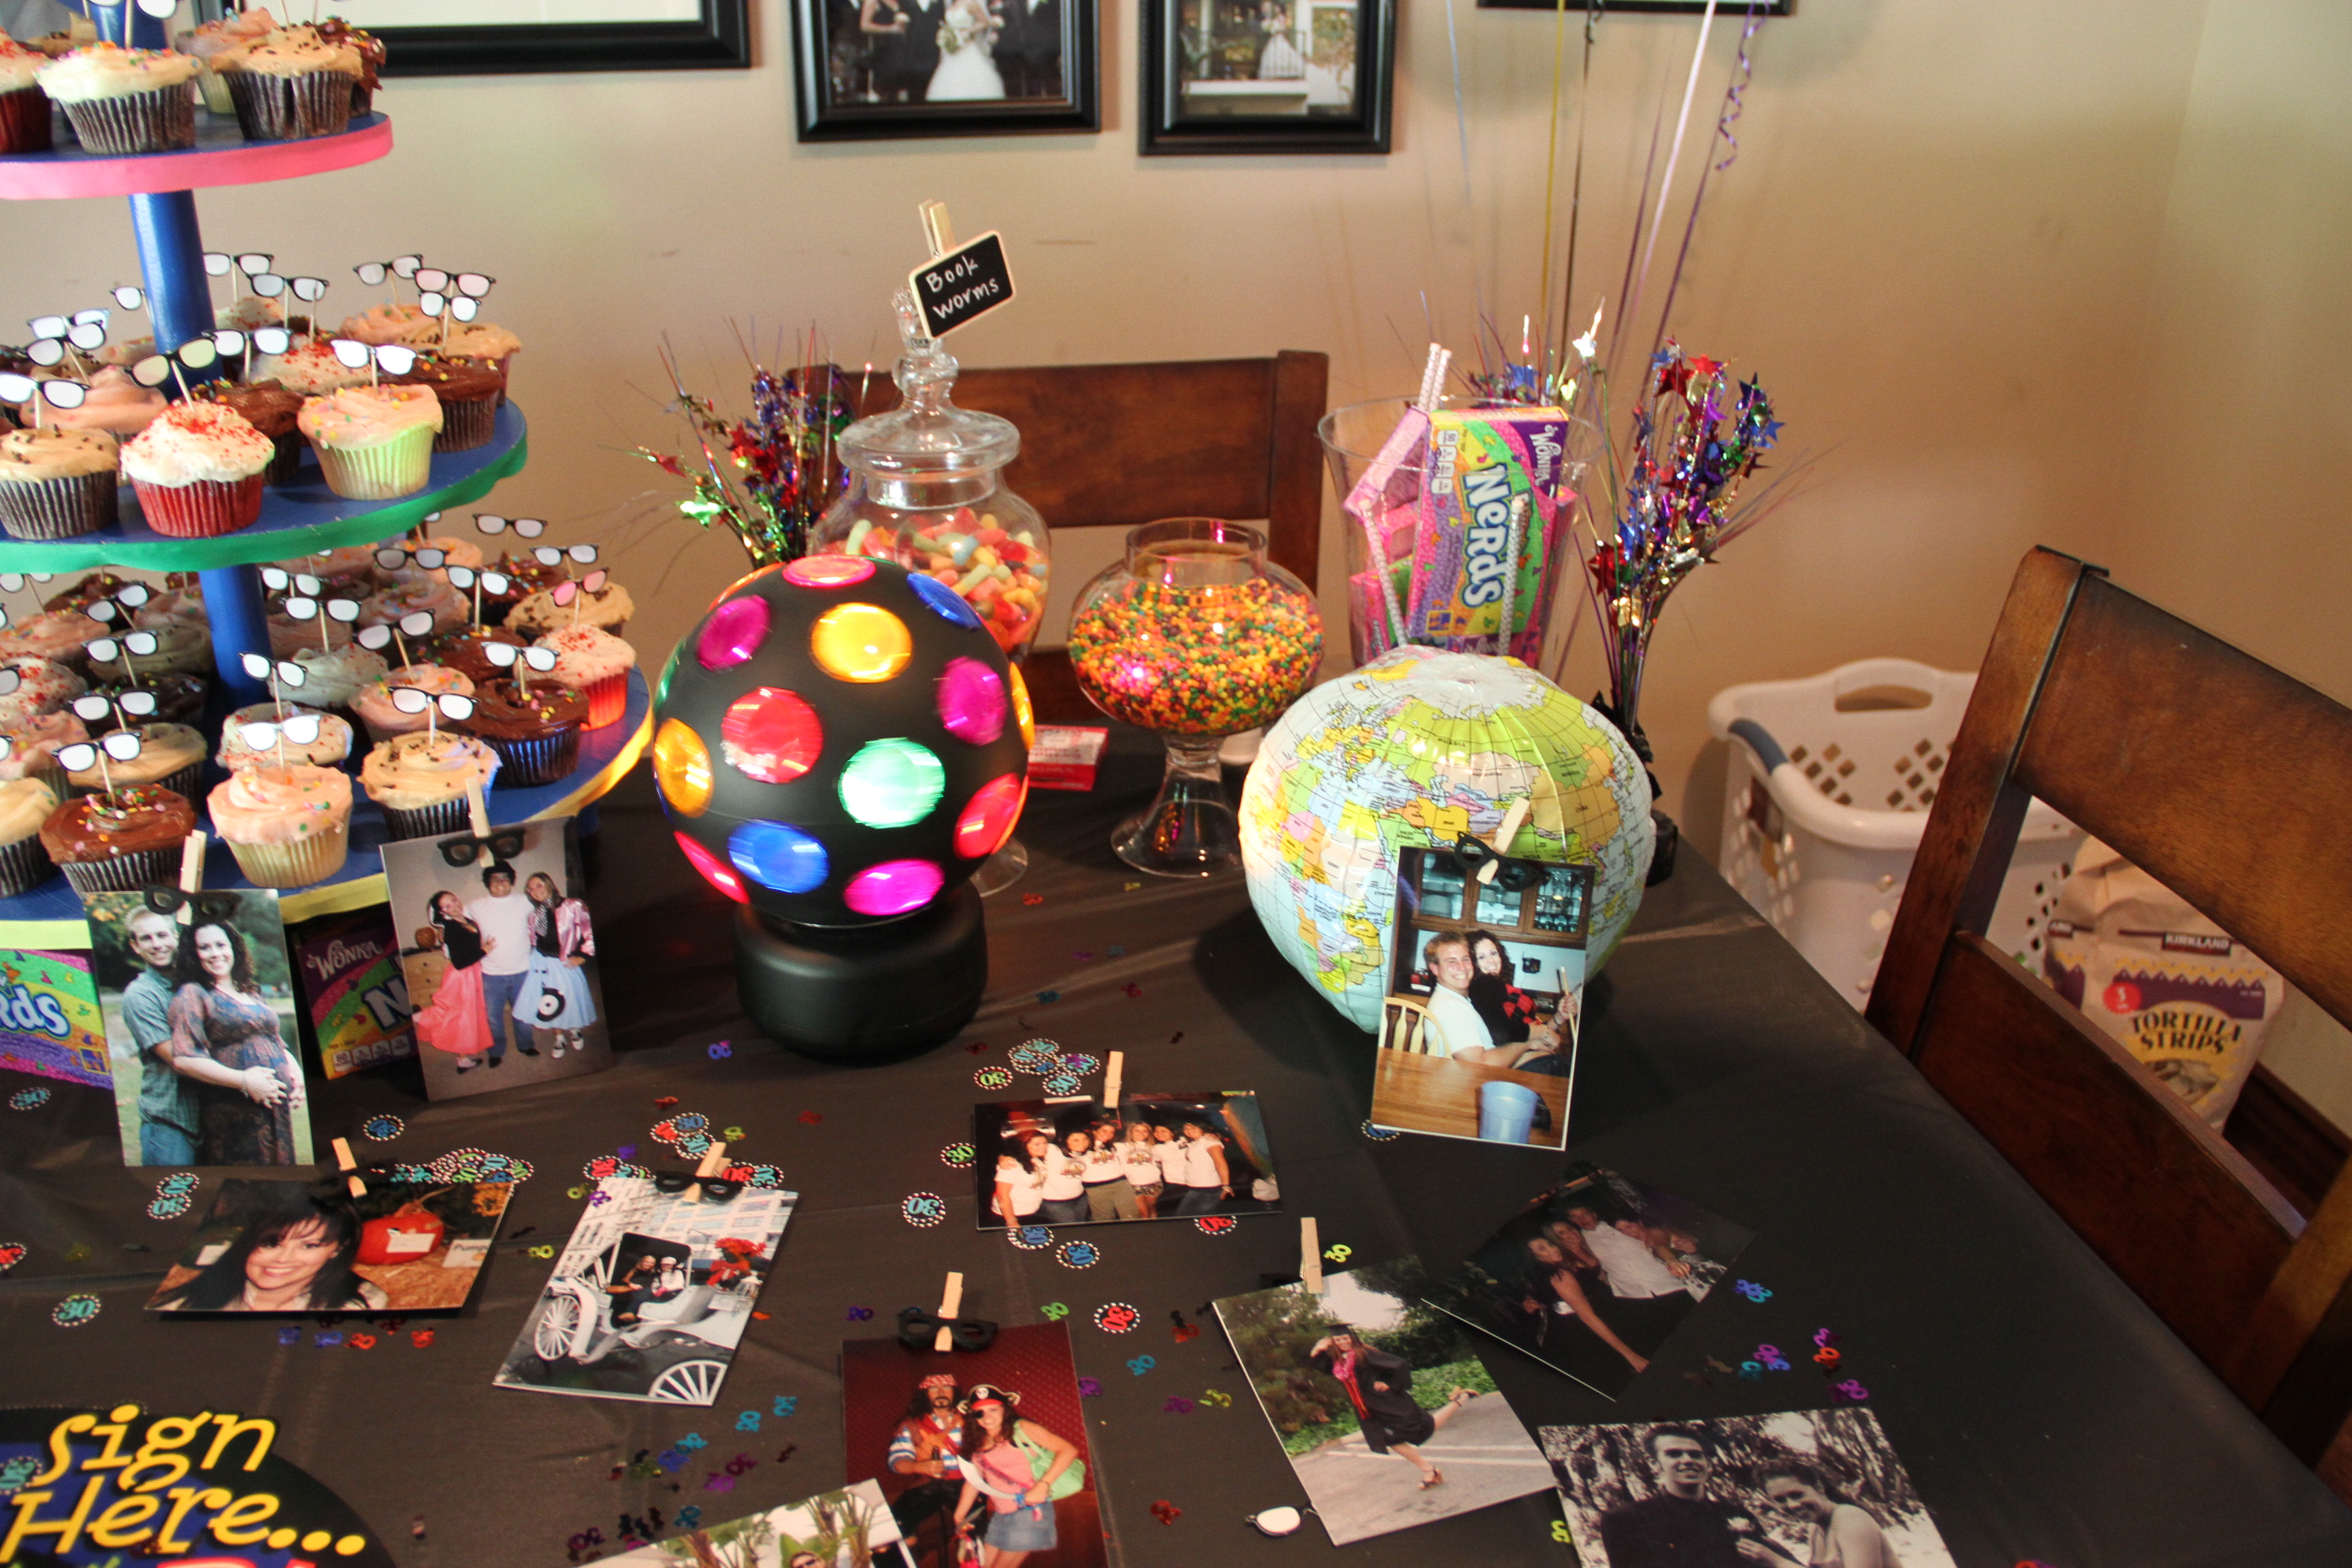
She got chocolate/vanilla, peanut butter/chocolate, red velvet, solid chocolate and solid vanilla.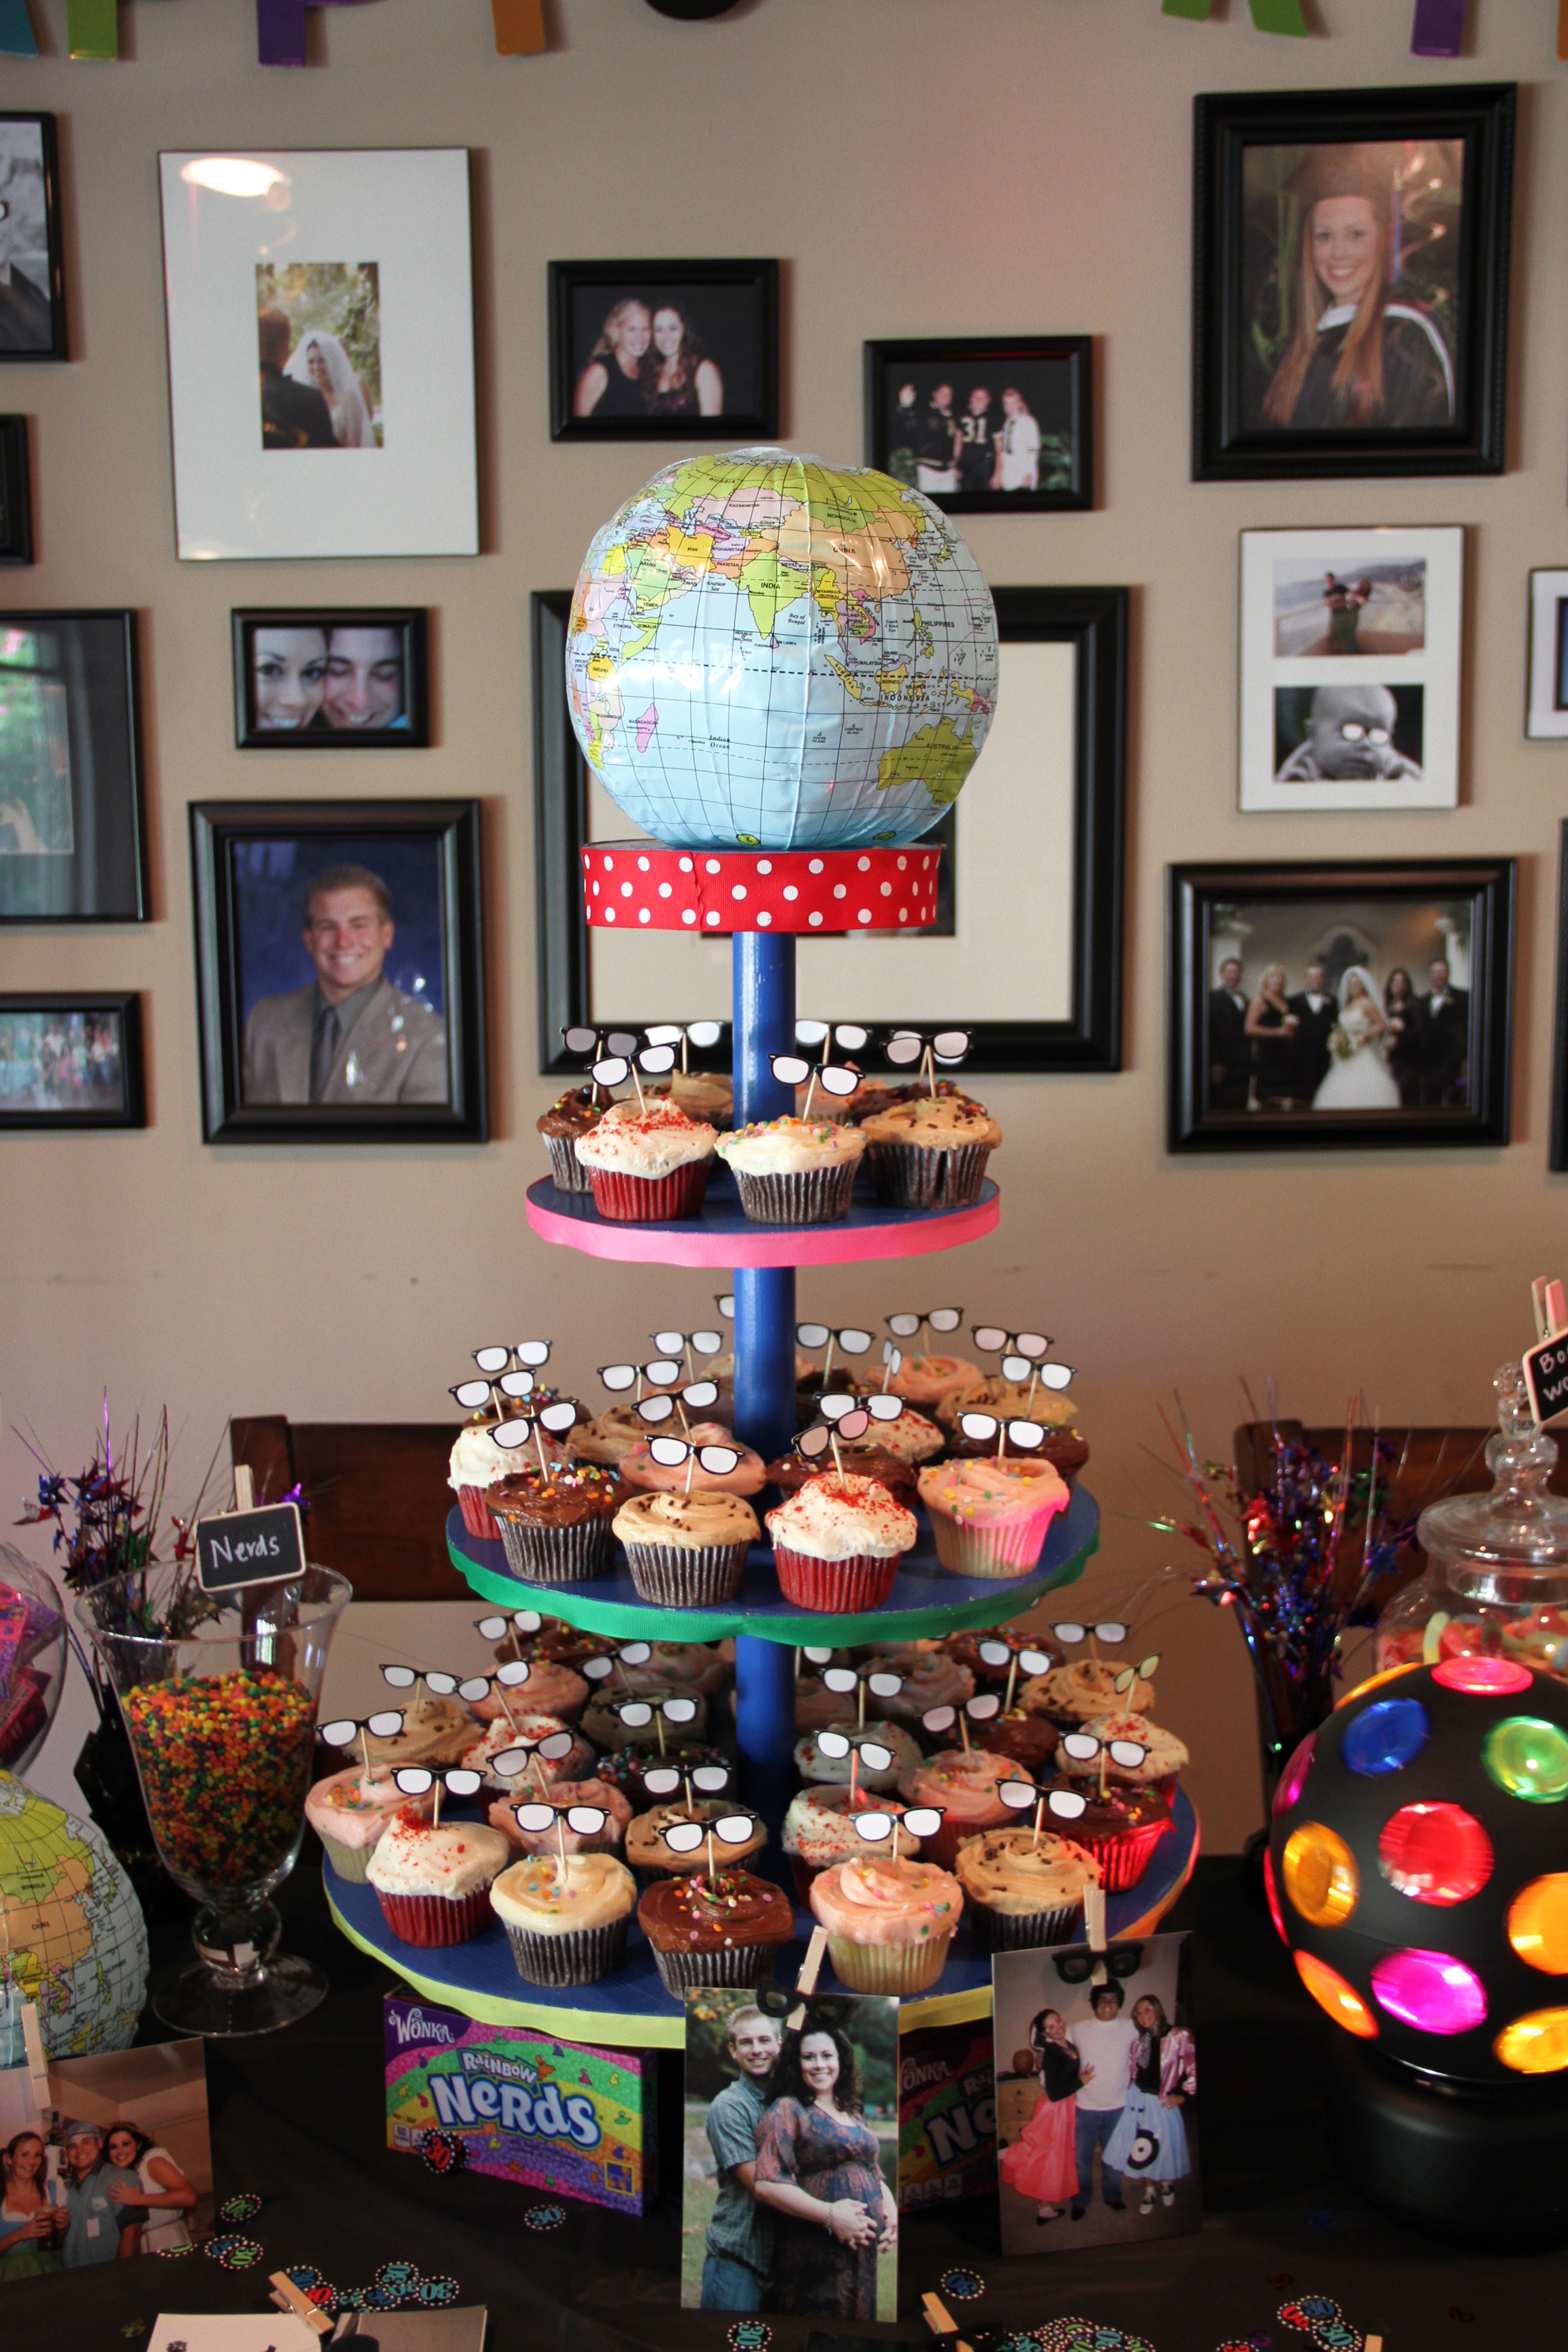

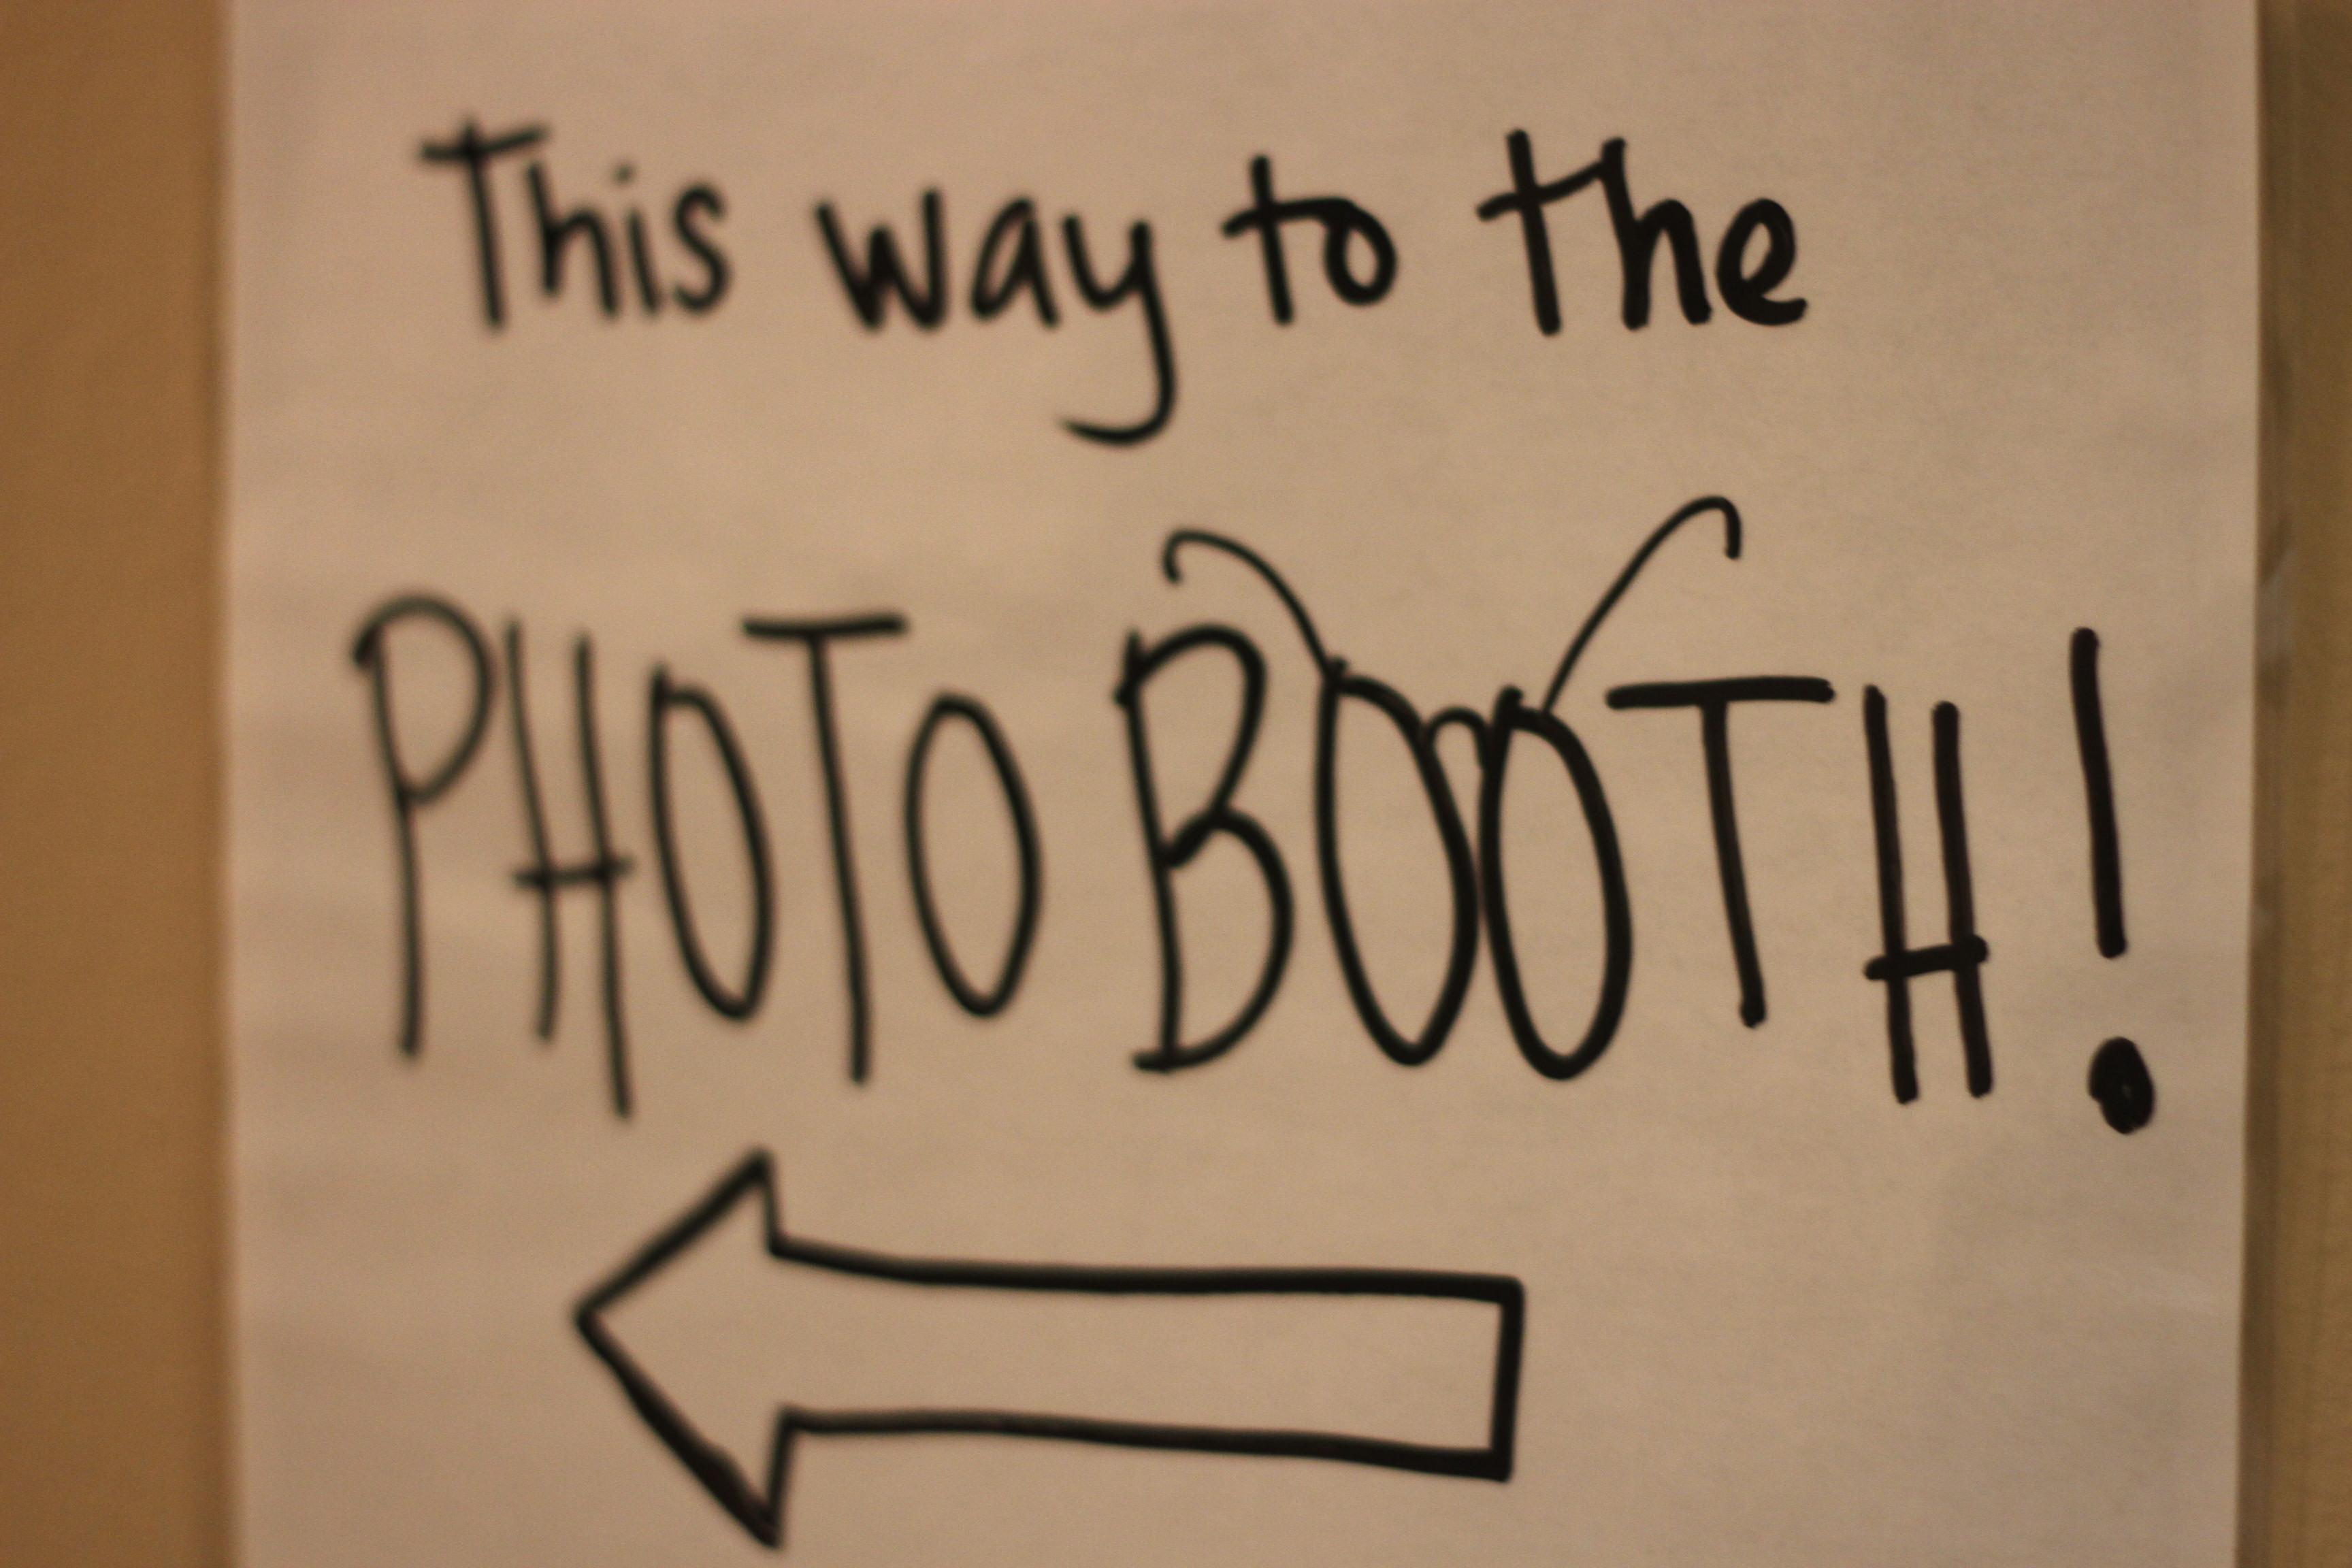
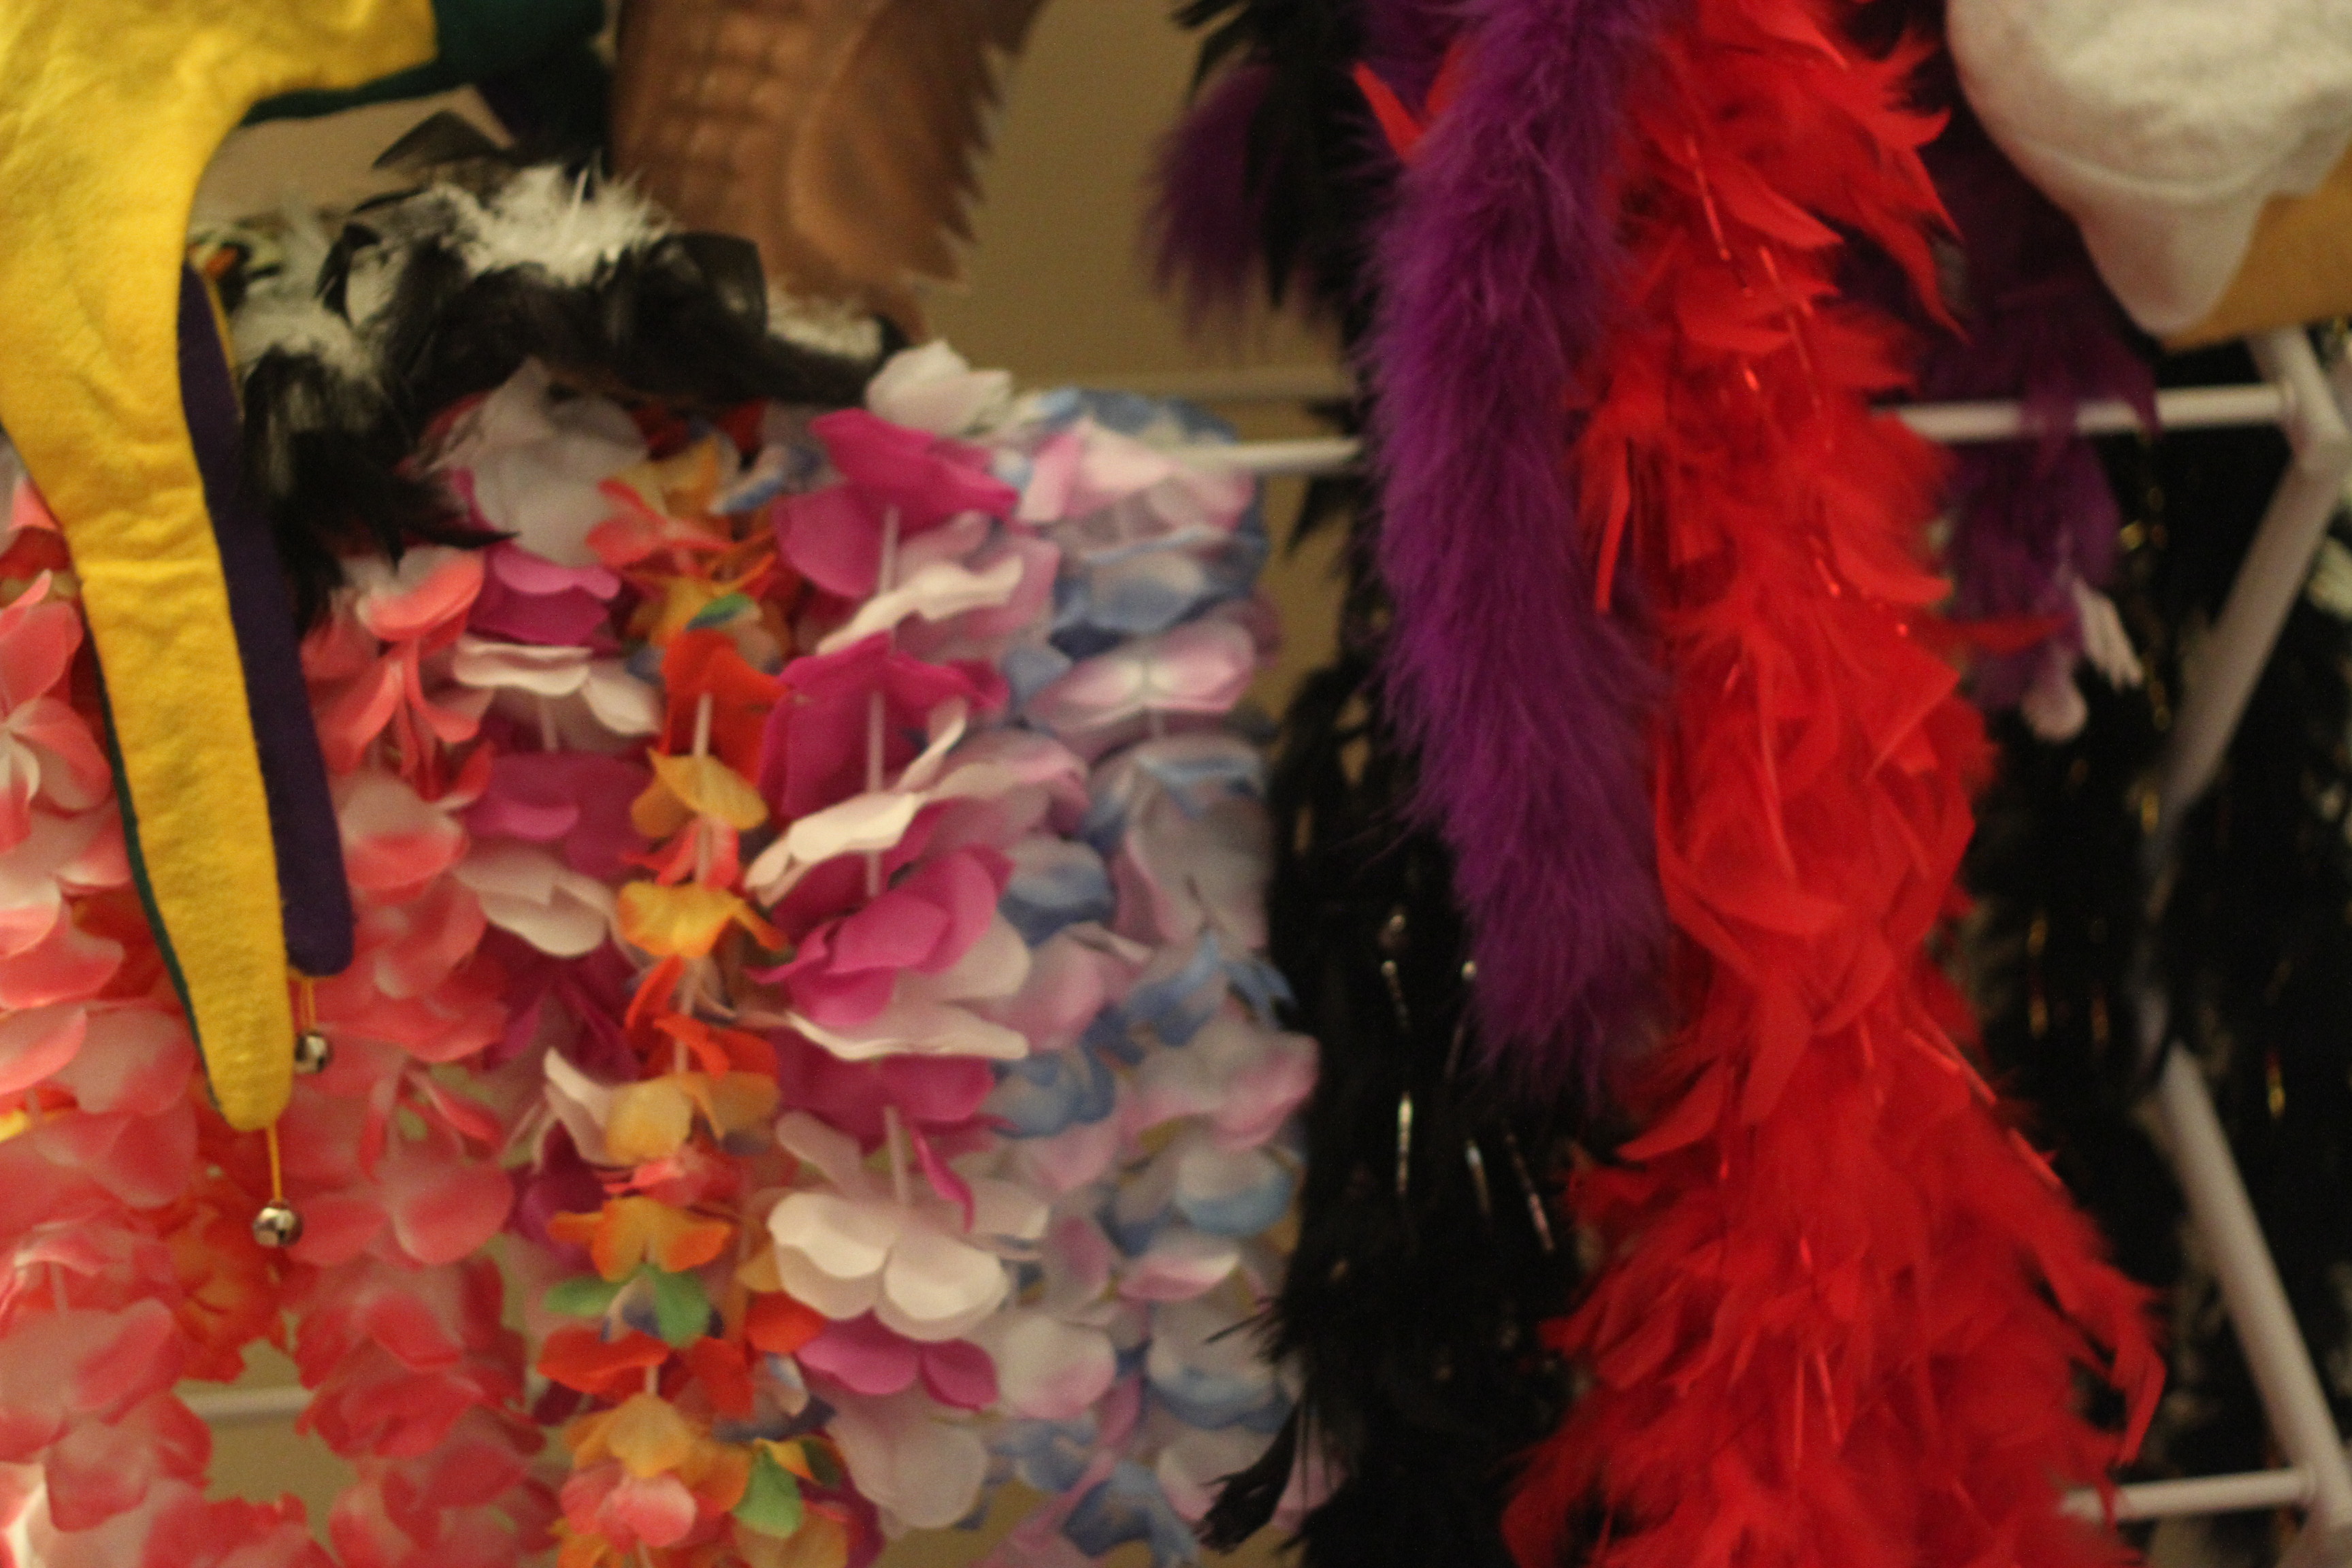
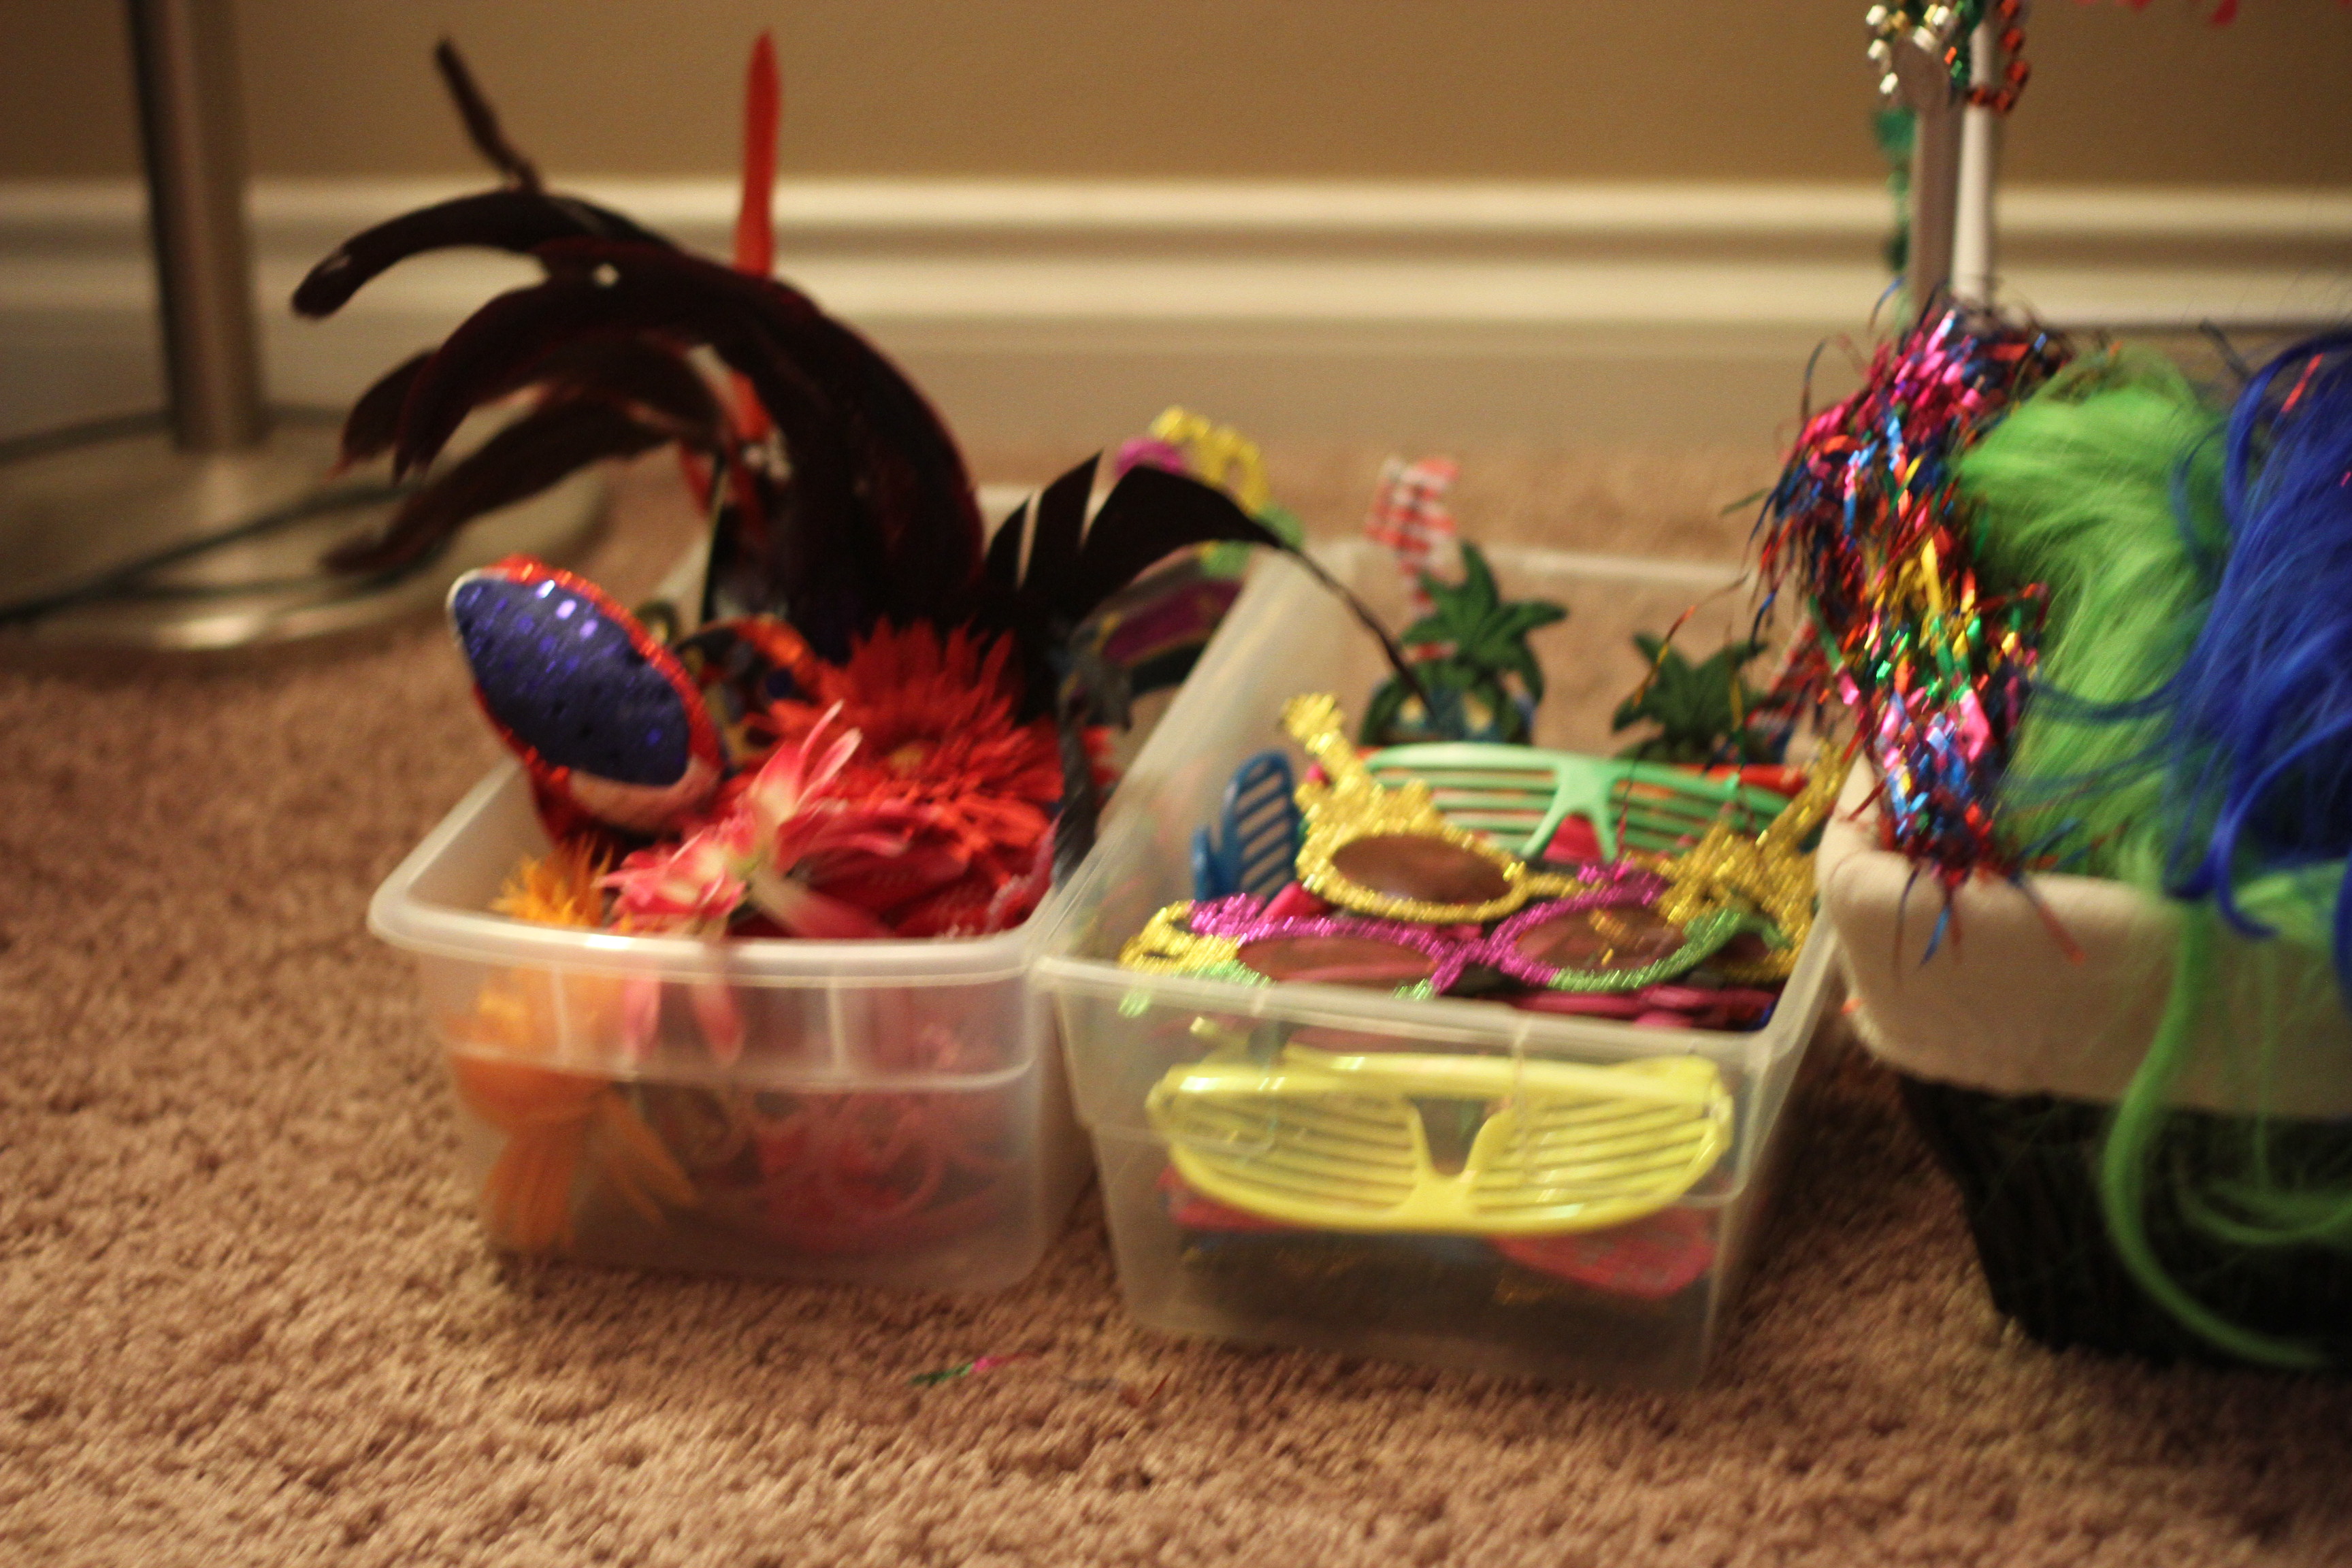
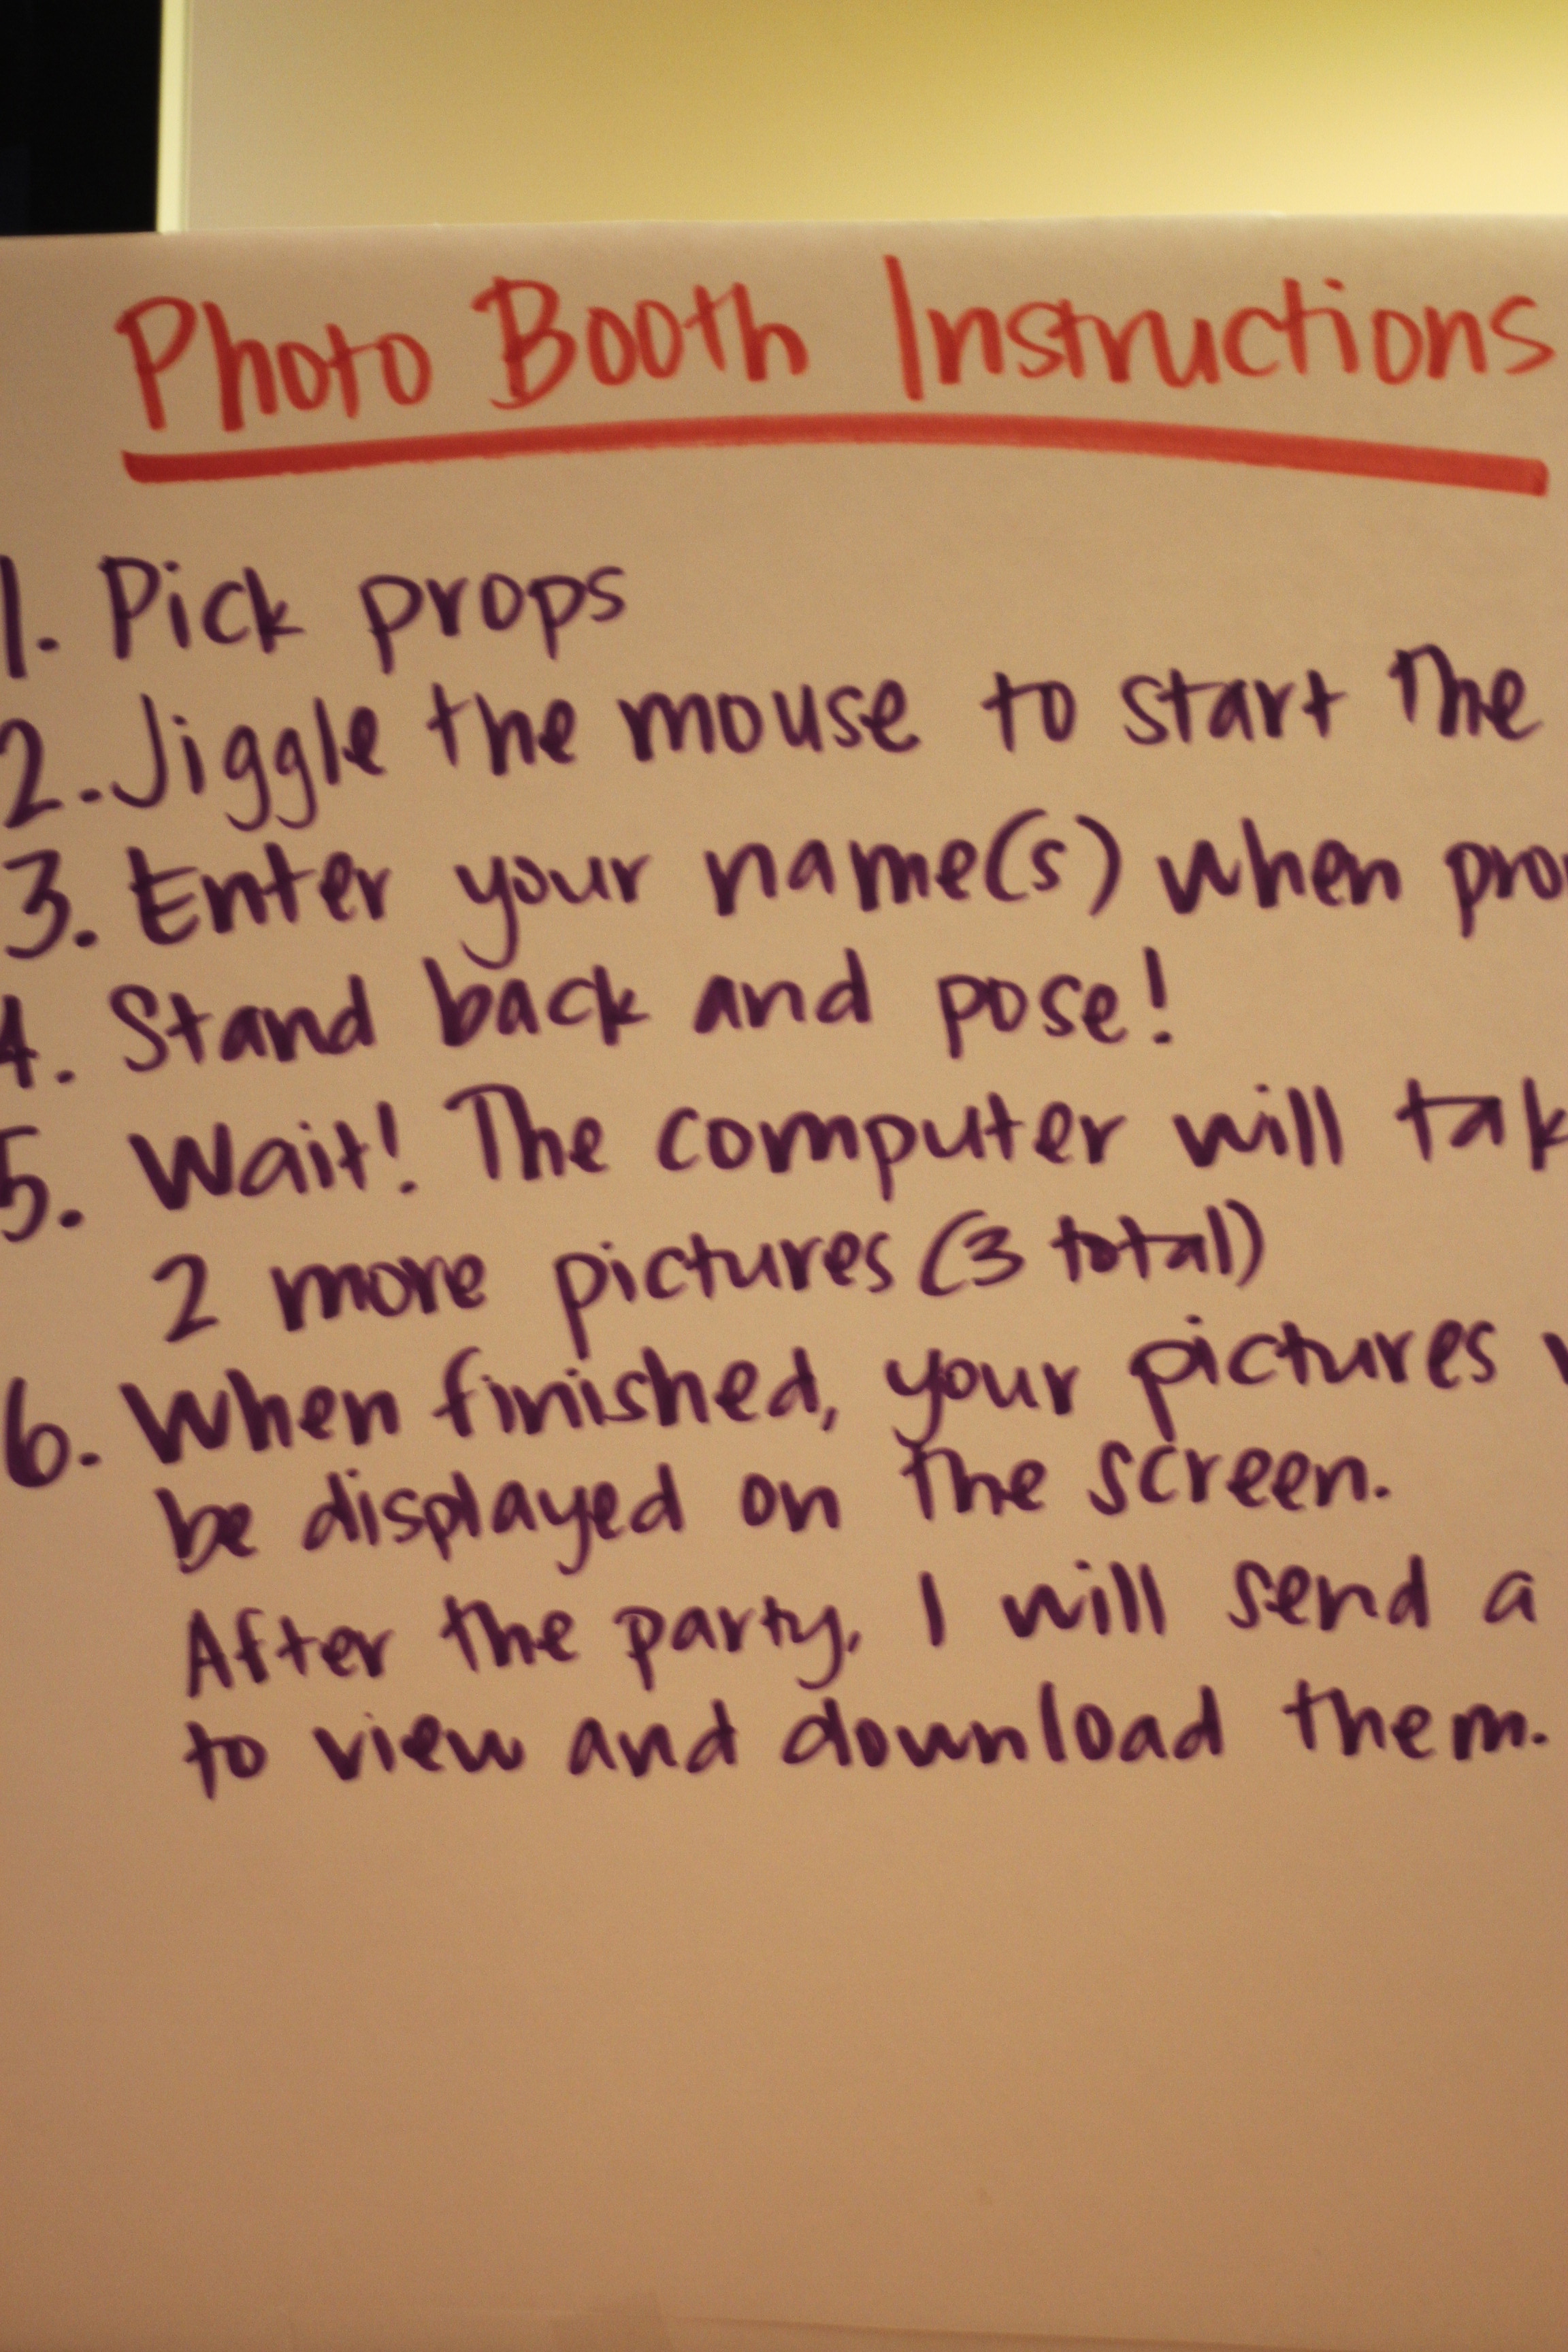
The photo booth!
What a fun addition. I wish I had a picture of the walls my crafty husband set up…how did I miss that?!?! 😦 In any case, it was really a booth. The props were on loan to me from my mom’s friend Robin and they were AMAZING. So many hats, pairs of funny glasses, necklaces…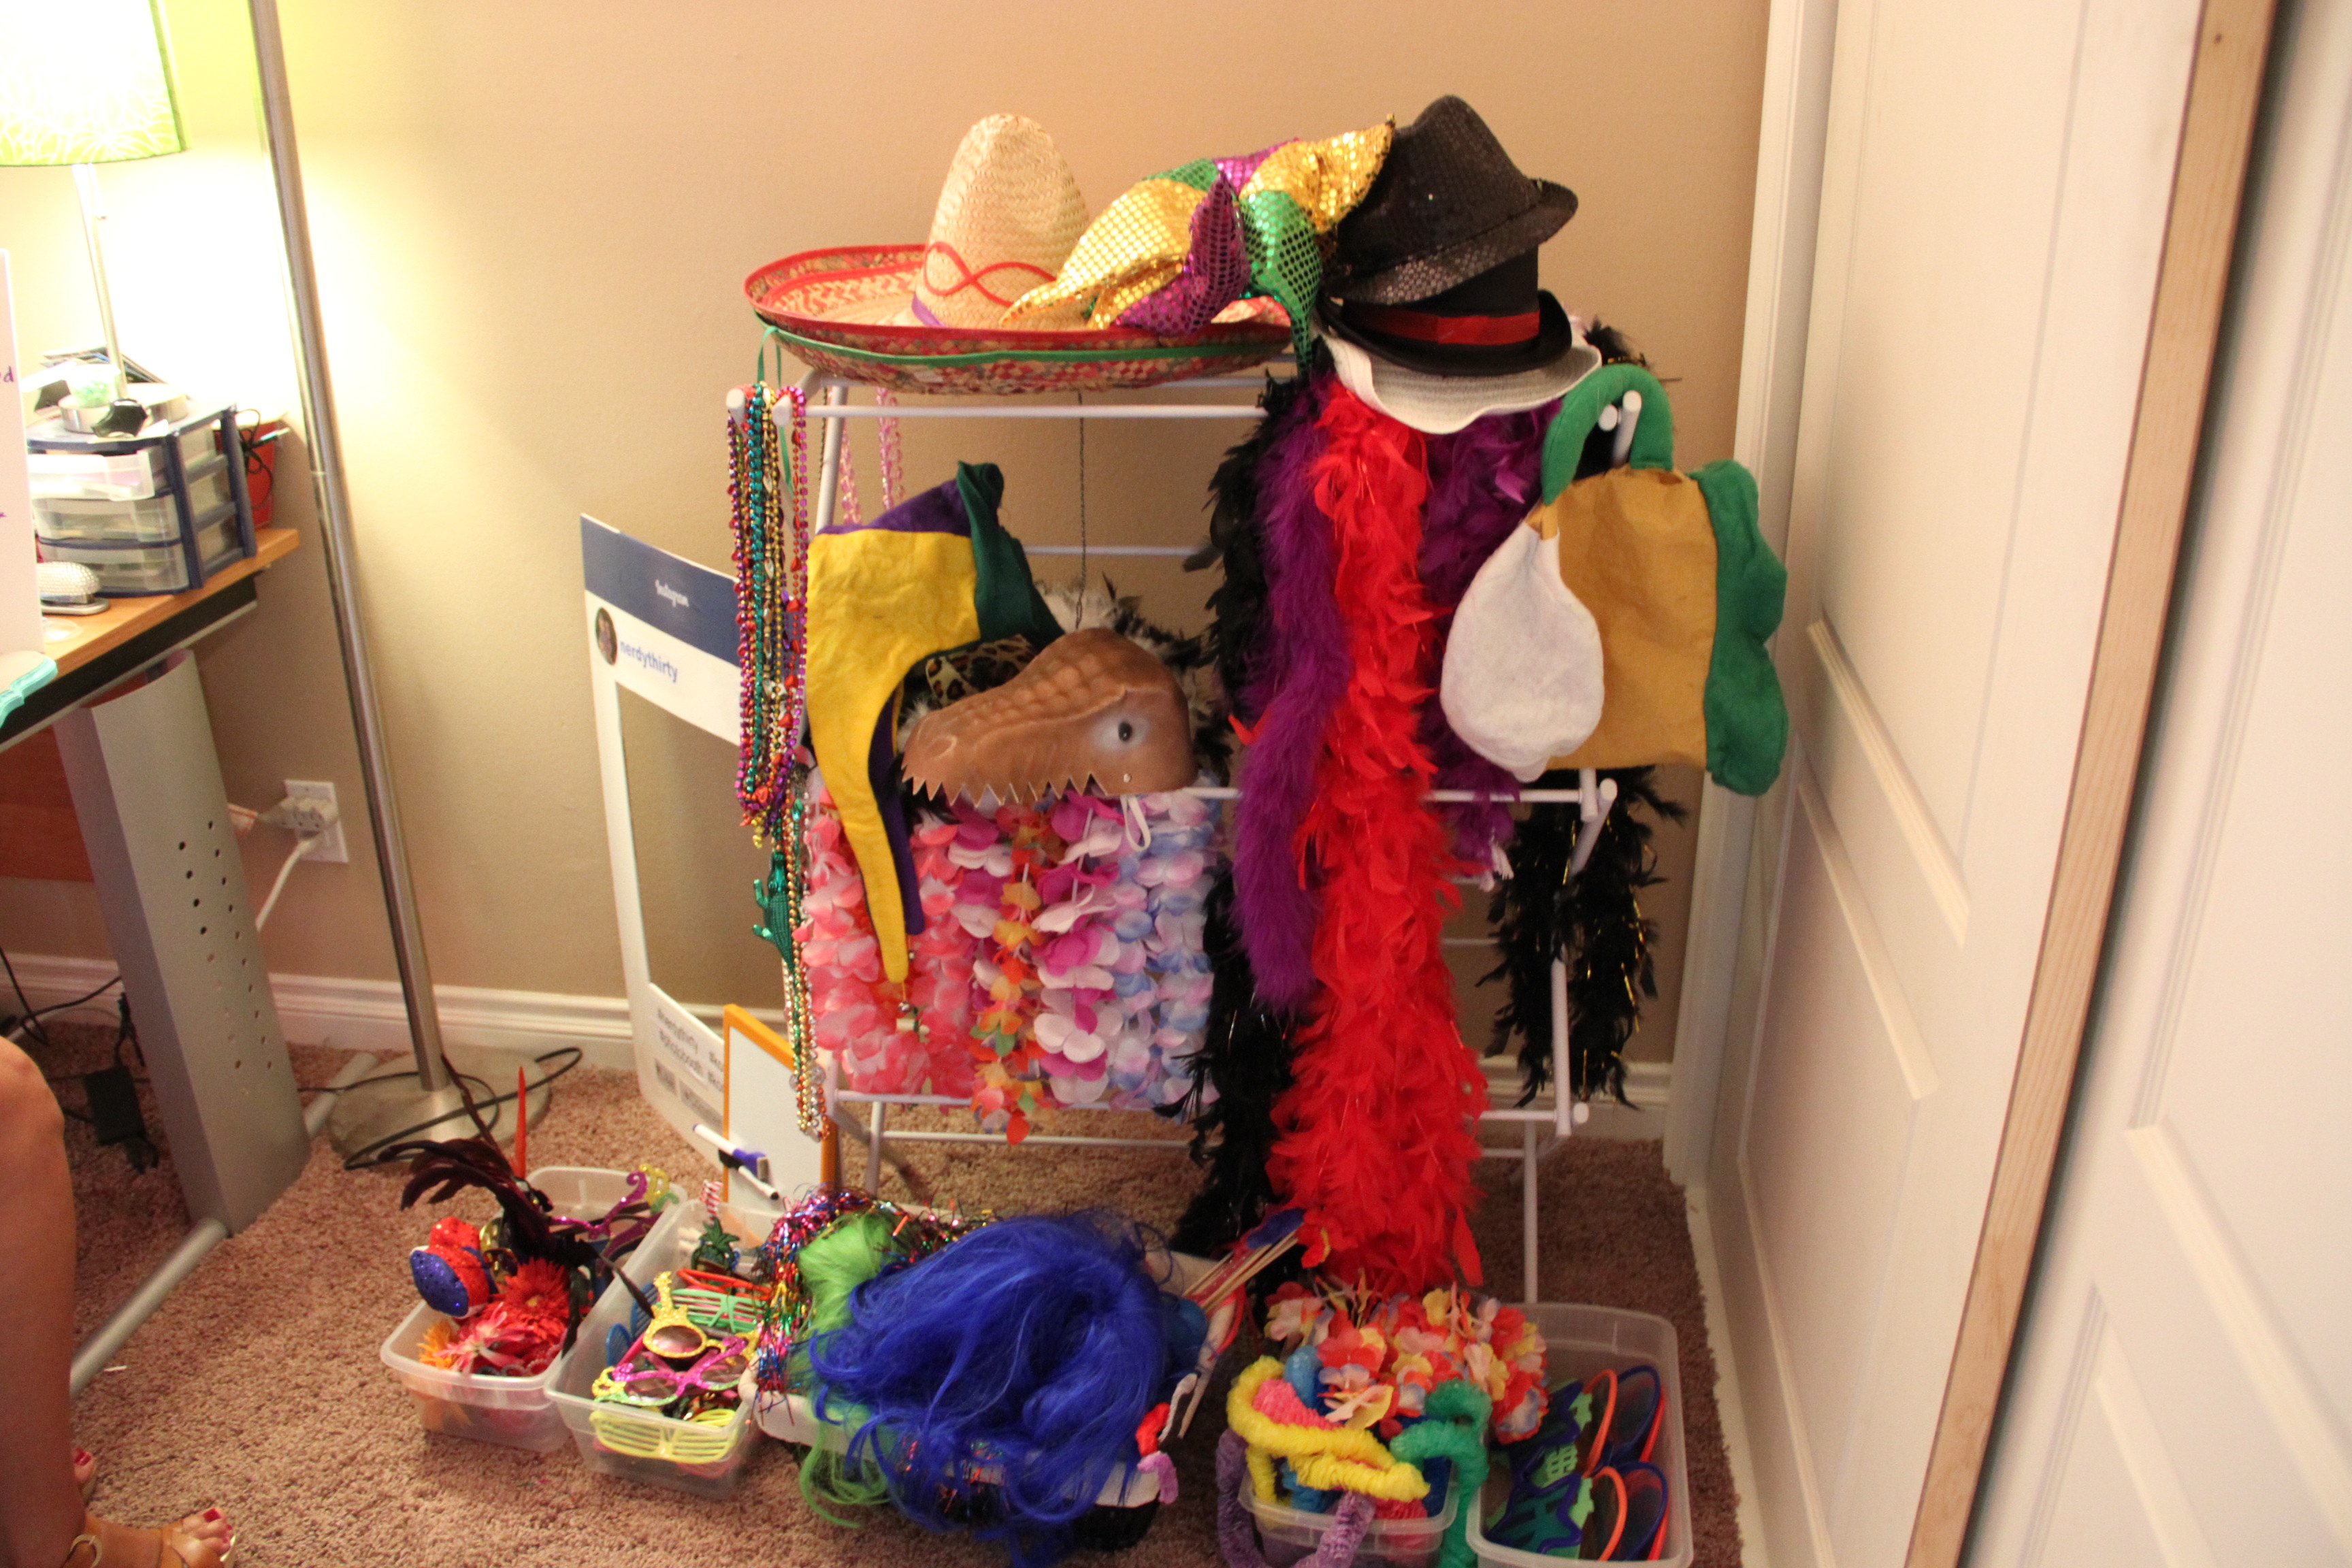
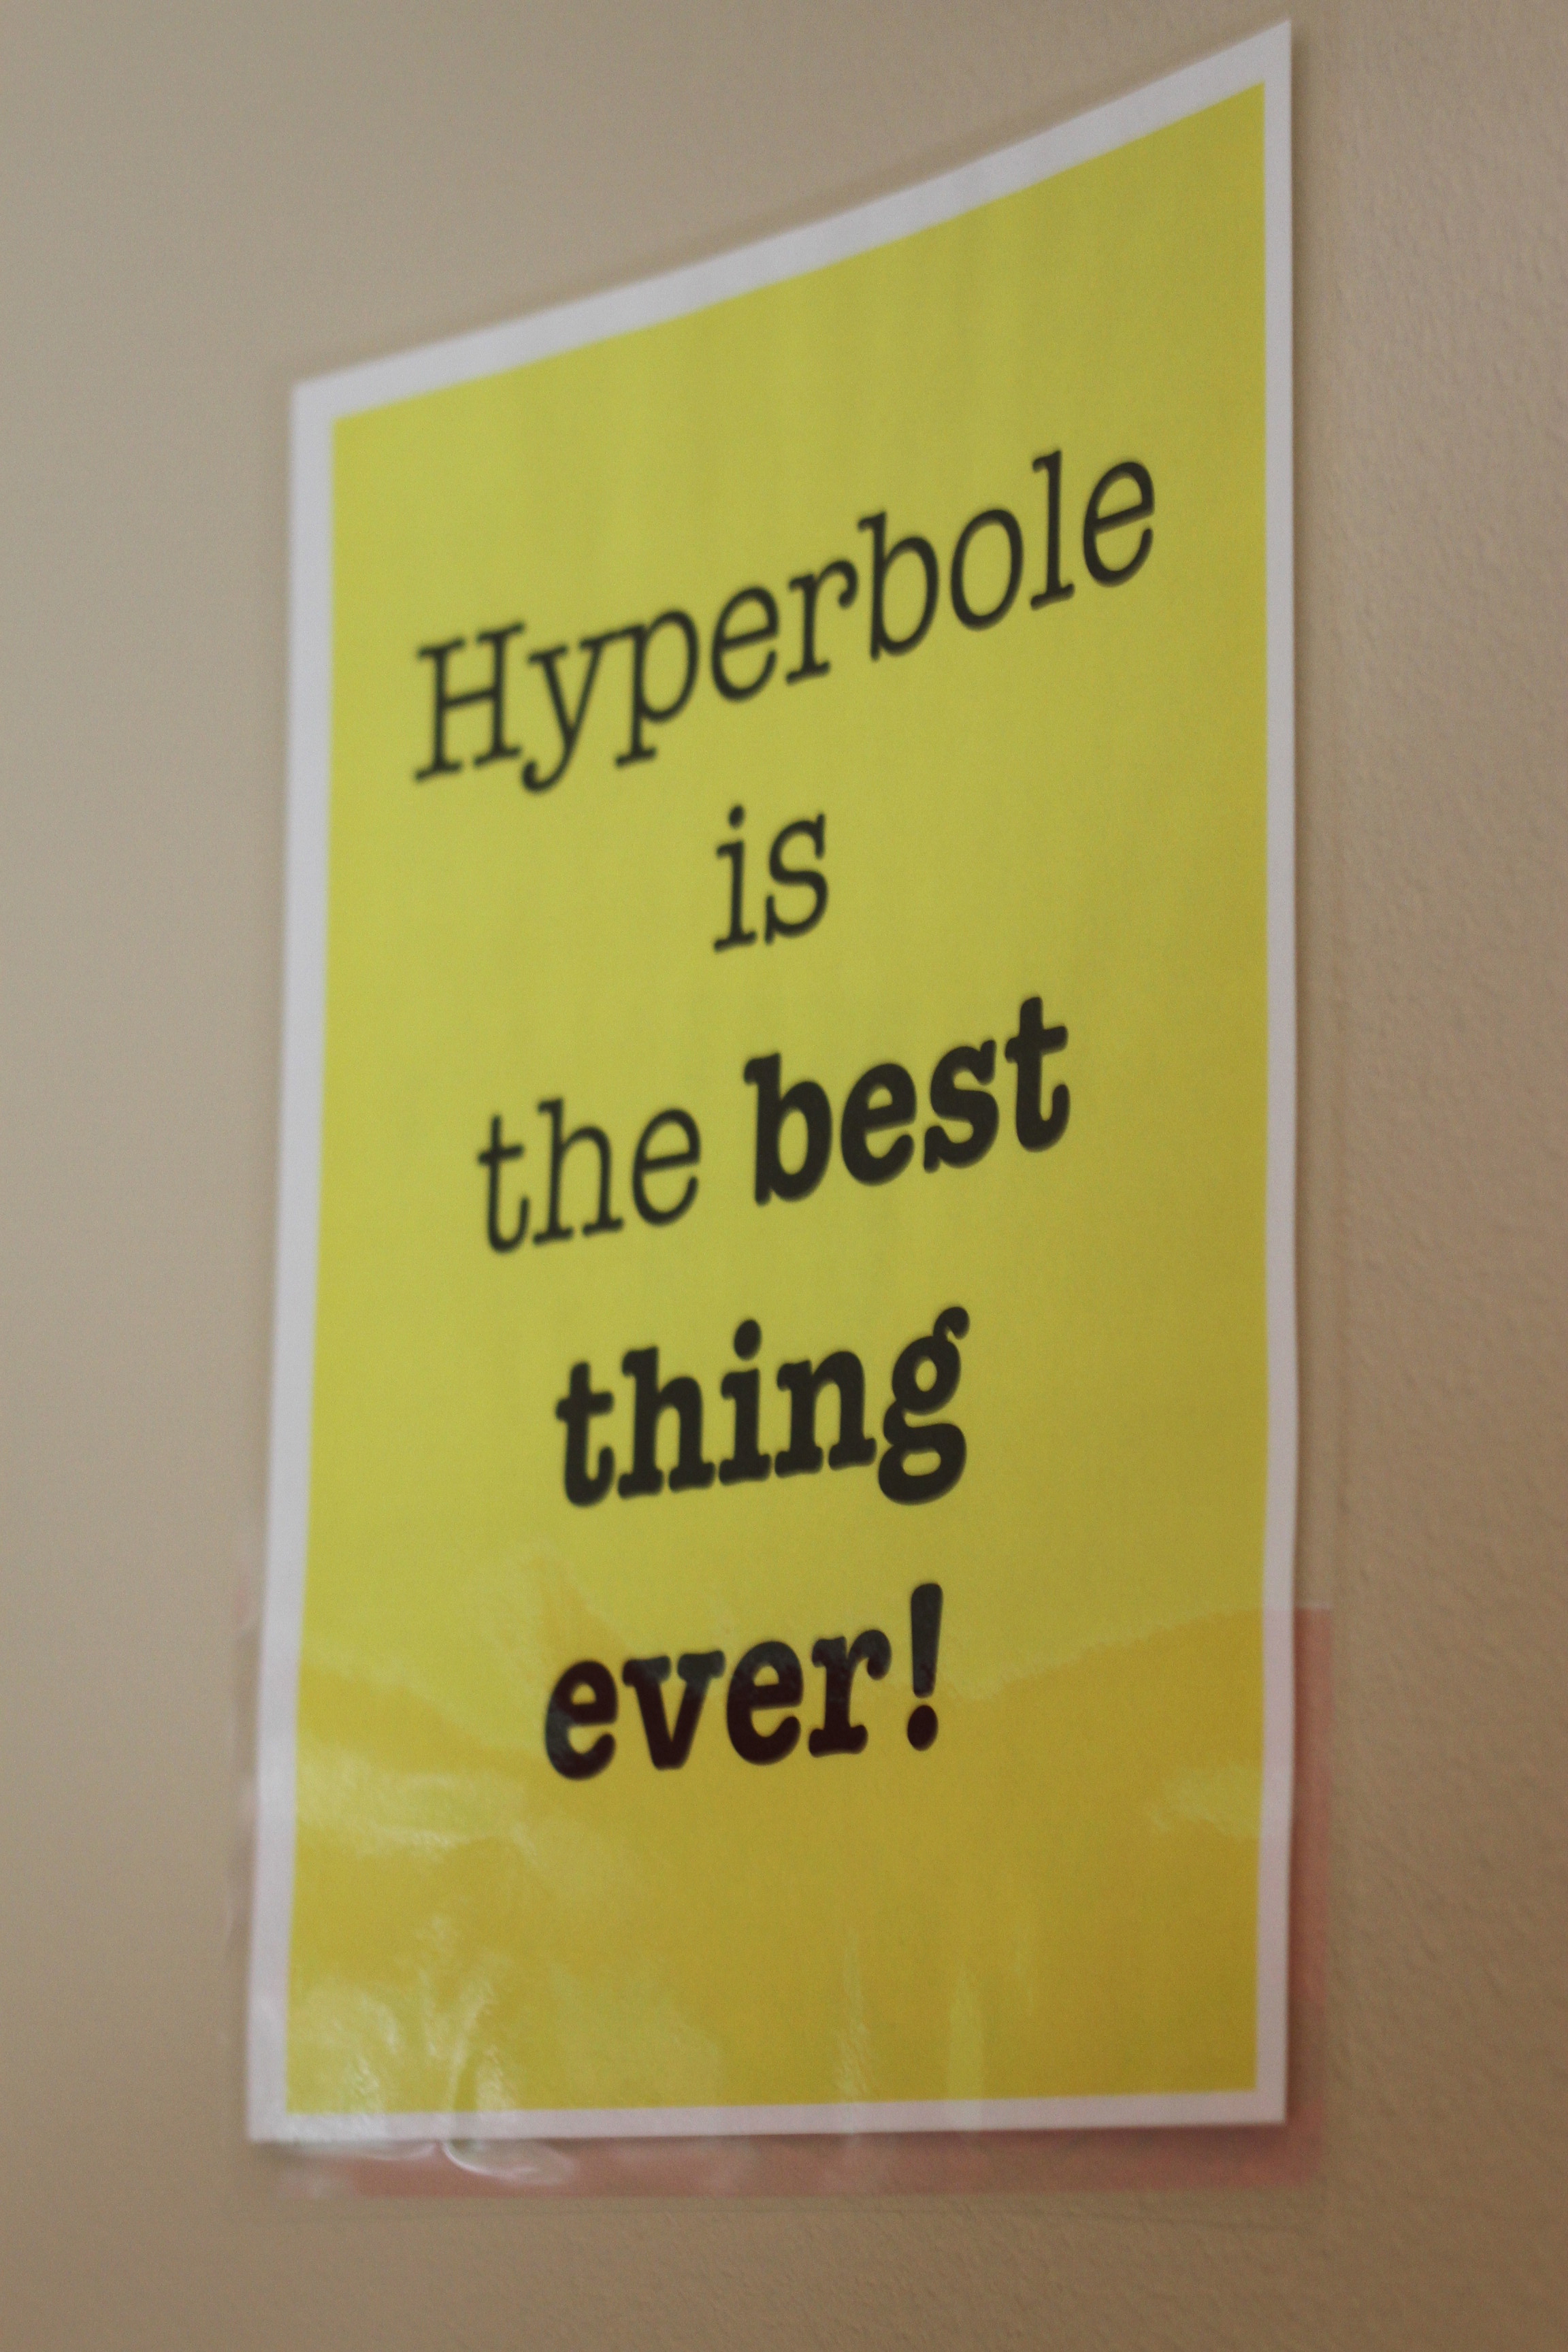
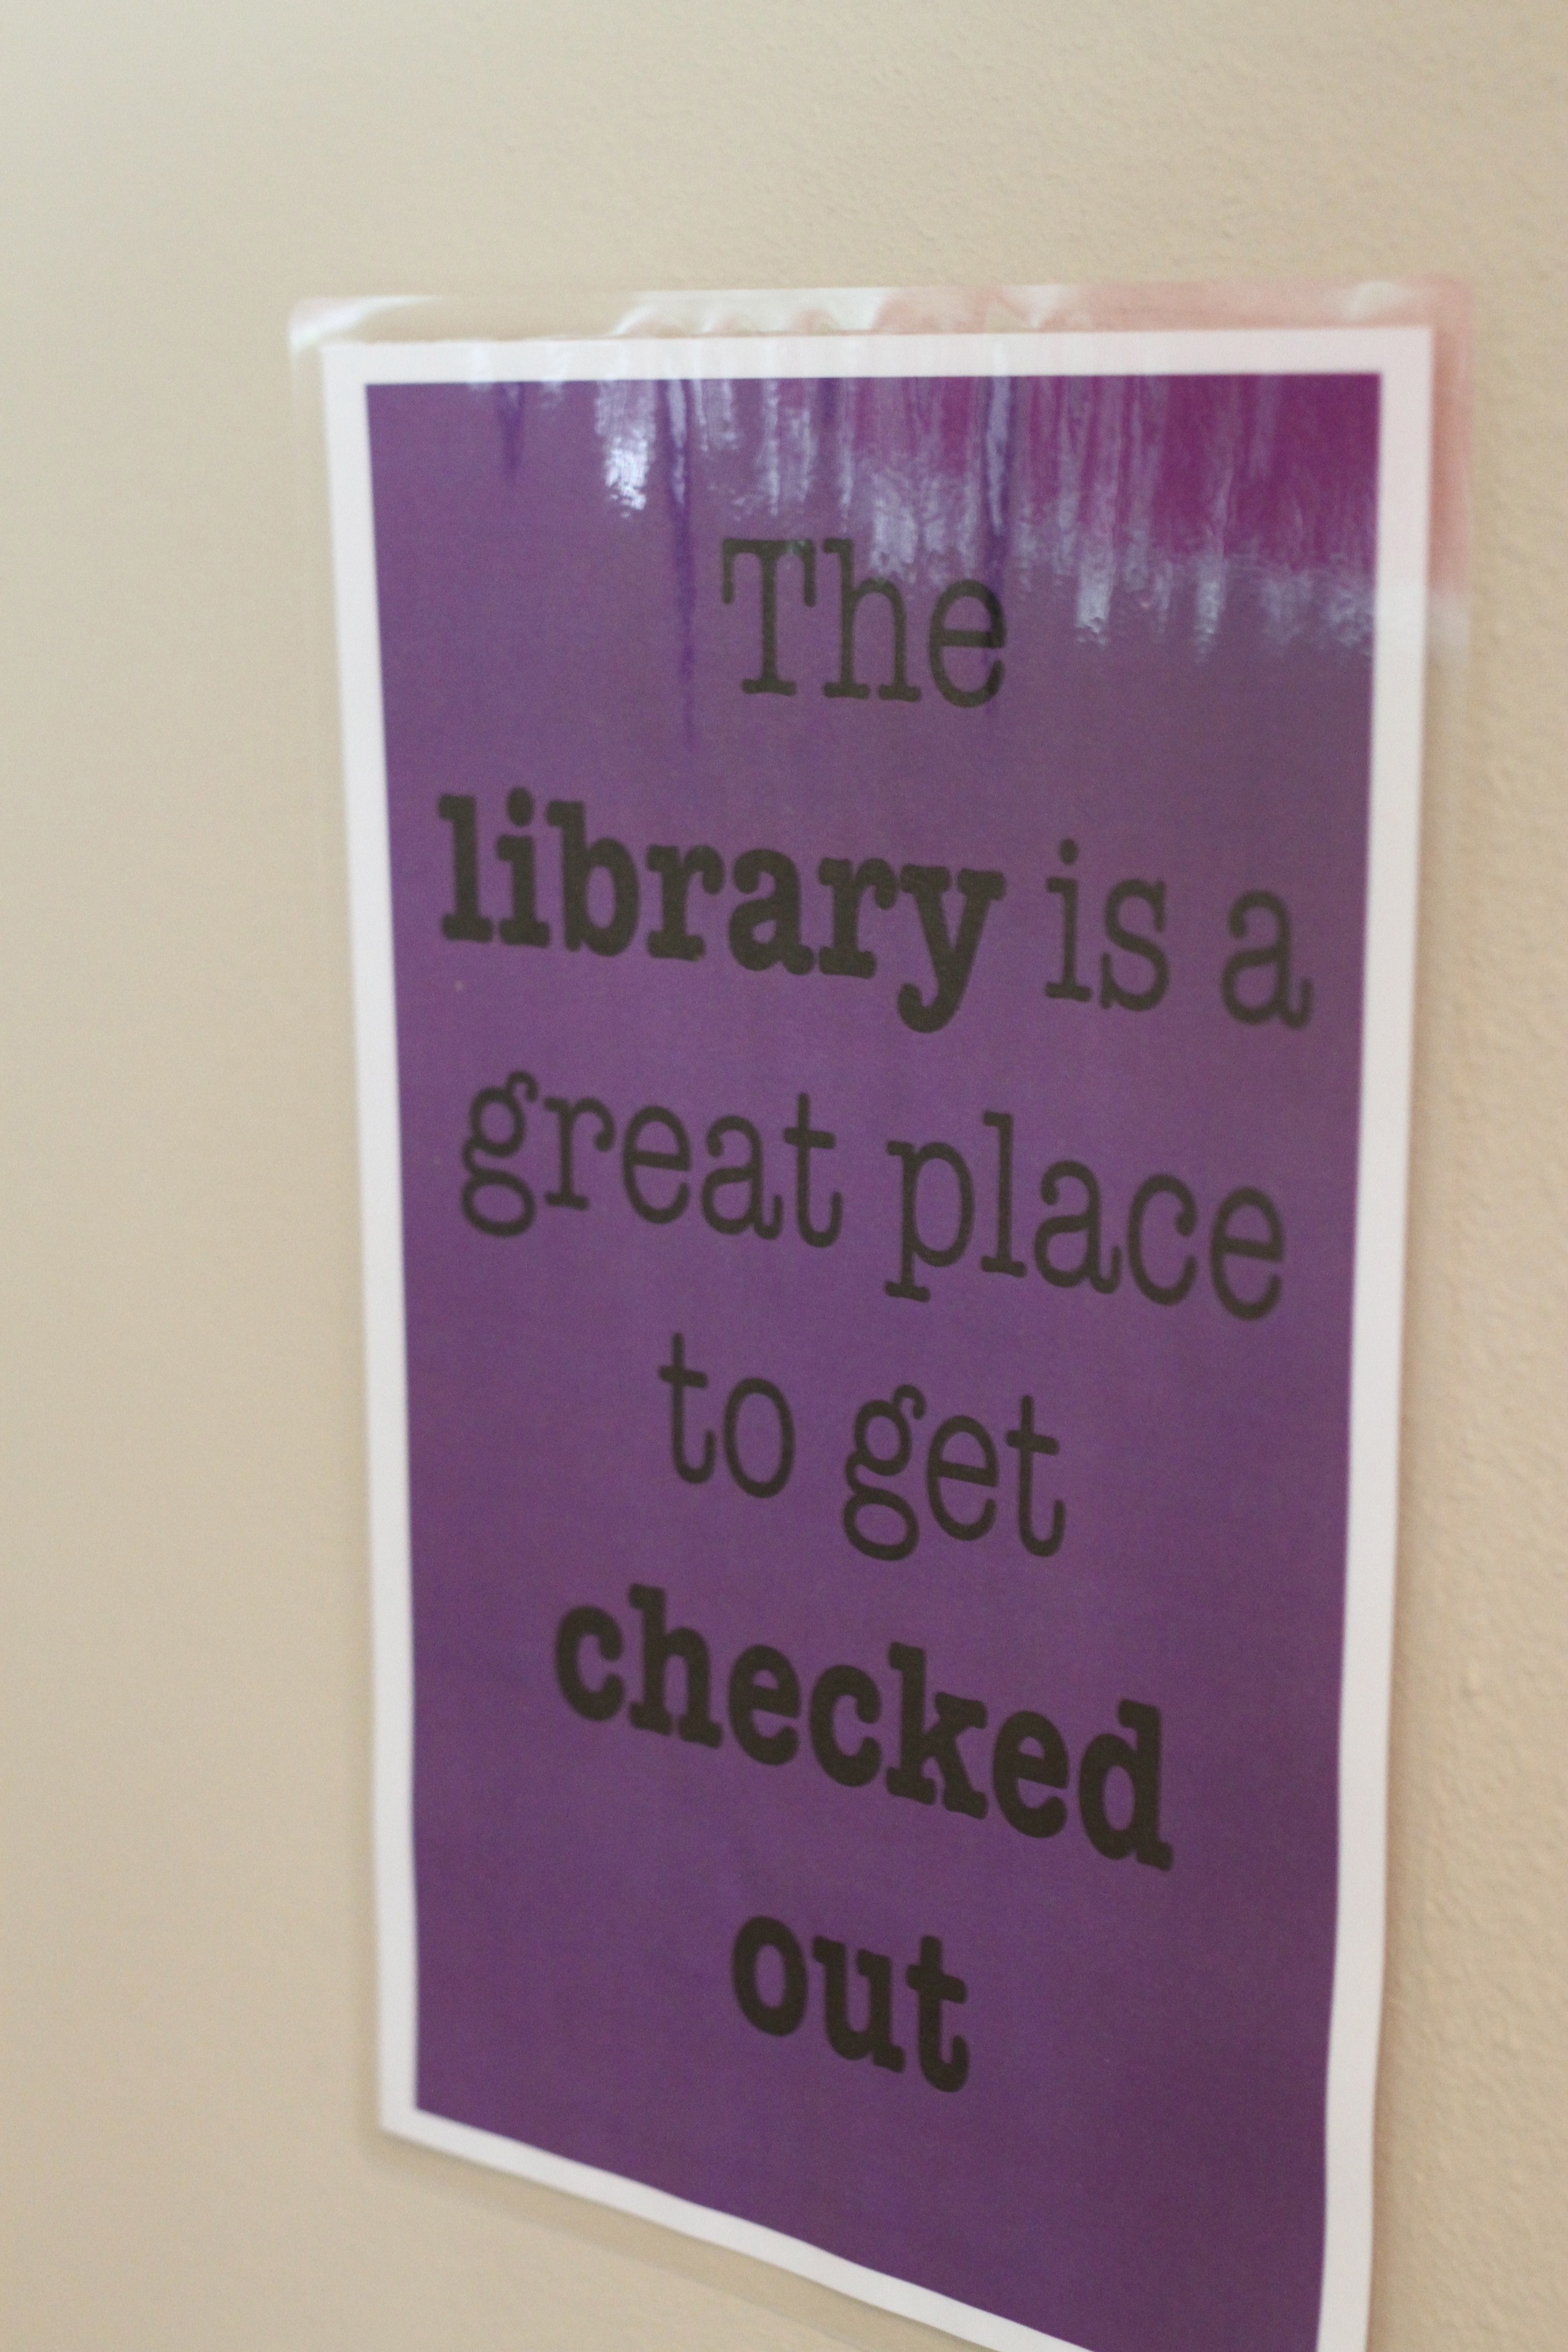
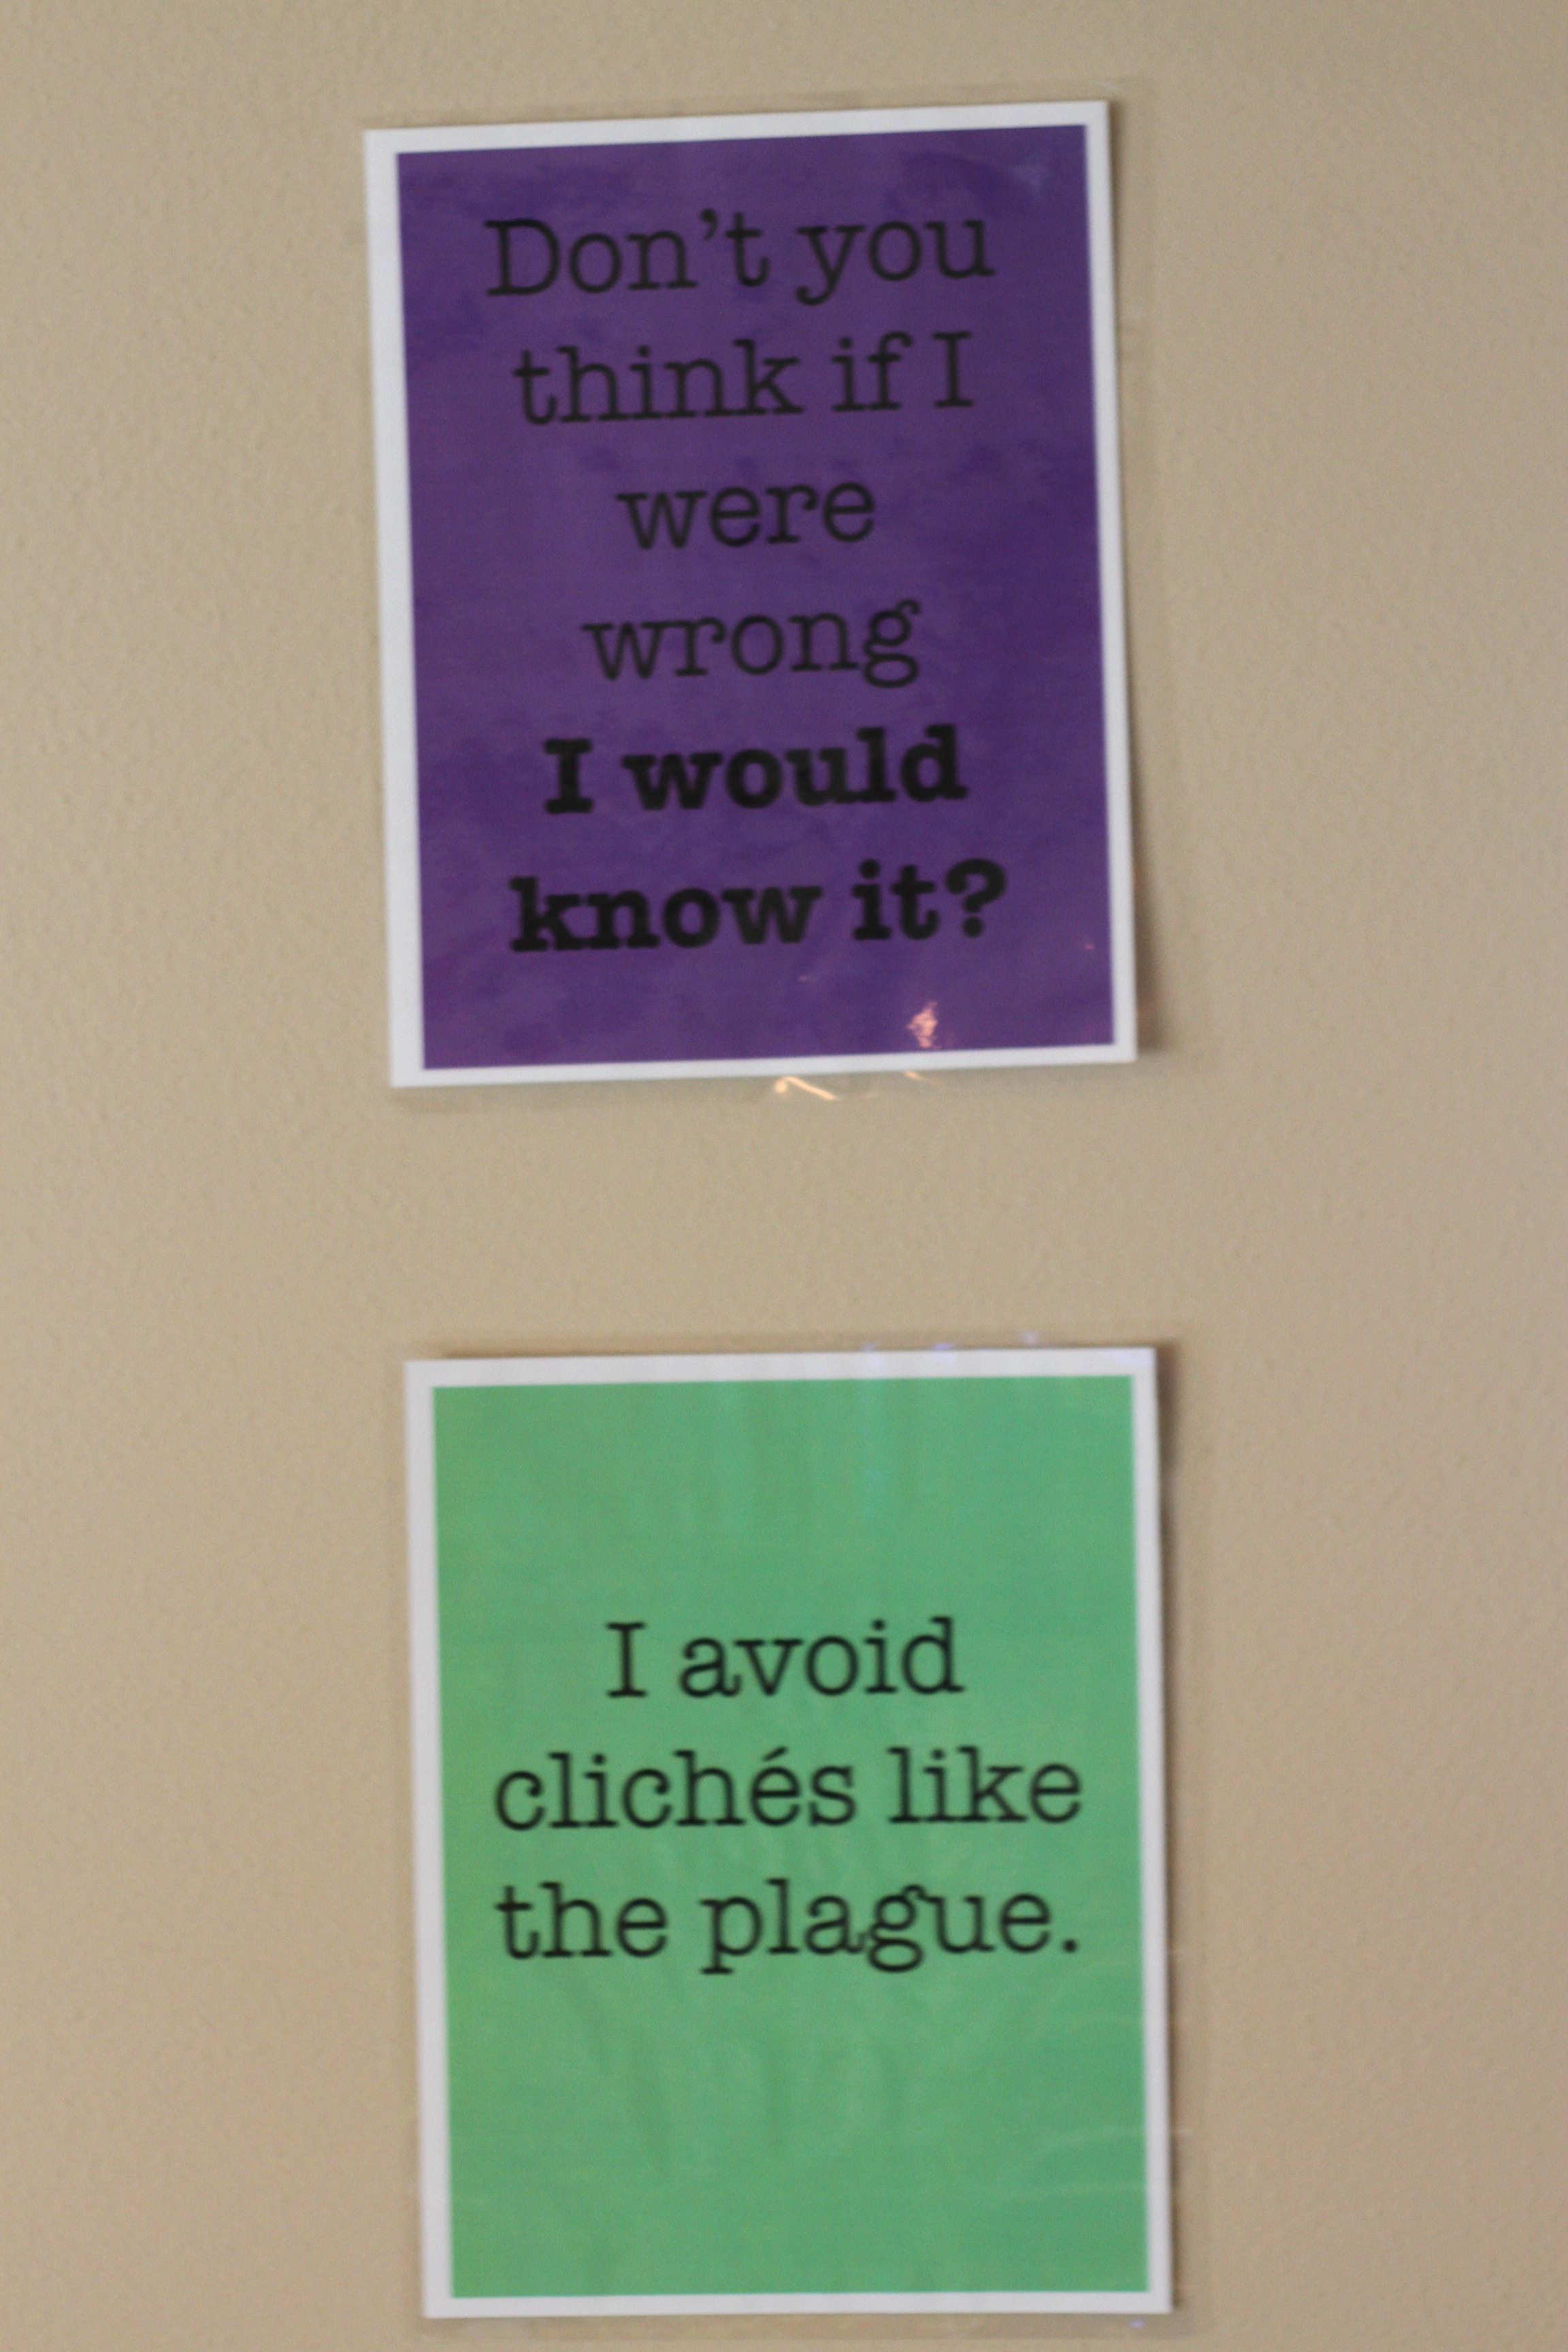
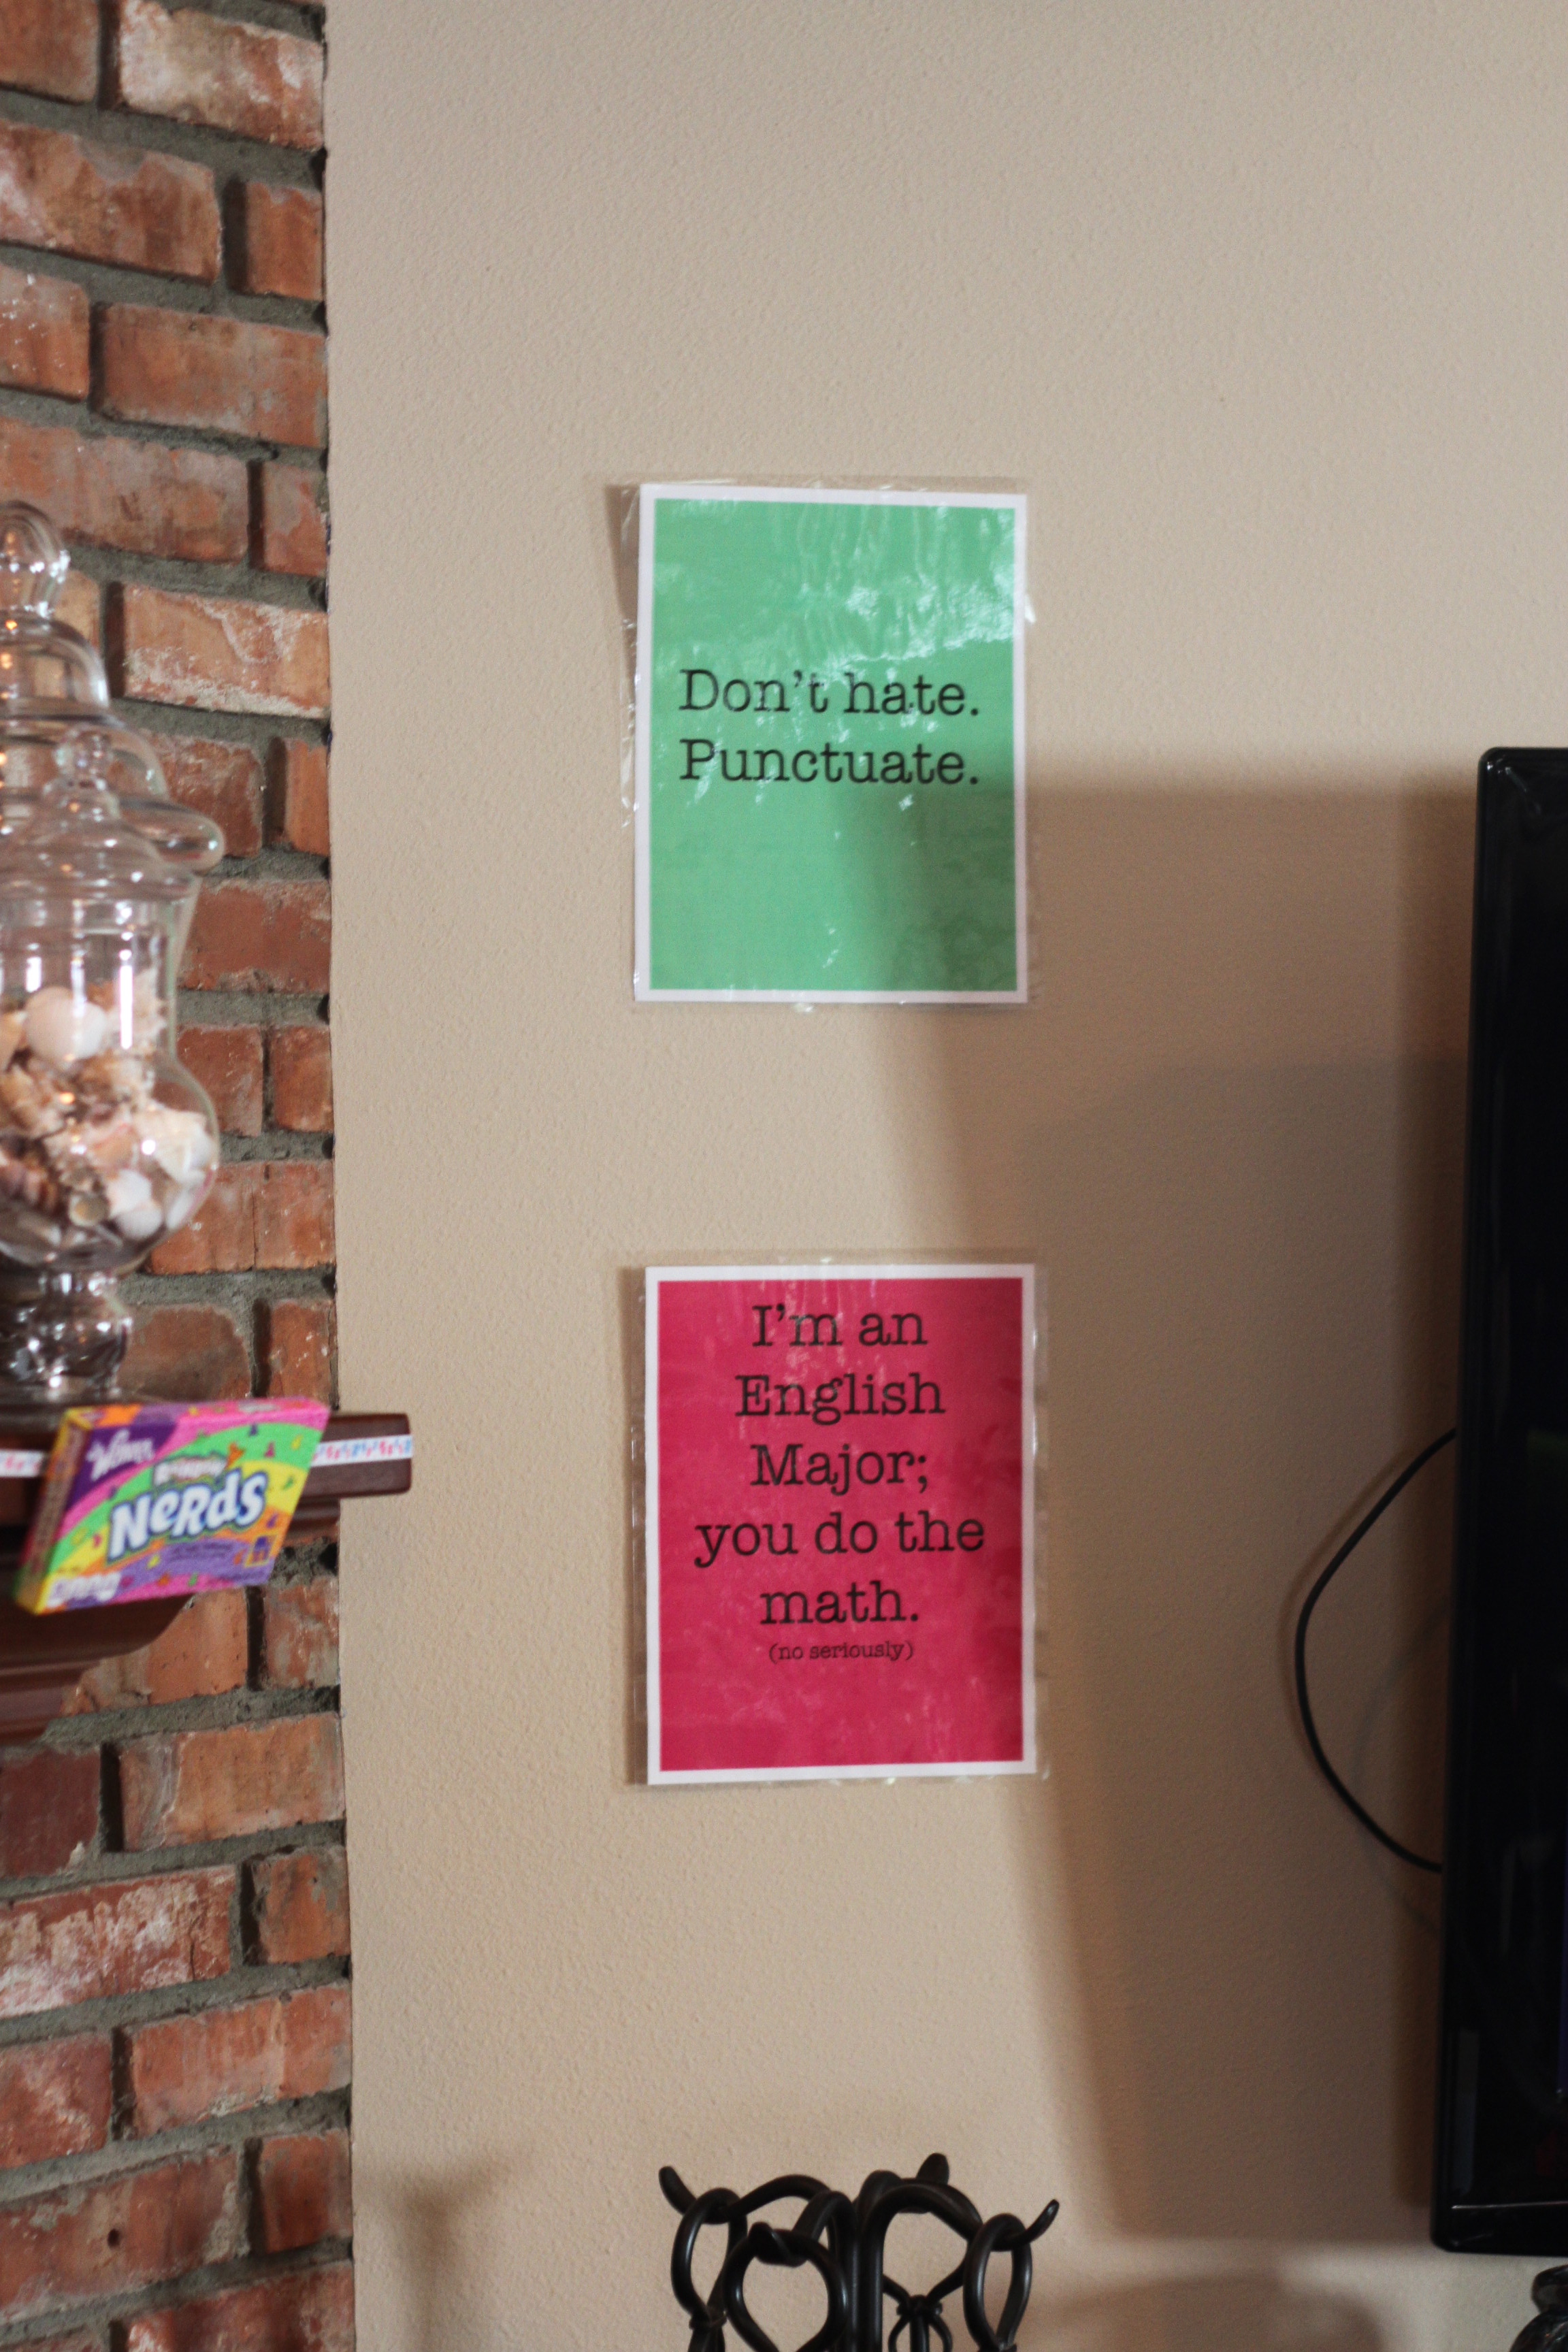
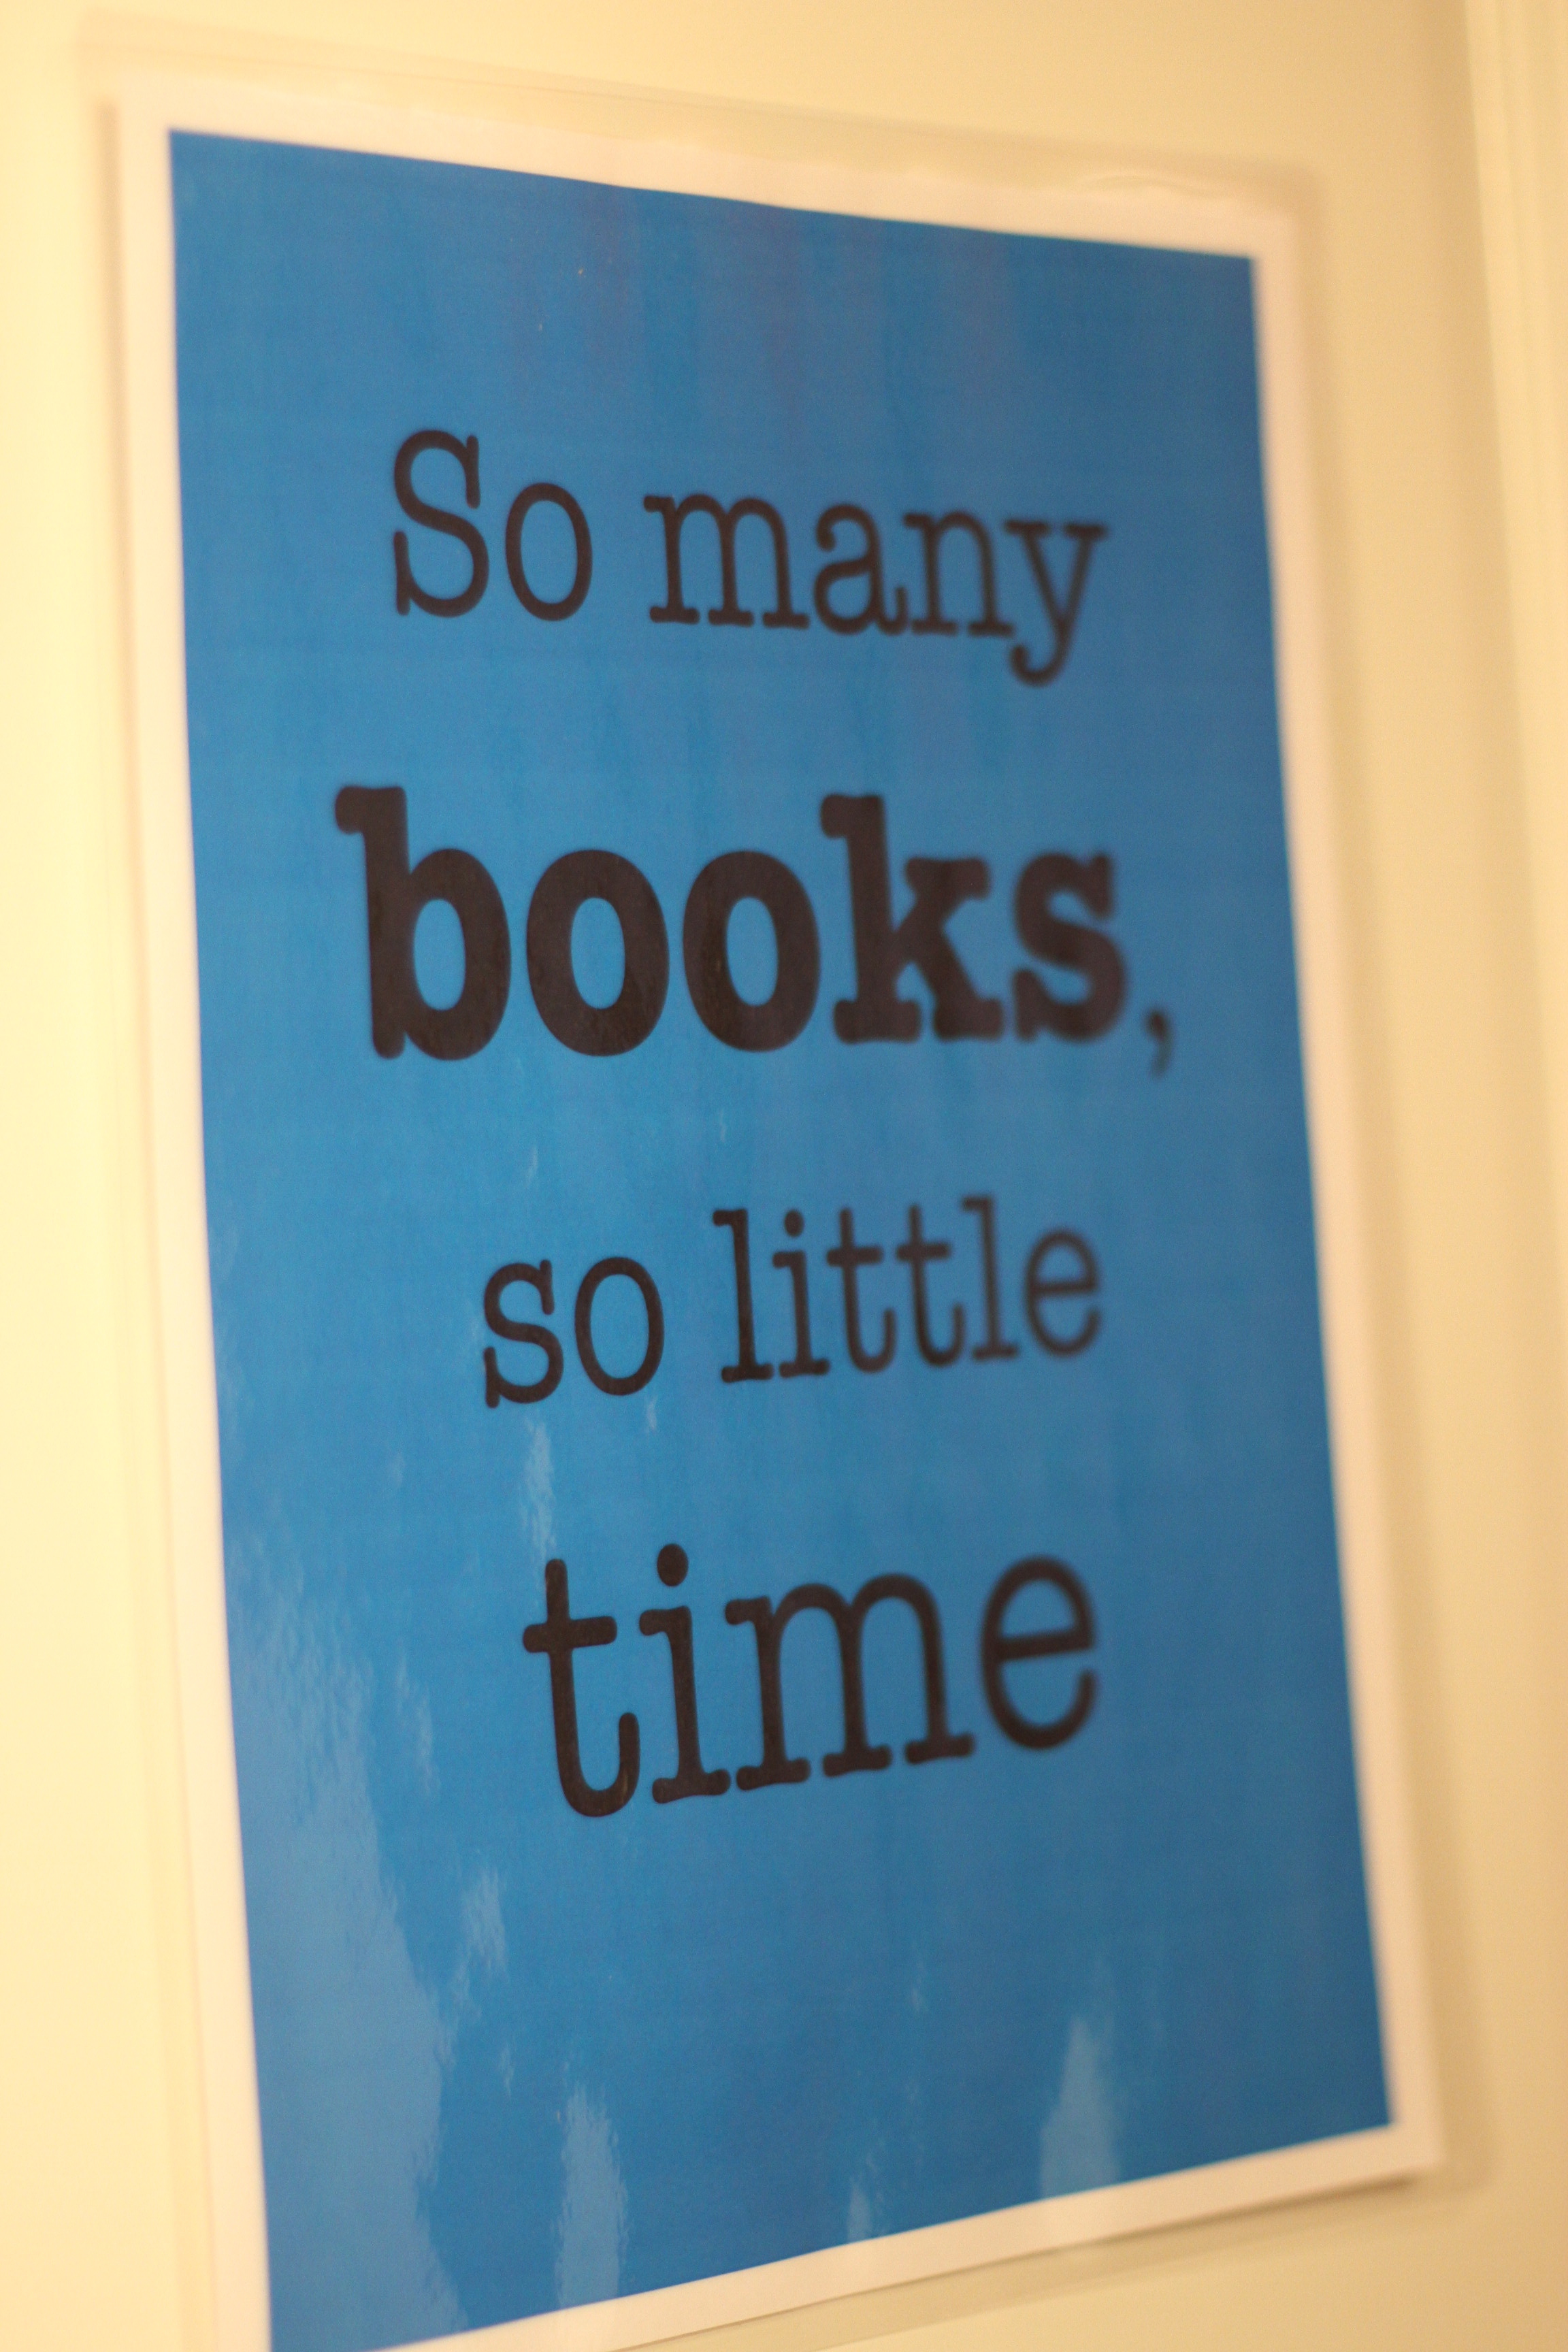
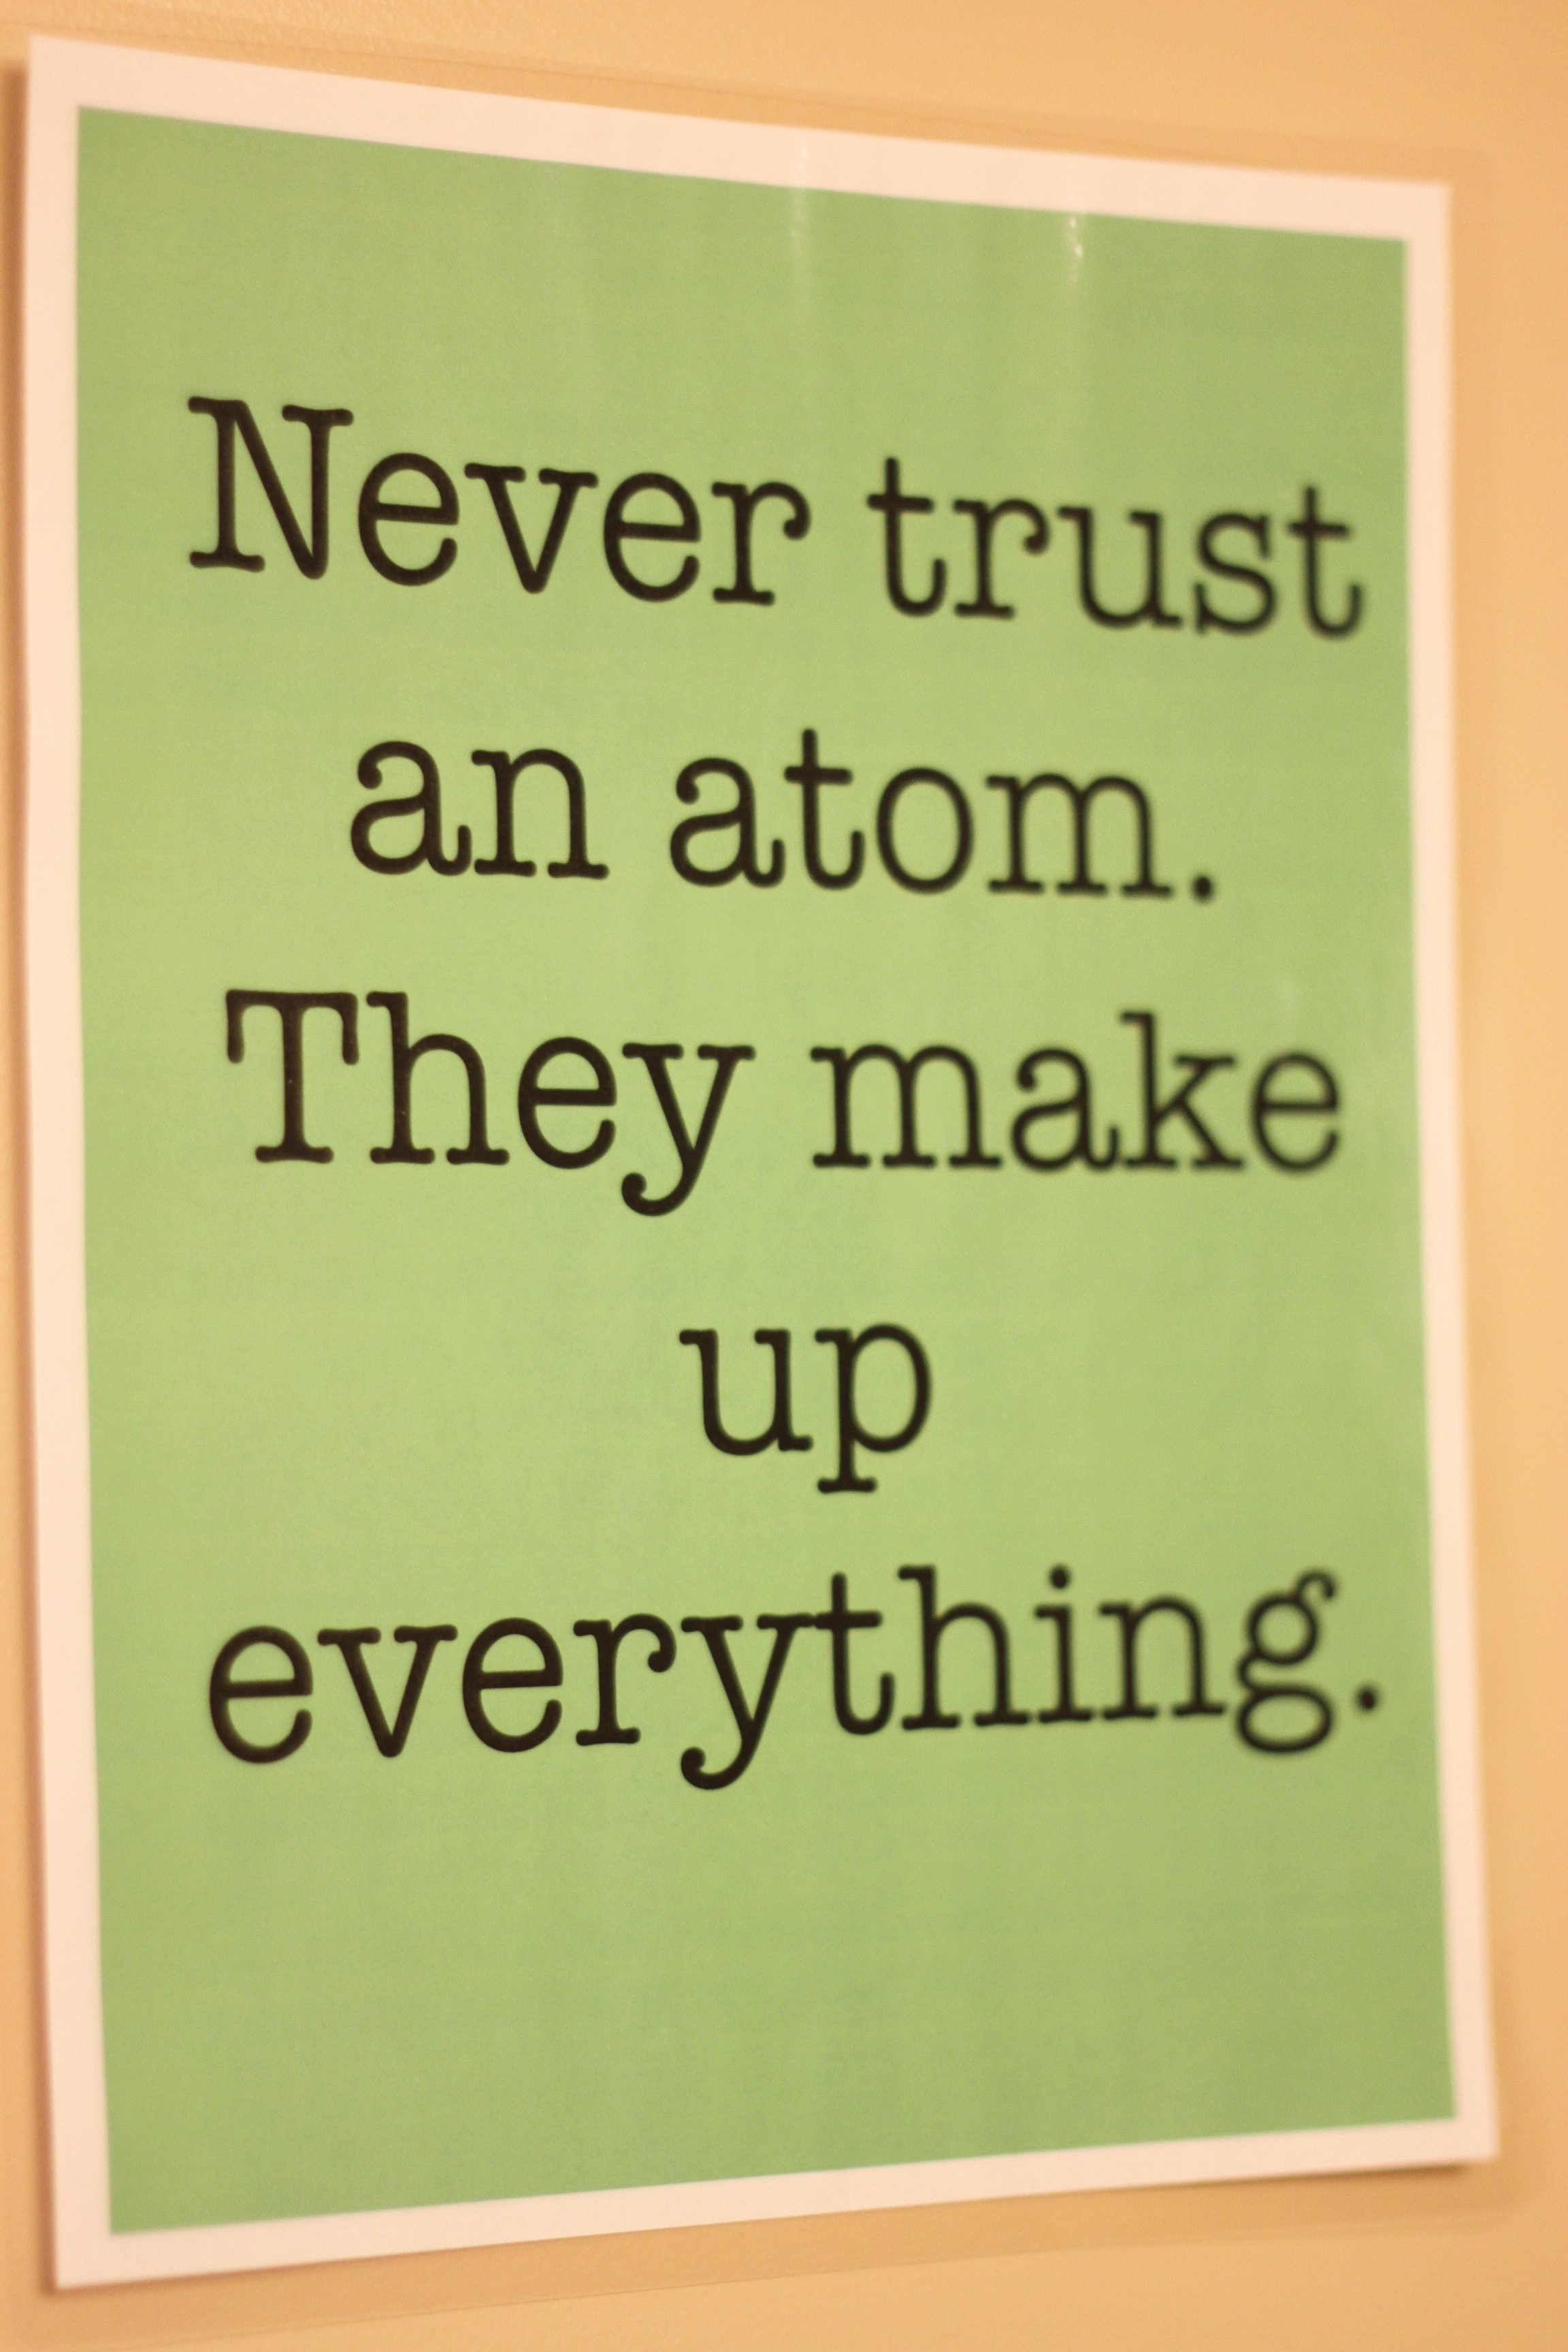
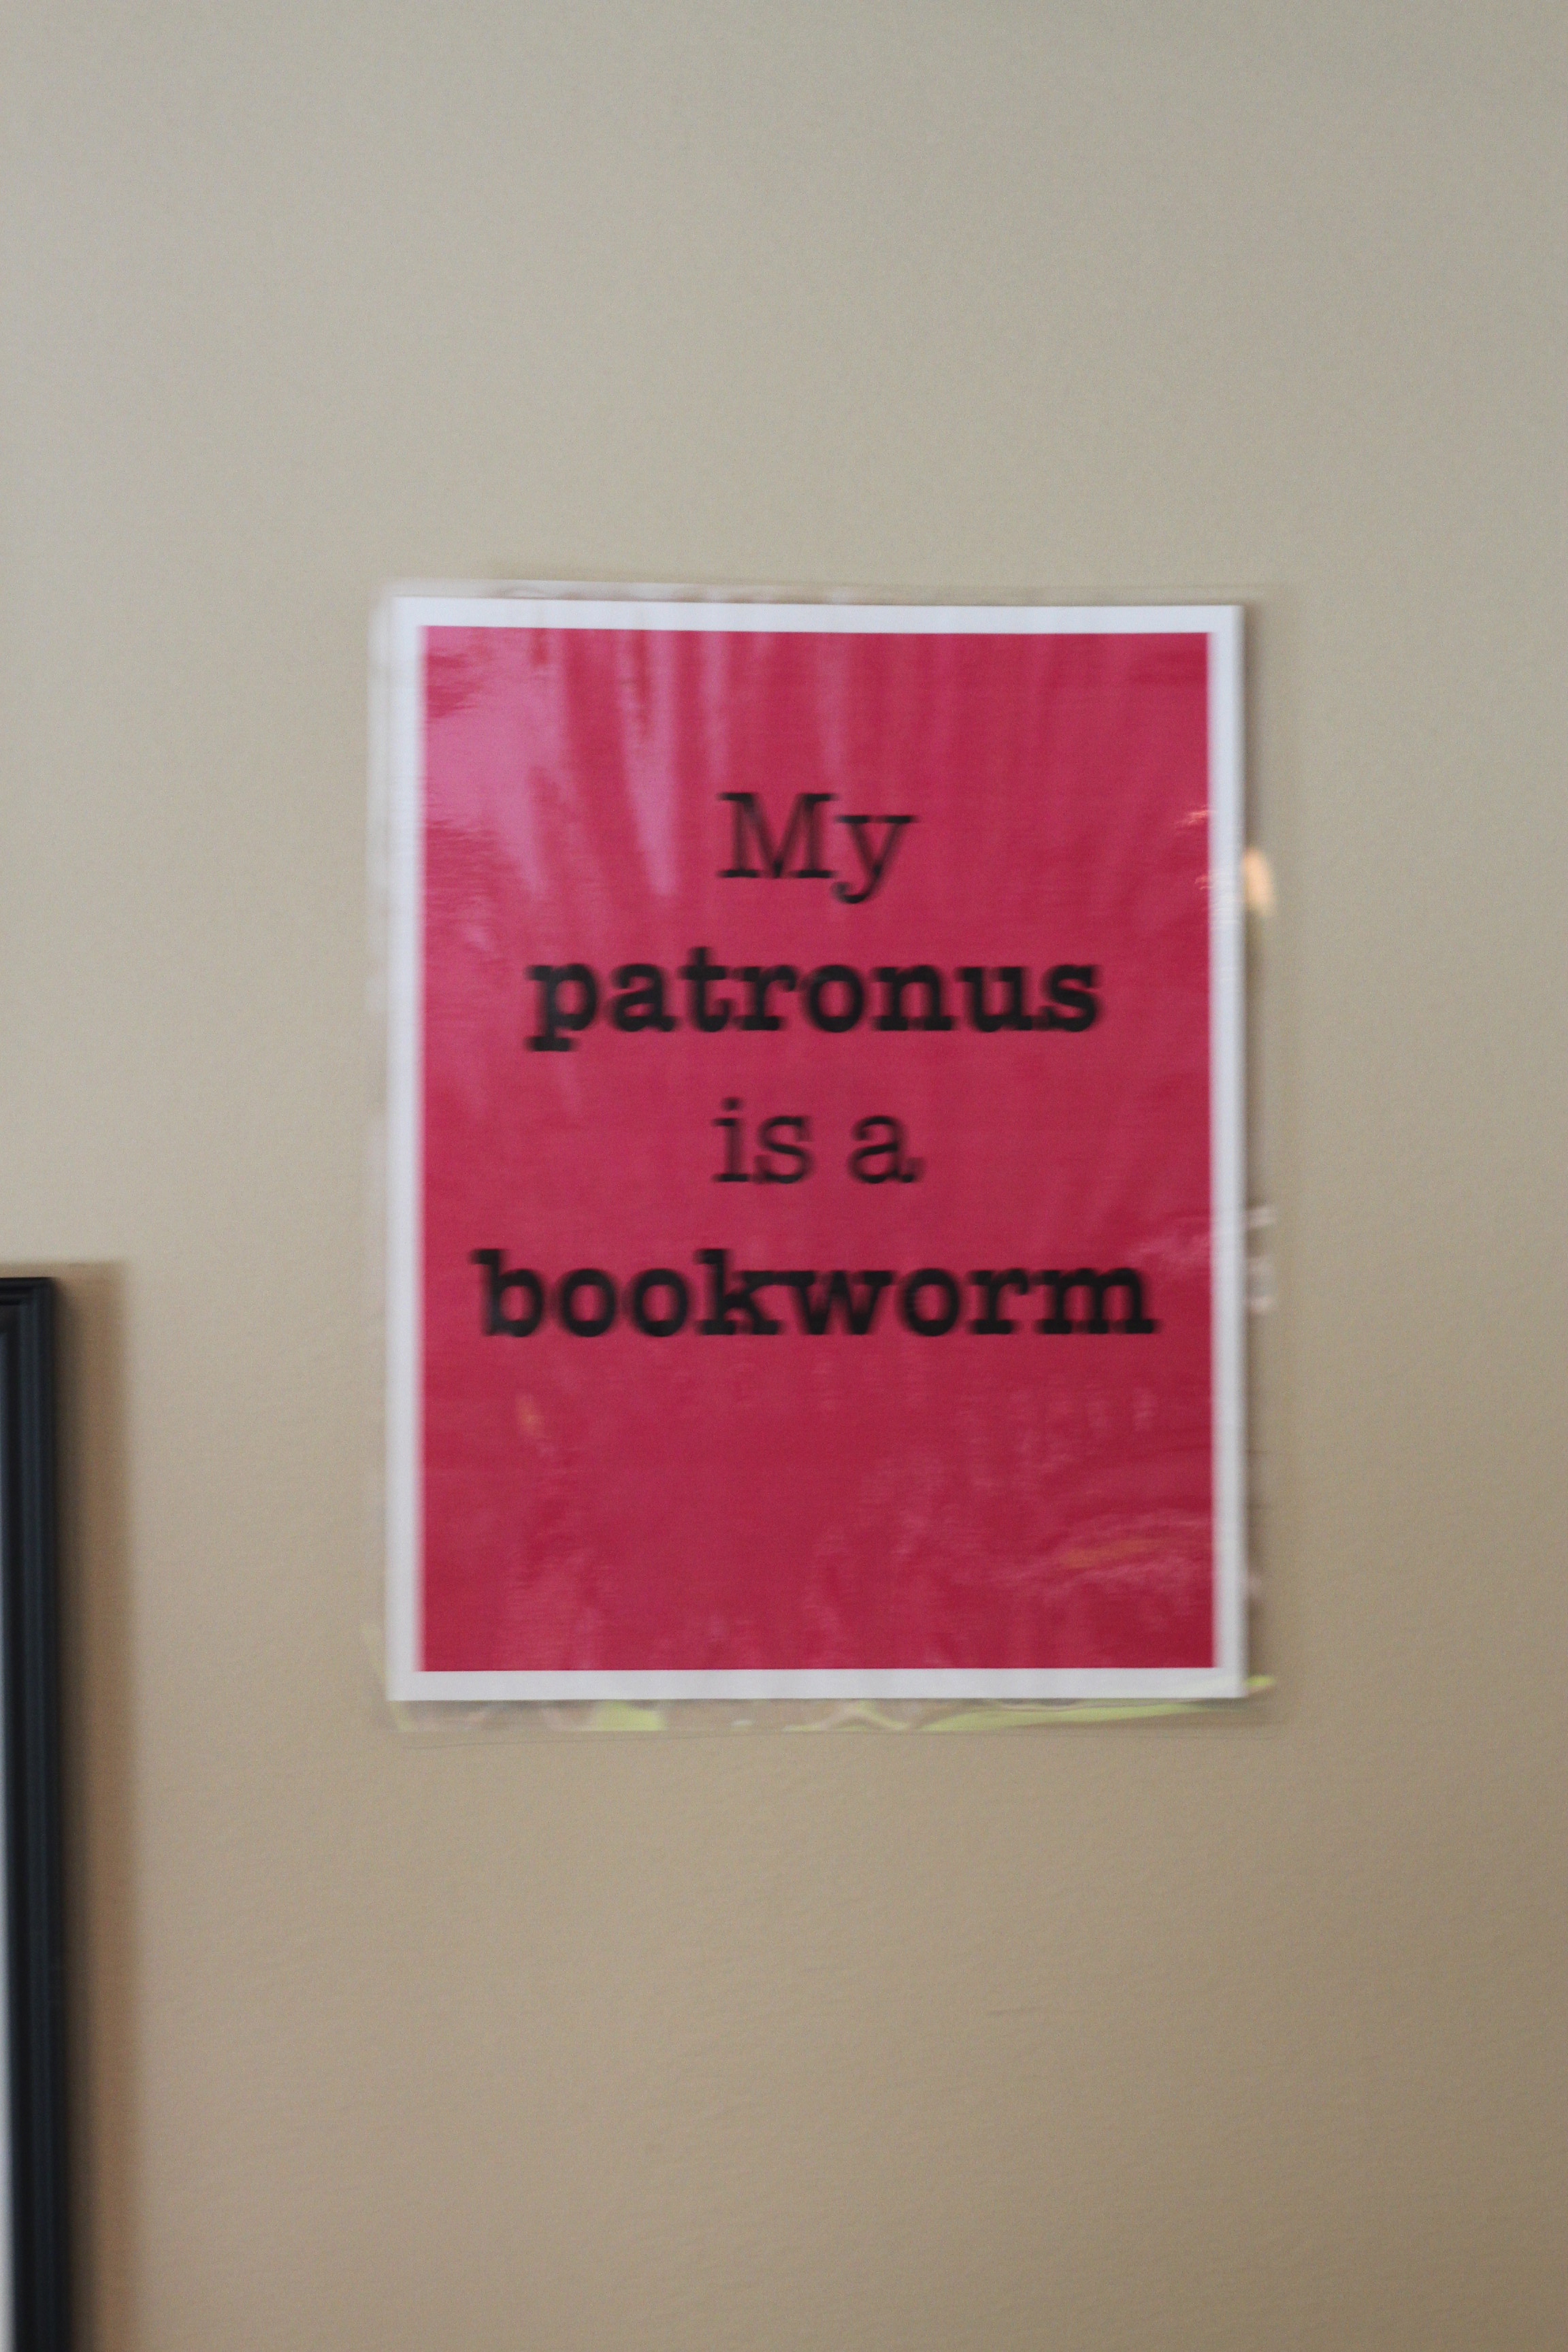
The signs scattered about are funny slogans I saw on shirts or the like.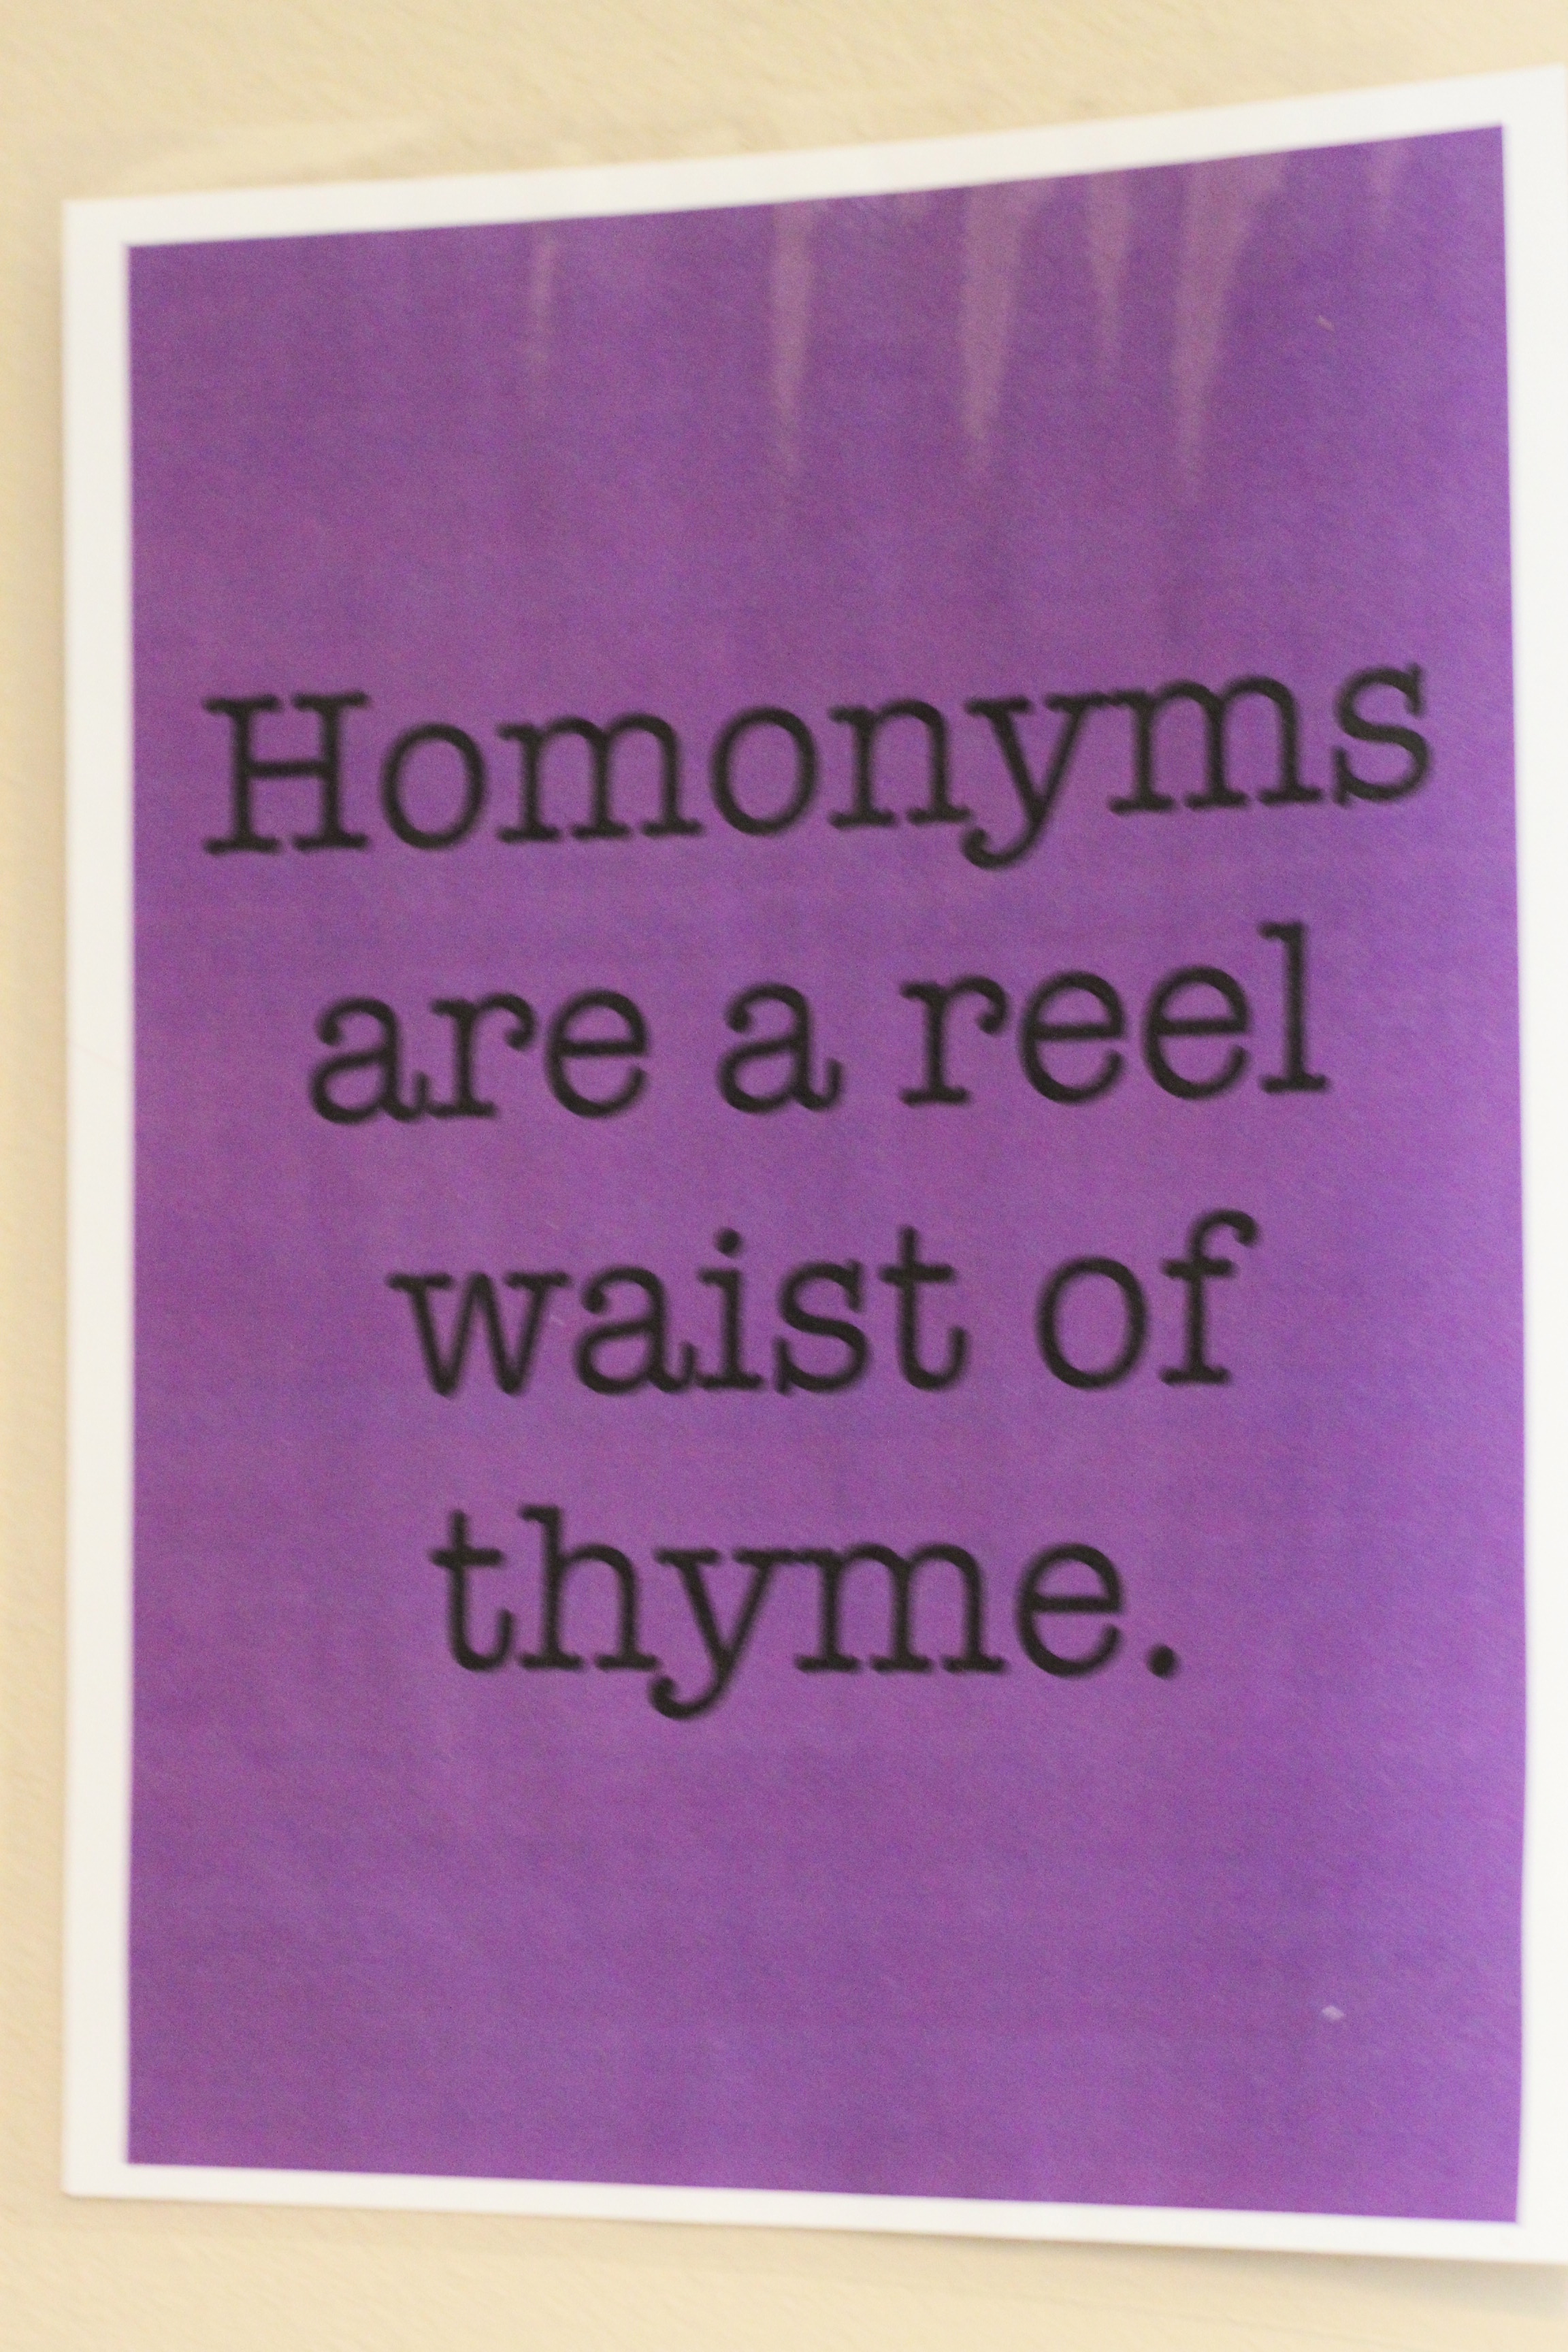
Close-up of the 30 facts books.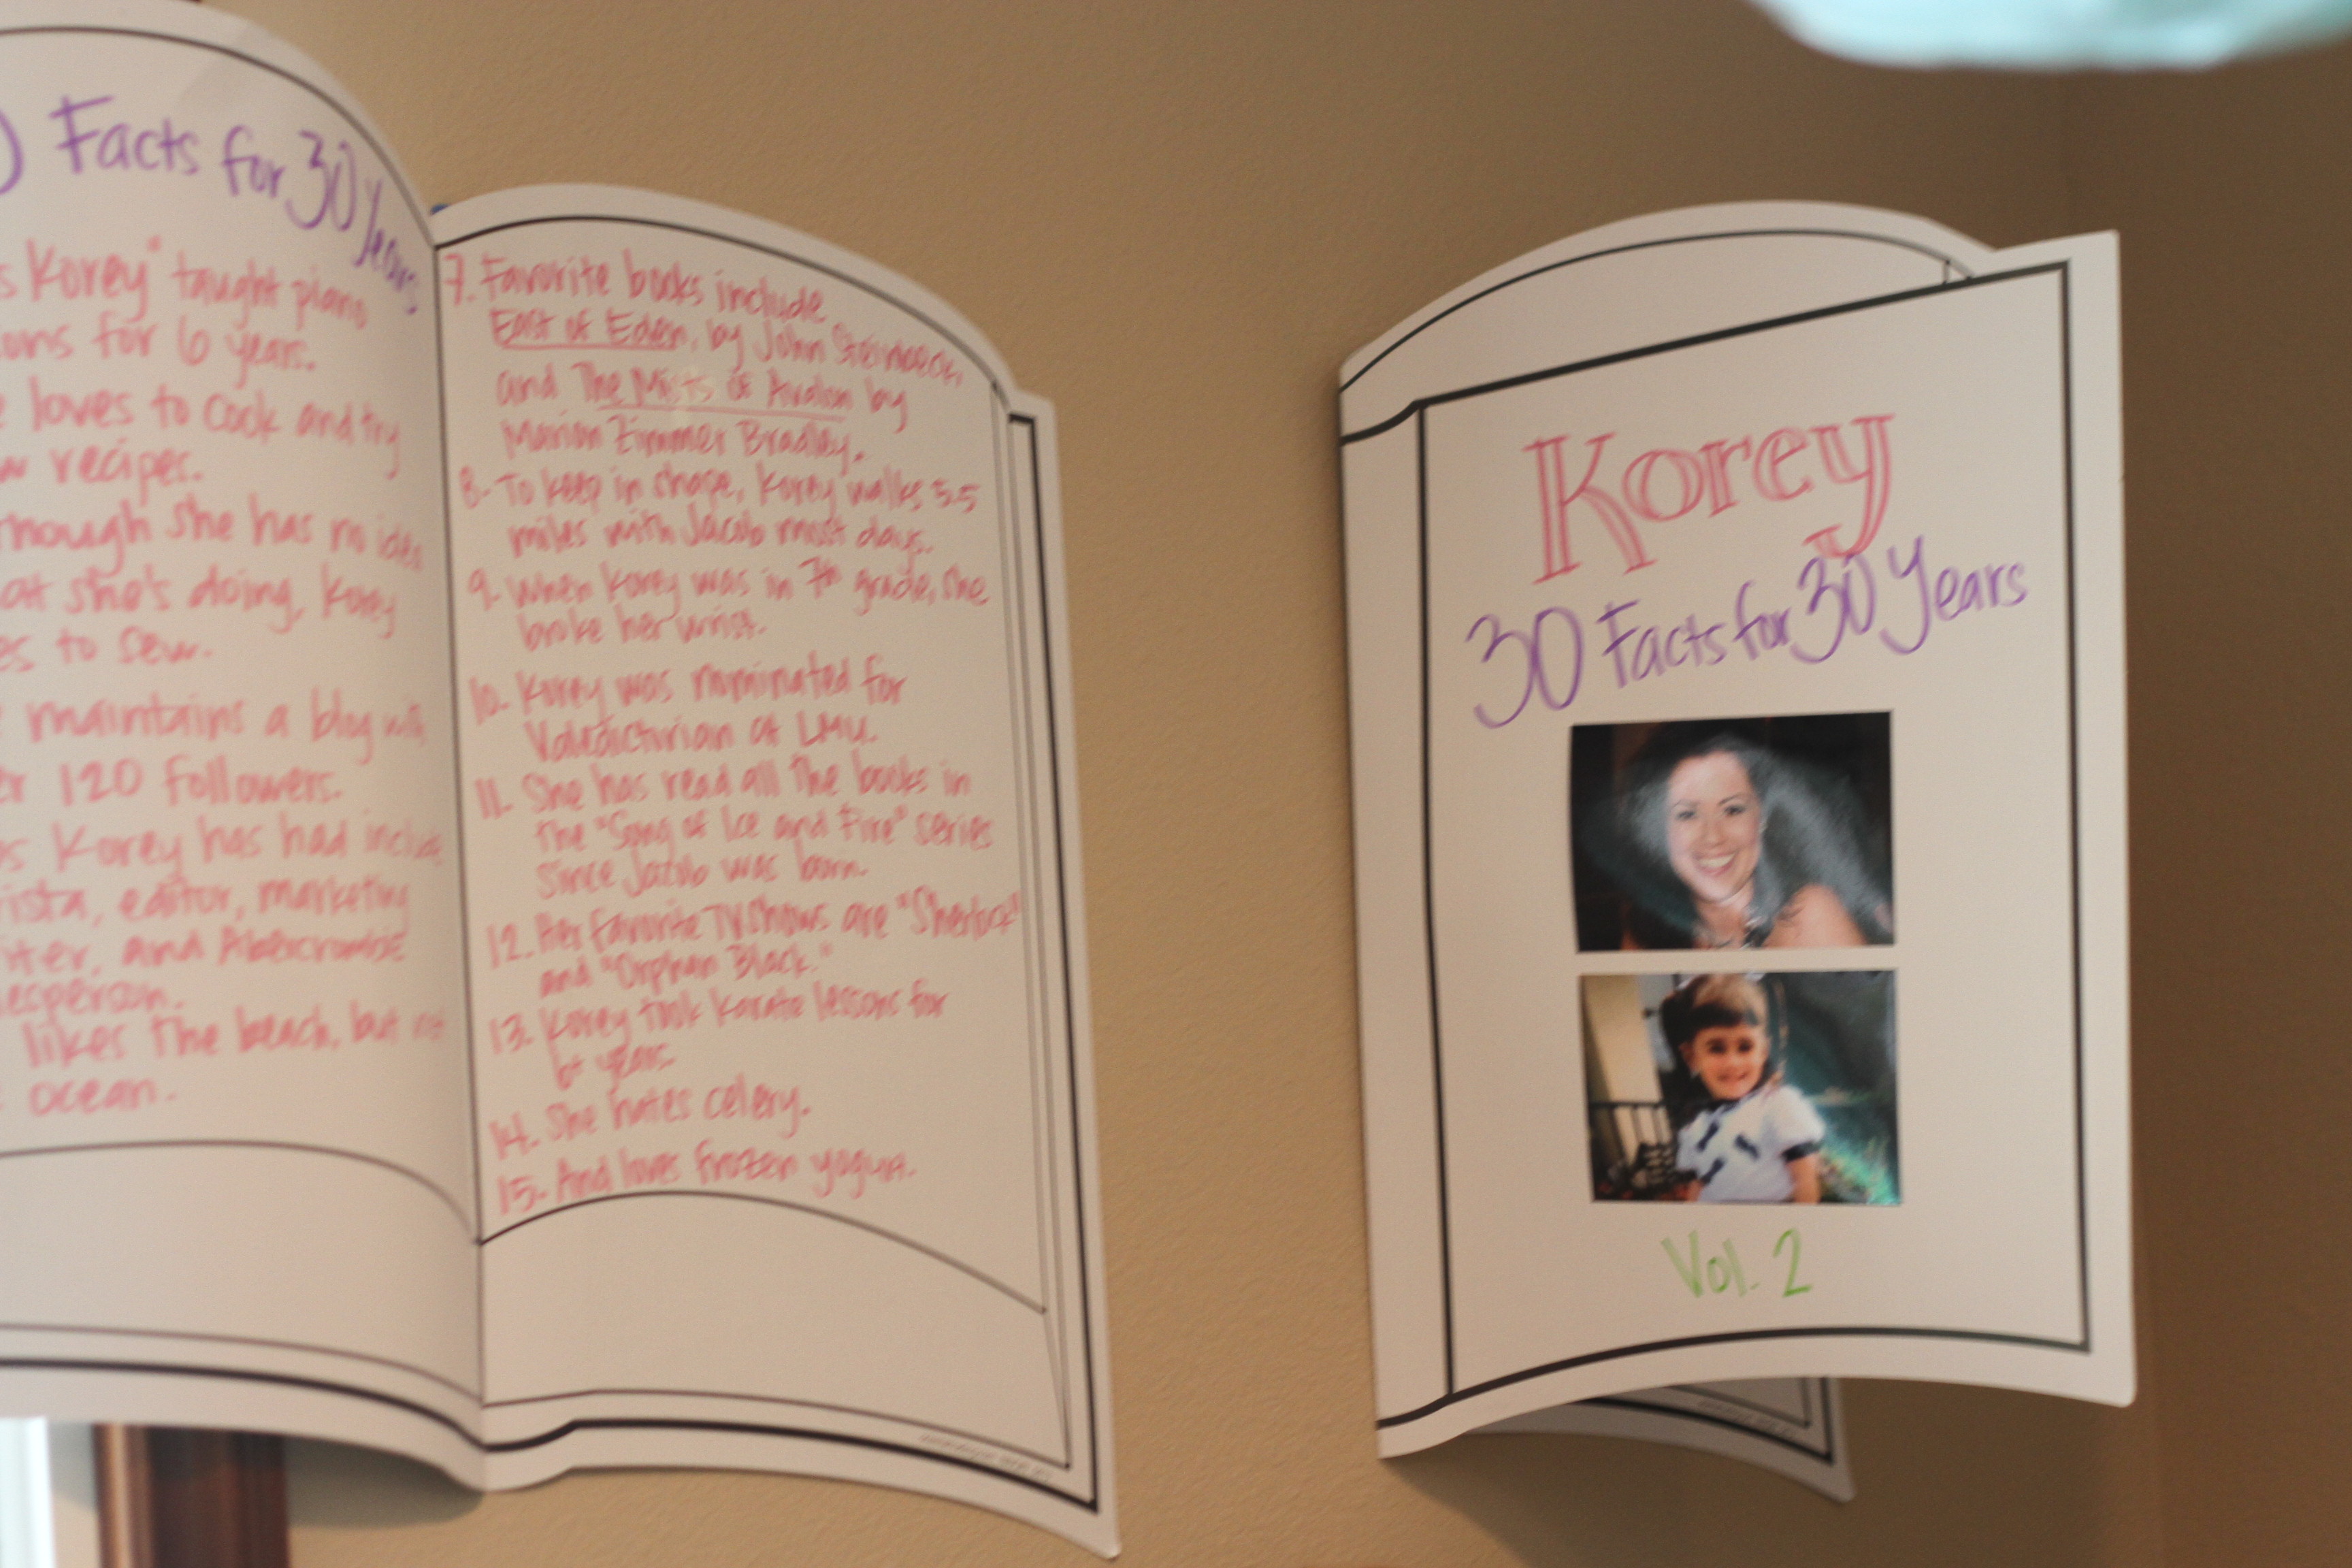
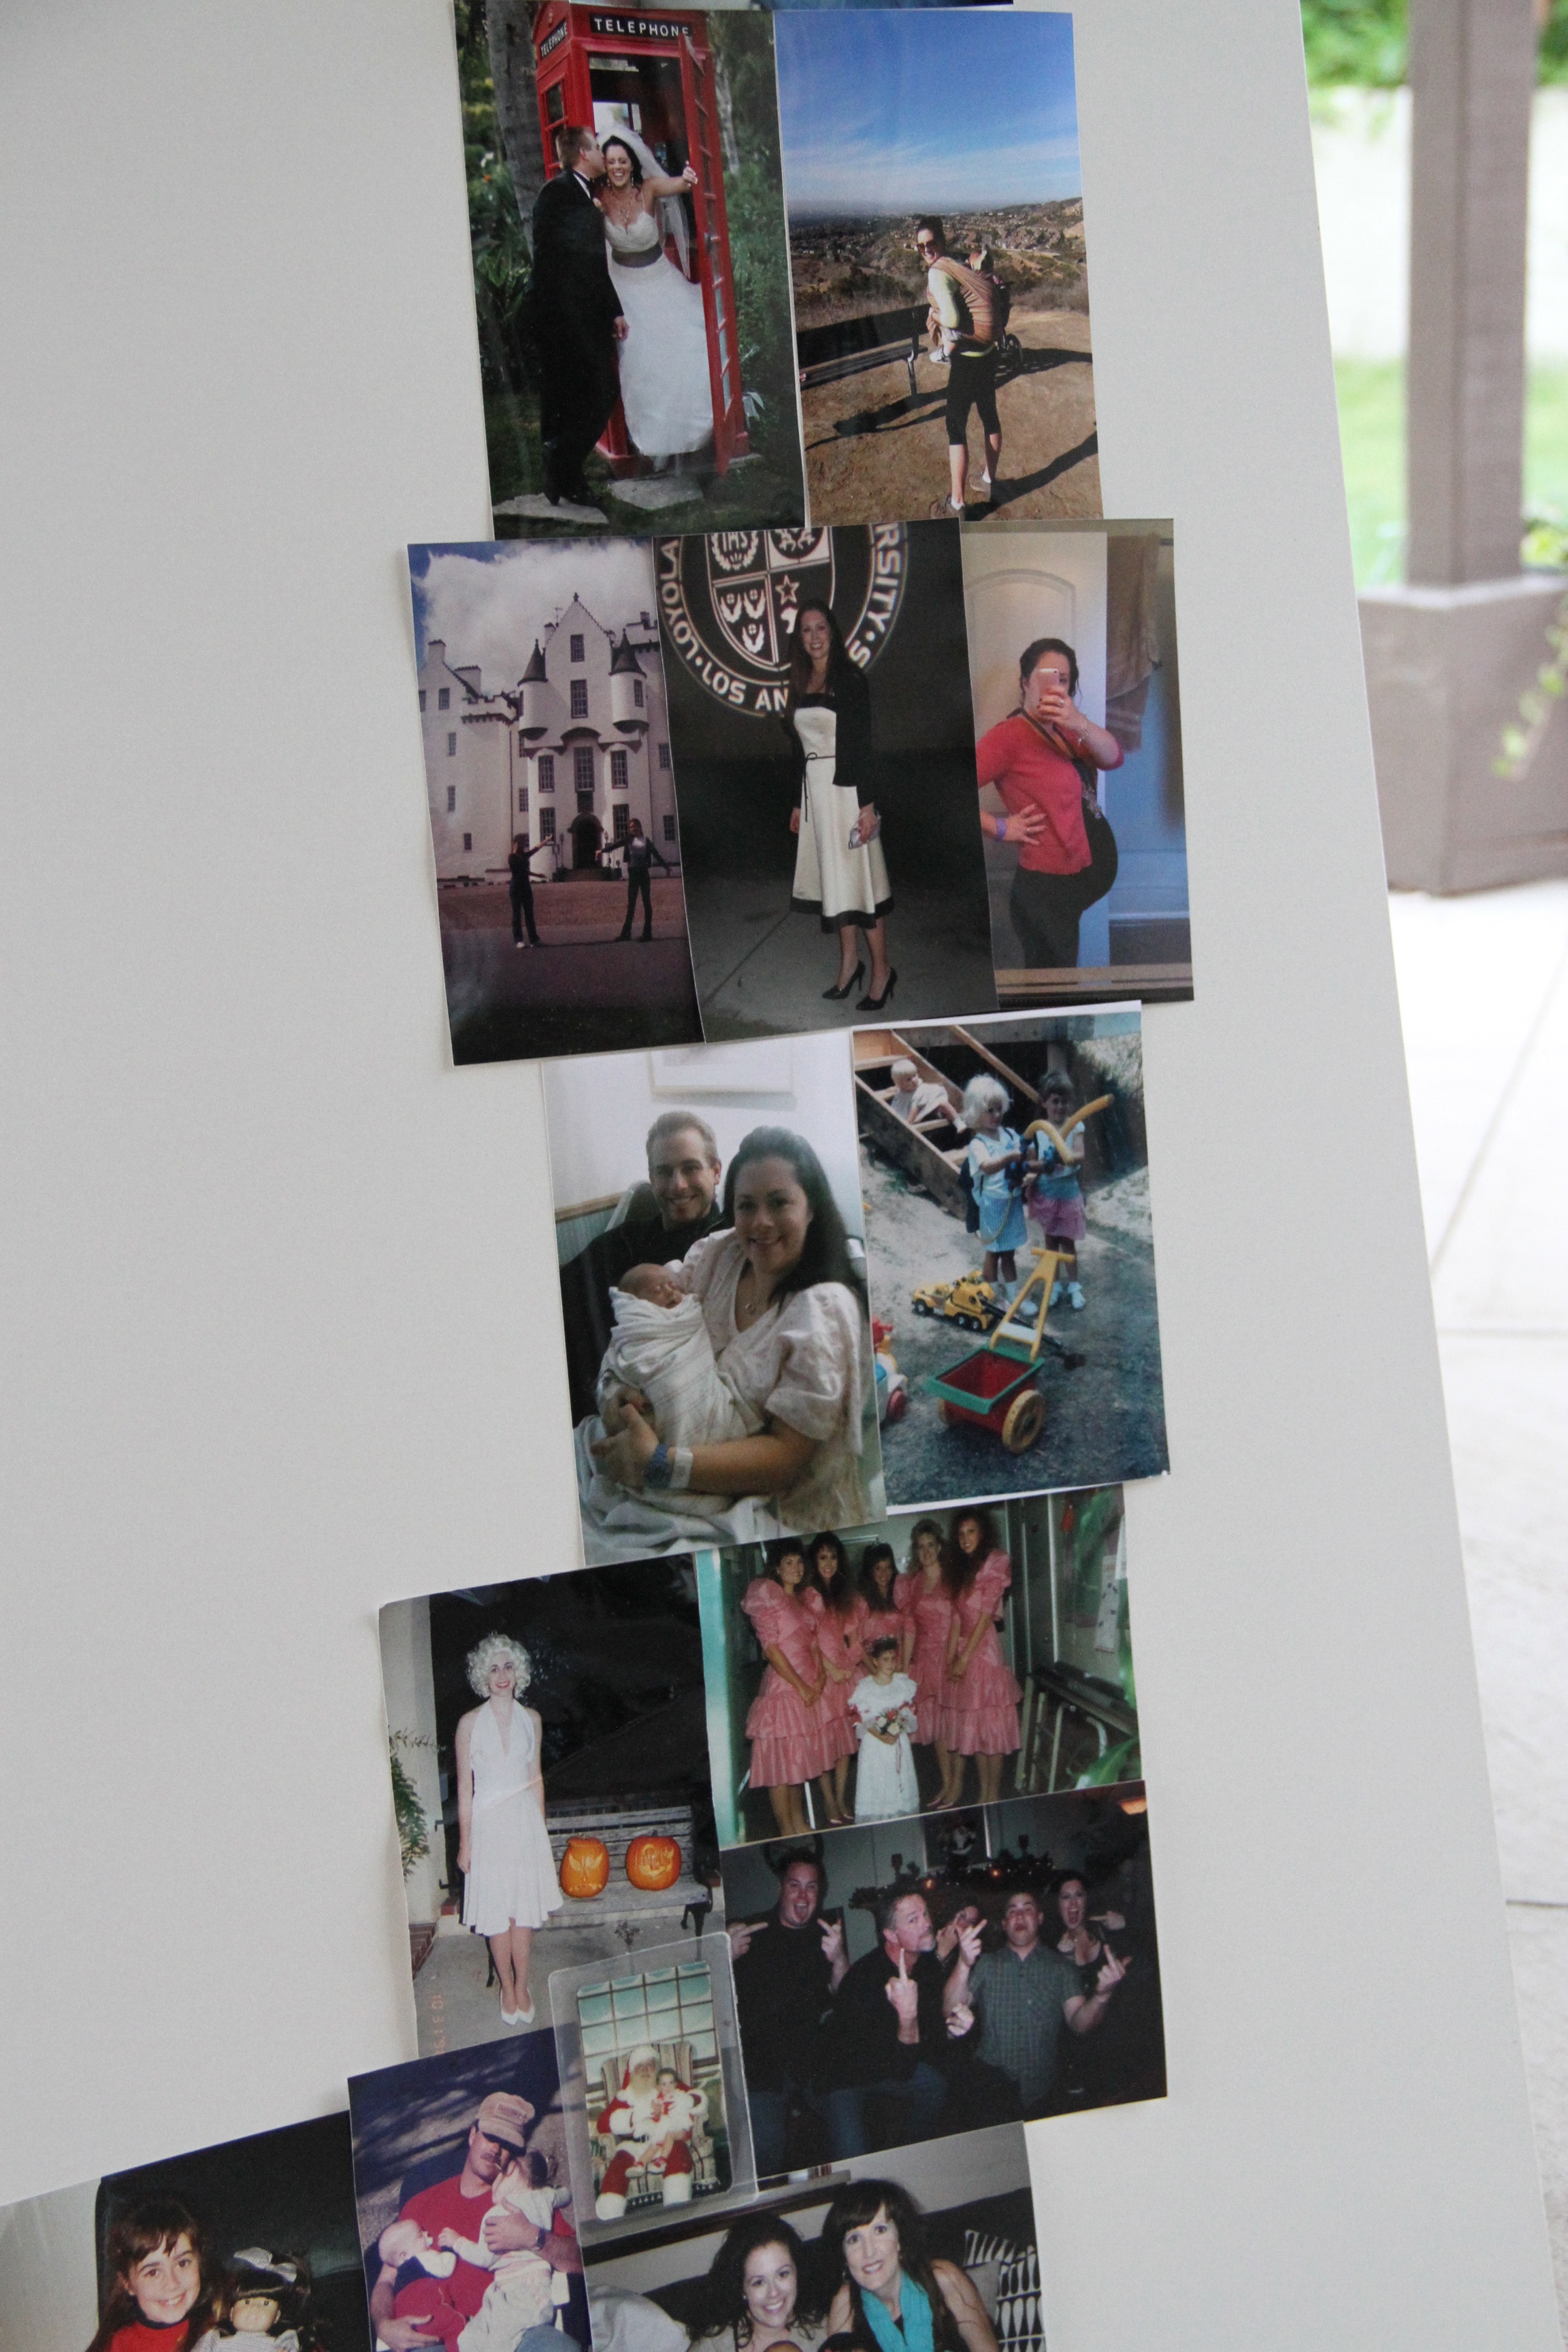
A box of miscellaneous old photos, just for fun.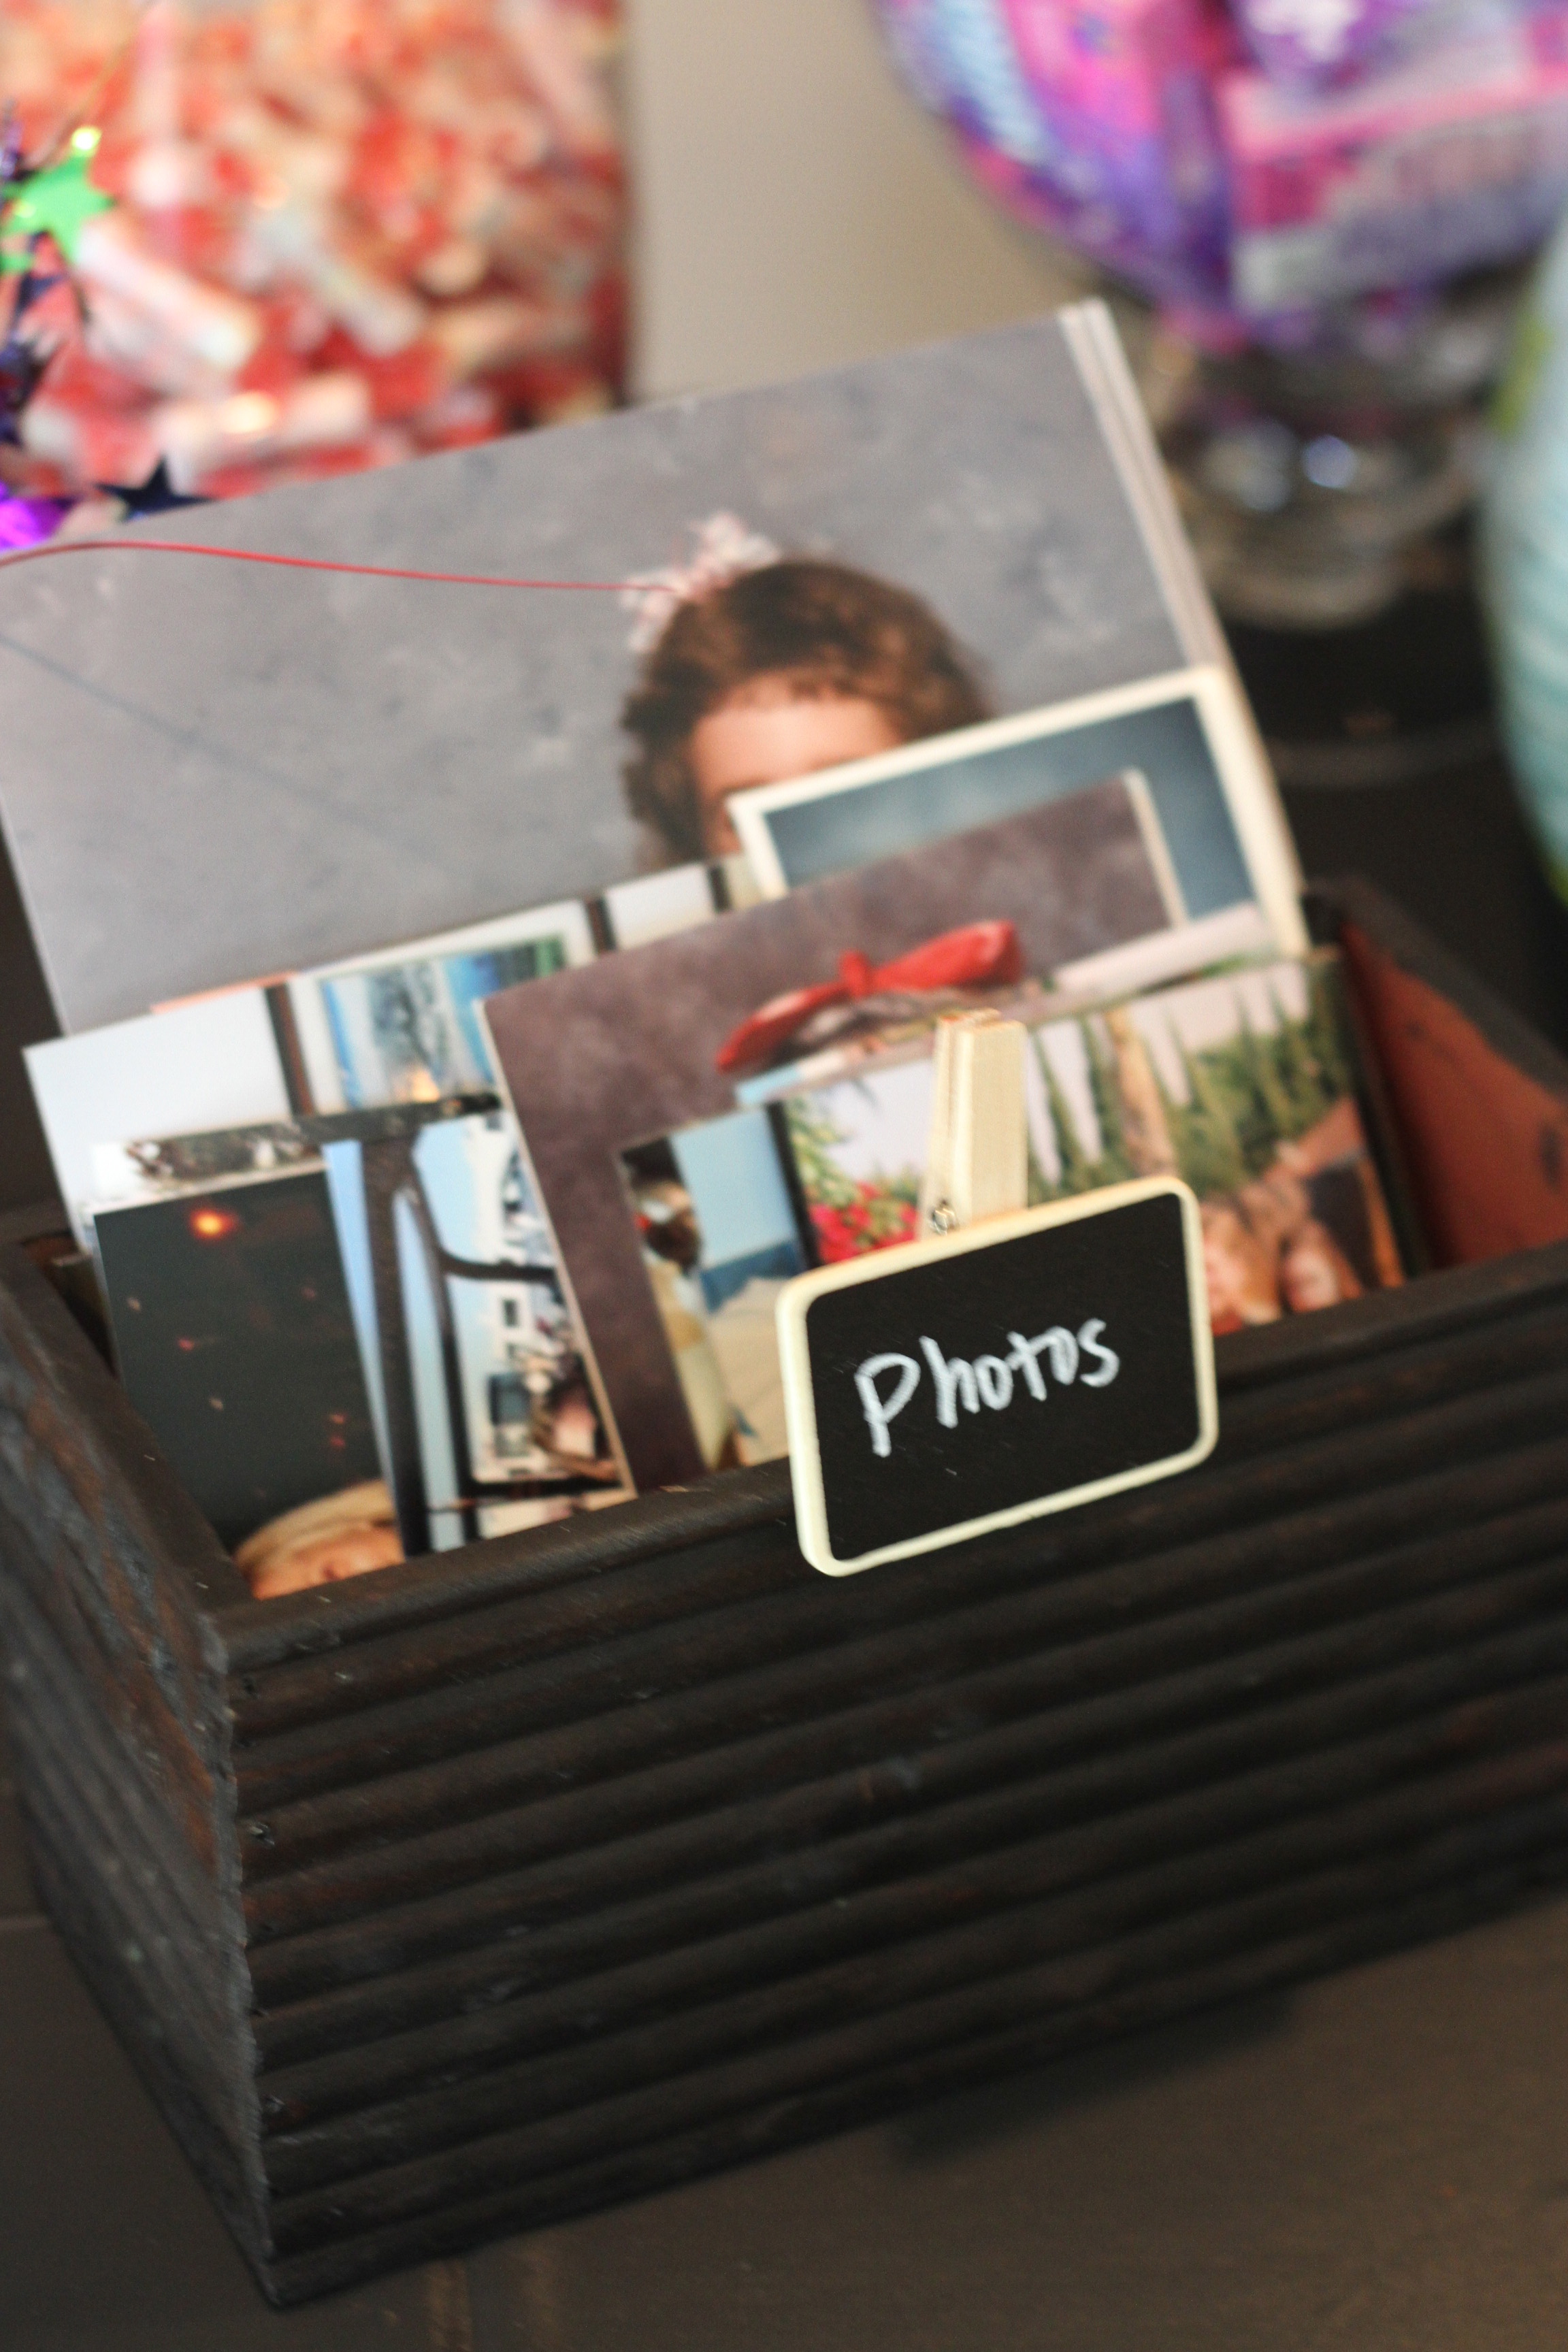
I ordered these adorable pins from Etsy. I originally got them in case anyone showed up without a costume, but NO ONE DID!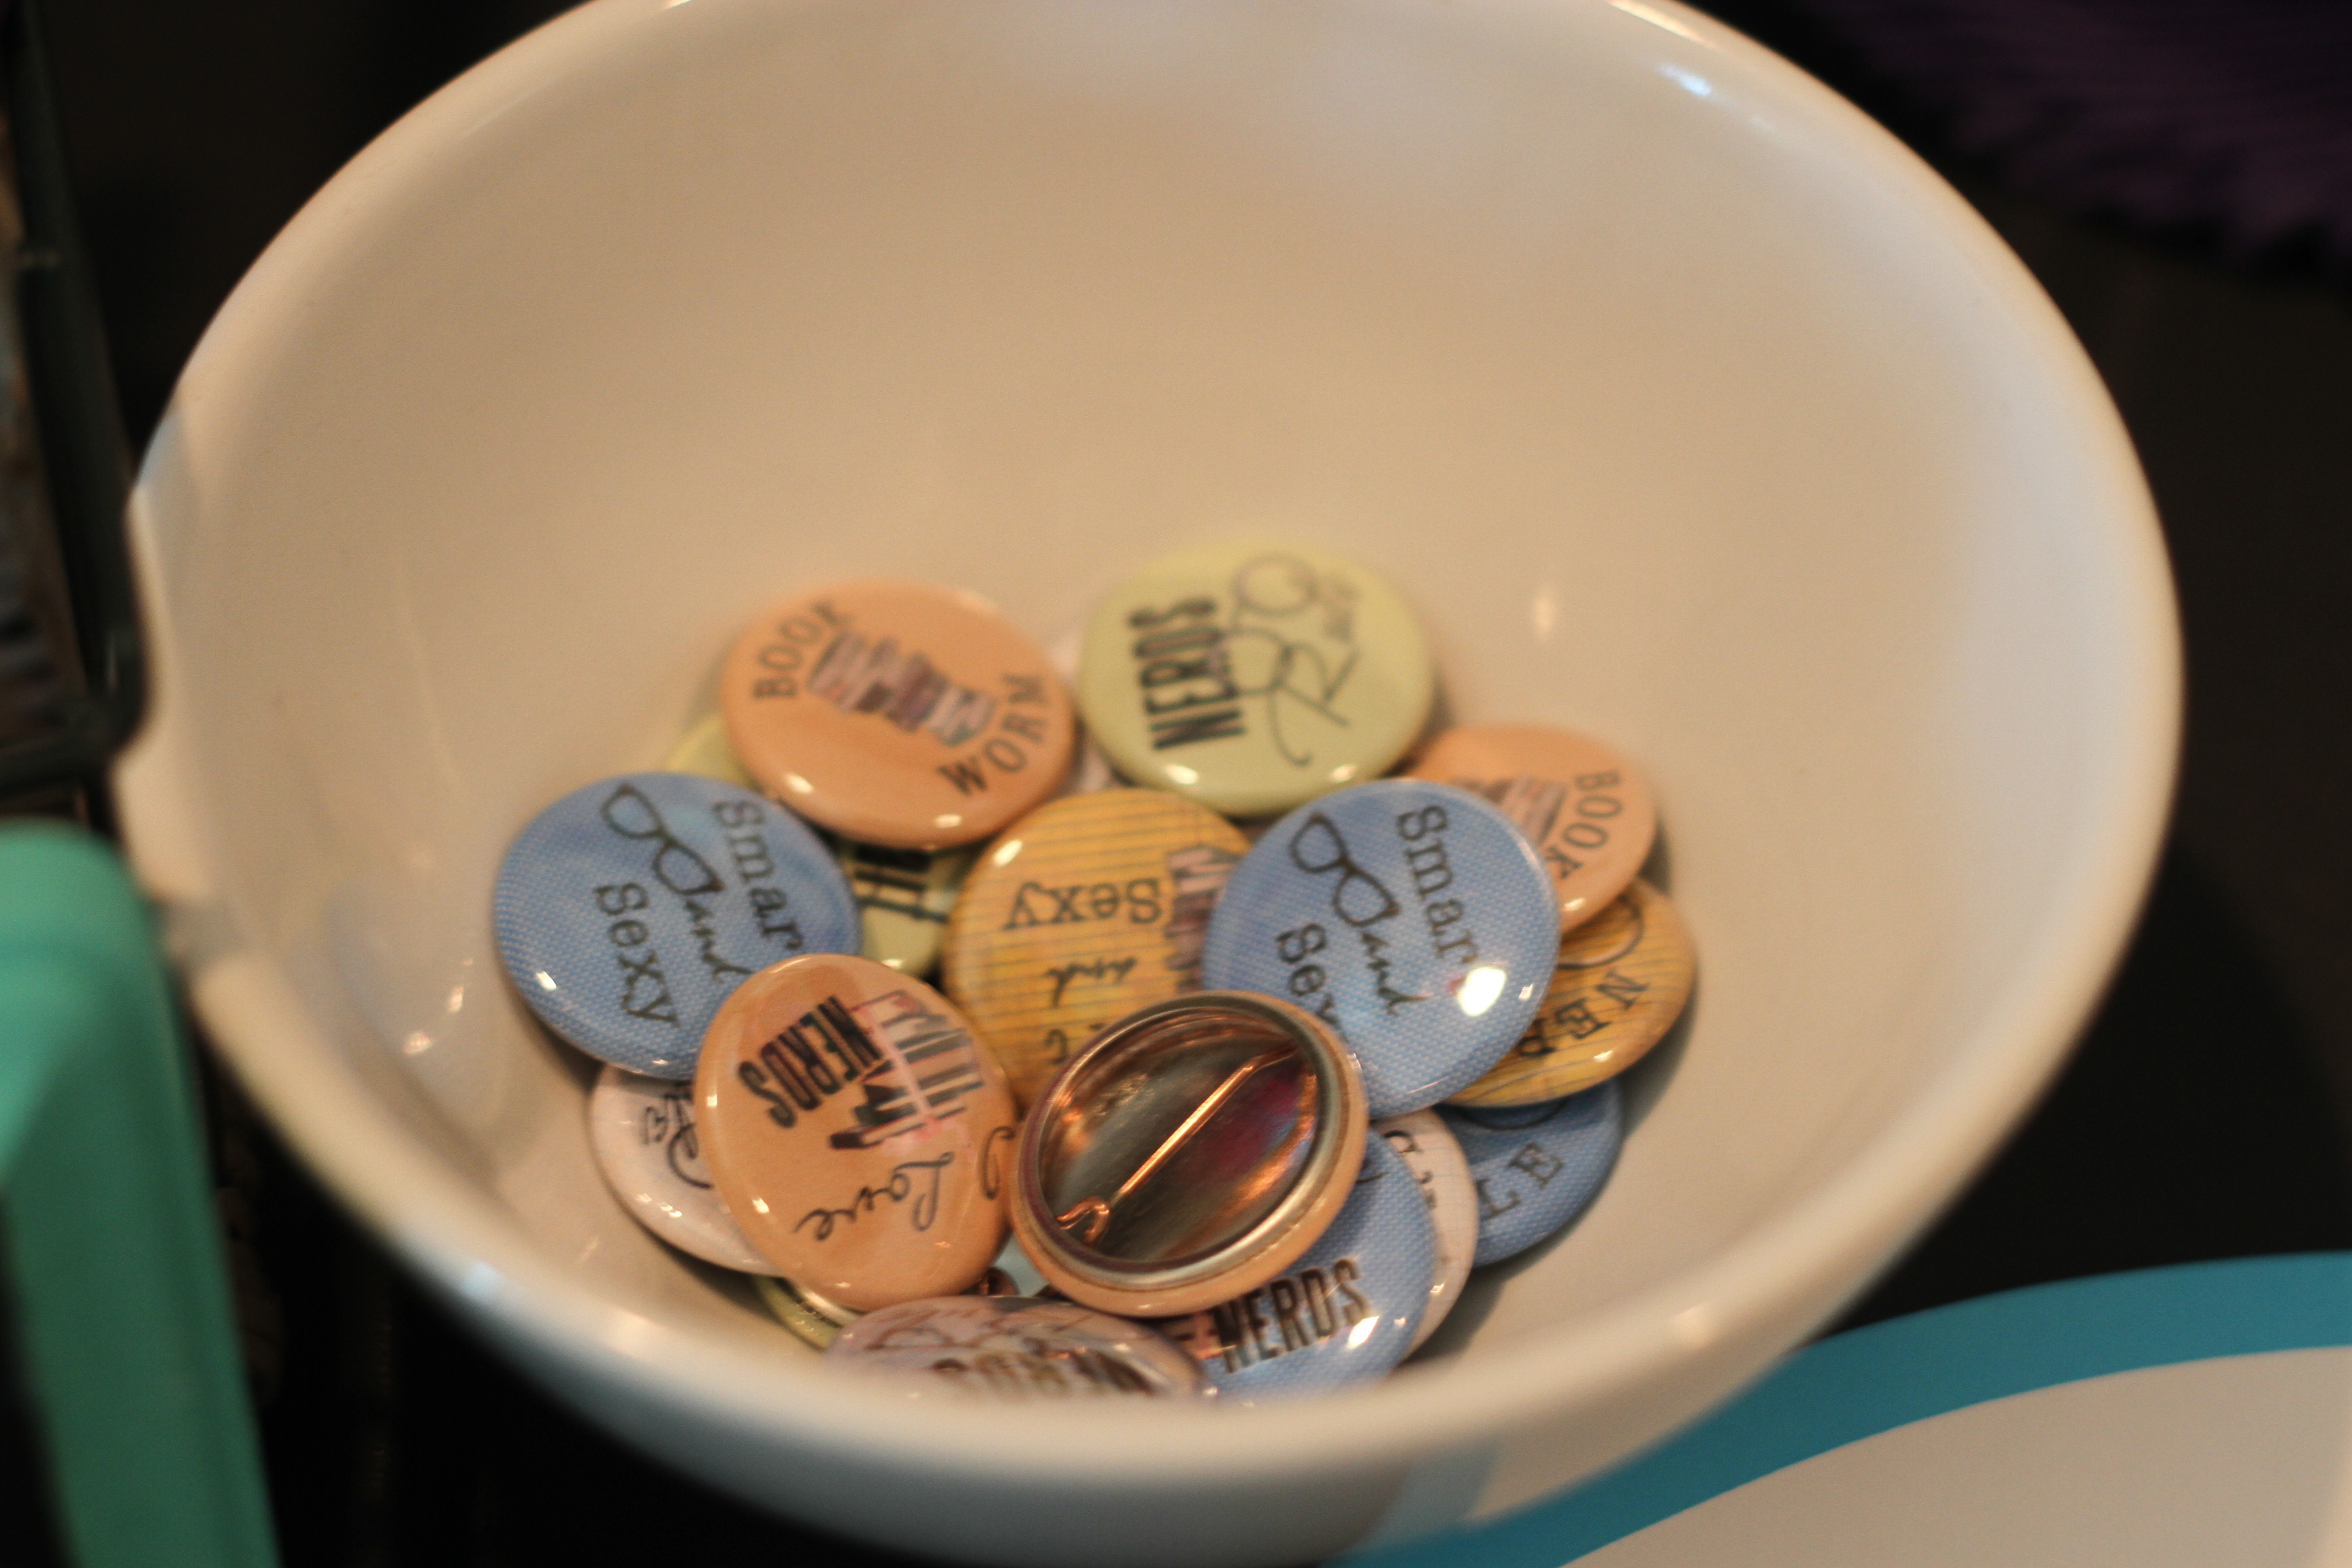
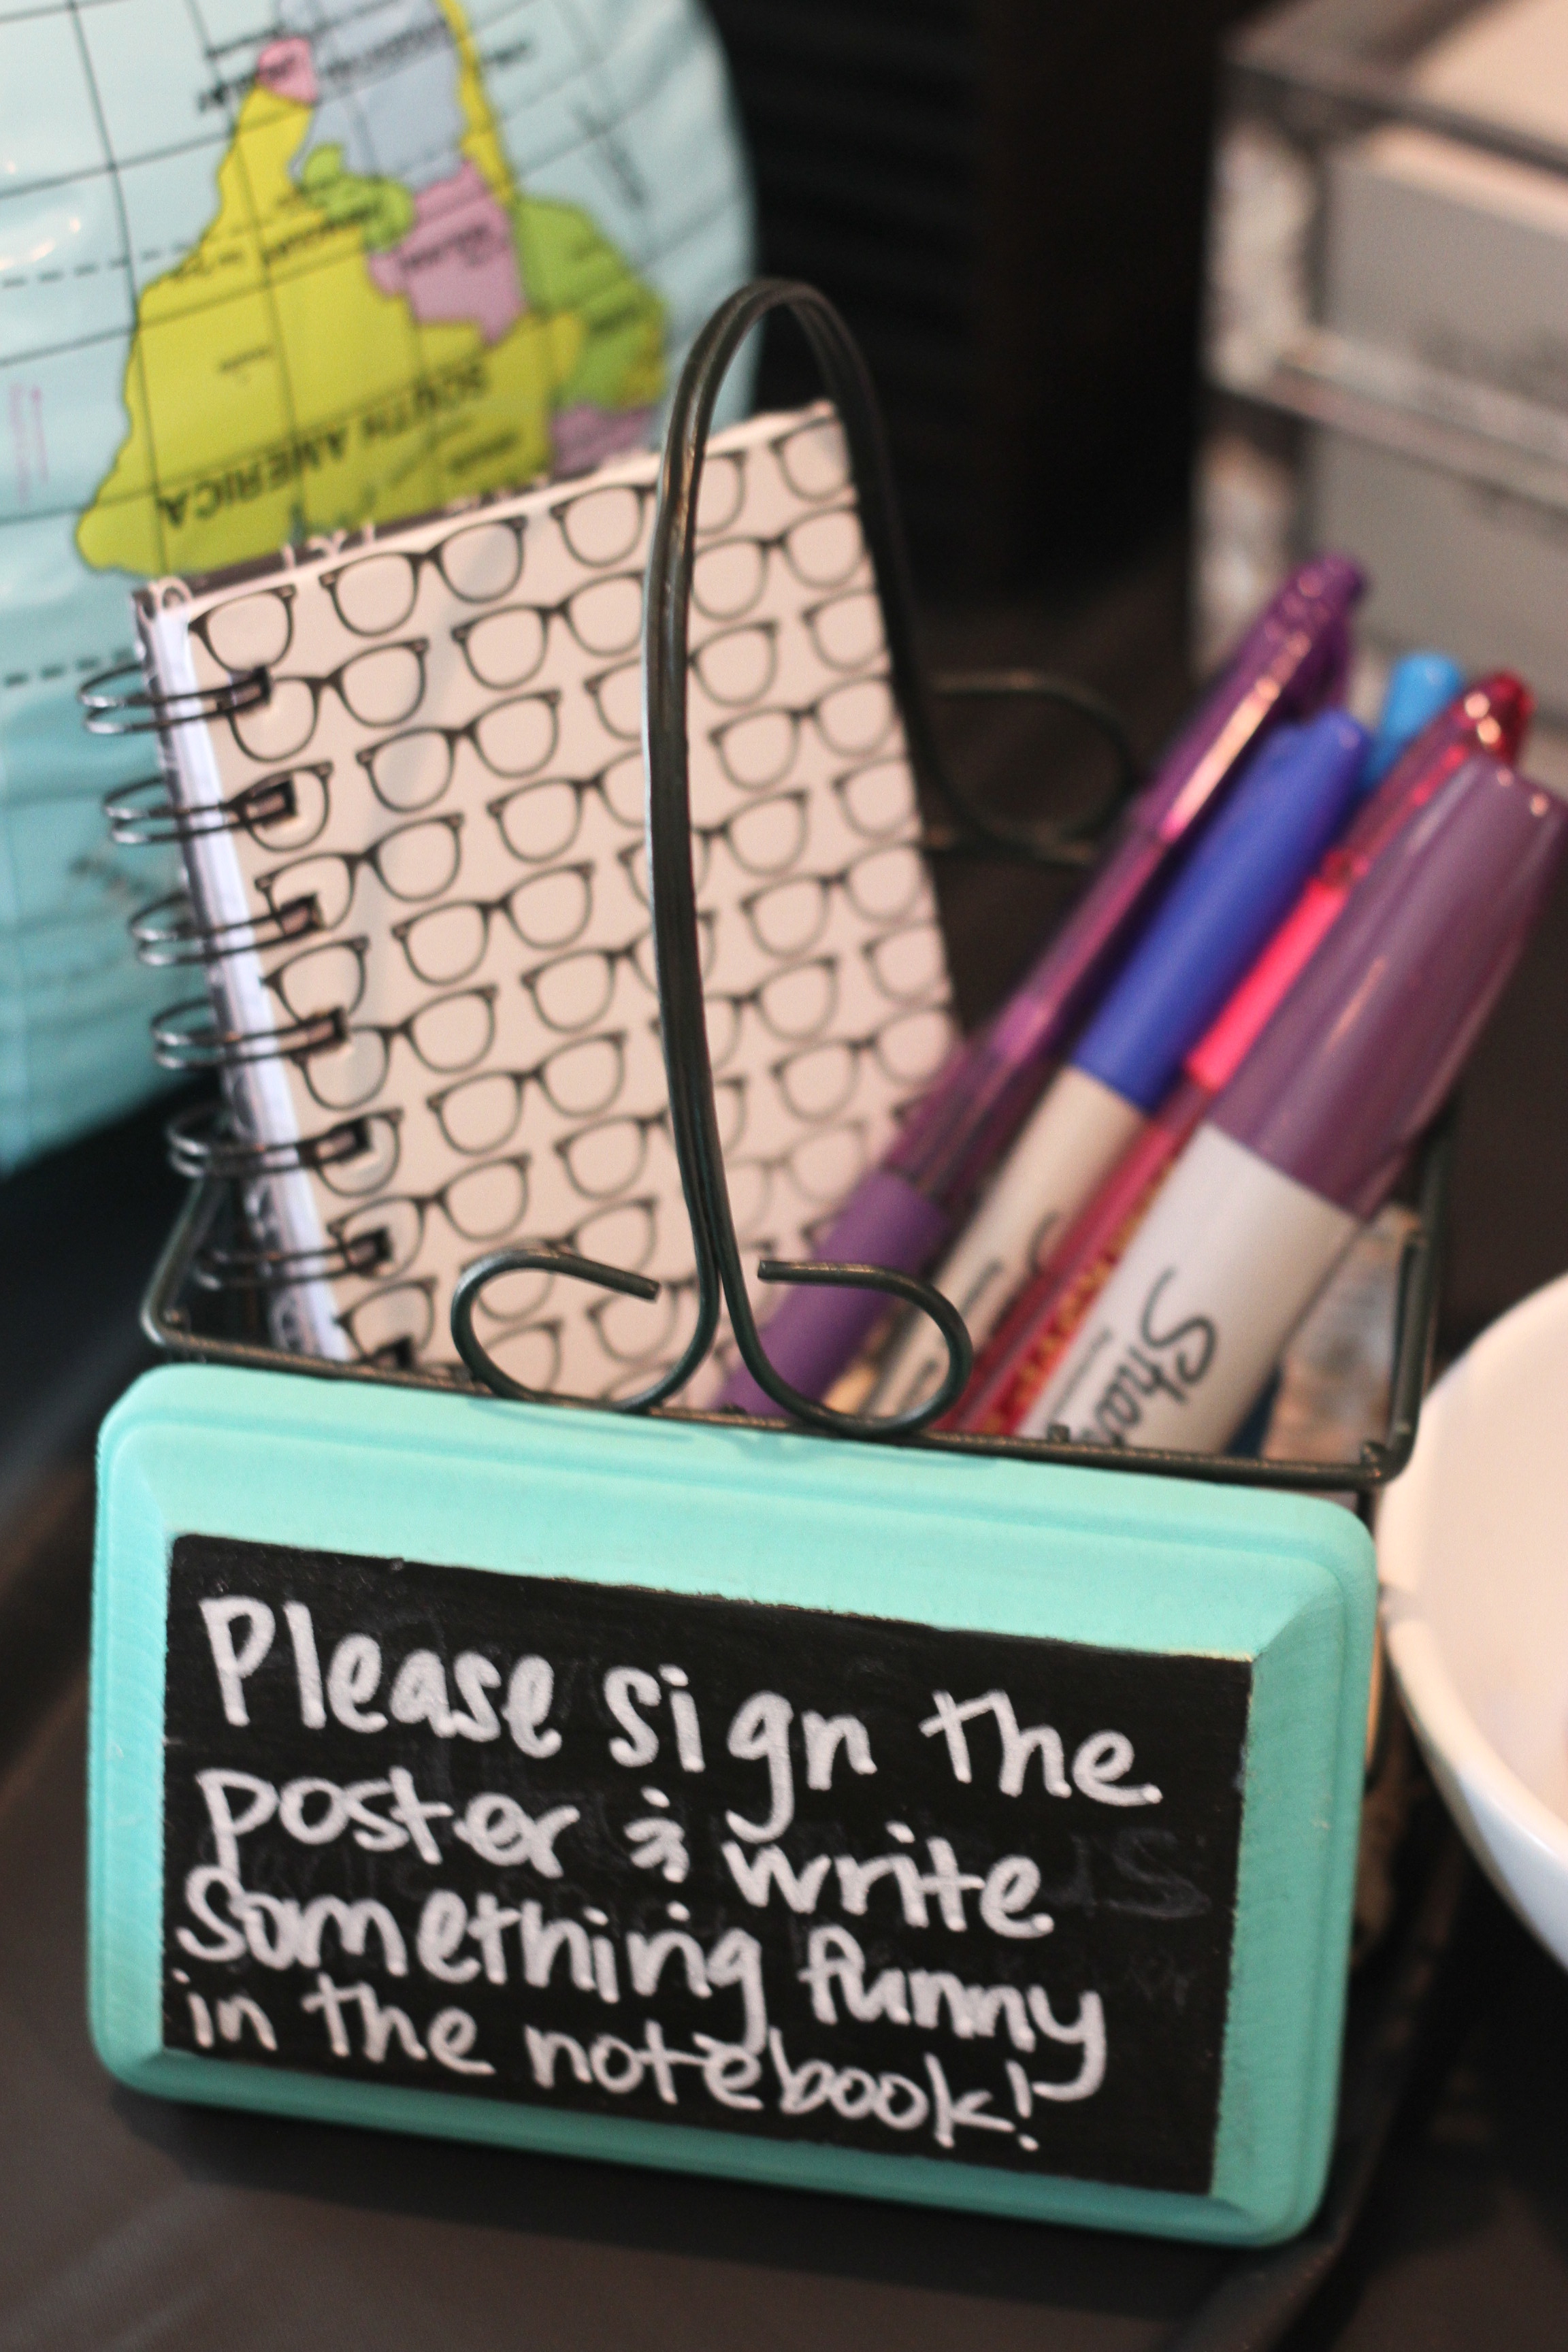
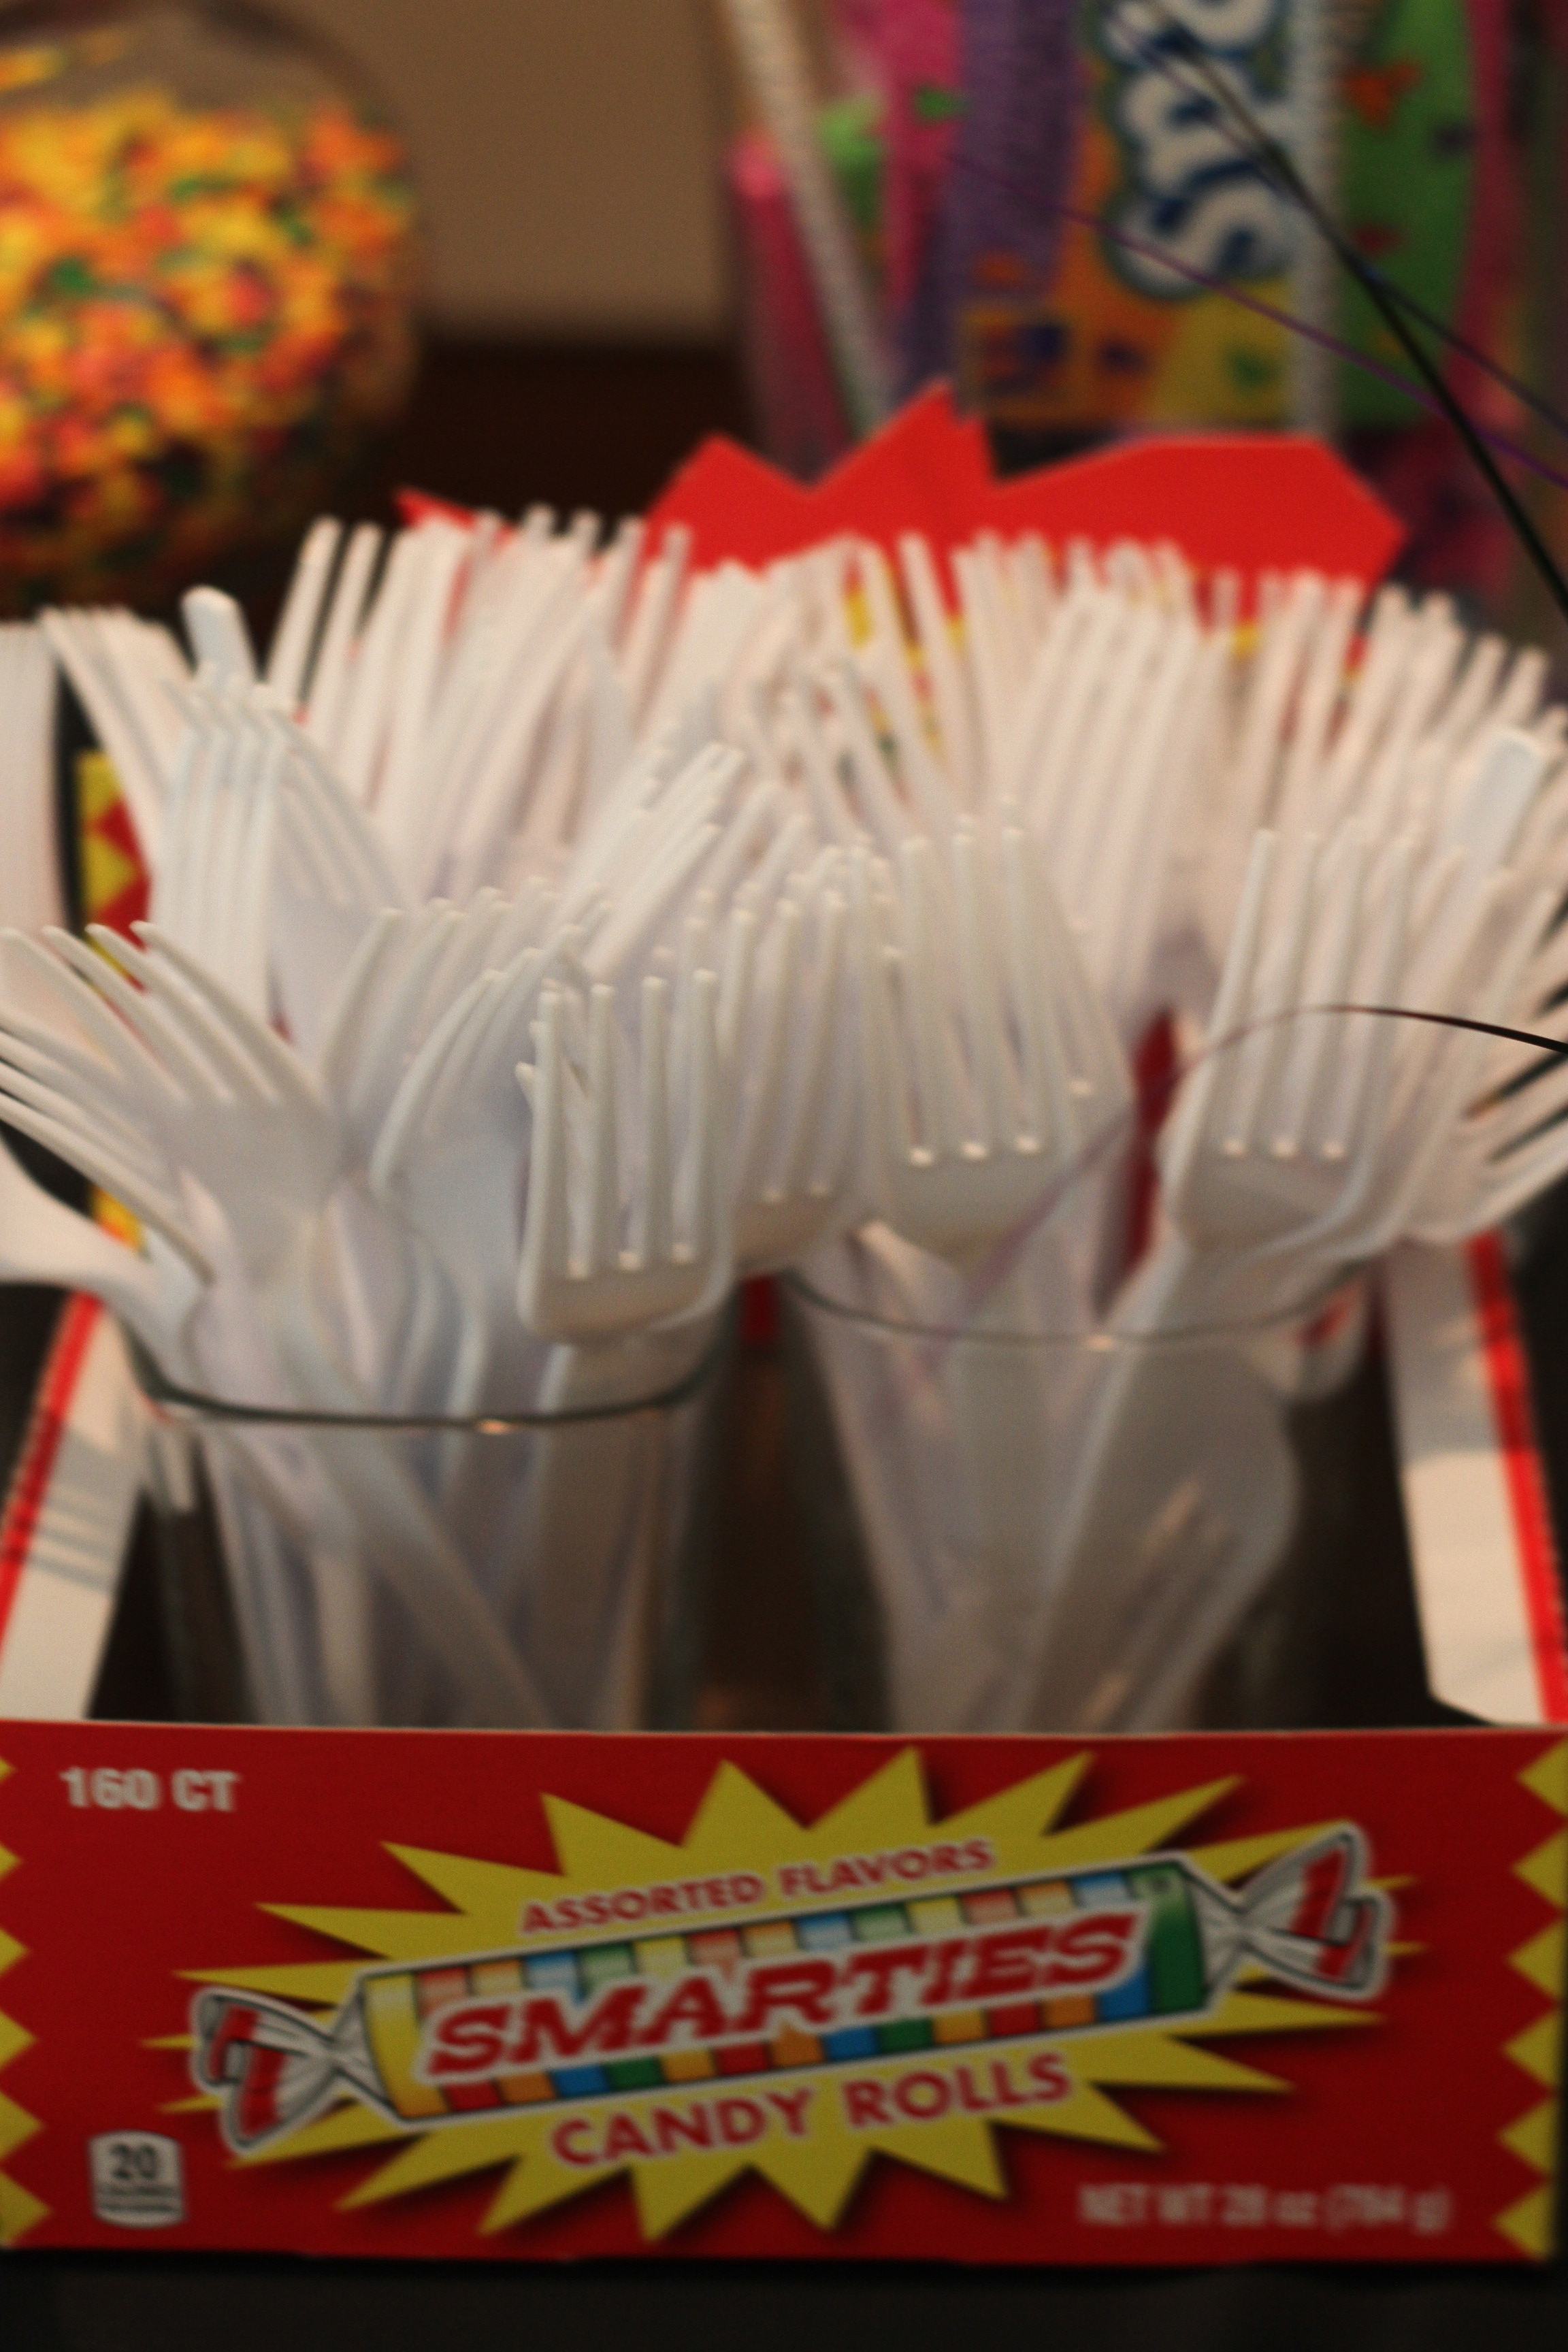
These utensil-holding jars were actually re-purposed from my friend Ashley’s bowtie-themed baby shower. They fit the bill!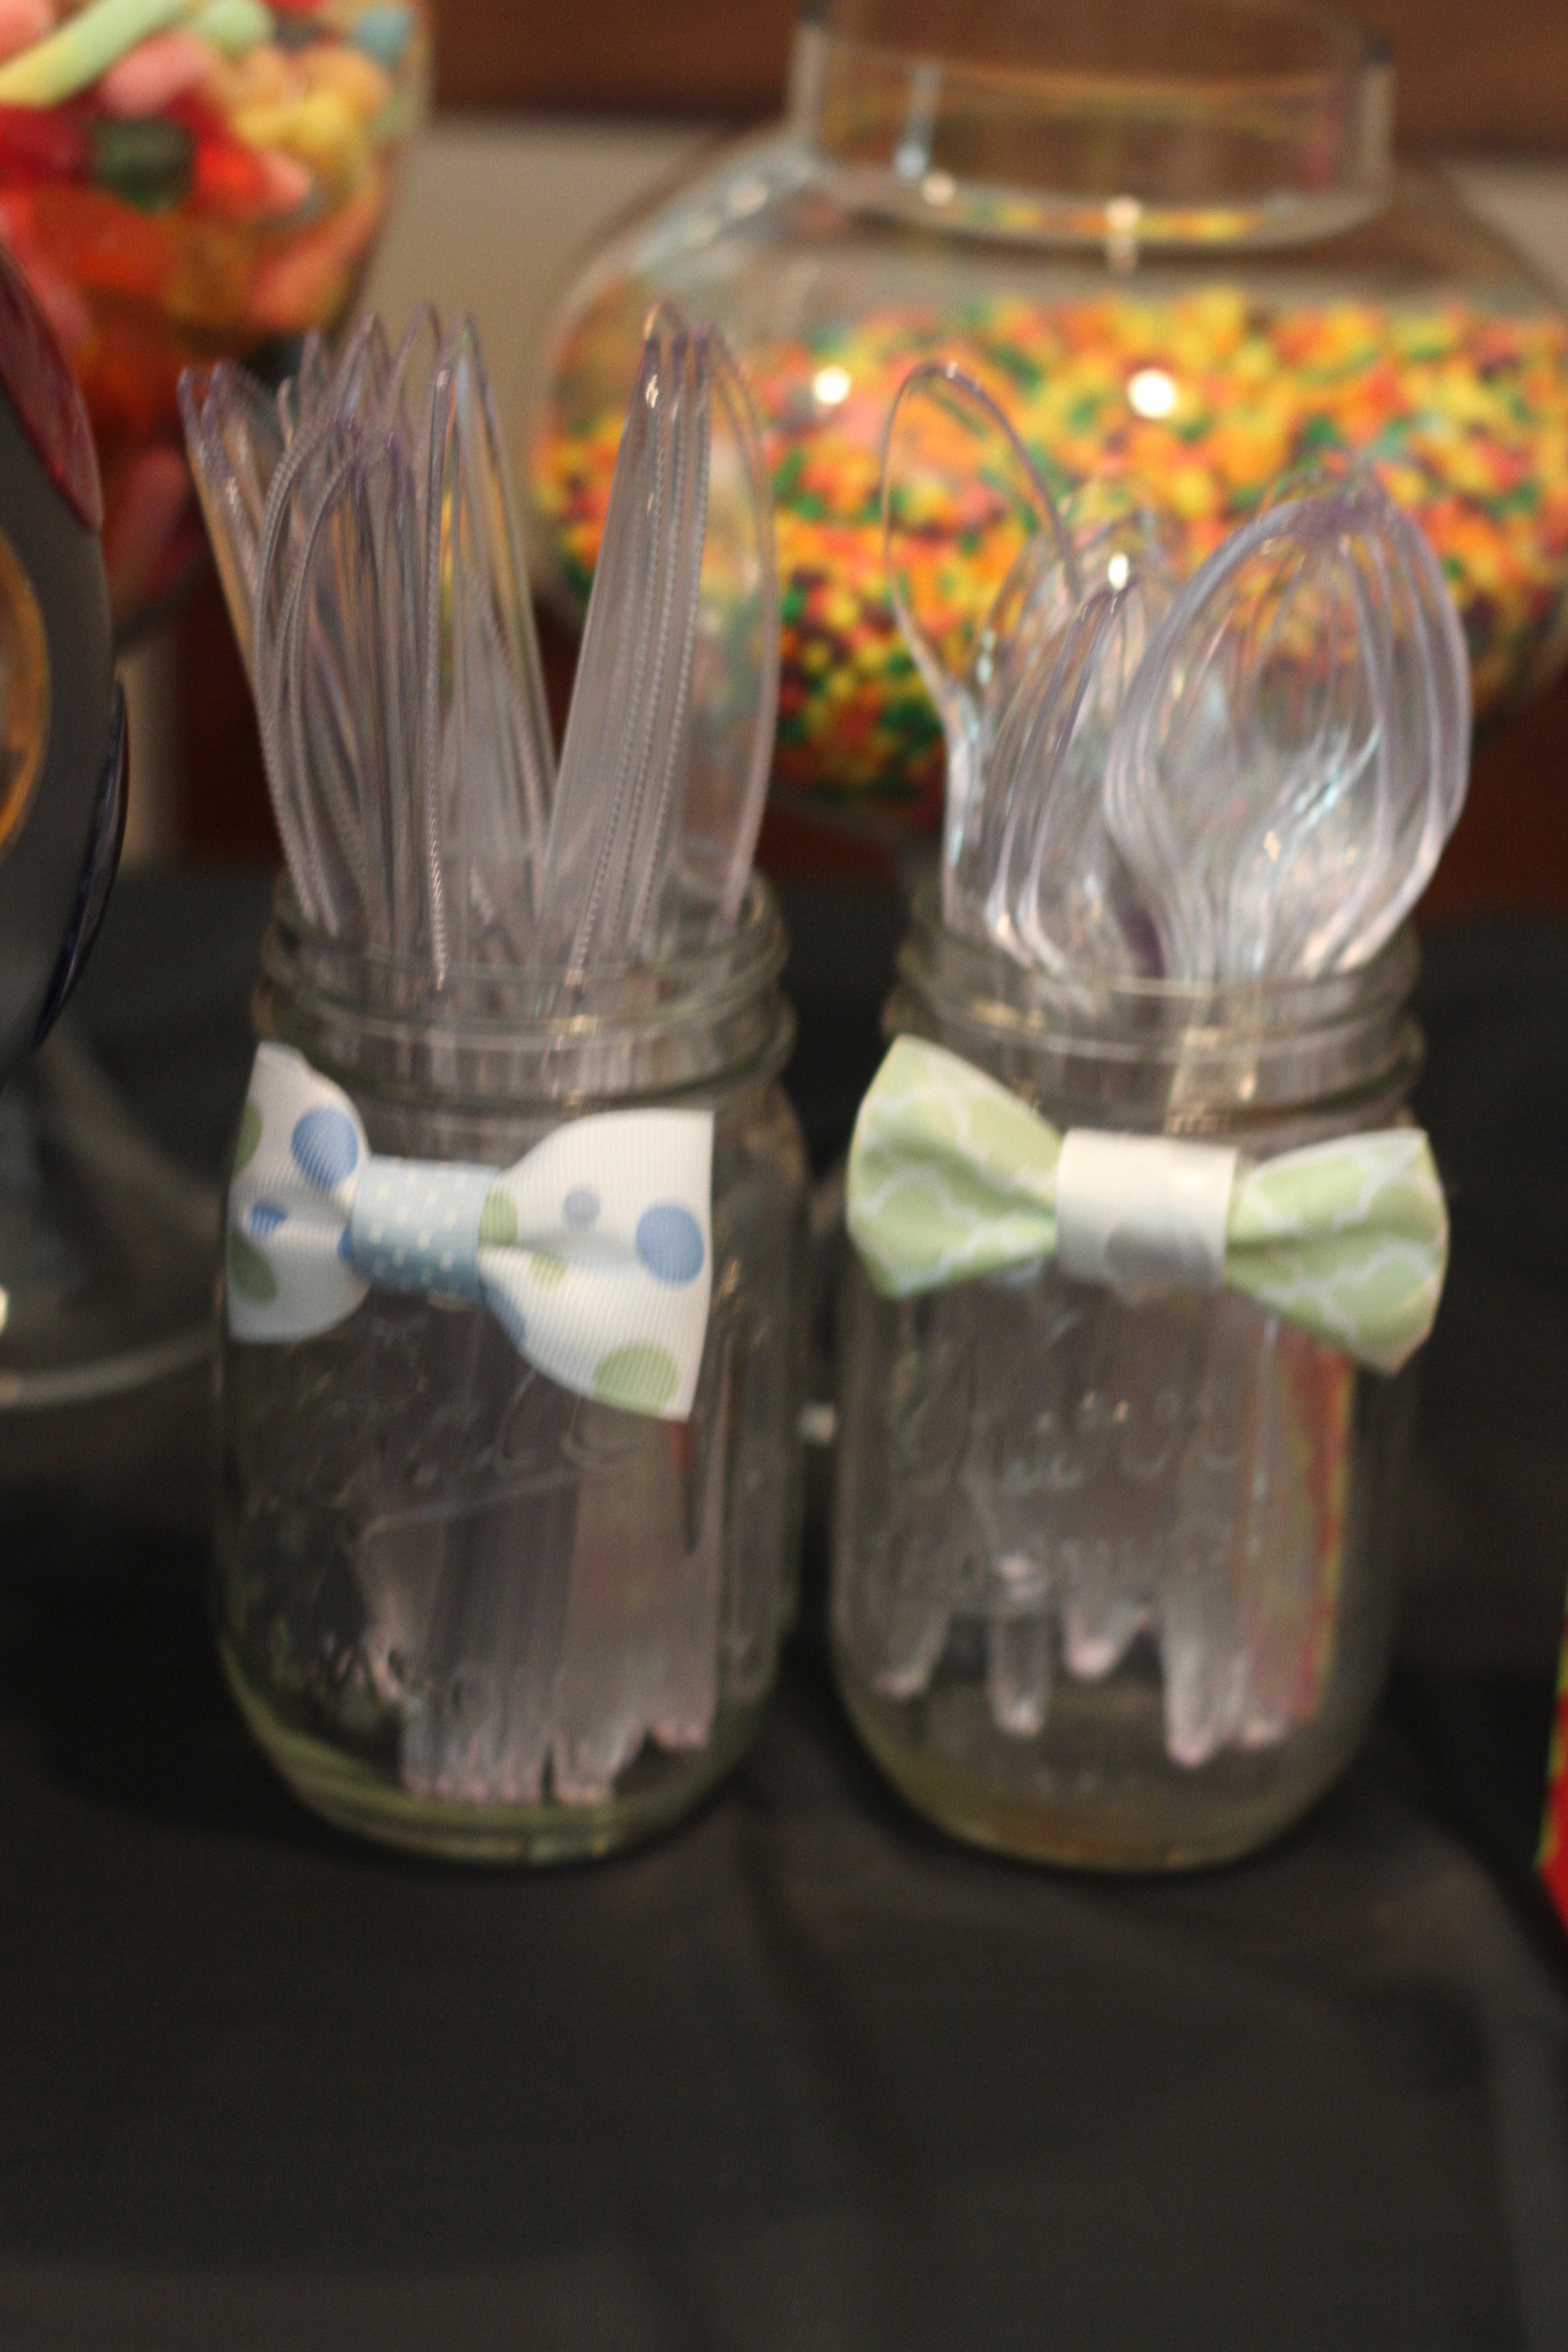
And I had to use the darling display box that the smarties came in…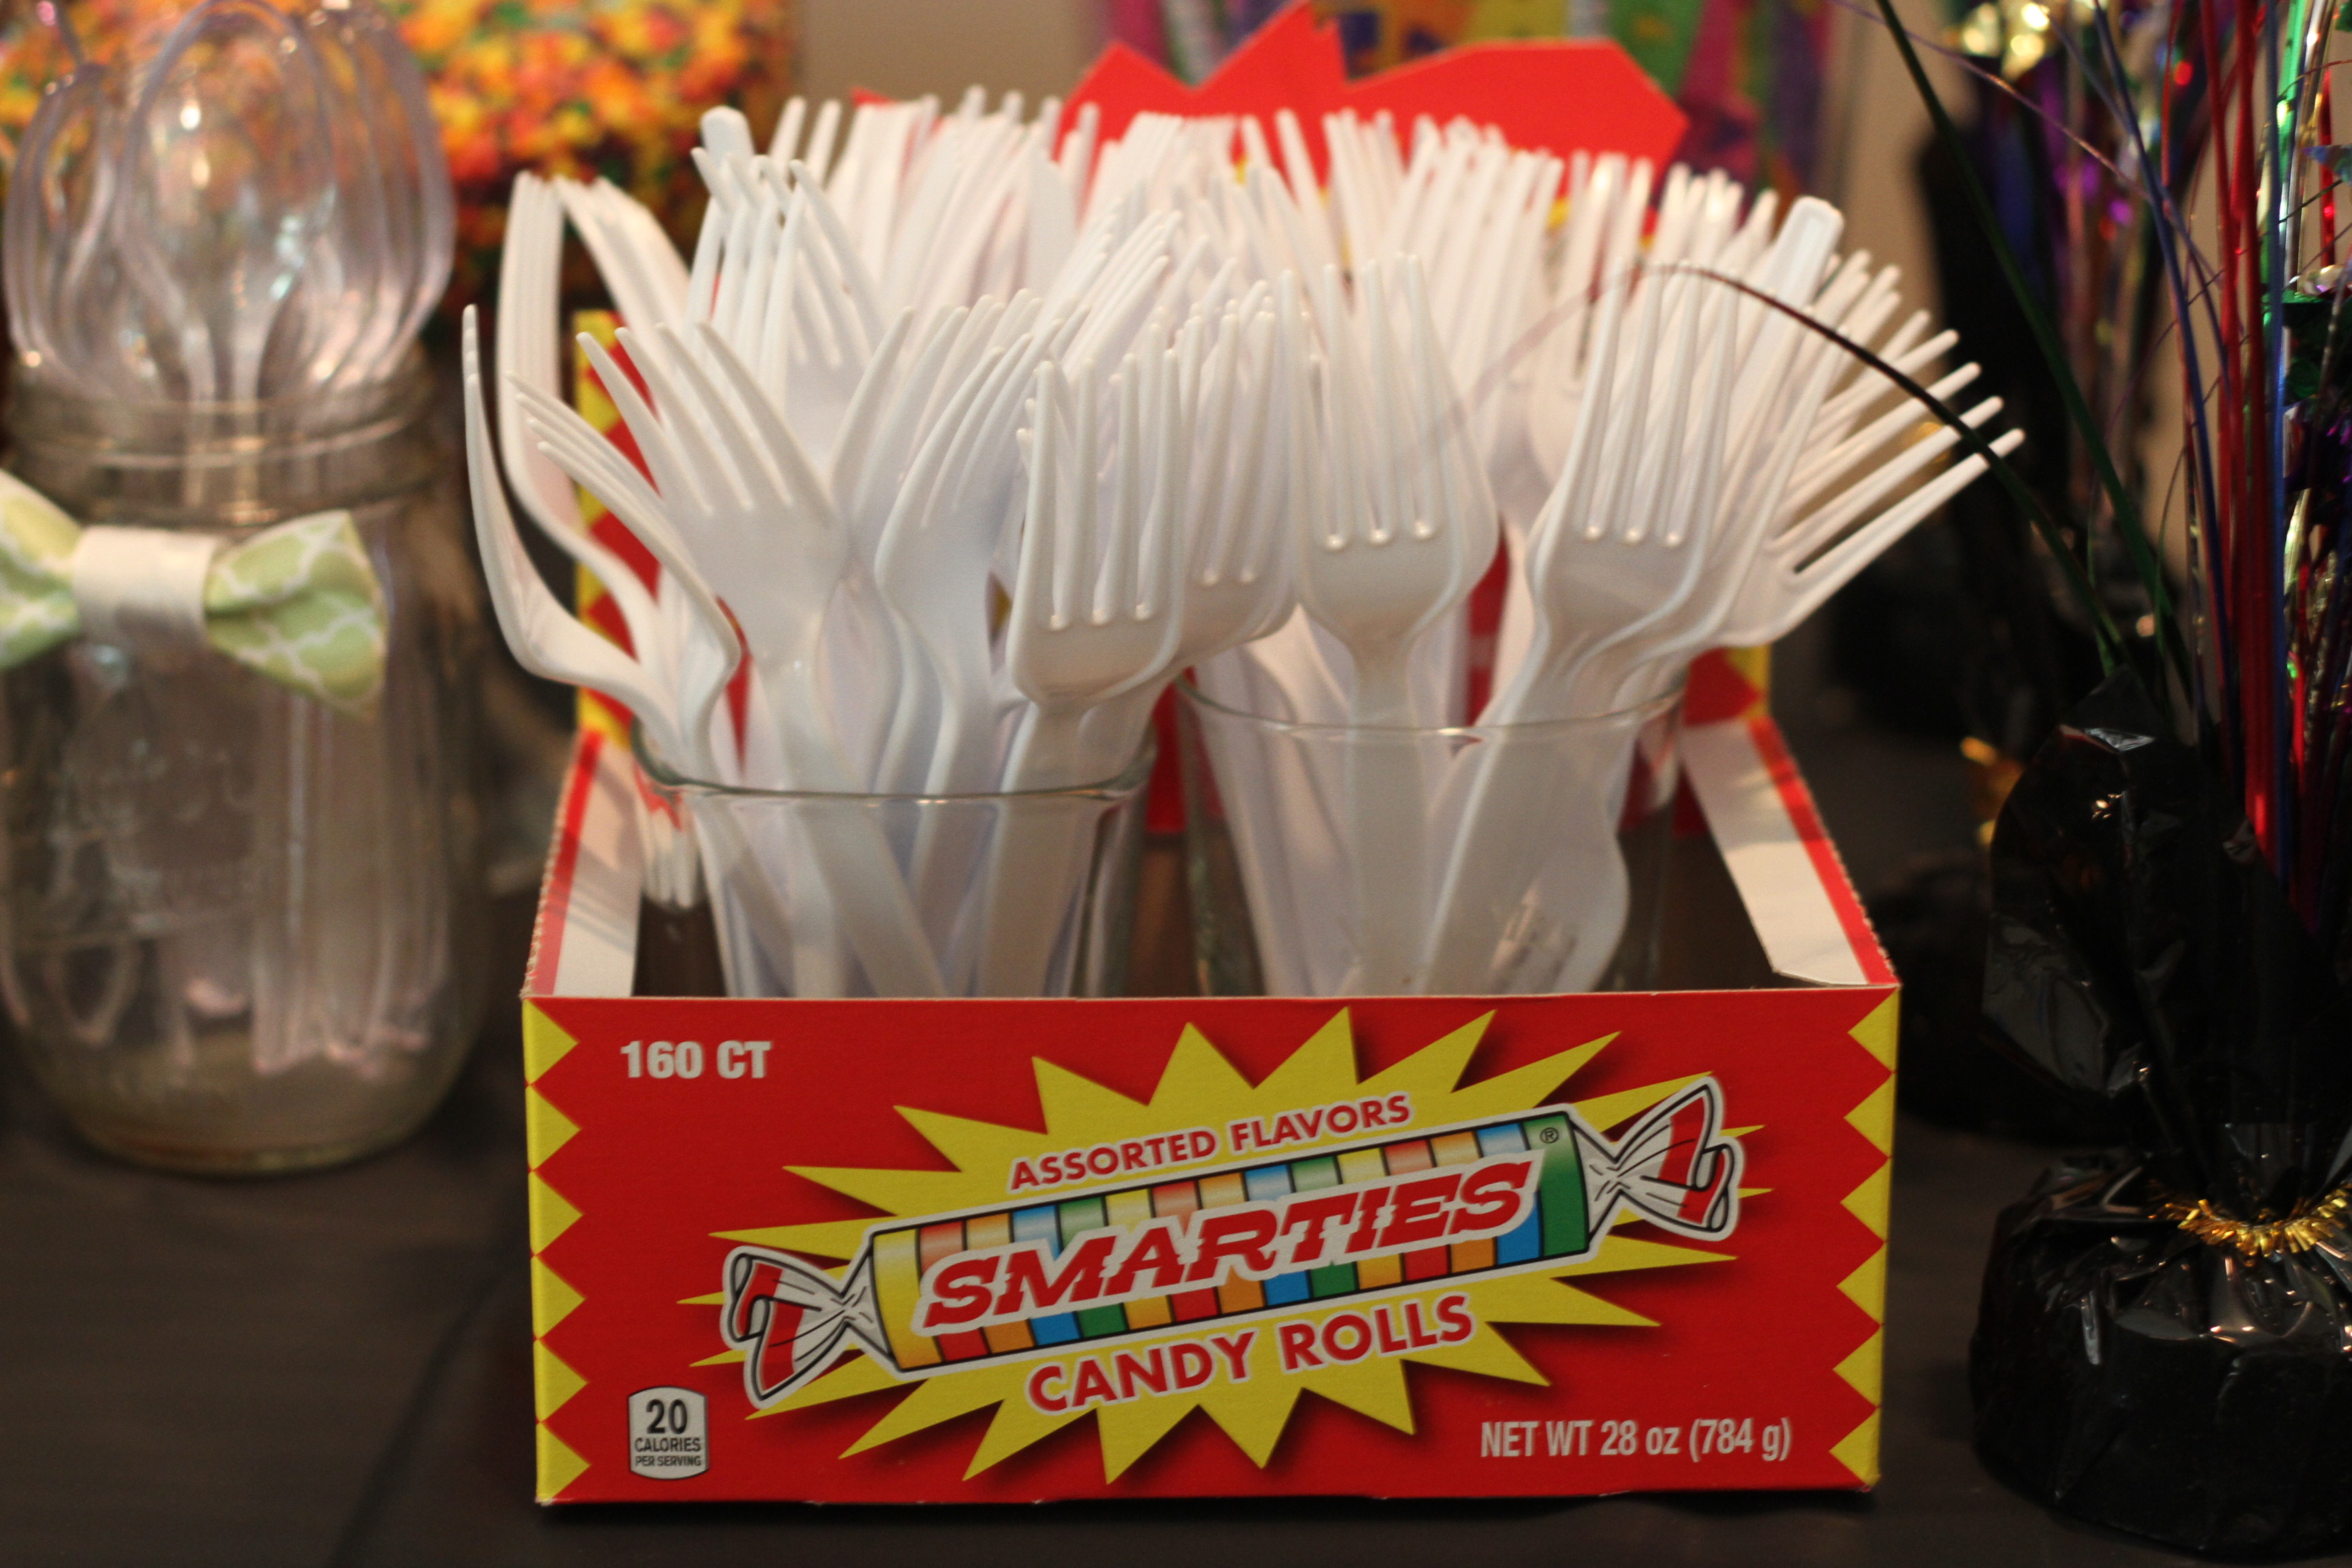

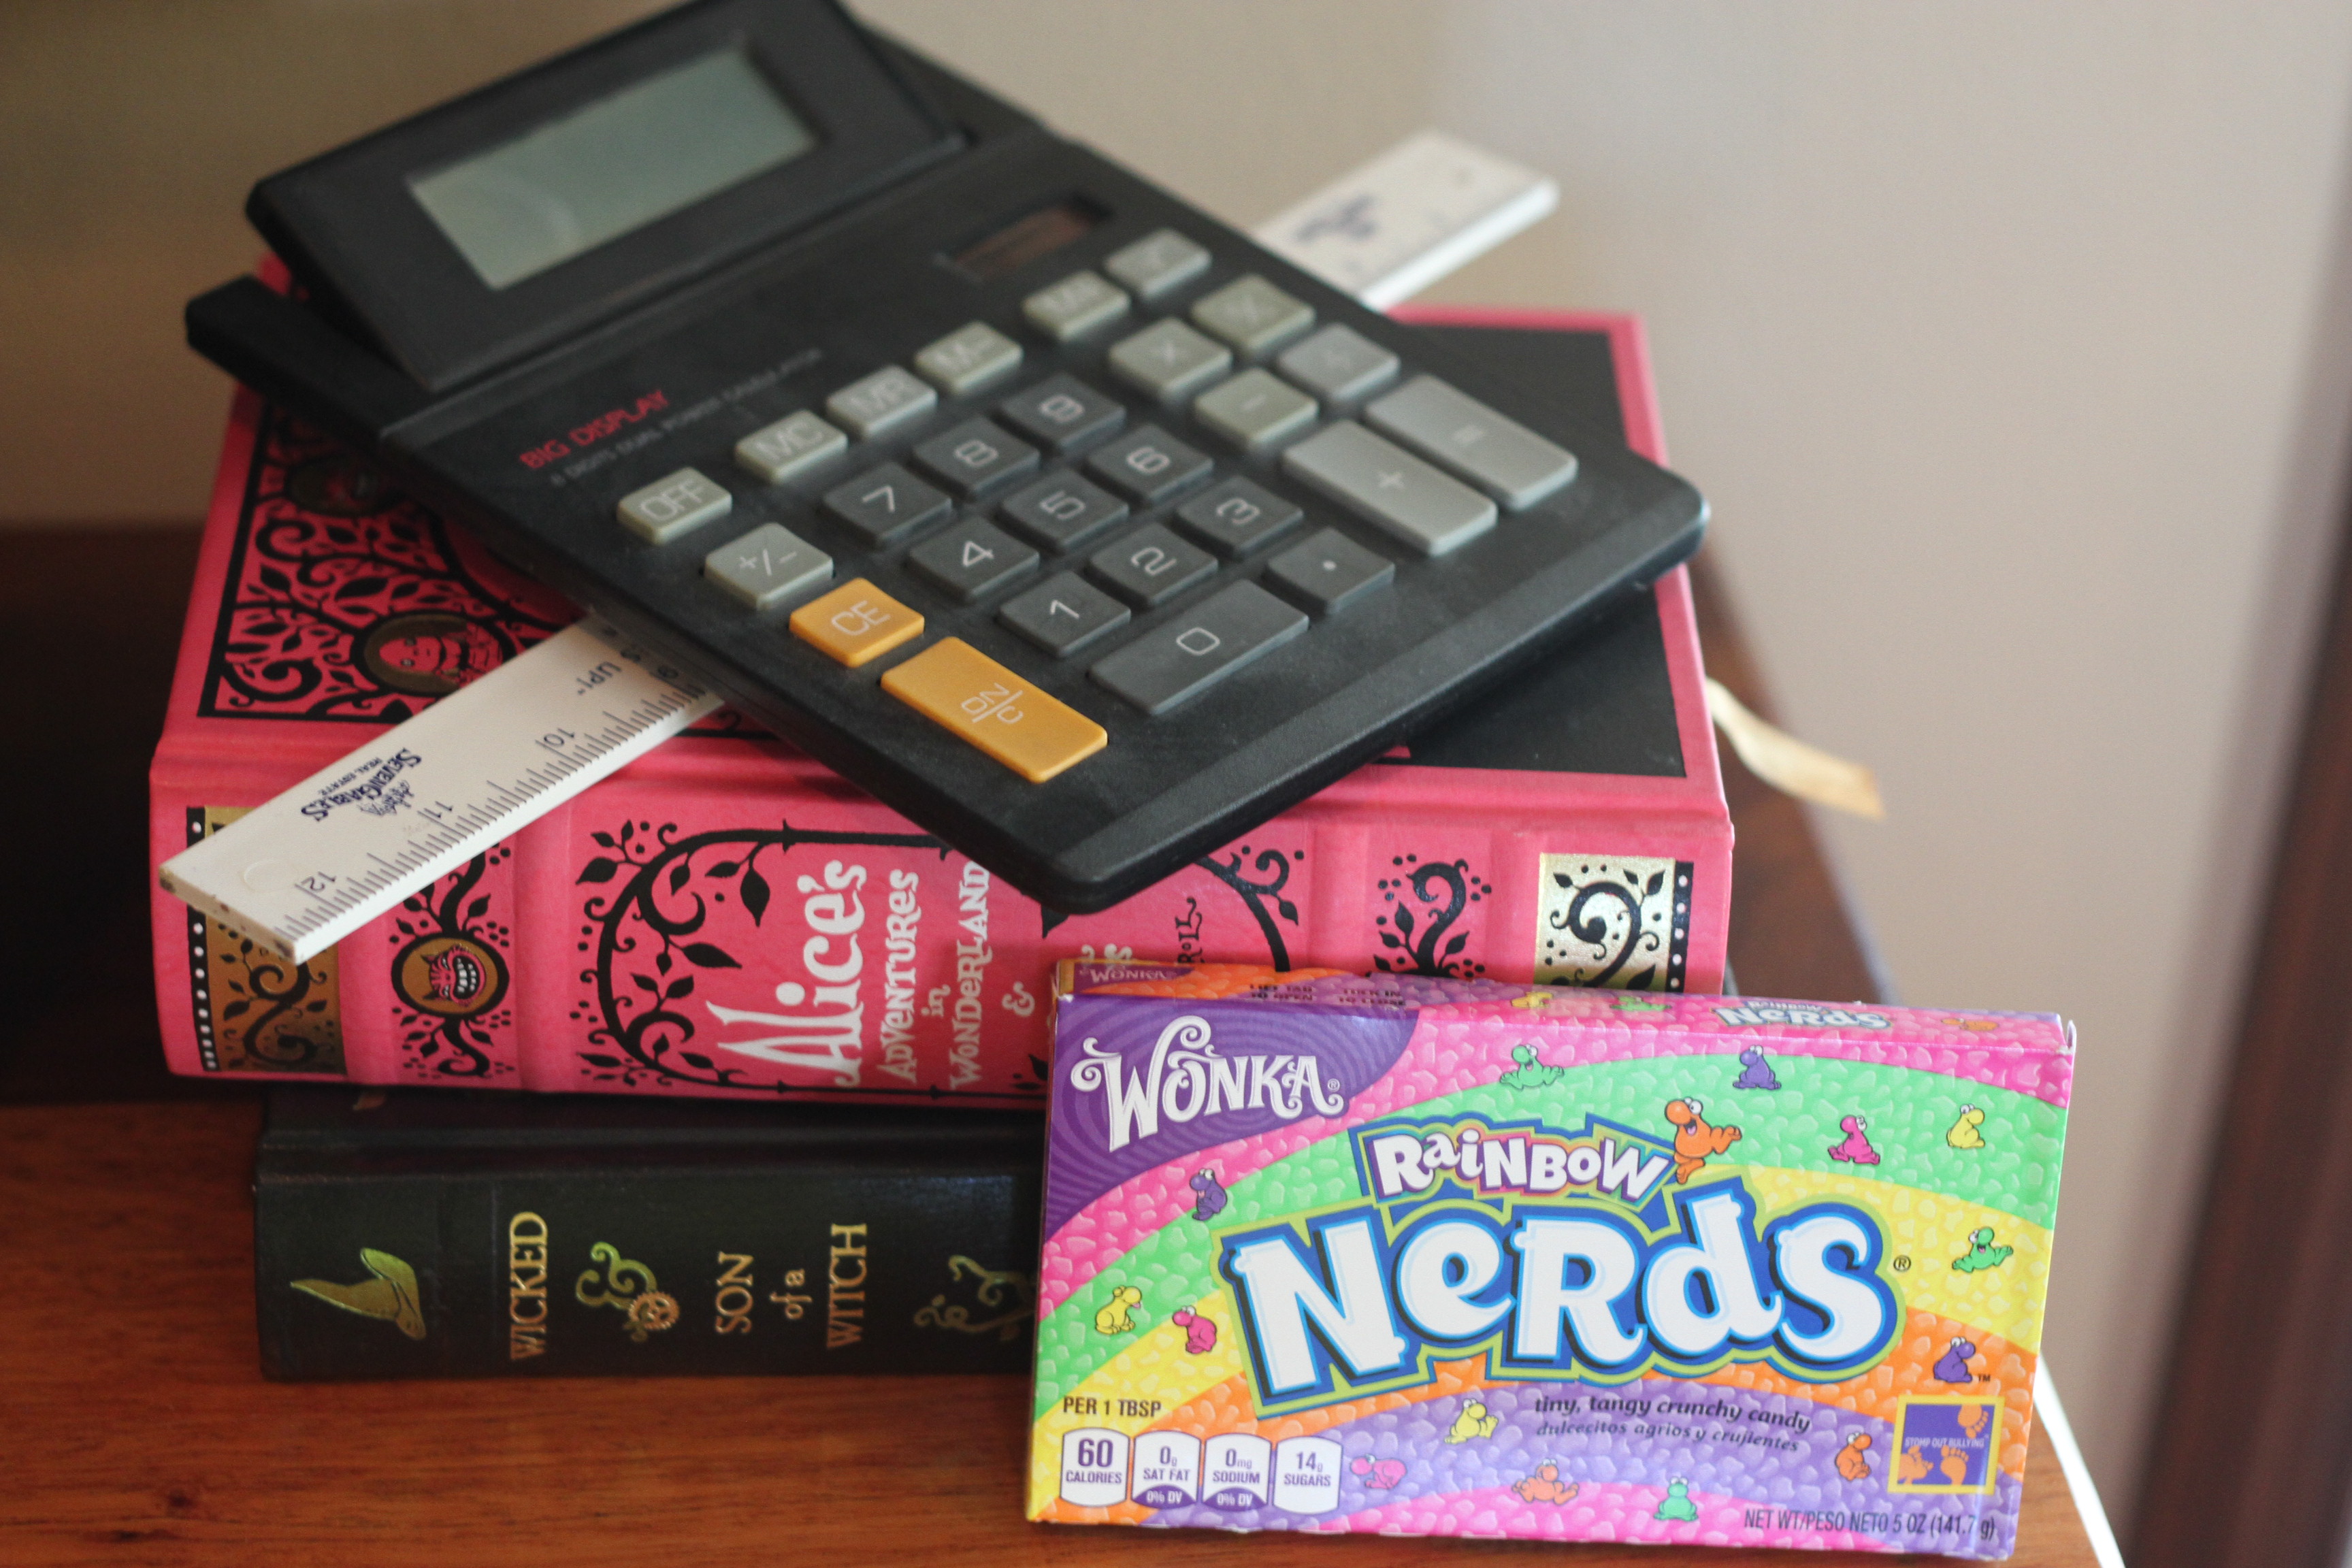
It may look staged, but these books are actually always here. 🙂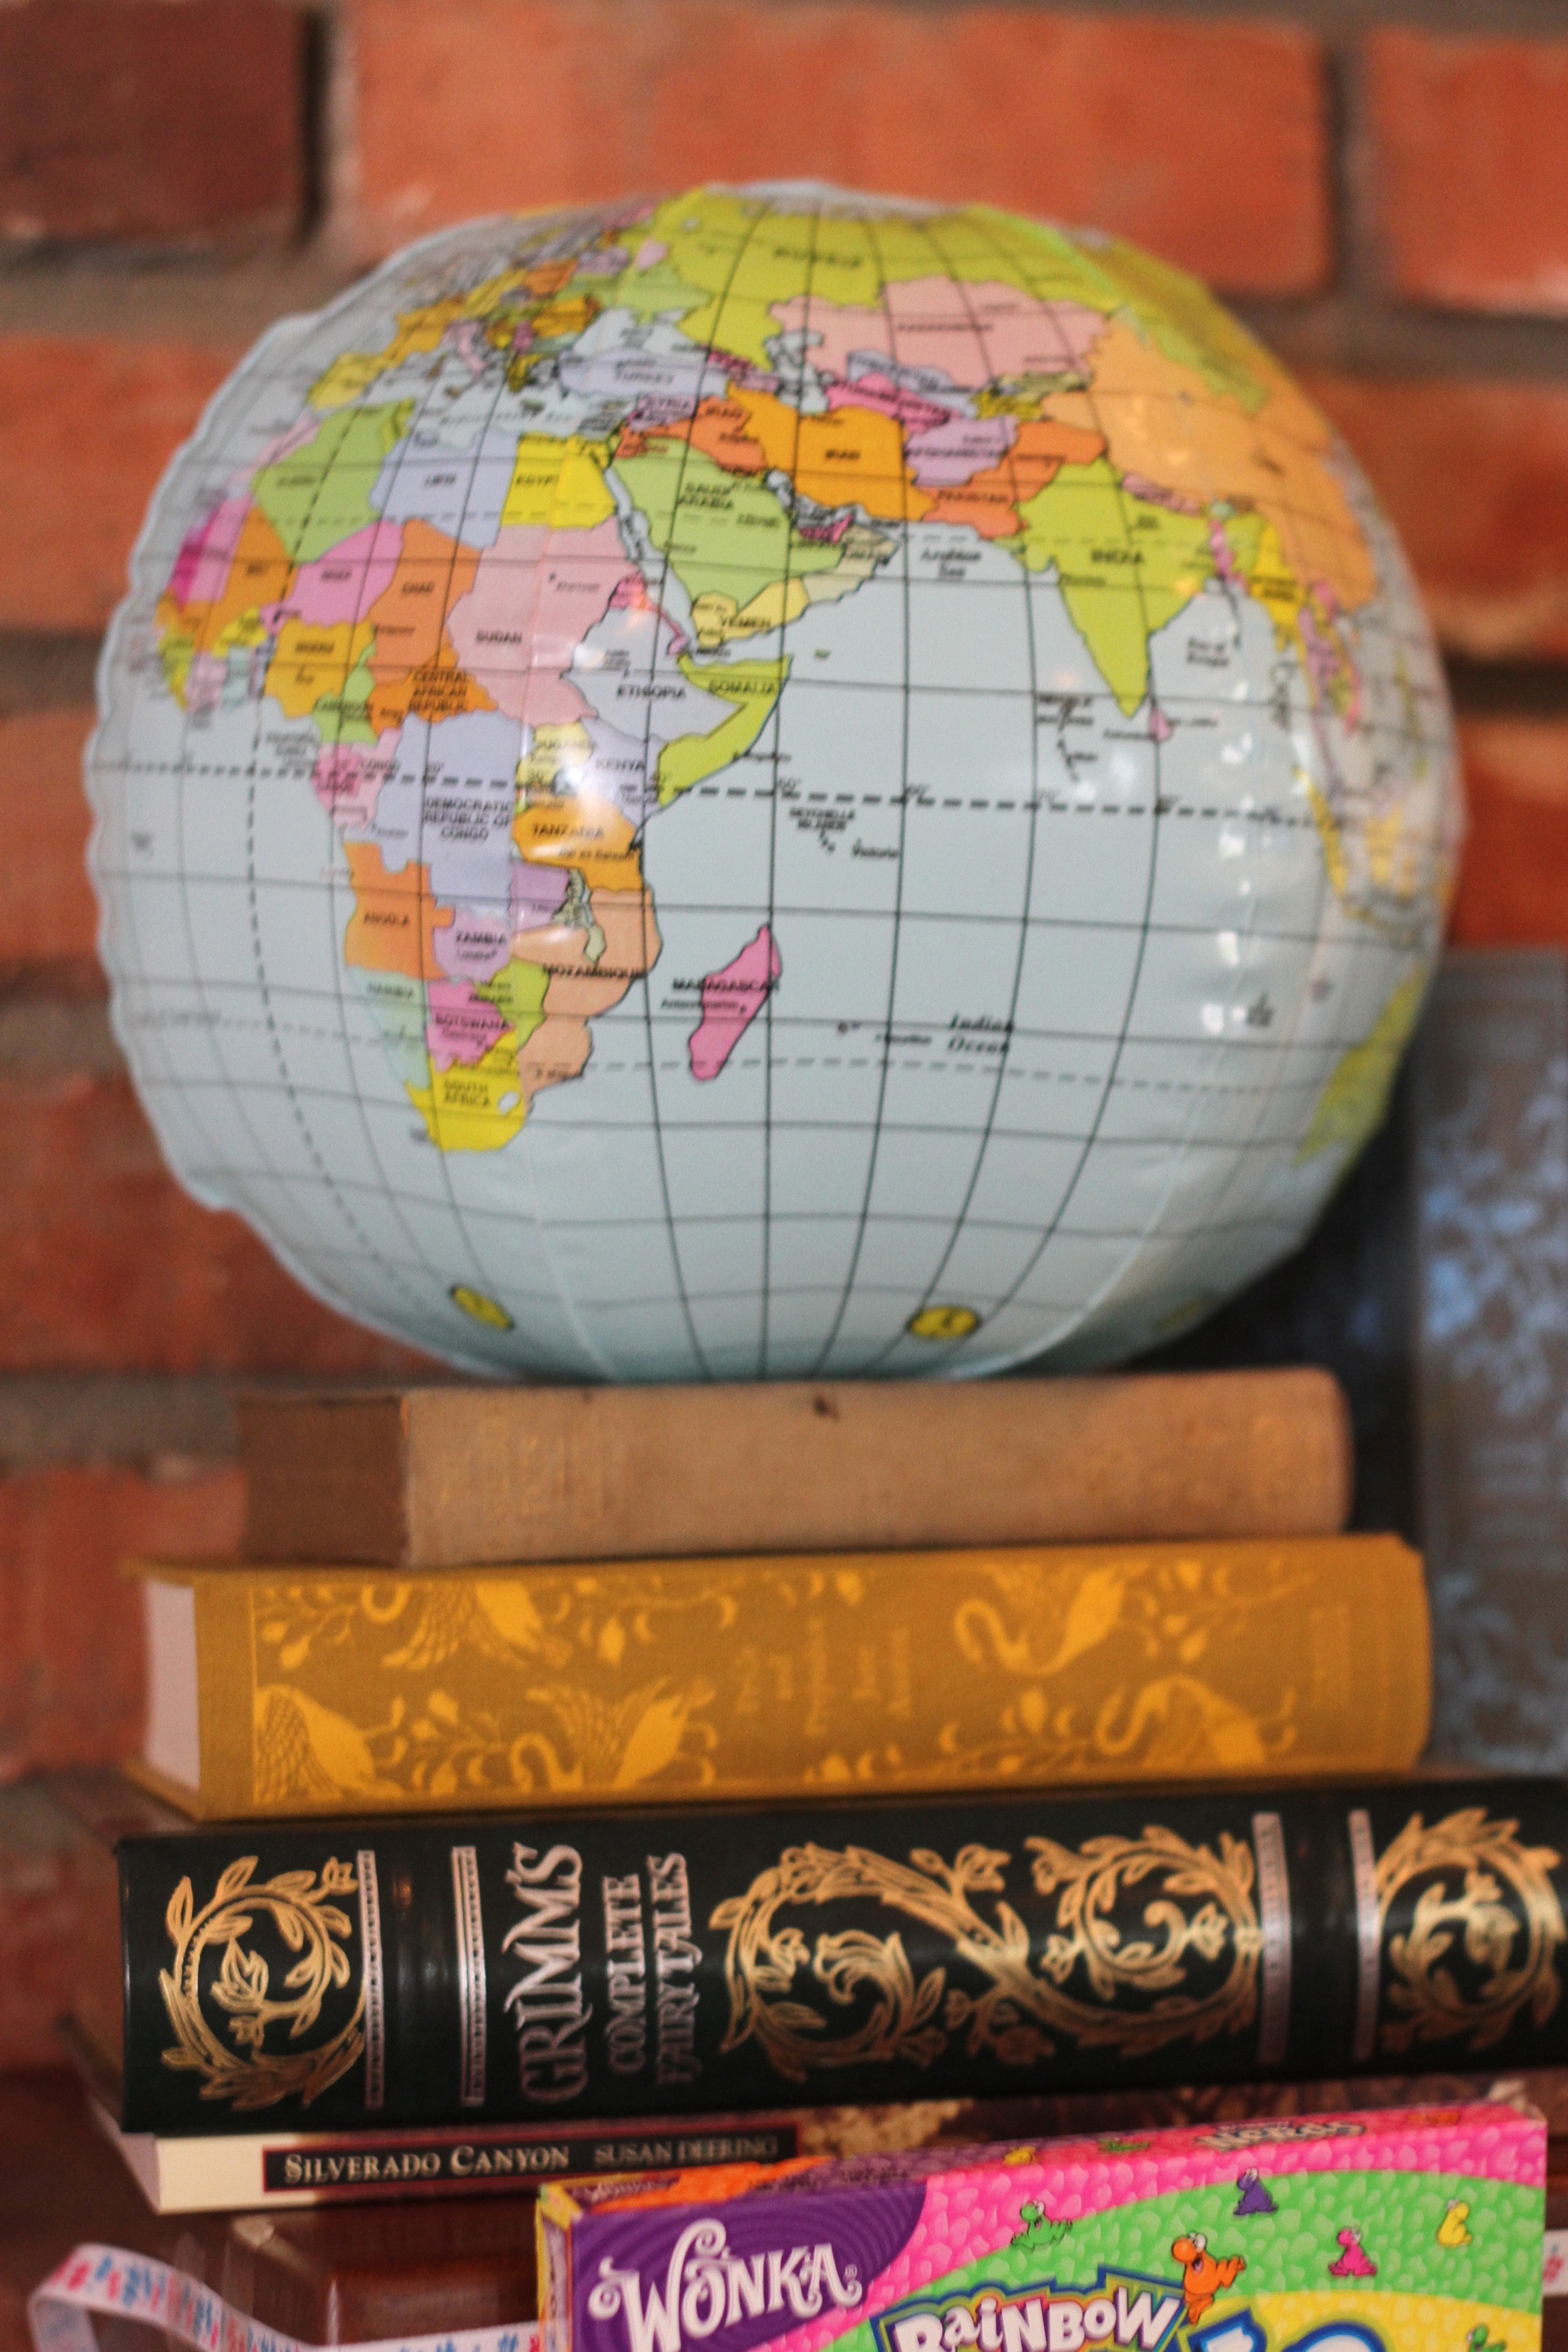
The book garland was also repurposed, this time from my own baby shower! My mom actually cut some old textbook of mine (oh the horror!) to make real book pages, and I changed the “baby boy” stickers out for birthday ones. 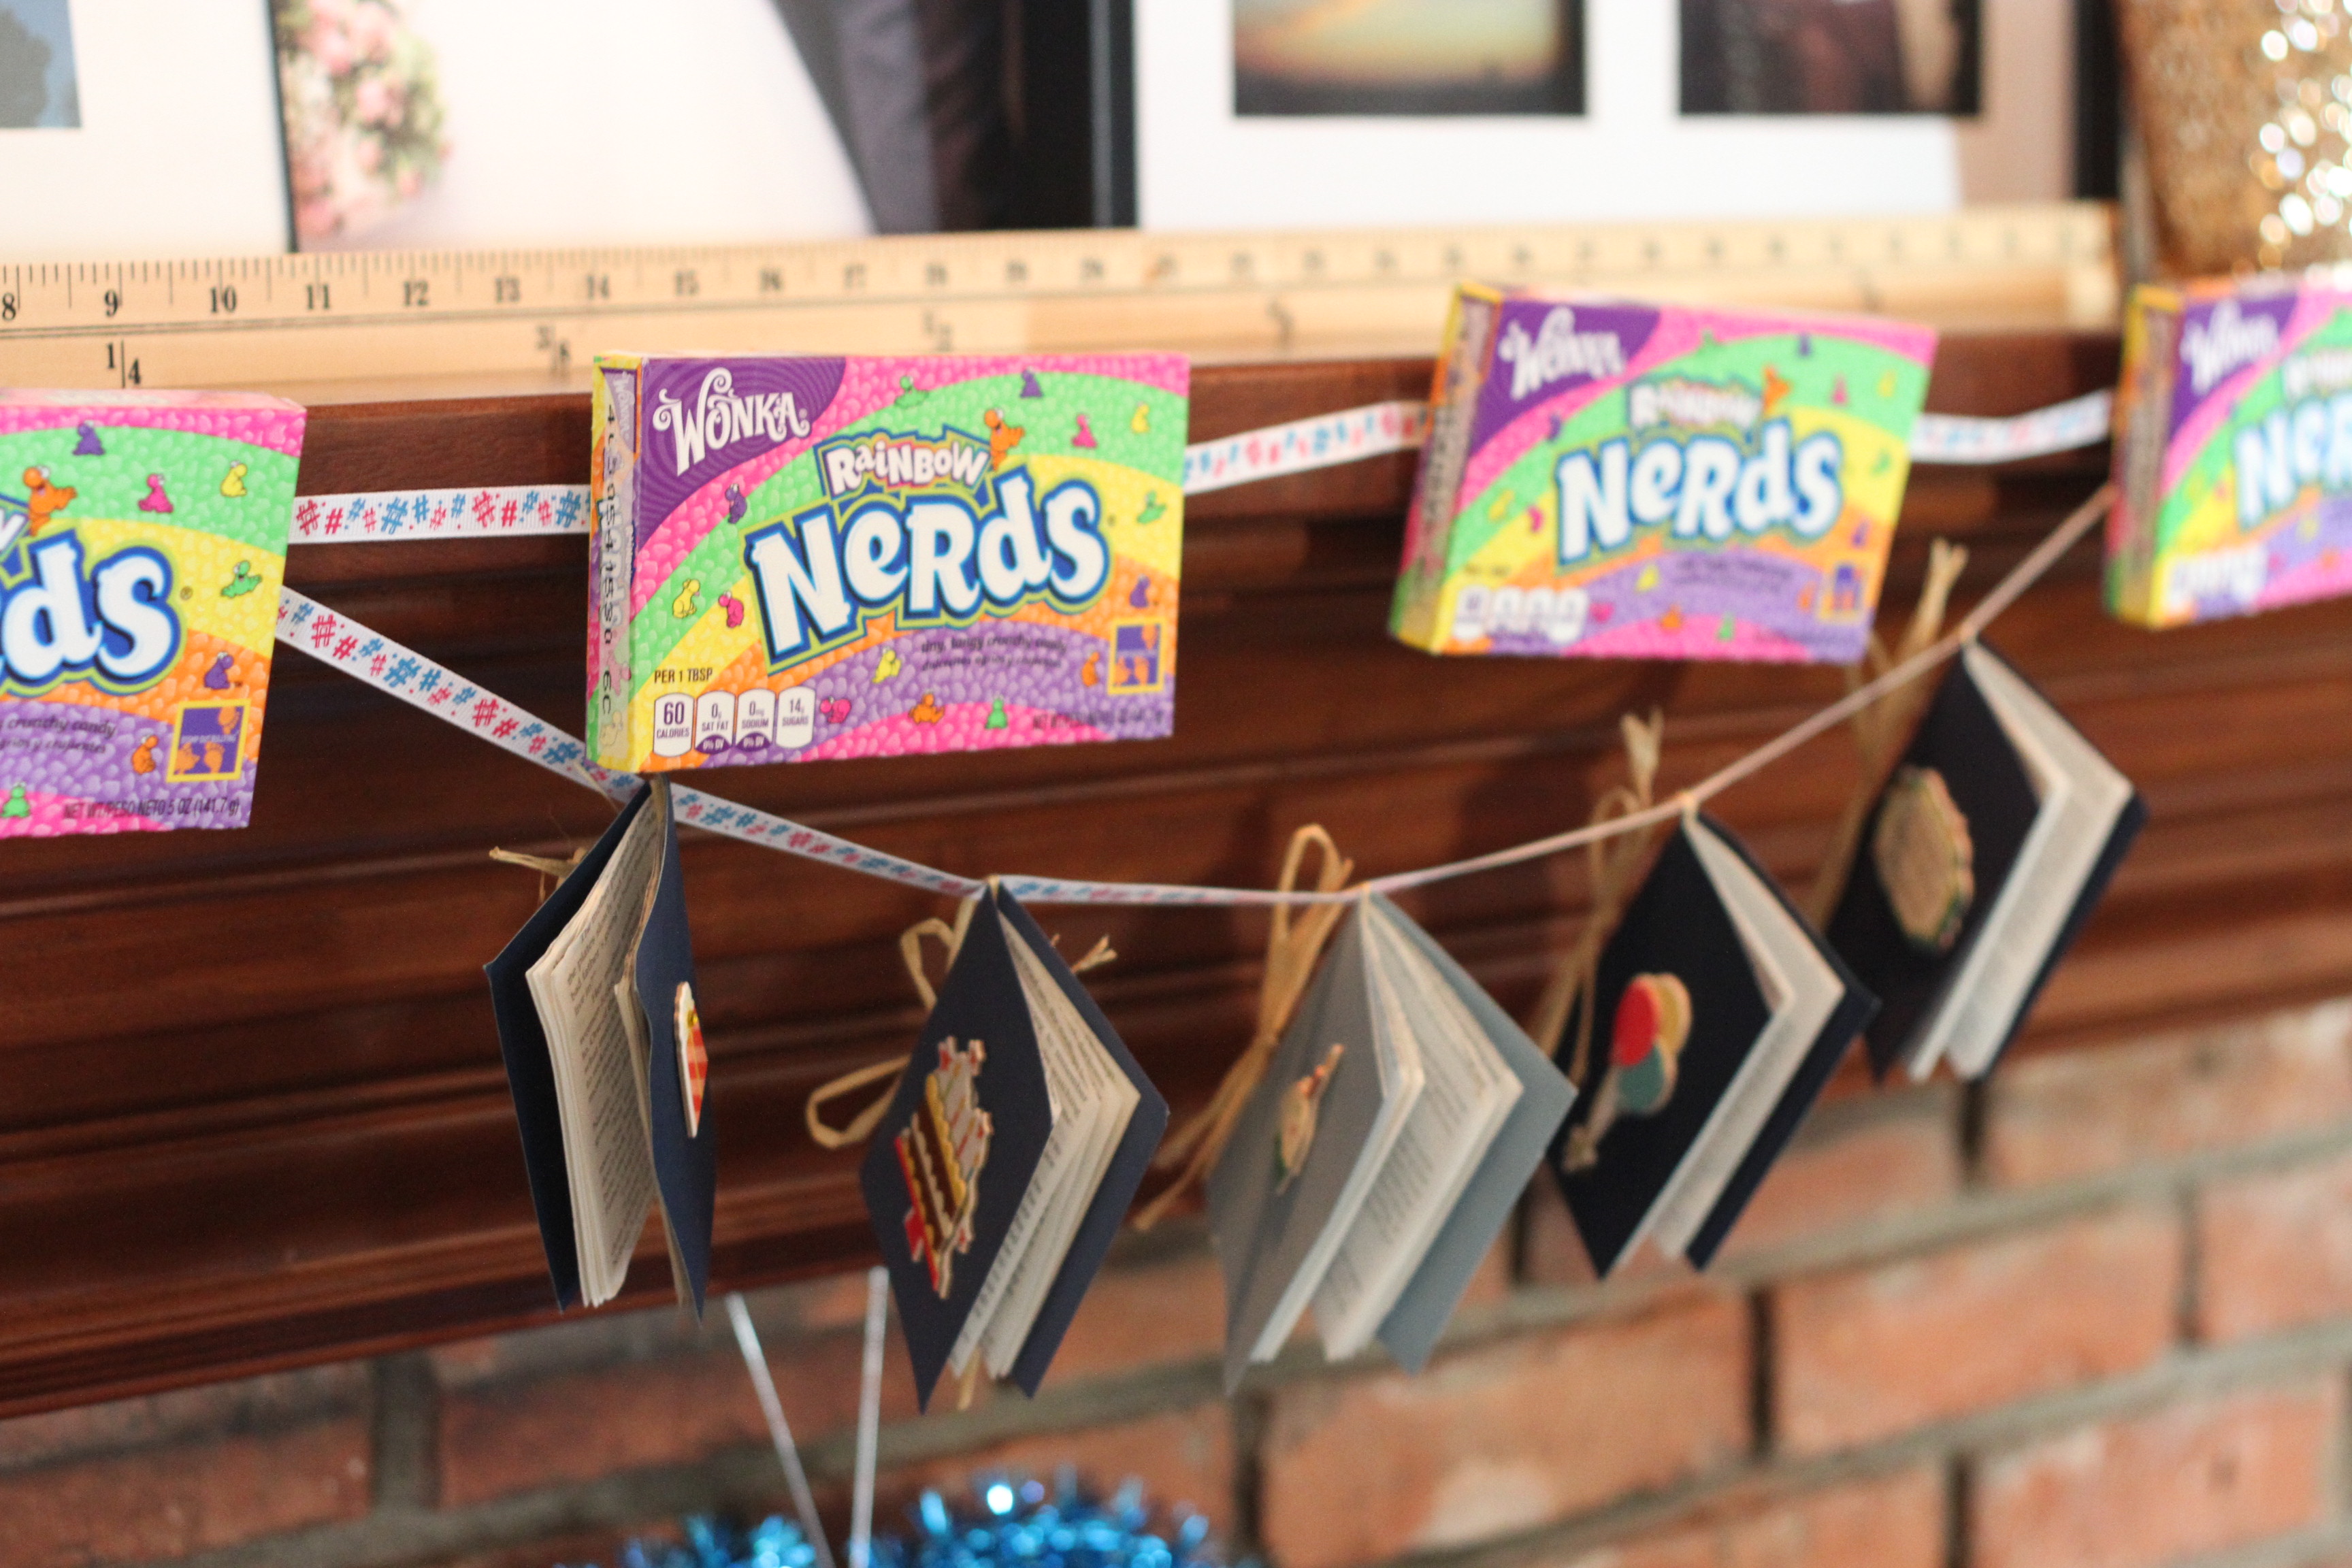
Grammar posters from Oriental Trading.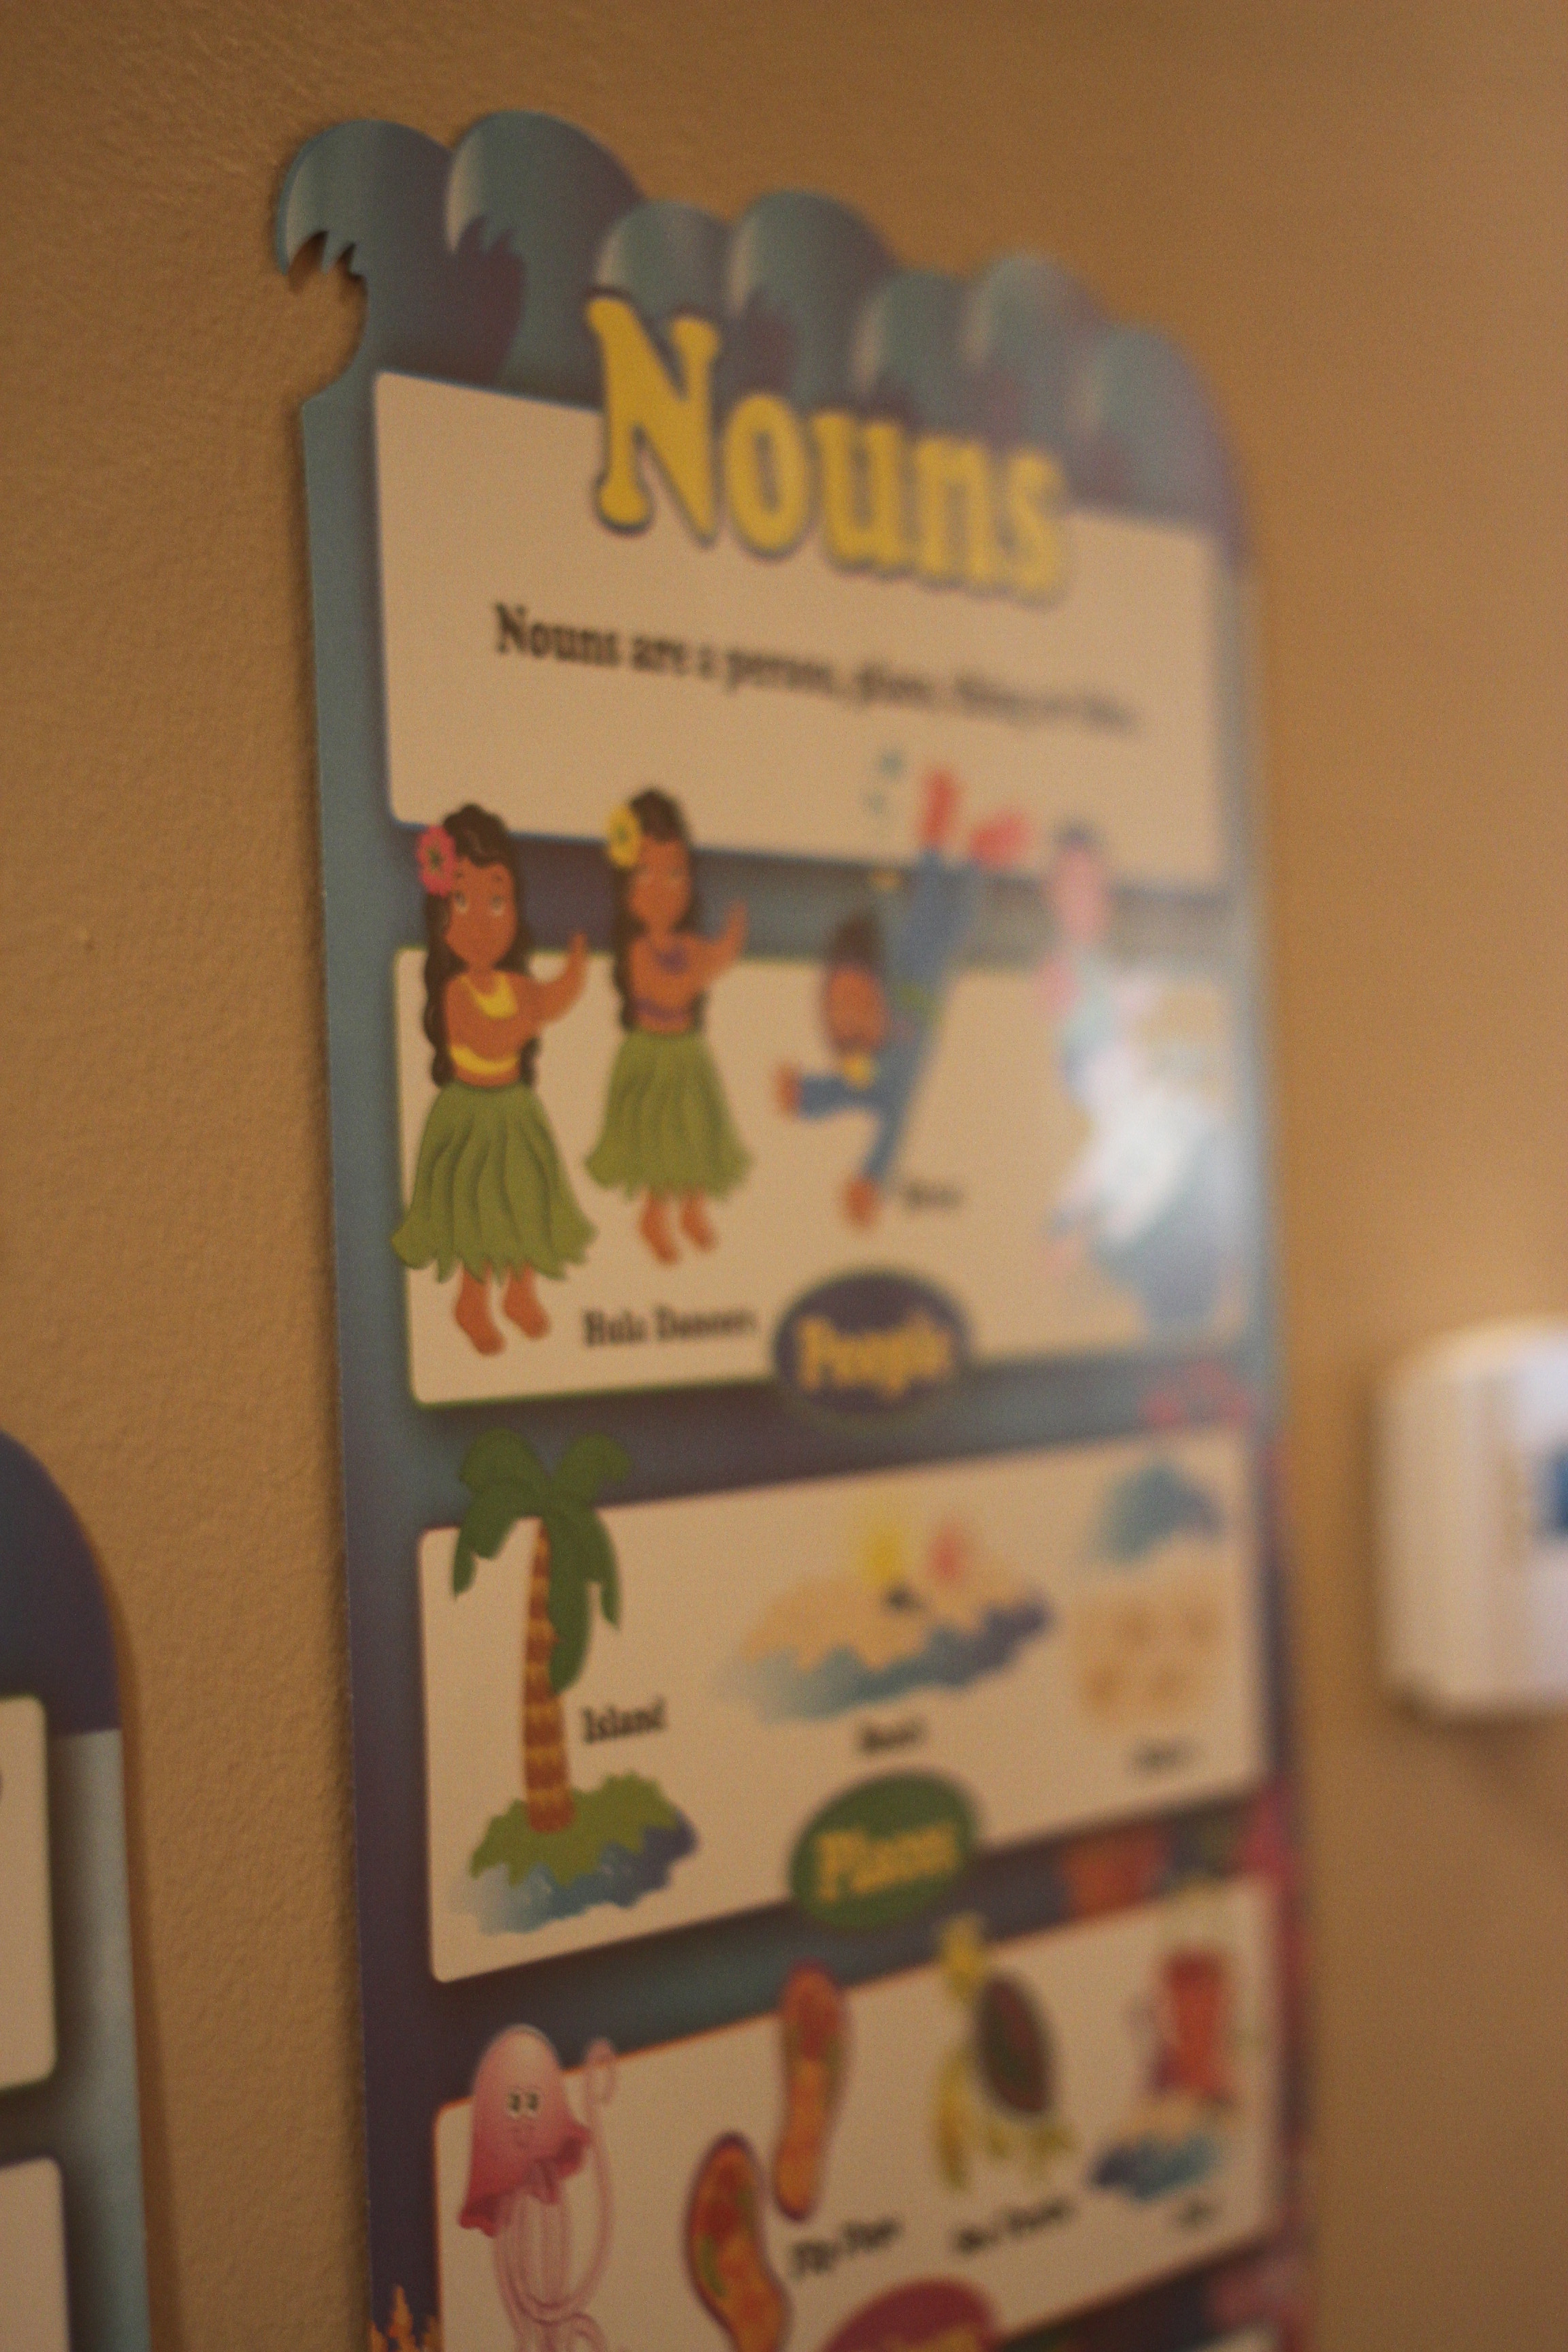
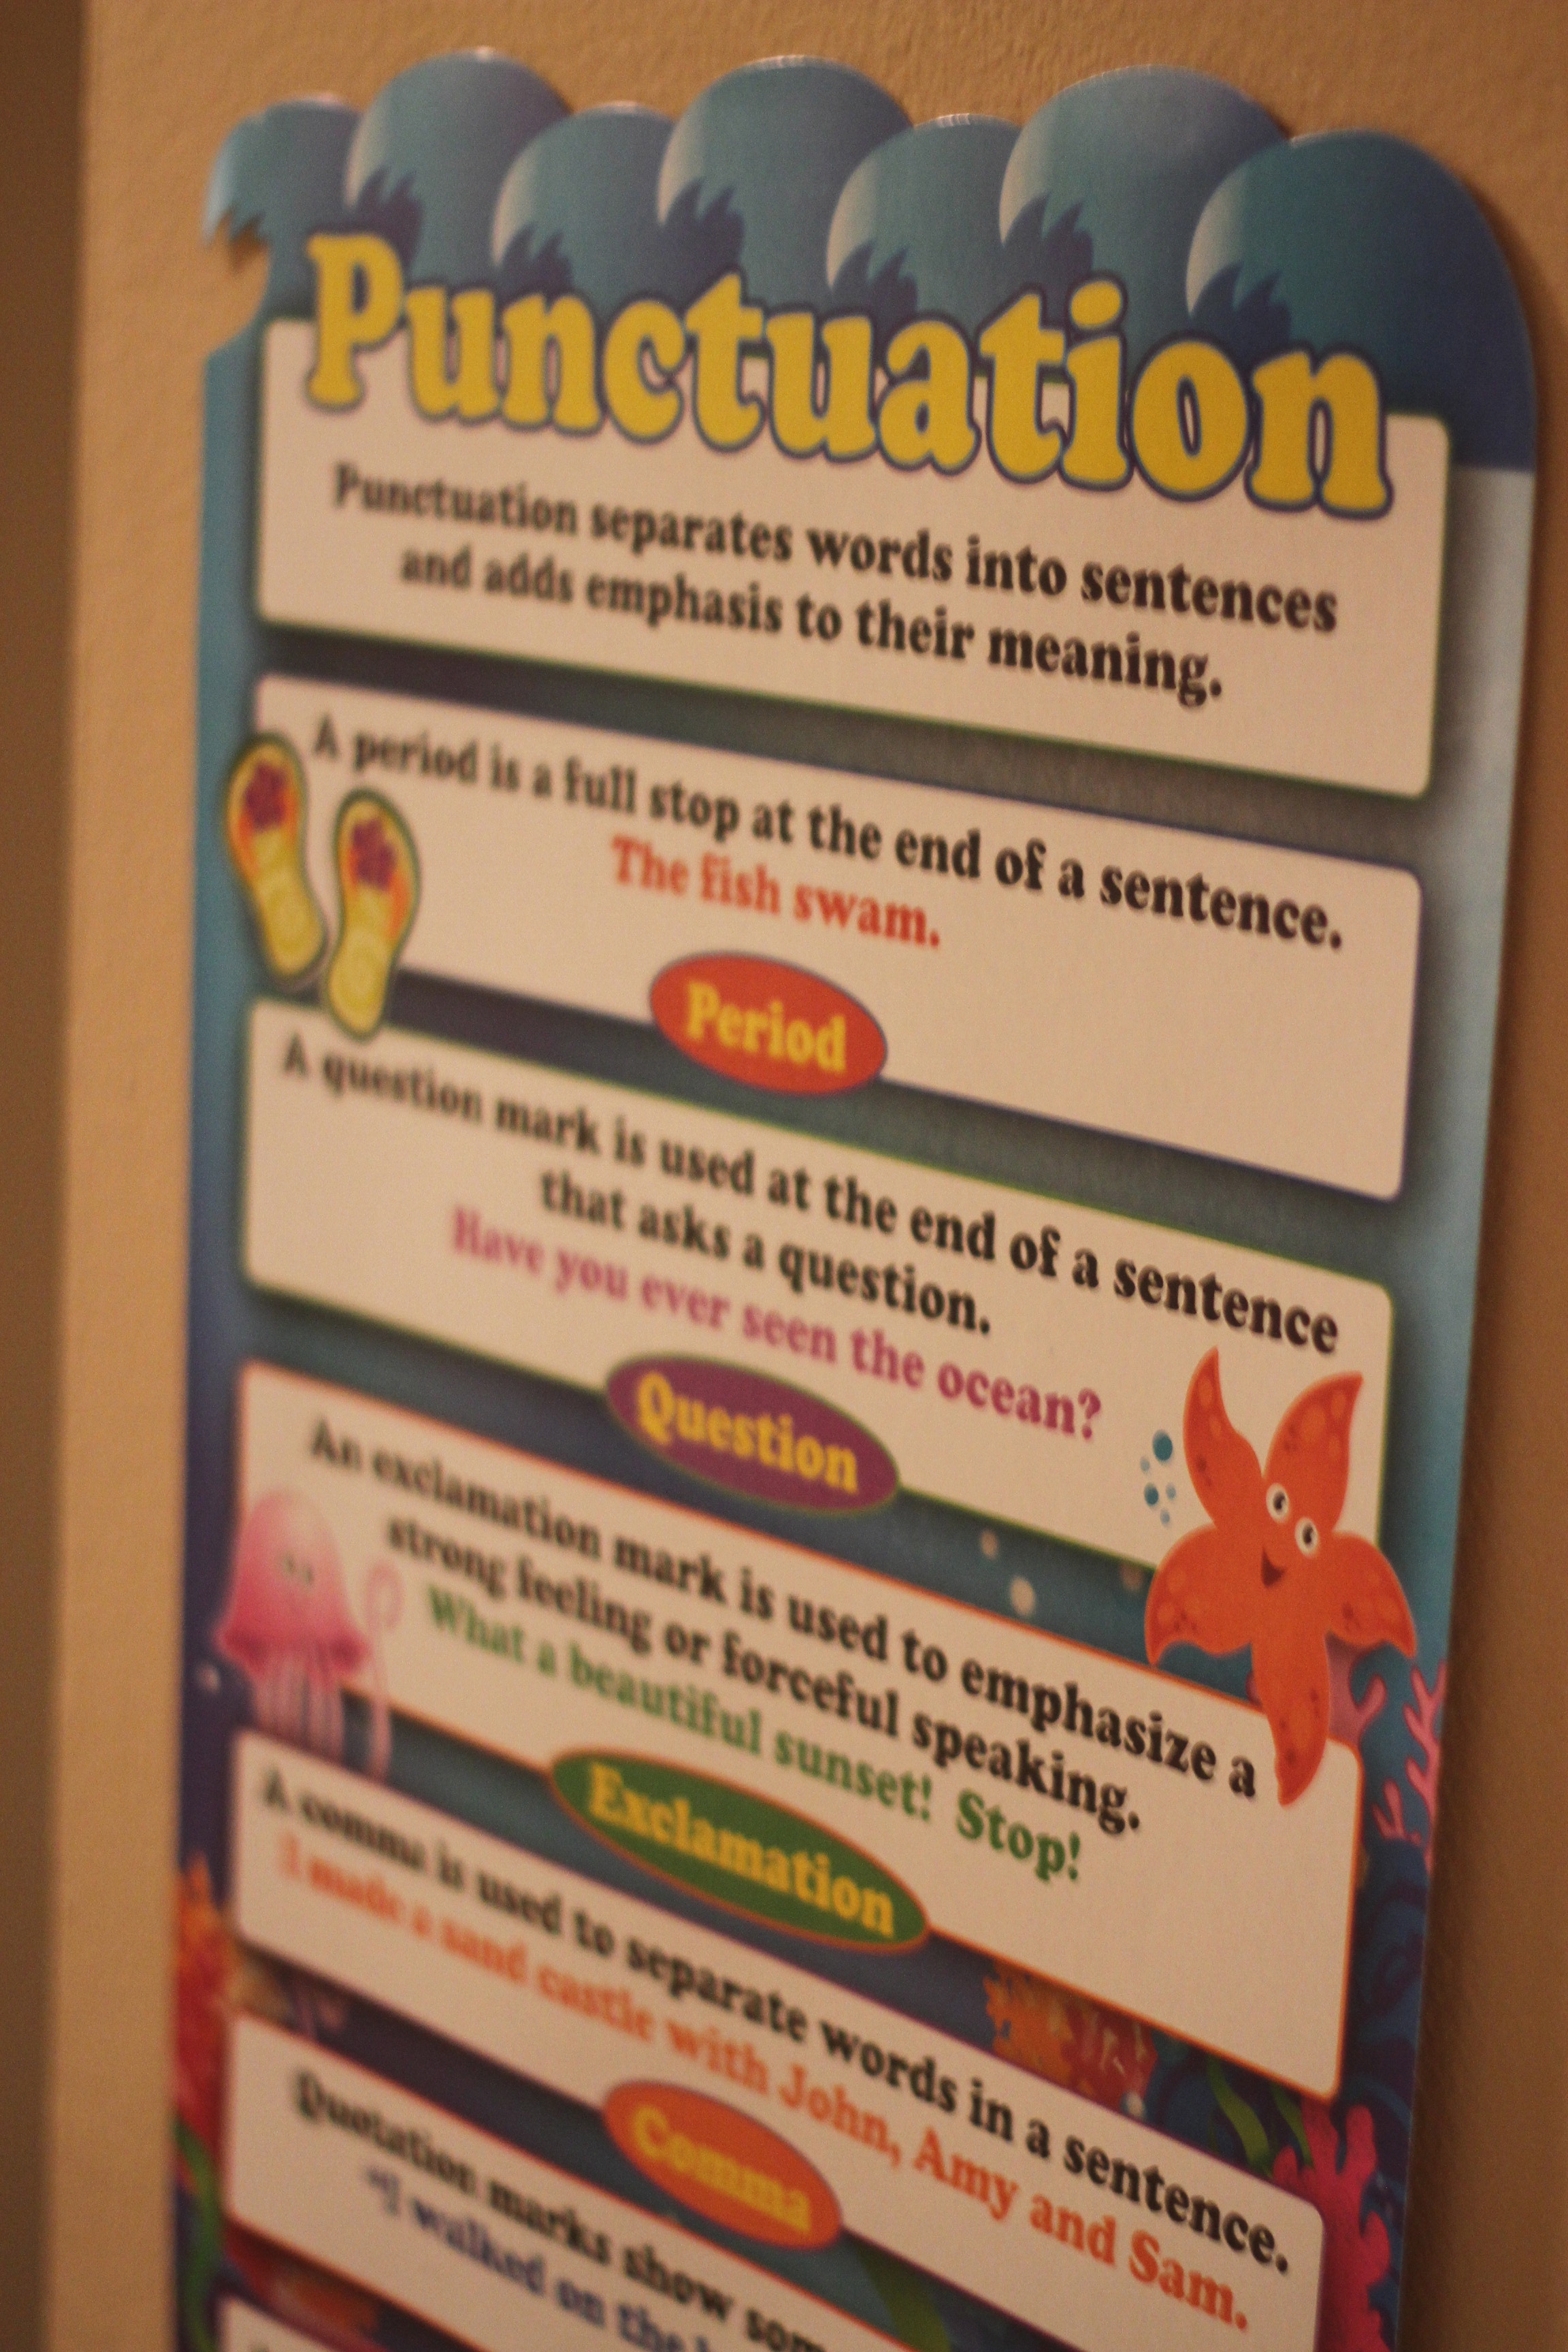
Yes, I laminated these myself…it was great because they were easy to hang with blue painter’s tape, and painless to remove.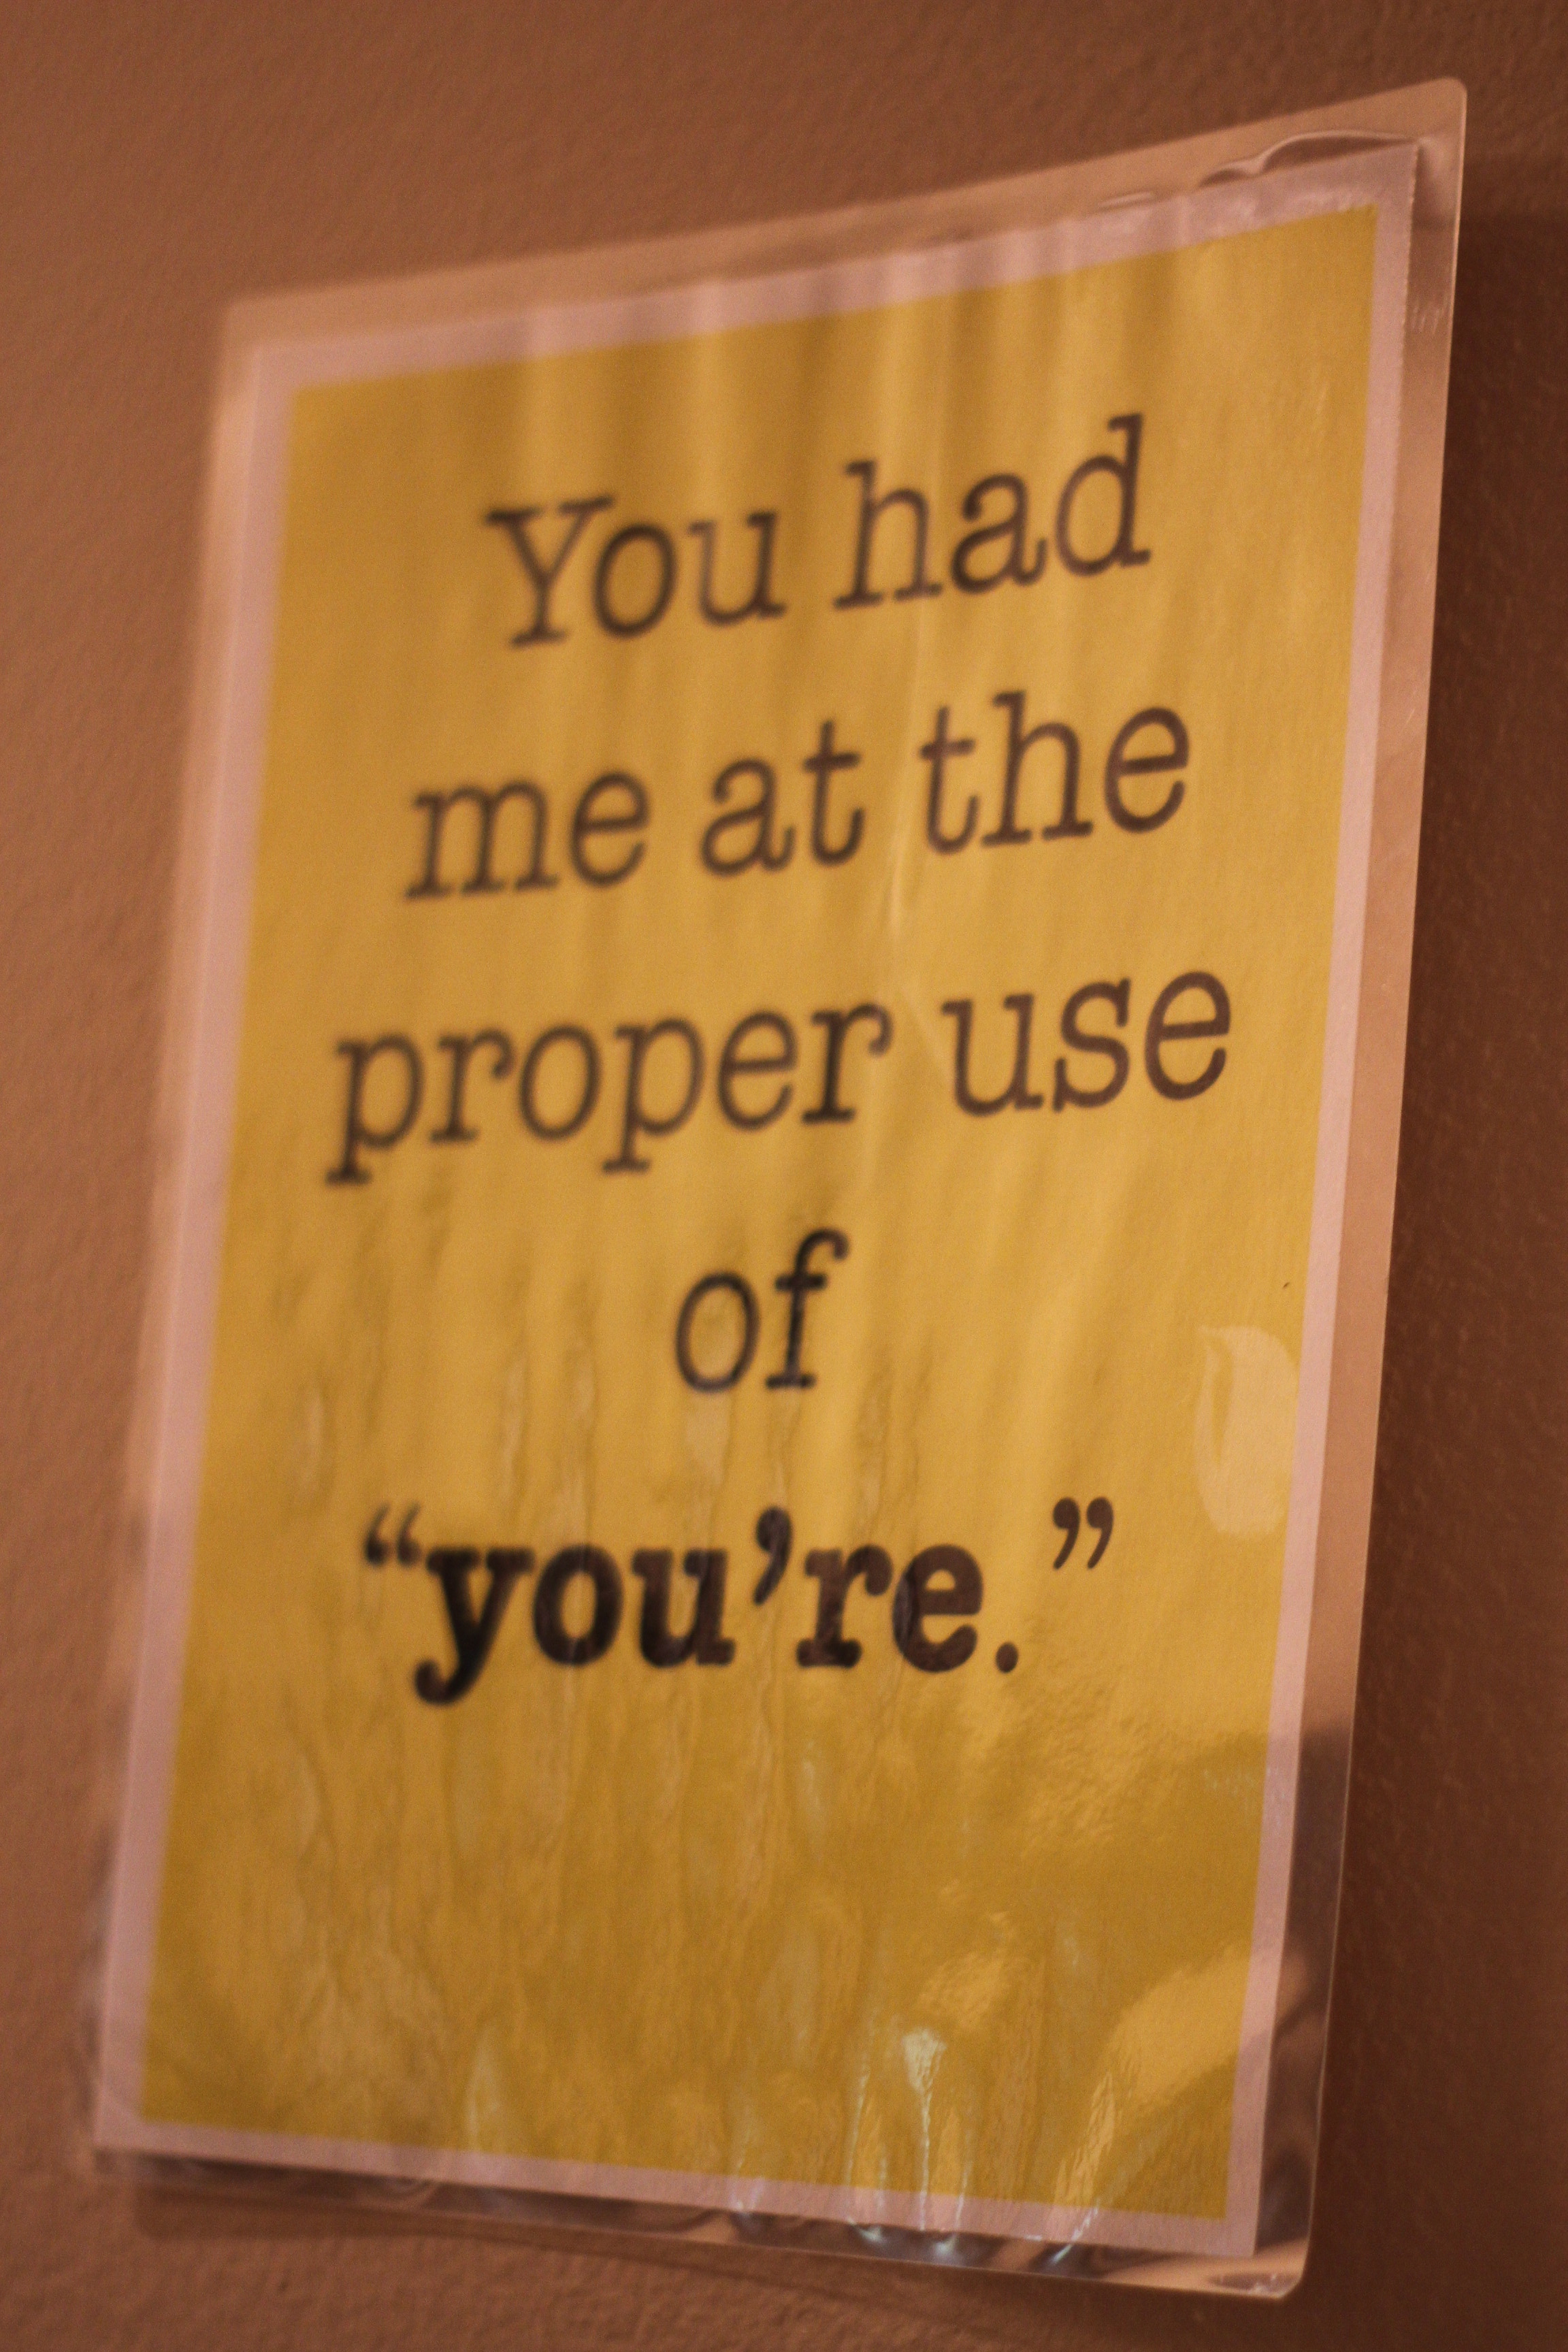
These were my test shots at the photobooth, but you can tell that once you took a picture, it was displayed, along with your name, in a popup screen saver immediately. 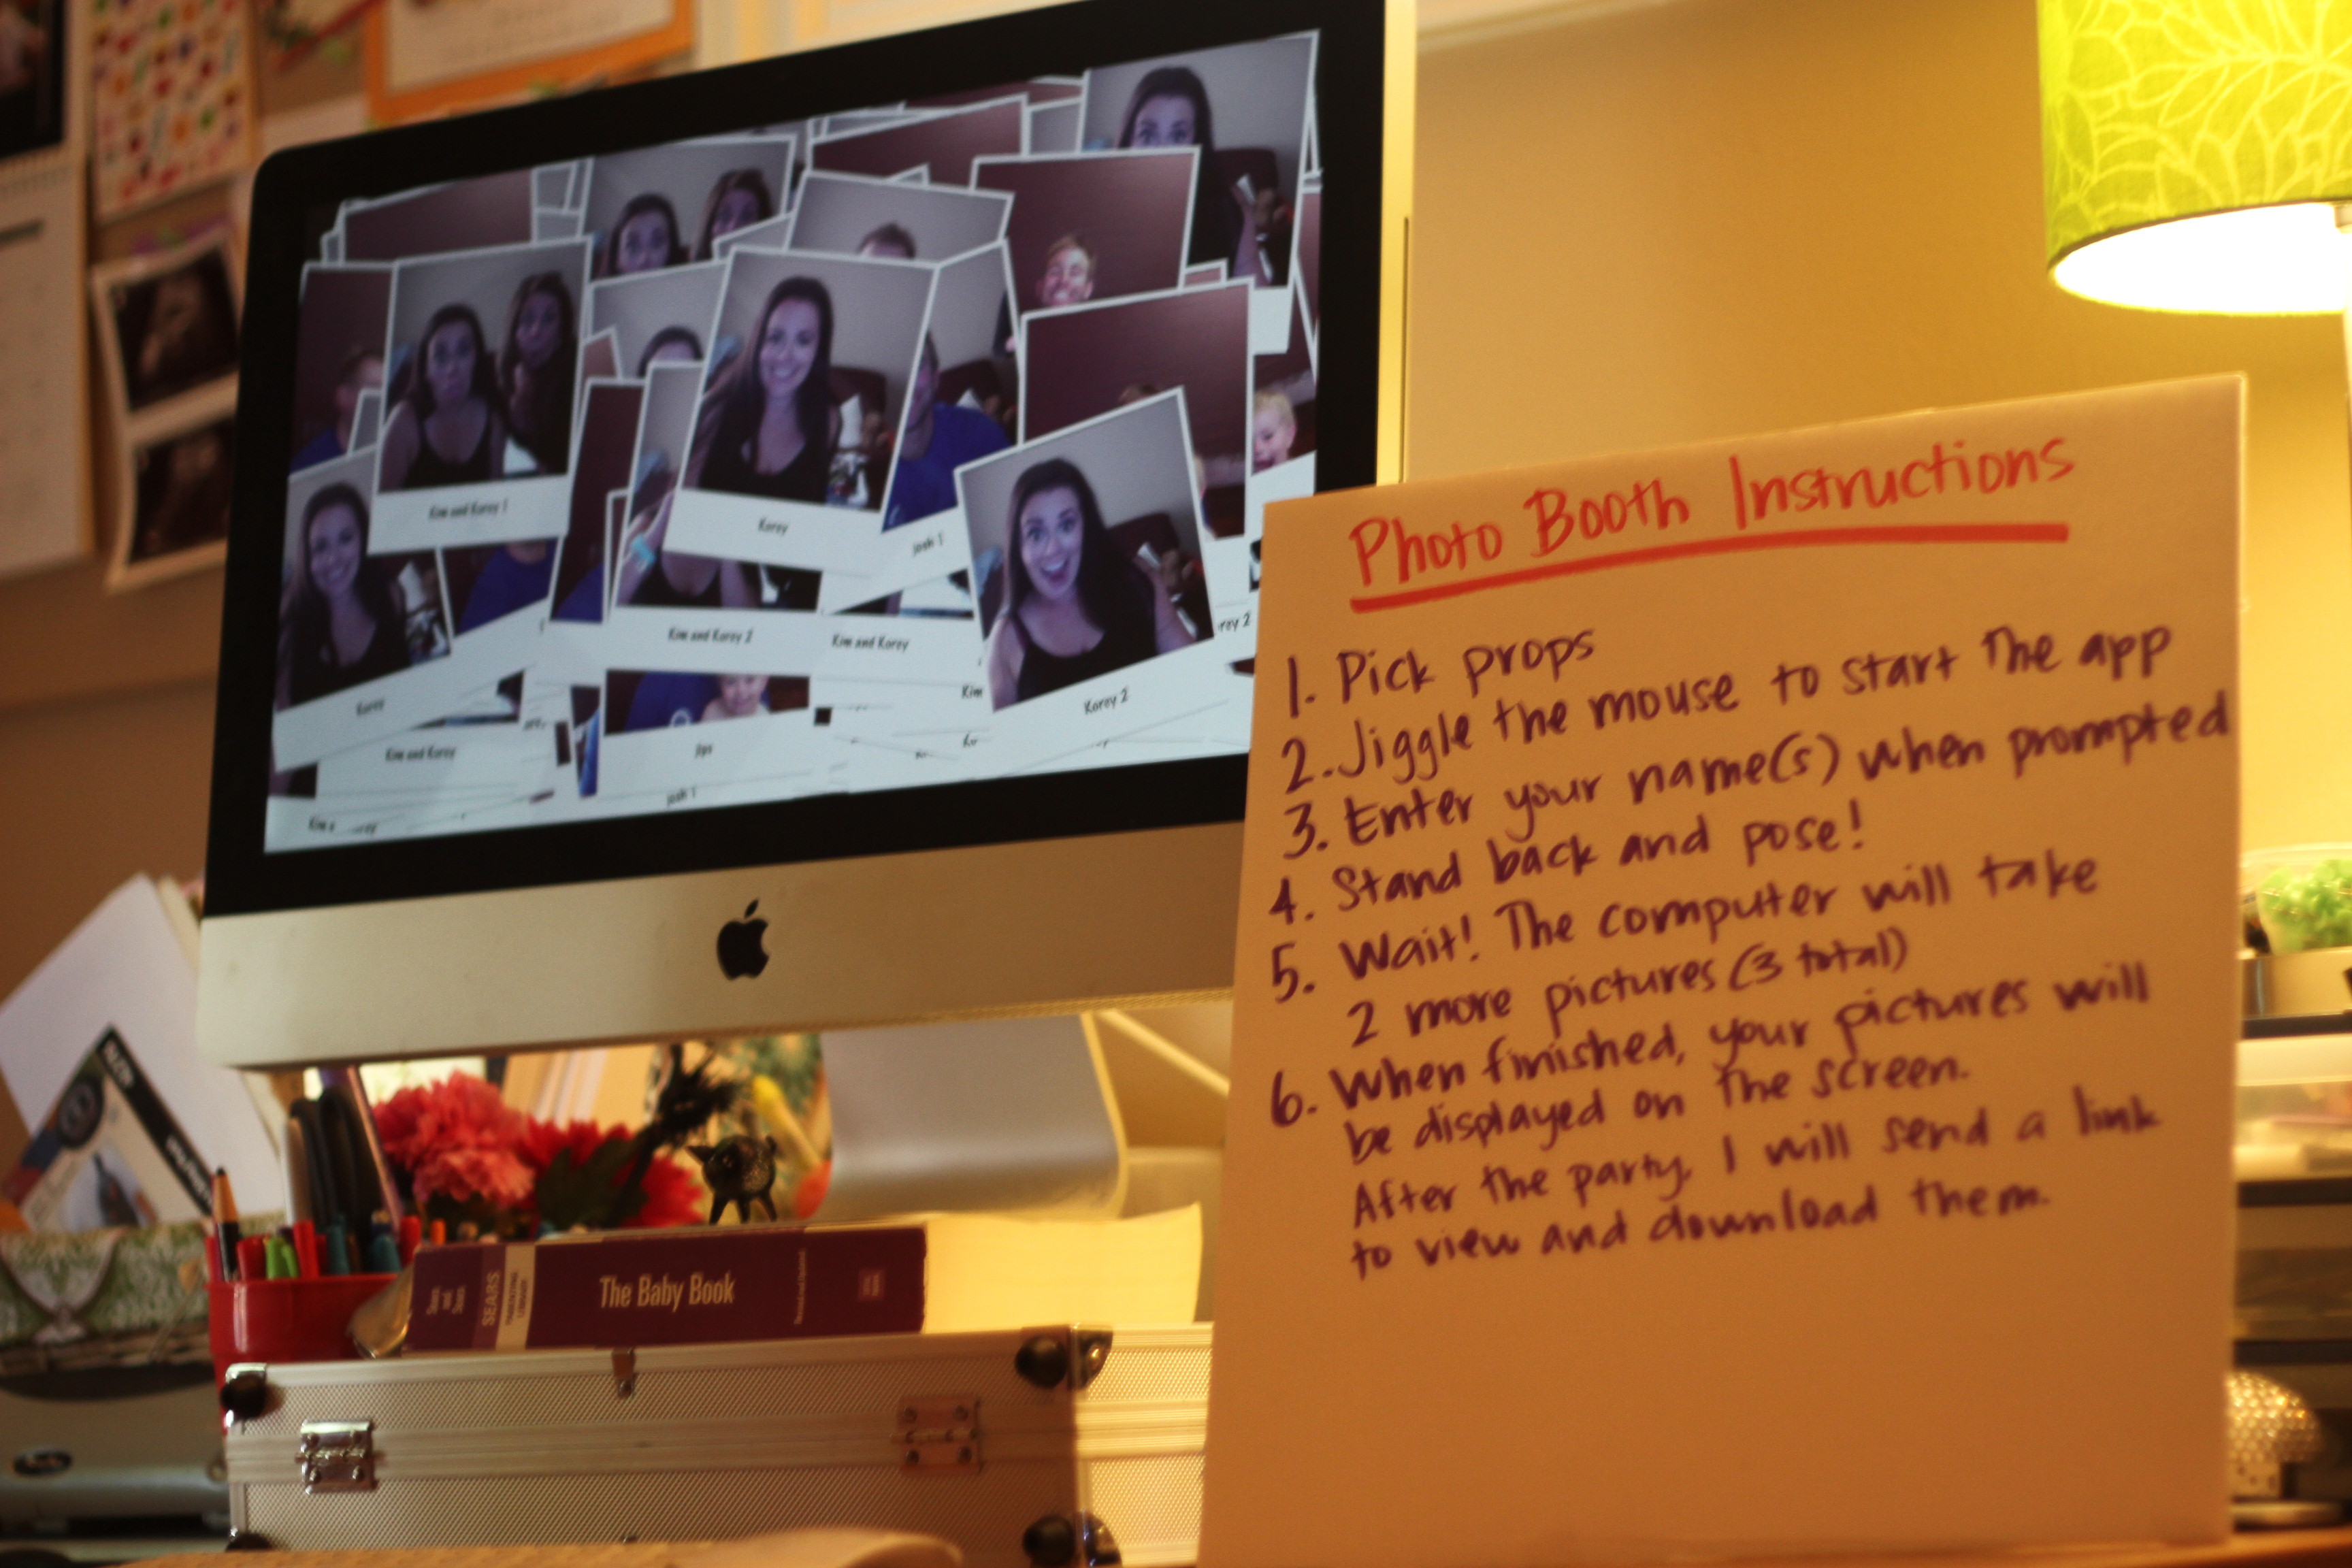
I’ll have to post a better picture later, but I made an instagram photo booth prop.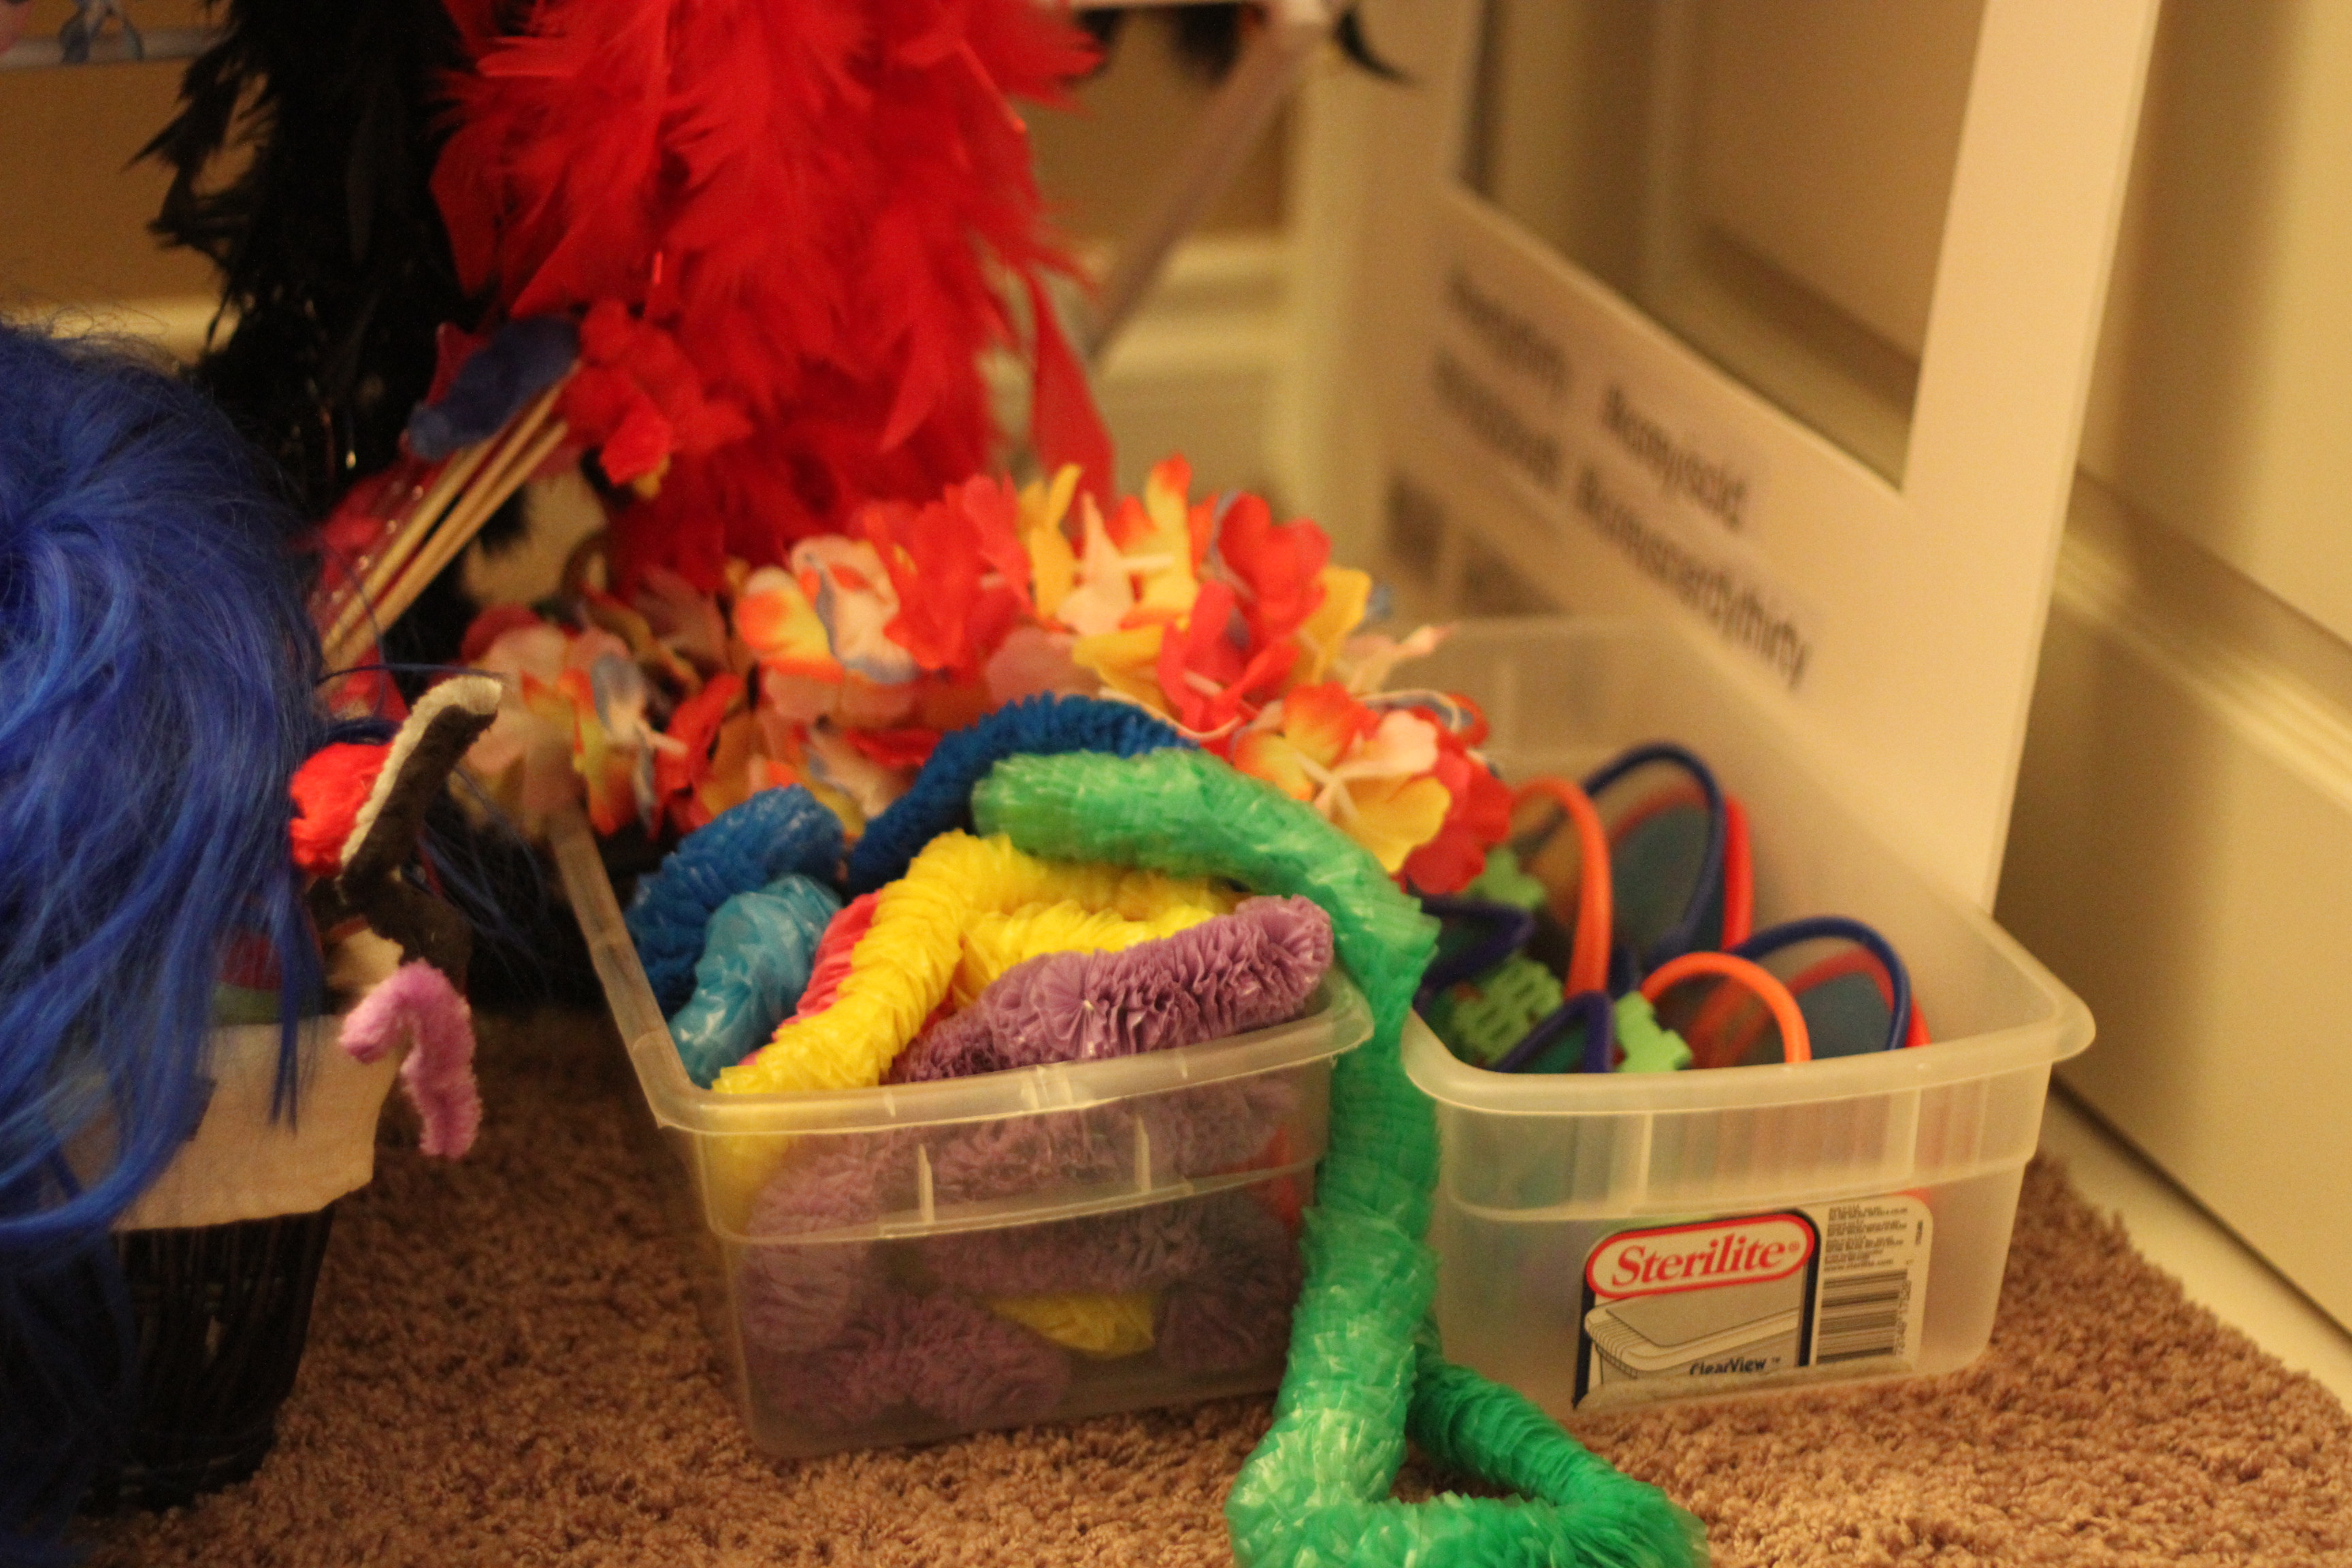


Coming up next time: the outfits people wore!


Bummer we missed it. Can you throw another one?
Hello Korey,
Thank you for sharing your awesome party! I am actually throwing a friend a surprise nerdy 30s birthday party and can relate to the pins on pinterest. Can you provide me a little more information of the photo booth app you used? What a great party! I hope my friend’s turns out as lovely as yours did.
Hi Sara,
Thanks for checking it out! So I have a Mac desktop, and I made an automation for the Photo Booth. I think the easiest way is to do what I did: Google the following “how to make a Photo Booth on a mac” and watch a video or tutorial on how to use Automator to do this, step by step. Basically, you’re telling the computer how to make your own app. So what I did was I told it that when the app was open and the mouse jiggled that it should prompt the user to type his/her name, then it would open Photo Booth, take three pictures, and save them in a destination folder on my desktop (I think I named it “Photo Booth”) inside of a subfolder with whatever name the person entered in step one. After that, I prompted it to flip to screen saver mode, and selected the desktop folder as the media for the screen saver–so the pictures that people were taking would show instantly and bop around the screen in between uses.
I feel like that probably sounded really complicated, but I promise a nice tutorial will walk you through it. You can refer to what I wrote above for the particulars if needed. 🙂 Let me know if you have more questions and I will do my best to answer!