
Pinterest is a wonderful site for ideas. I browse it and I see so many amazing things I would like to do. Recently, I decided I should make things to keep Jacob busy. I had heard of busy bags…small bags you can grab that contain an activity for your child. You can throw them in your purse and take them on a car ride or to a restaurant…and I found so many great ideas I knew I wanted to share. I had some of my favorite mom-friends over to make the bags together. It was a fun night. We had dinner and enjoyed a glass of wine while crafting away. According to one participant it was “very therapeutic.” 🙂
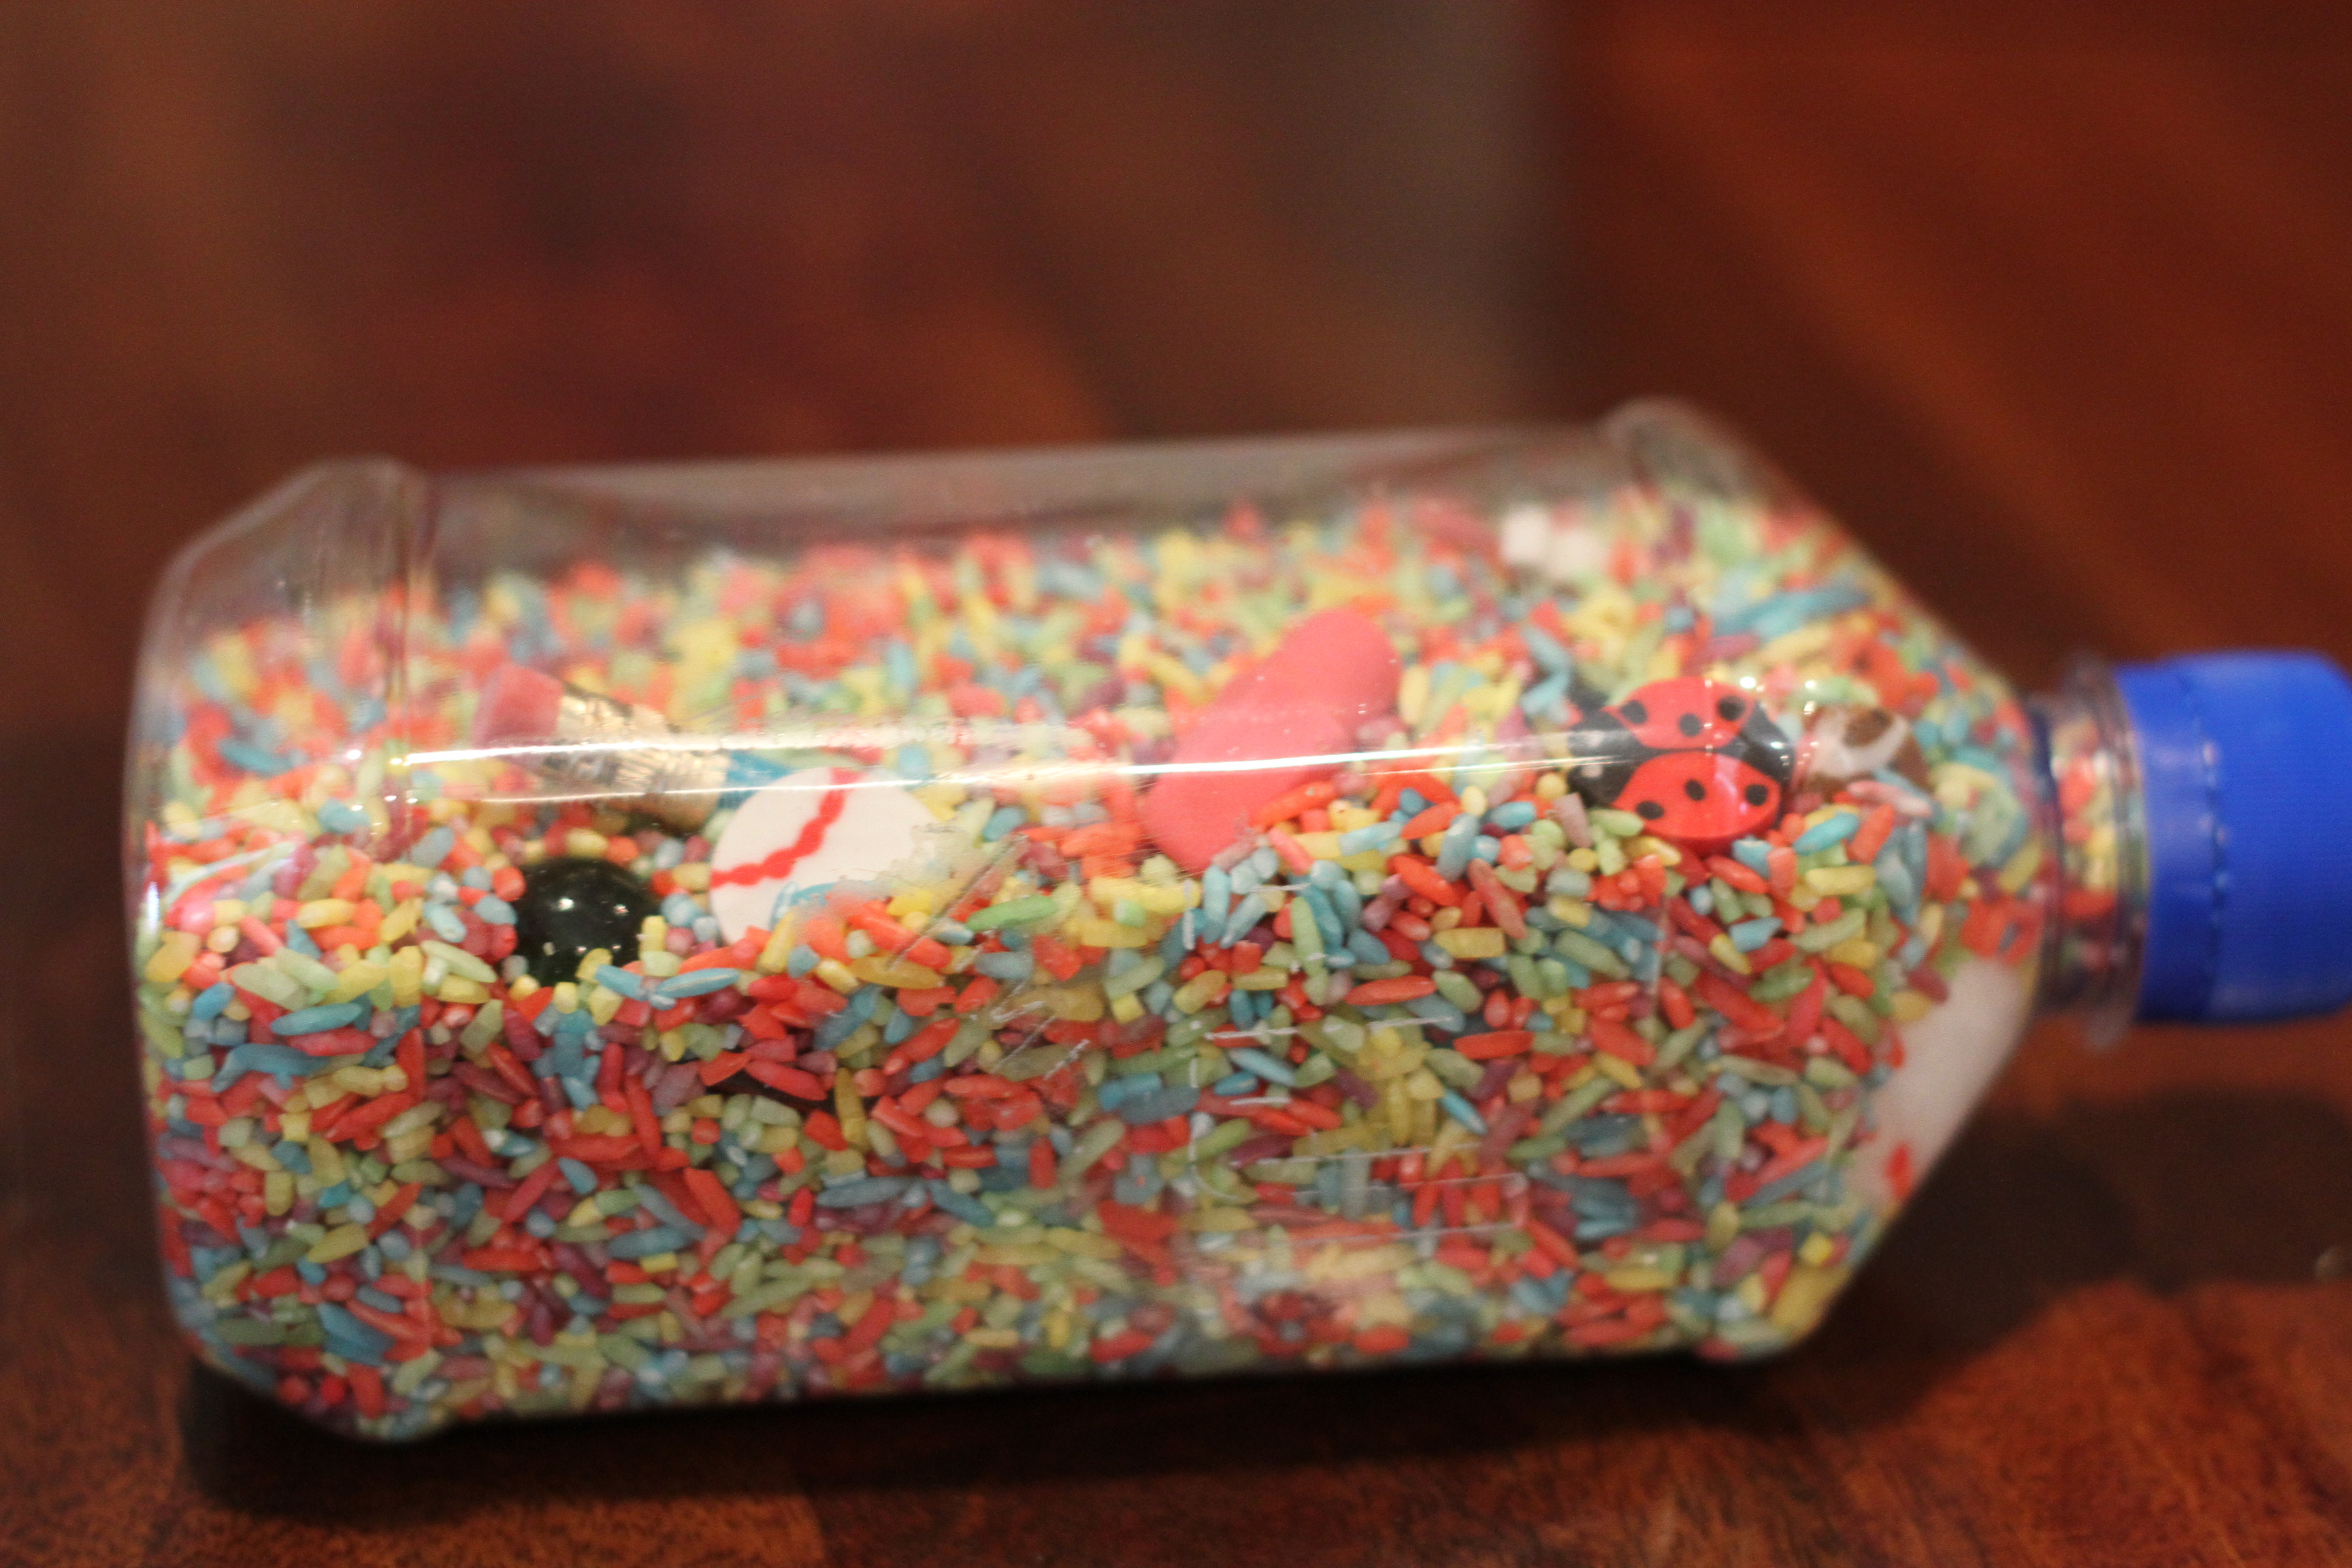
First up: the I Spy bottle.

Popsicle stick puzzles:
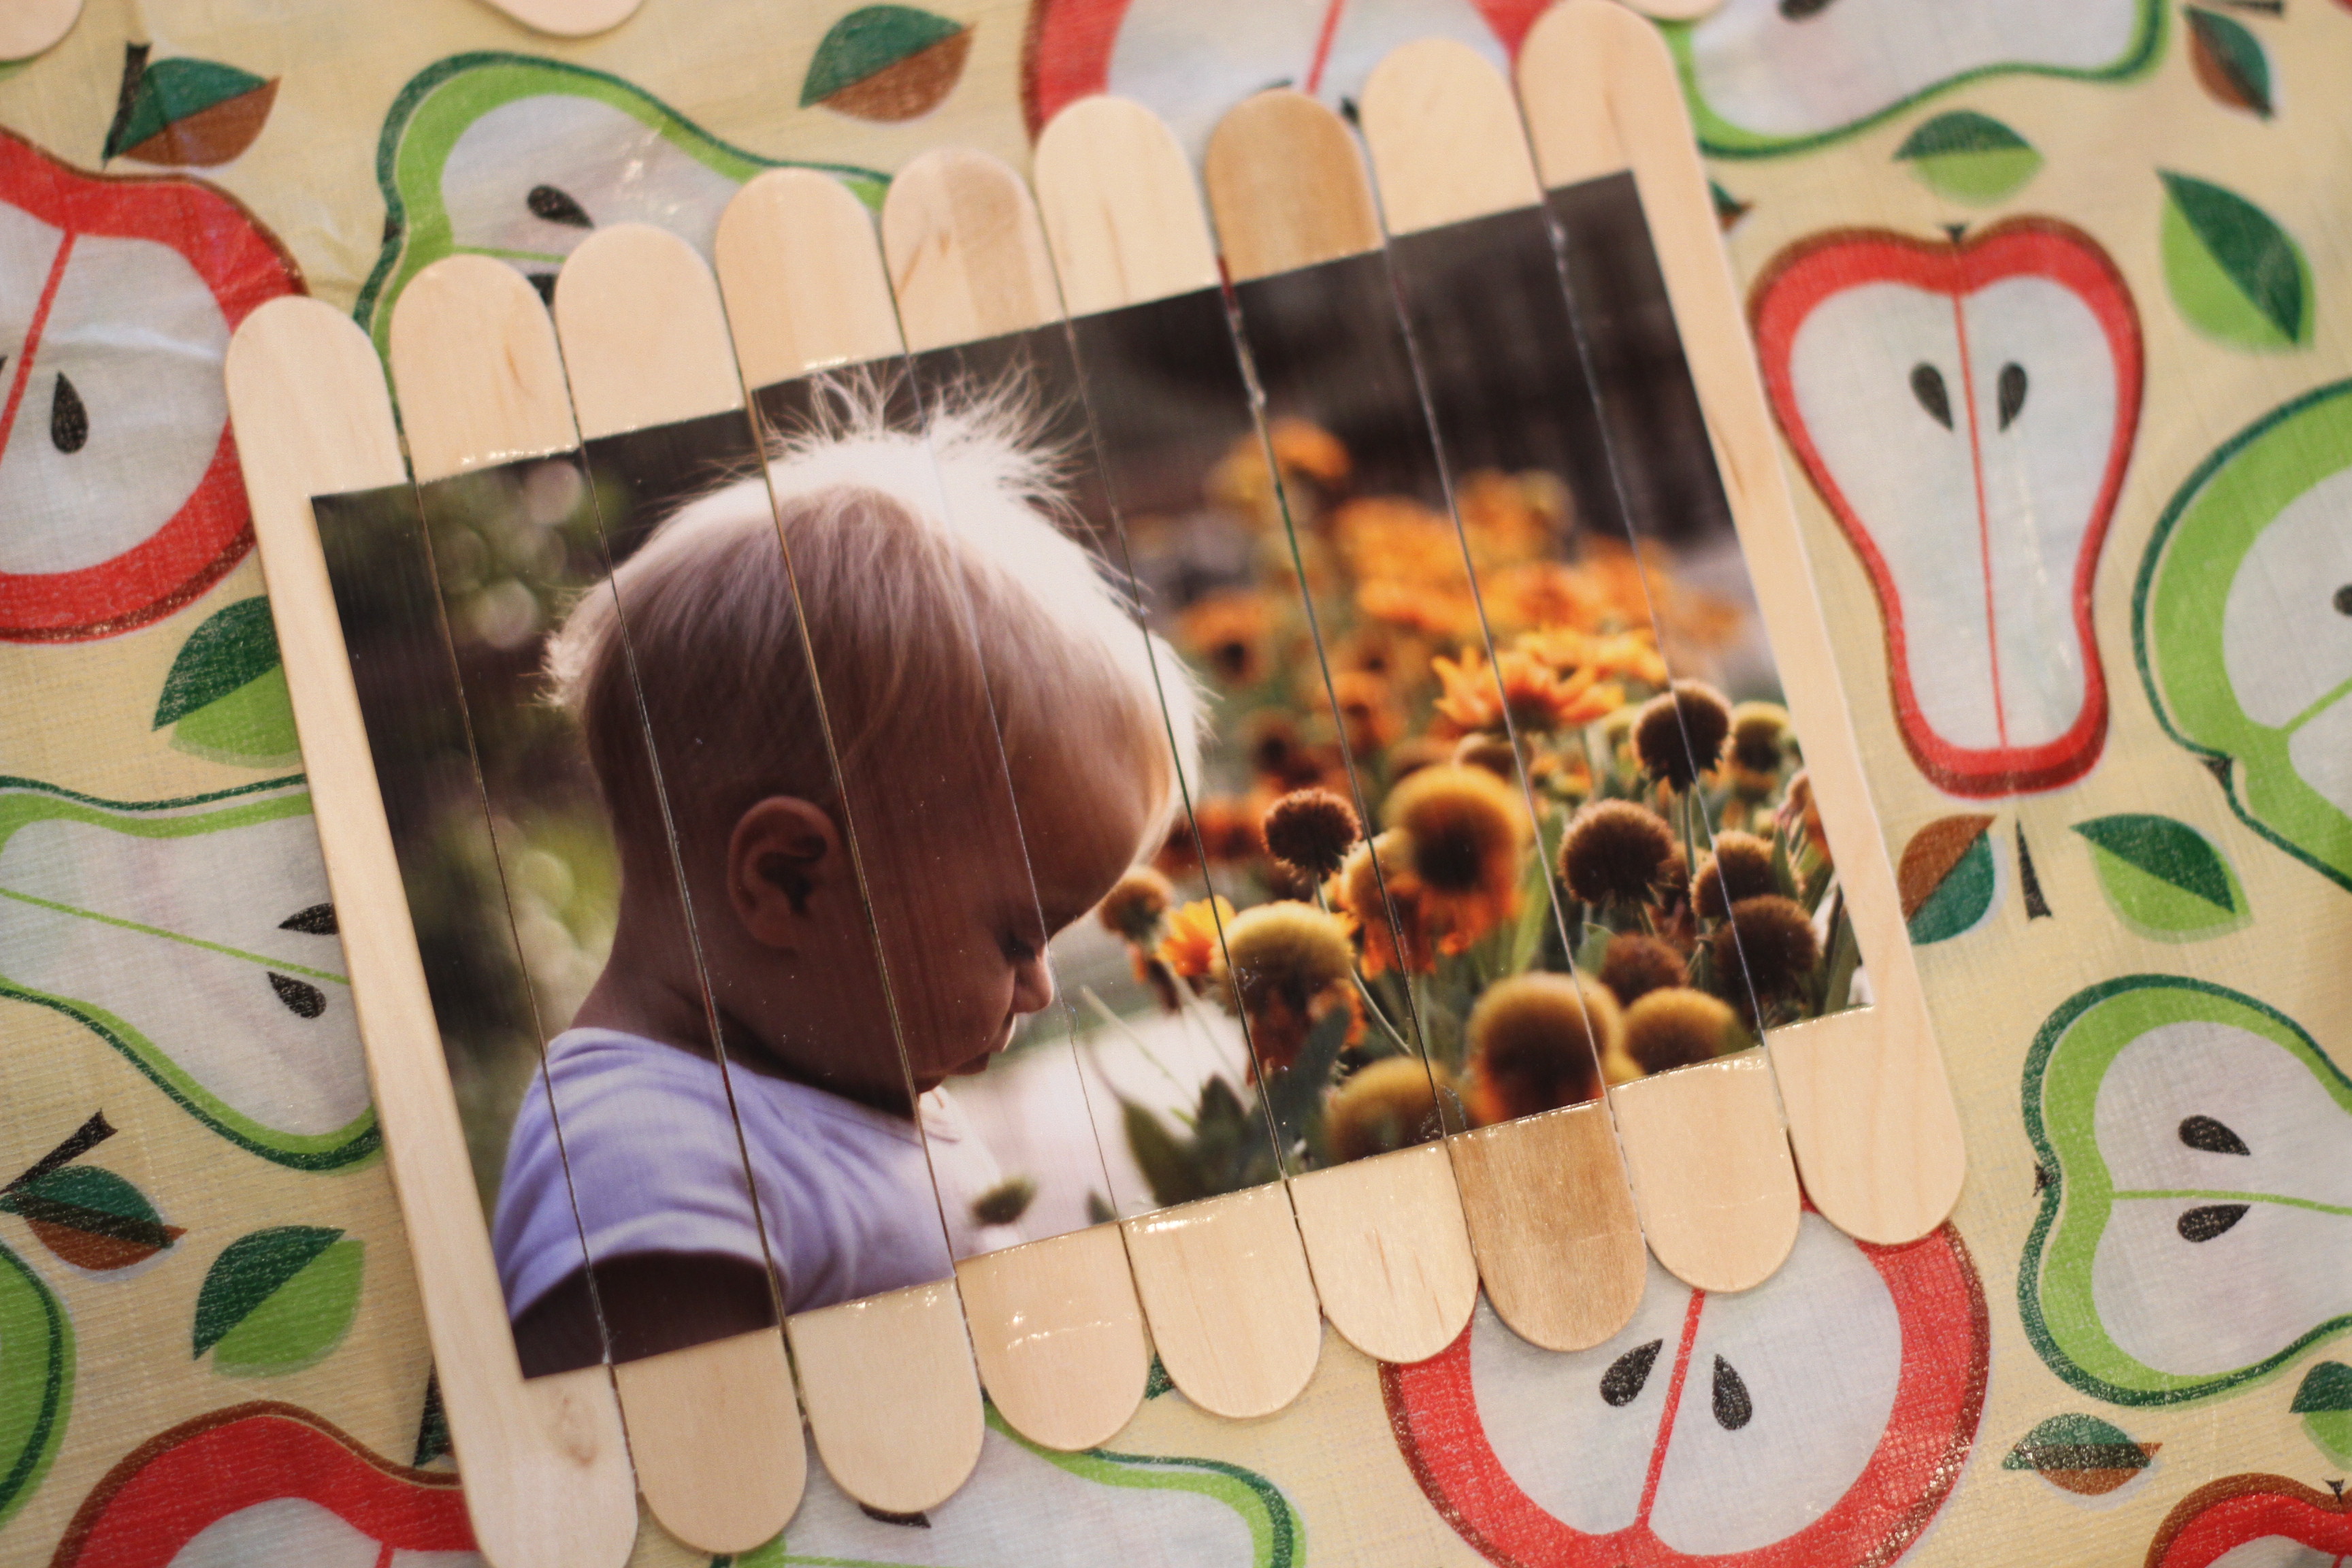
I was a little disappointed in these, and I’ll tell you why. Basically, you tape the back sides of the sticks together and then mod podge your picture to the front, then cover them with mod podge, let dry, and use an exacto knife on the backside to slice the picture apart. I bought this tablecloth at the 99 cent store so that we could sit the sticks right on it to dry and not have to worry about drips.
The problem is that the mod podge stays a little bit sticky, tacky if you will, and will stick to itself enough to peel off some of the mod podge from another part of the puzzle. I think they may have just needed more time to dry, or maybe I used too much? I ended up coating them again with mod podge on the edges because I was worried the picture would get peeled off since the inside edges were unsealed. Then I put them outside to dry for two days.
Like I said, it could have been that I used too much, but it wasn’t as simple a craft as I had hoped.

The bottle contains little things to find (pencil, shaped erasers, marble, cotton ball, etc.) and then I made a key so the kids know what to look for. One side has all the items, and the other side groups them for miniature games they can play (like find all these animals).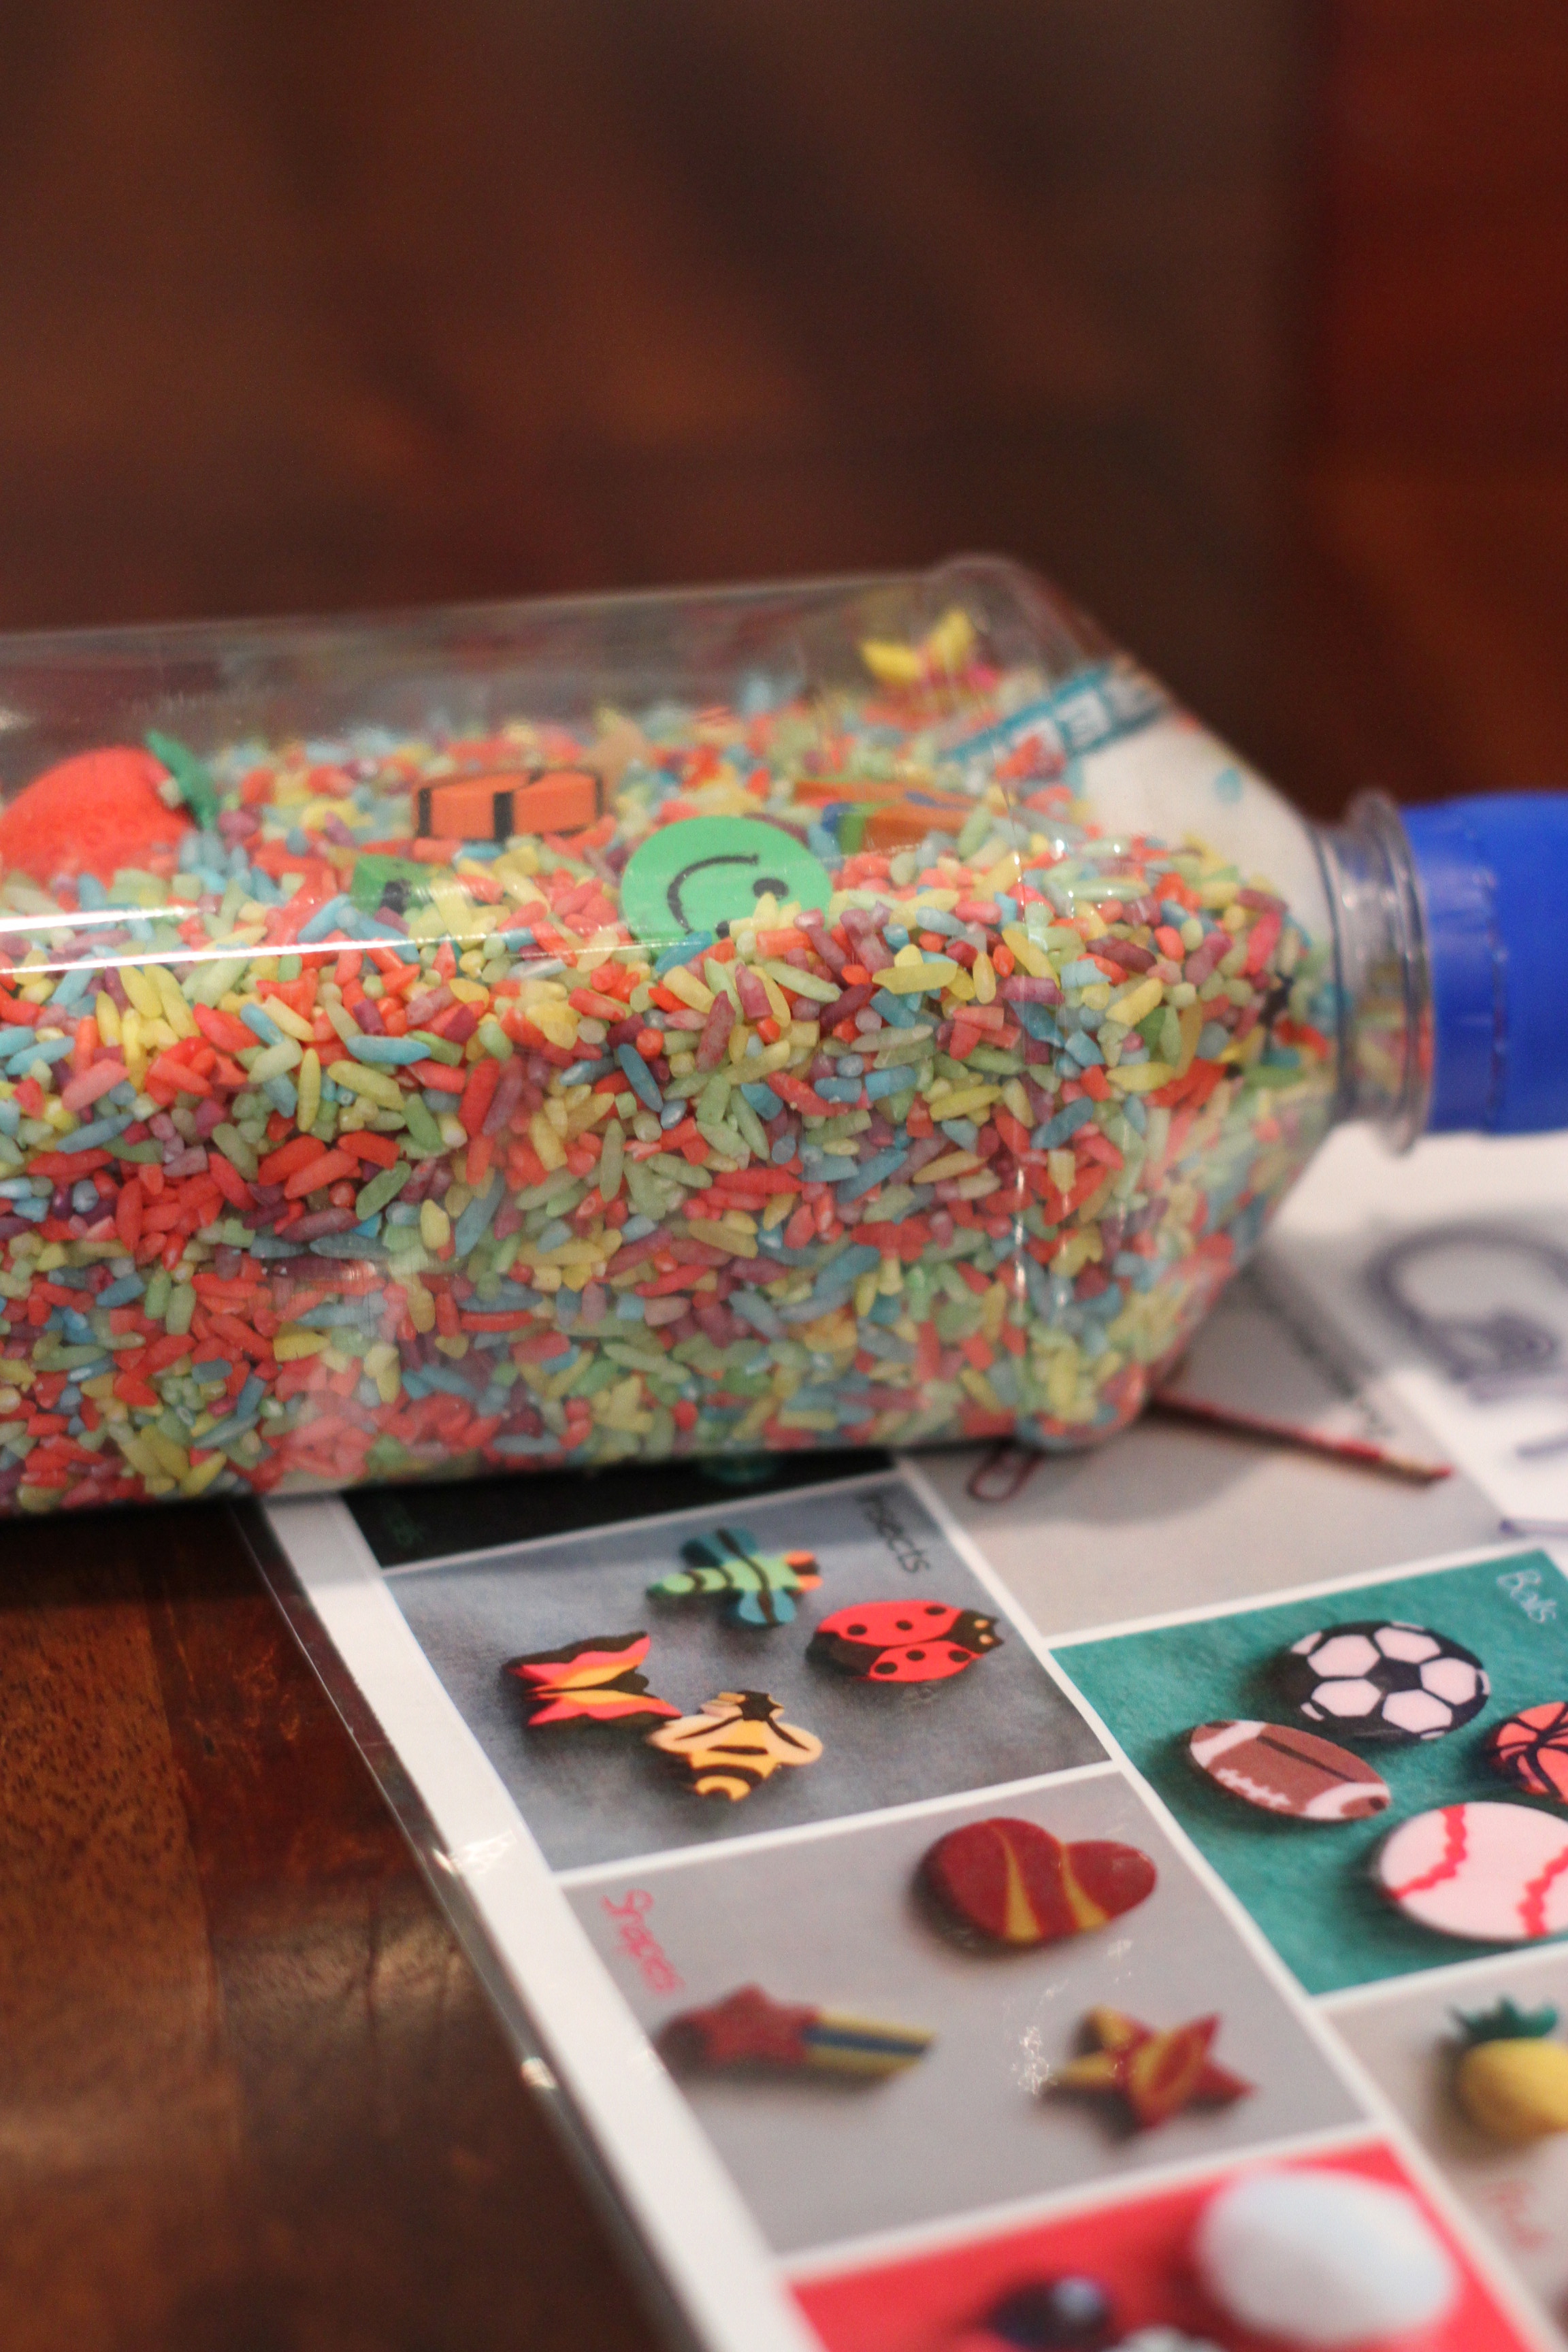


I made this beautiful rainbow rice, another Pinterest idea…

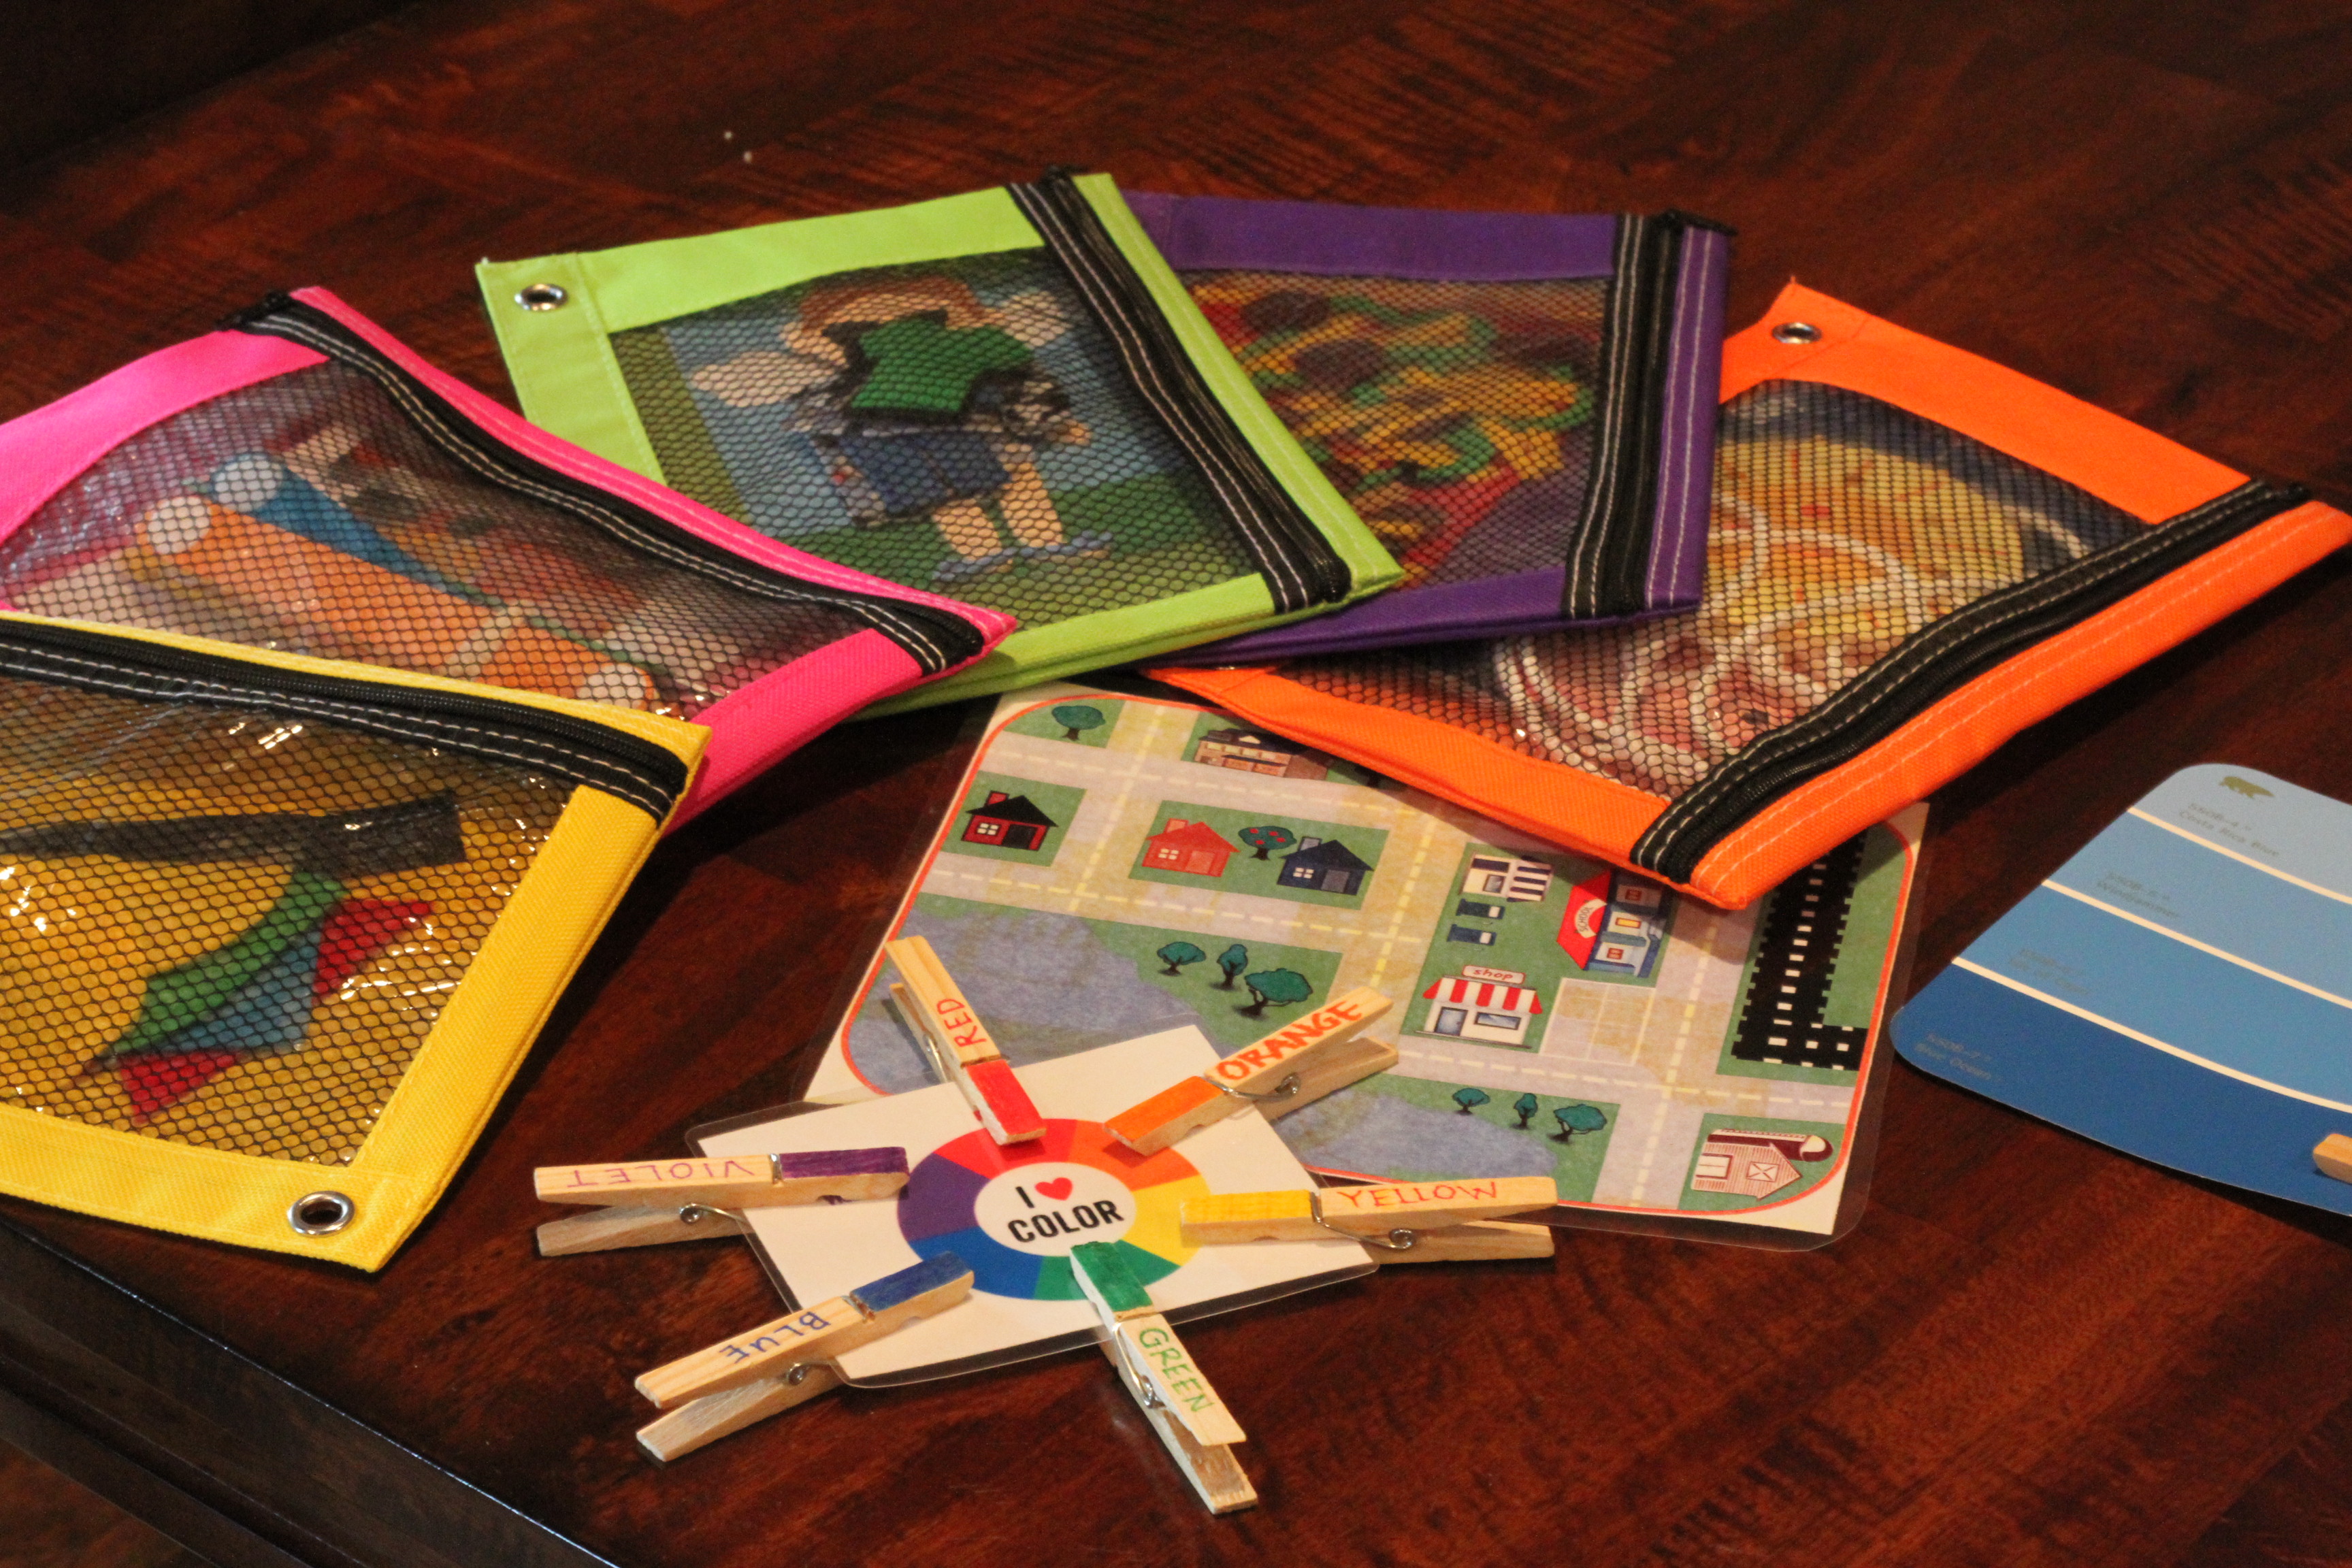
Color wheel matching:
Shade matching:
This is a paint card from Home Depot with one side sliced off and small pieces glued to the clothespins, then coated in Mod Podge. It’s actually really hard, even for us grown-ups!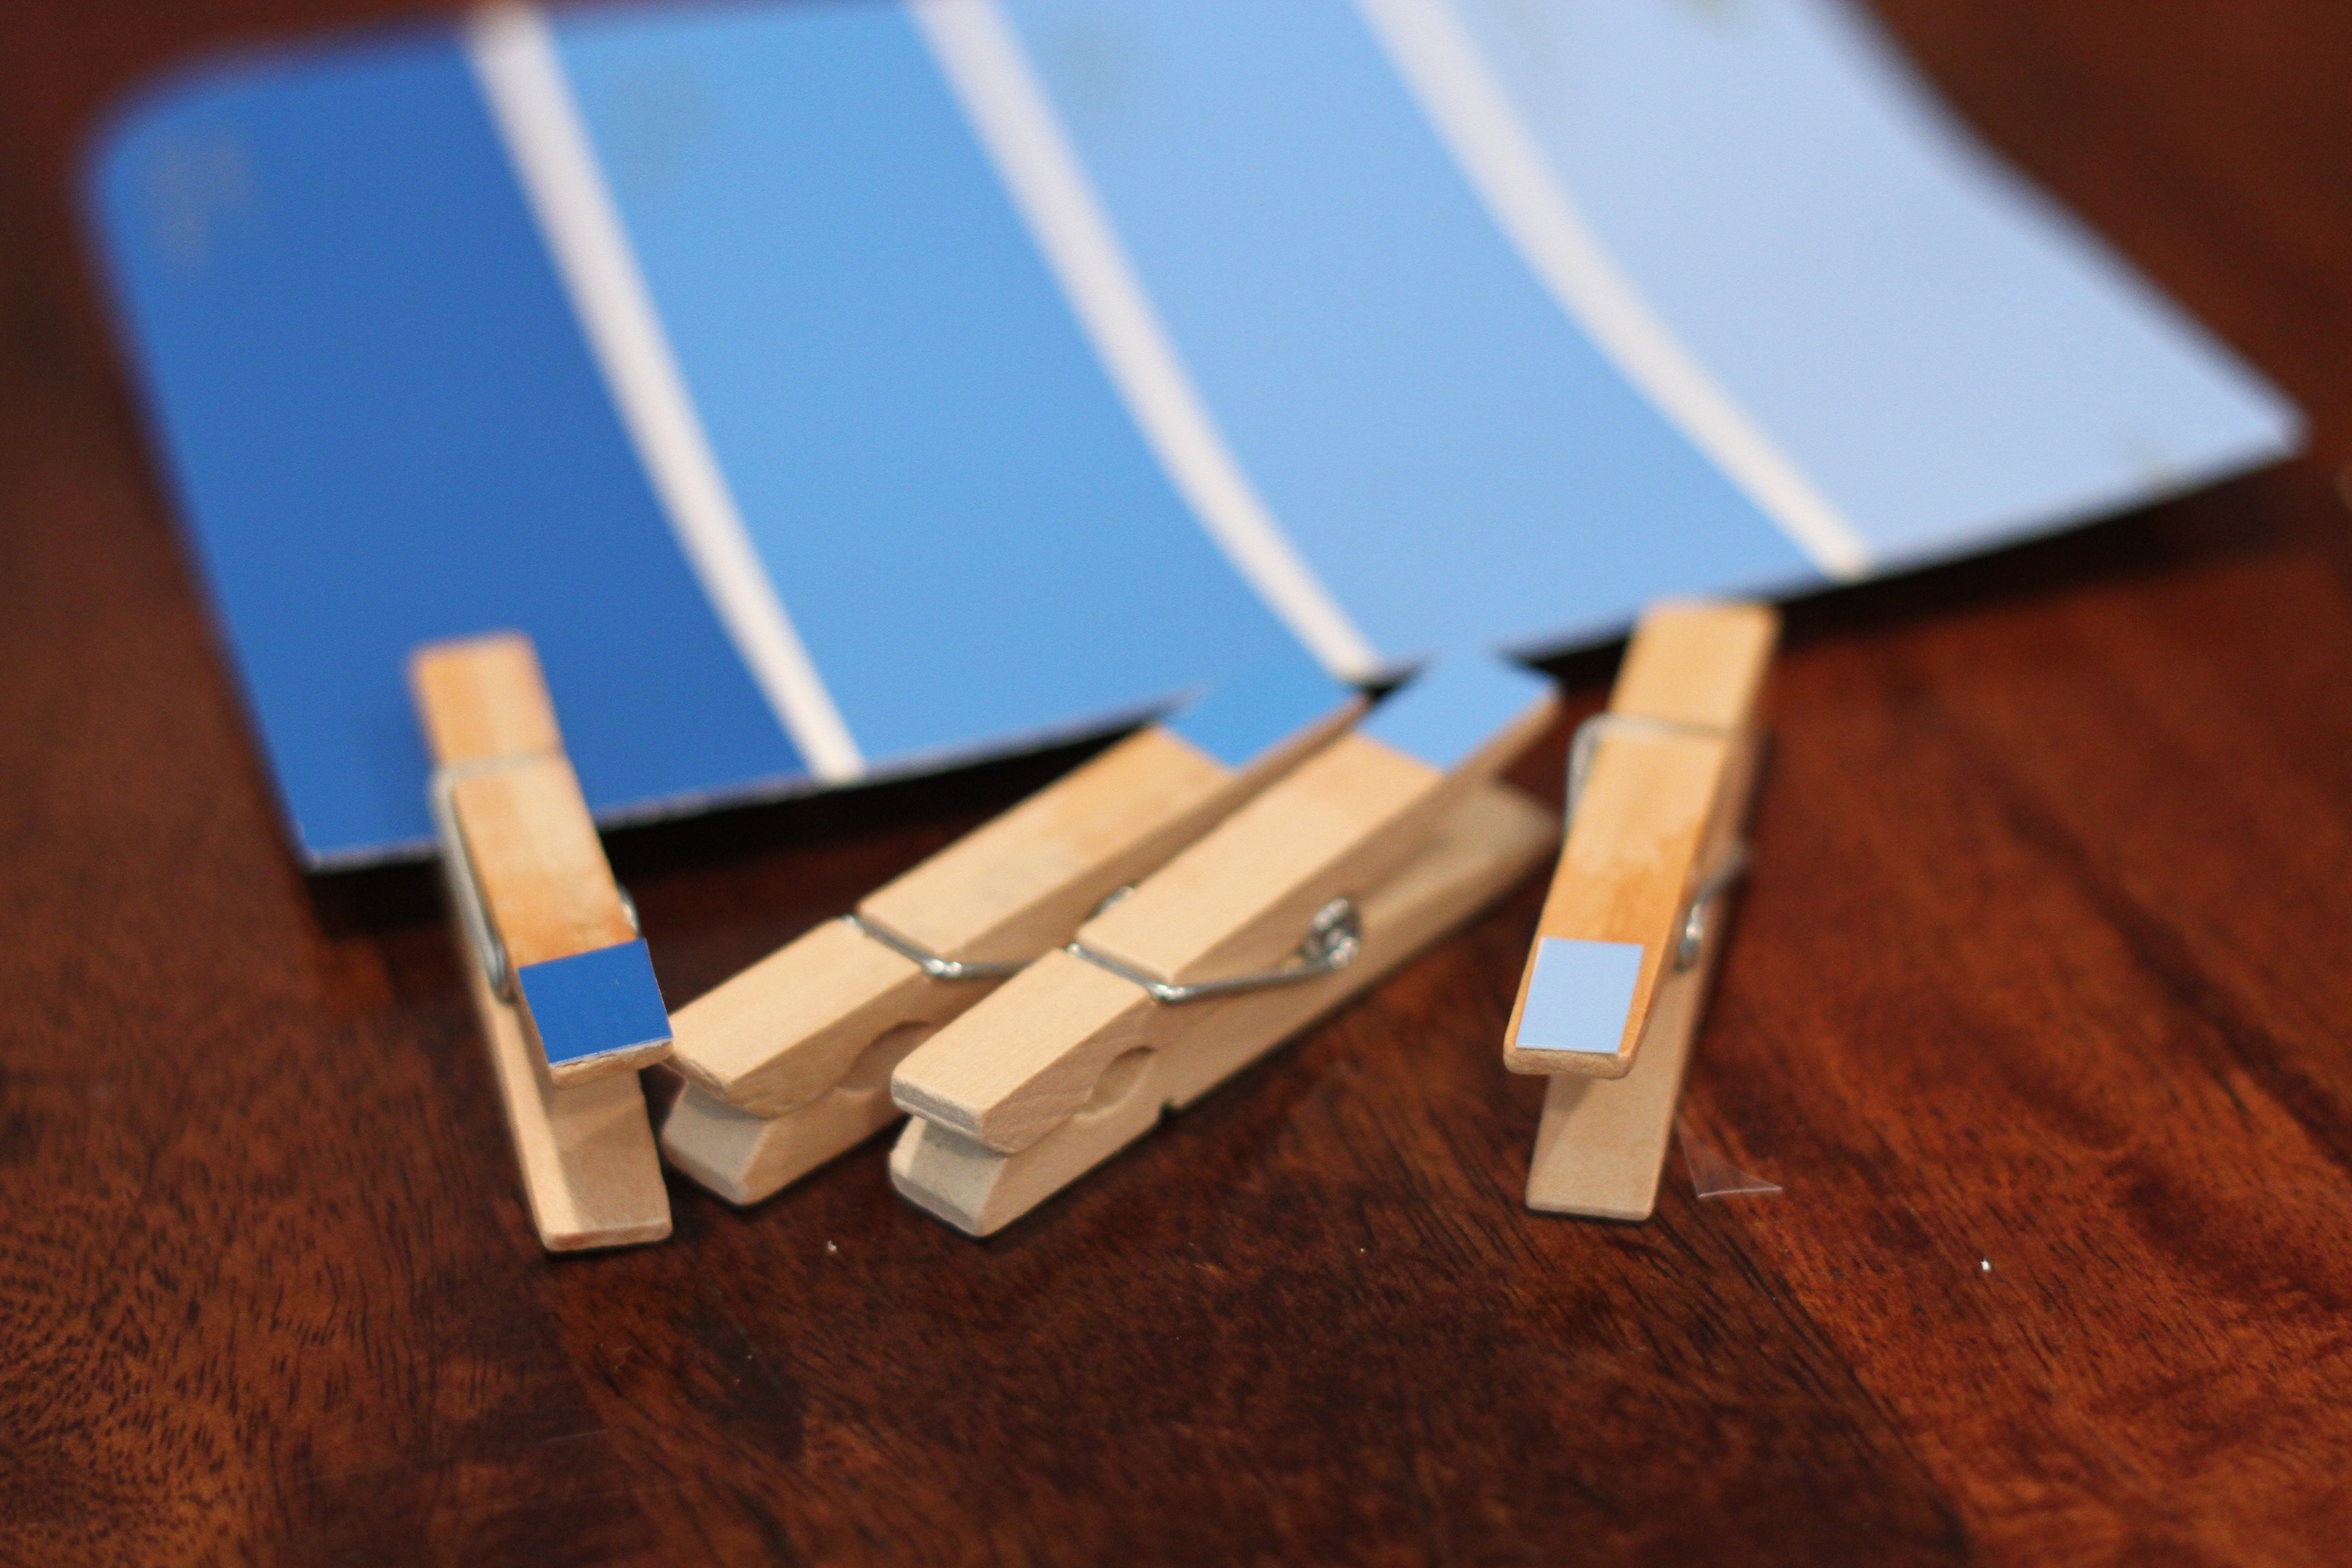


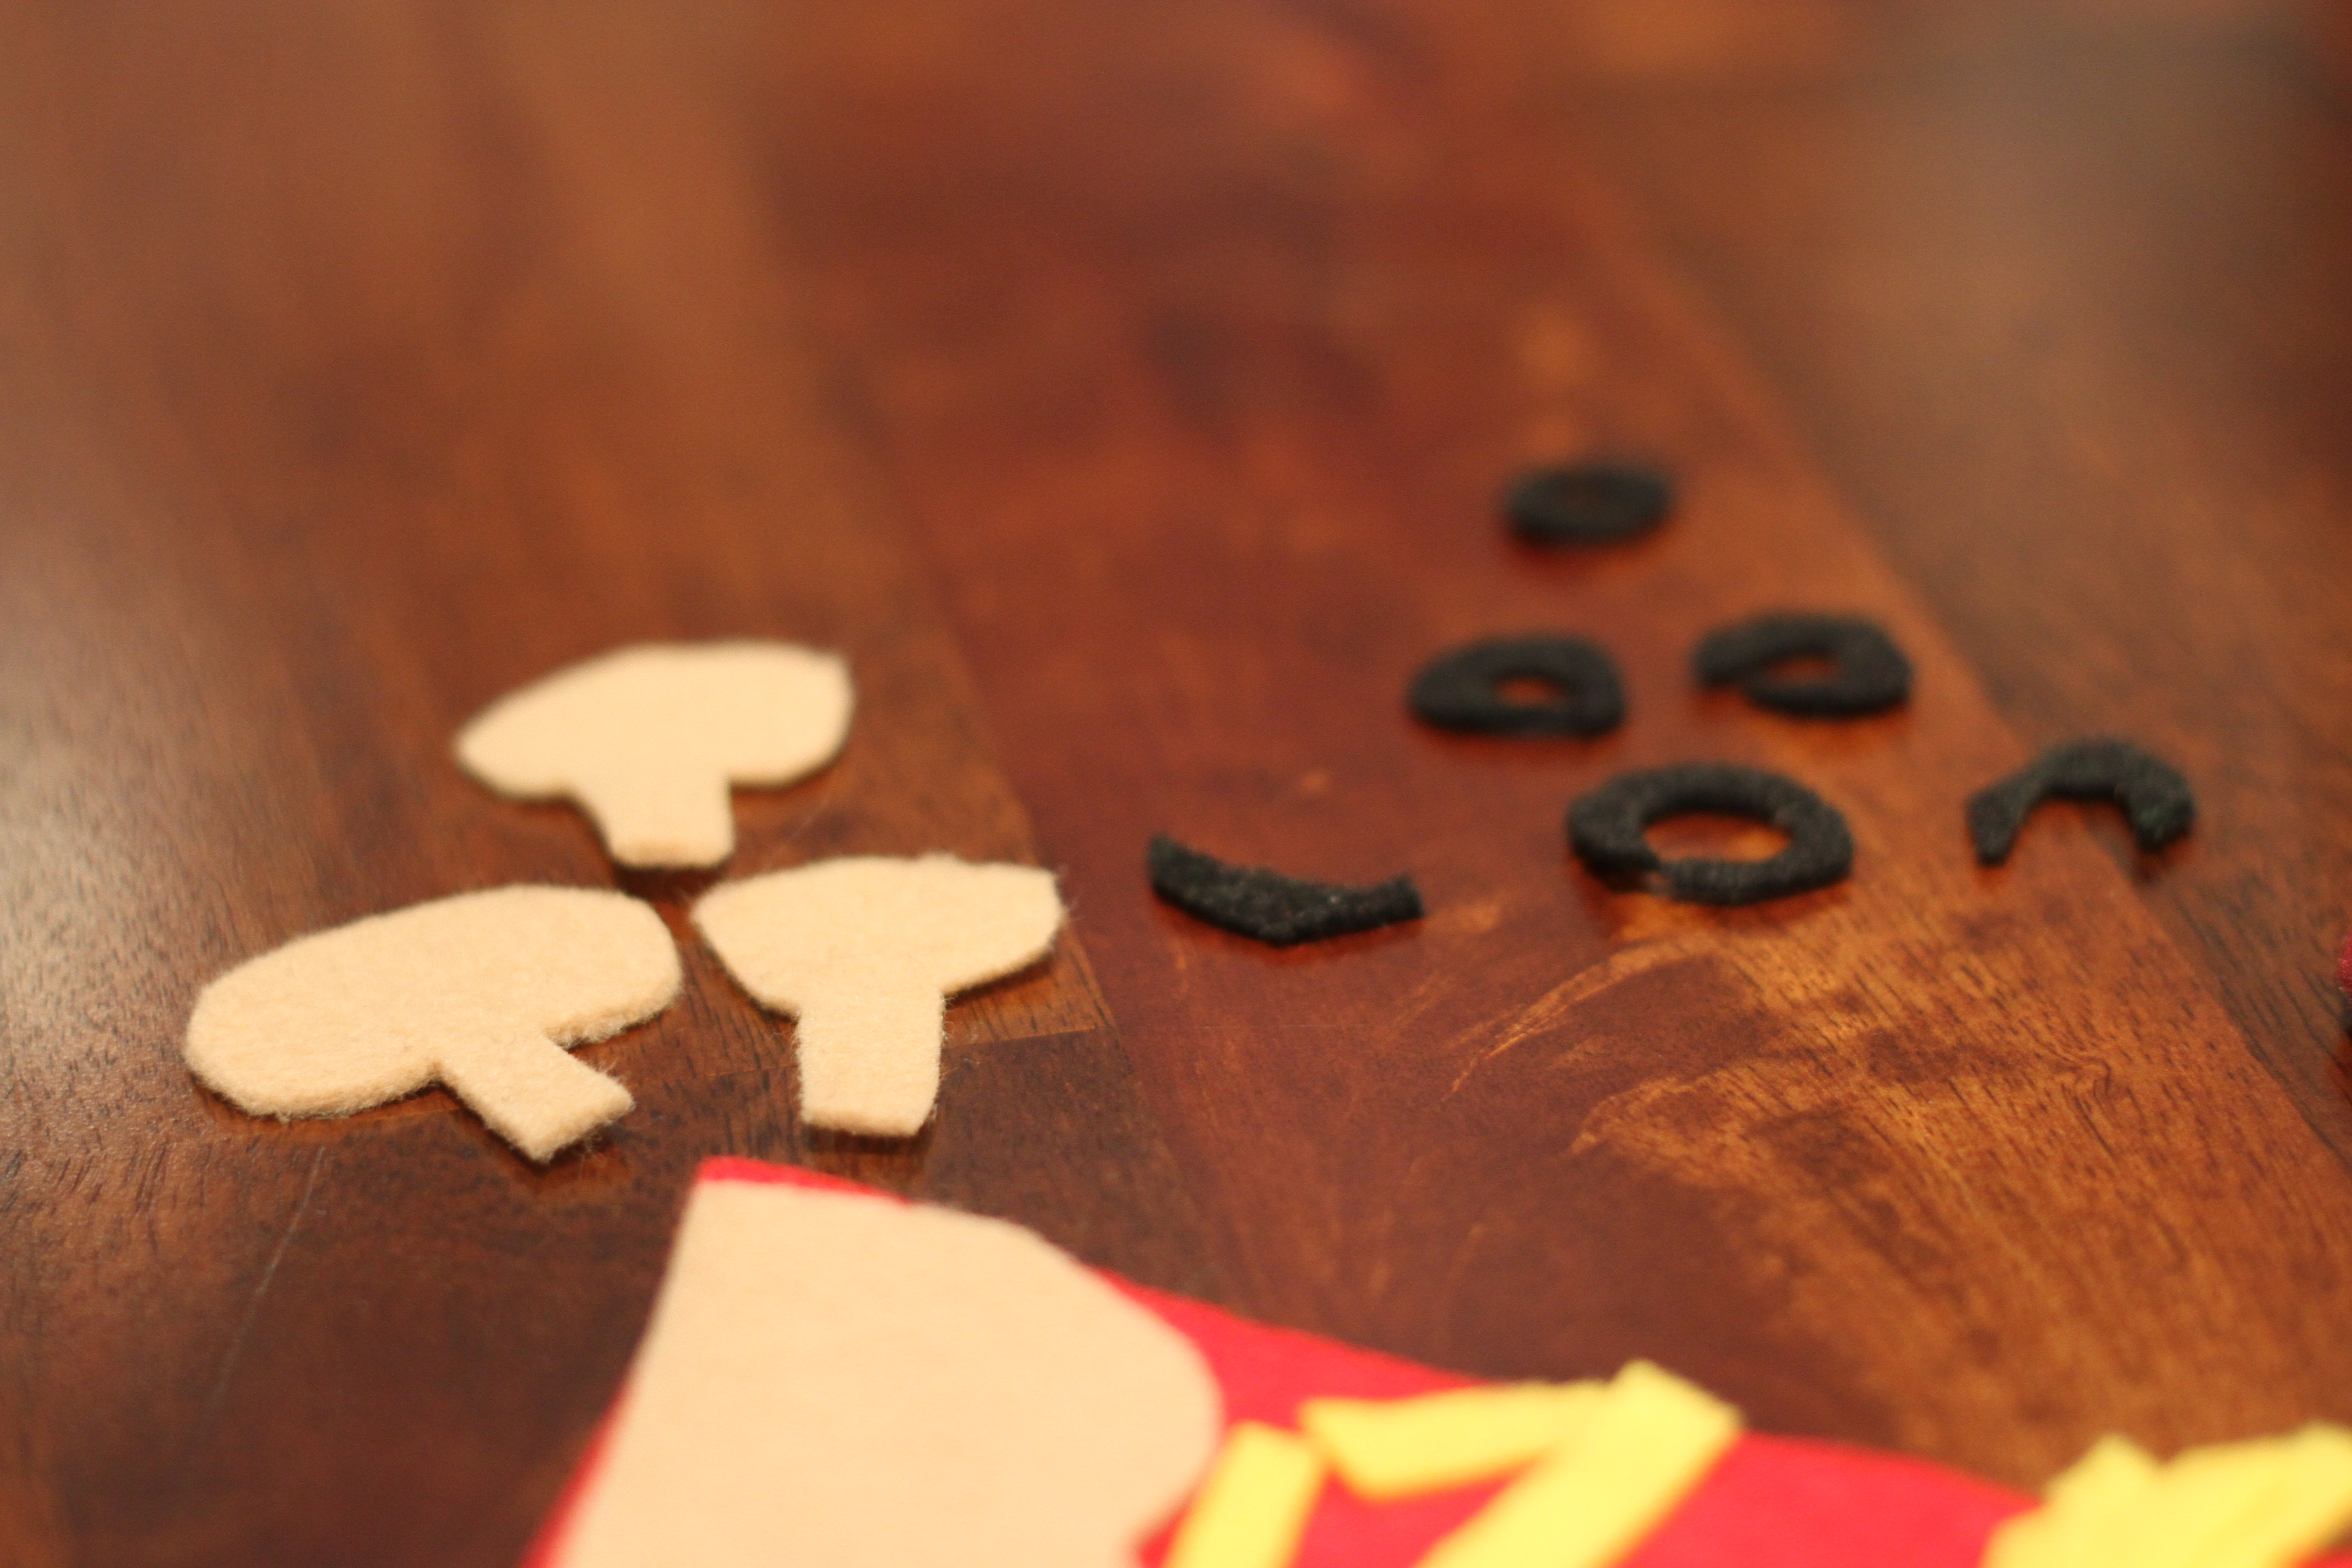
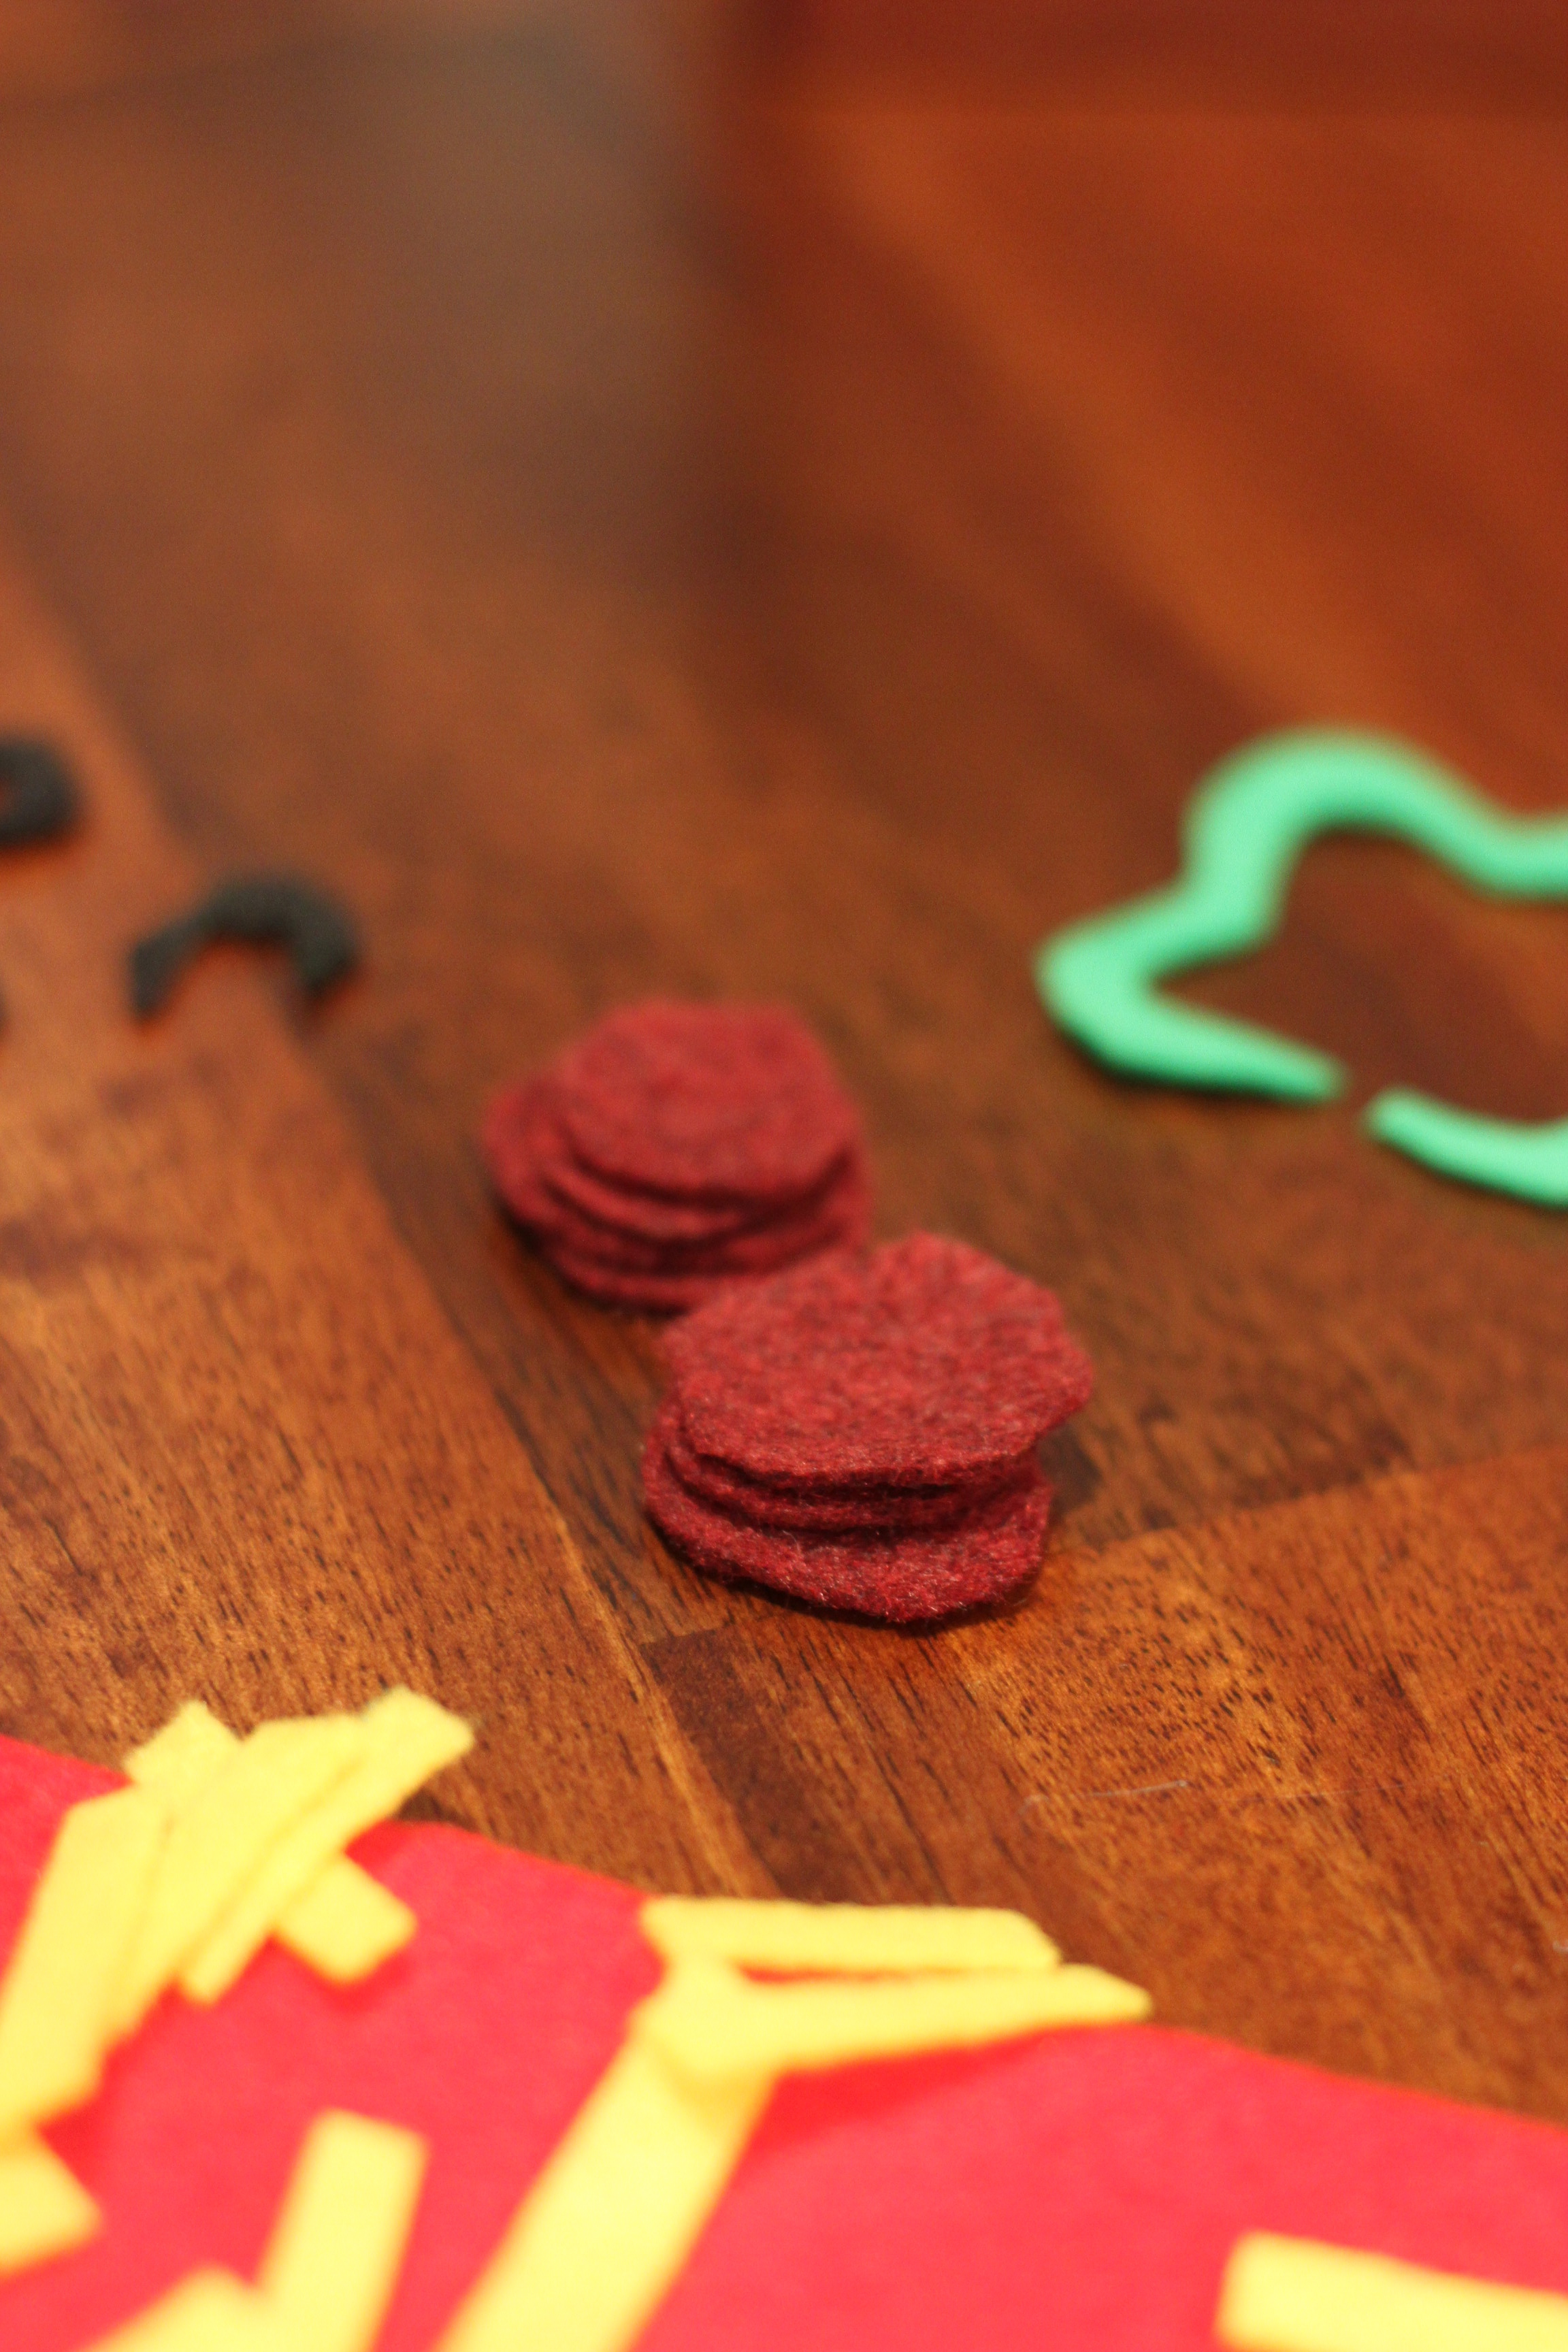
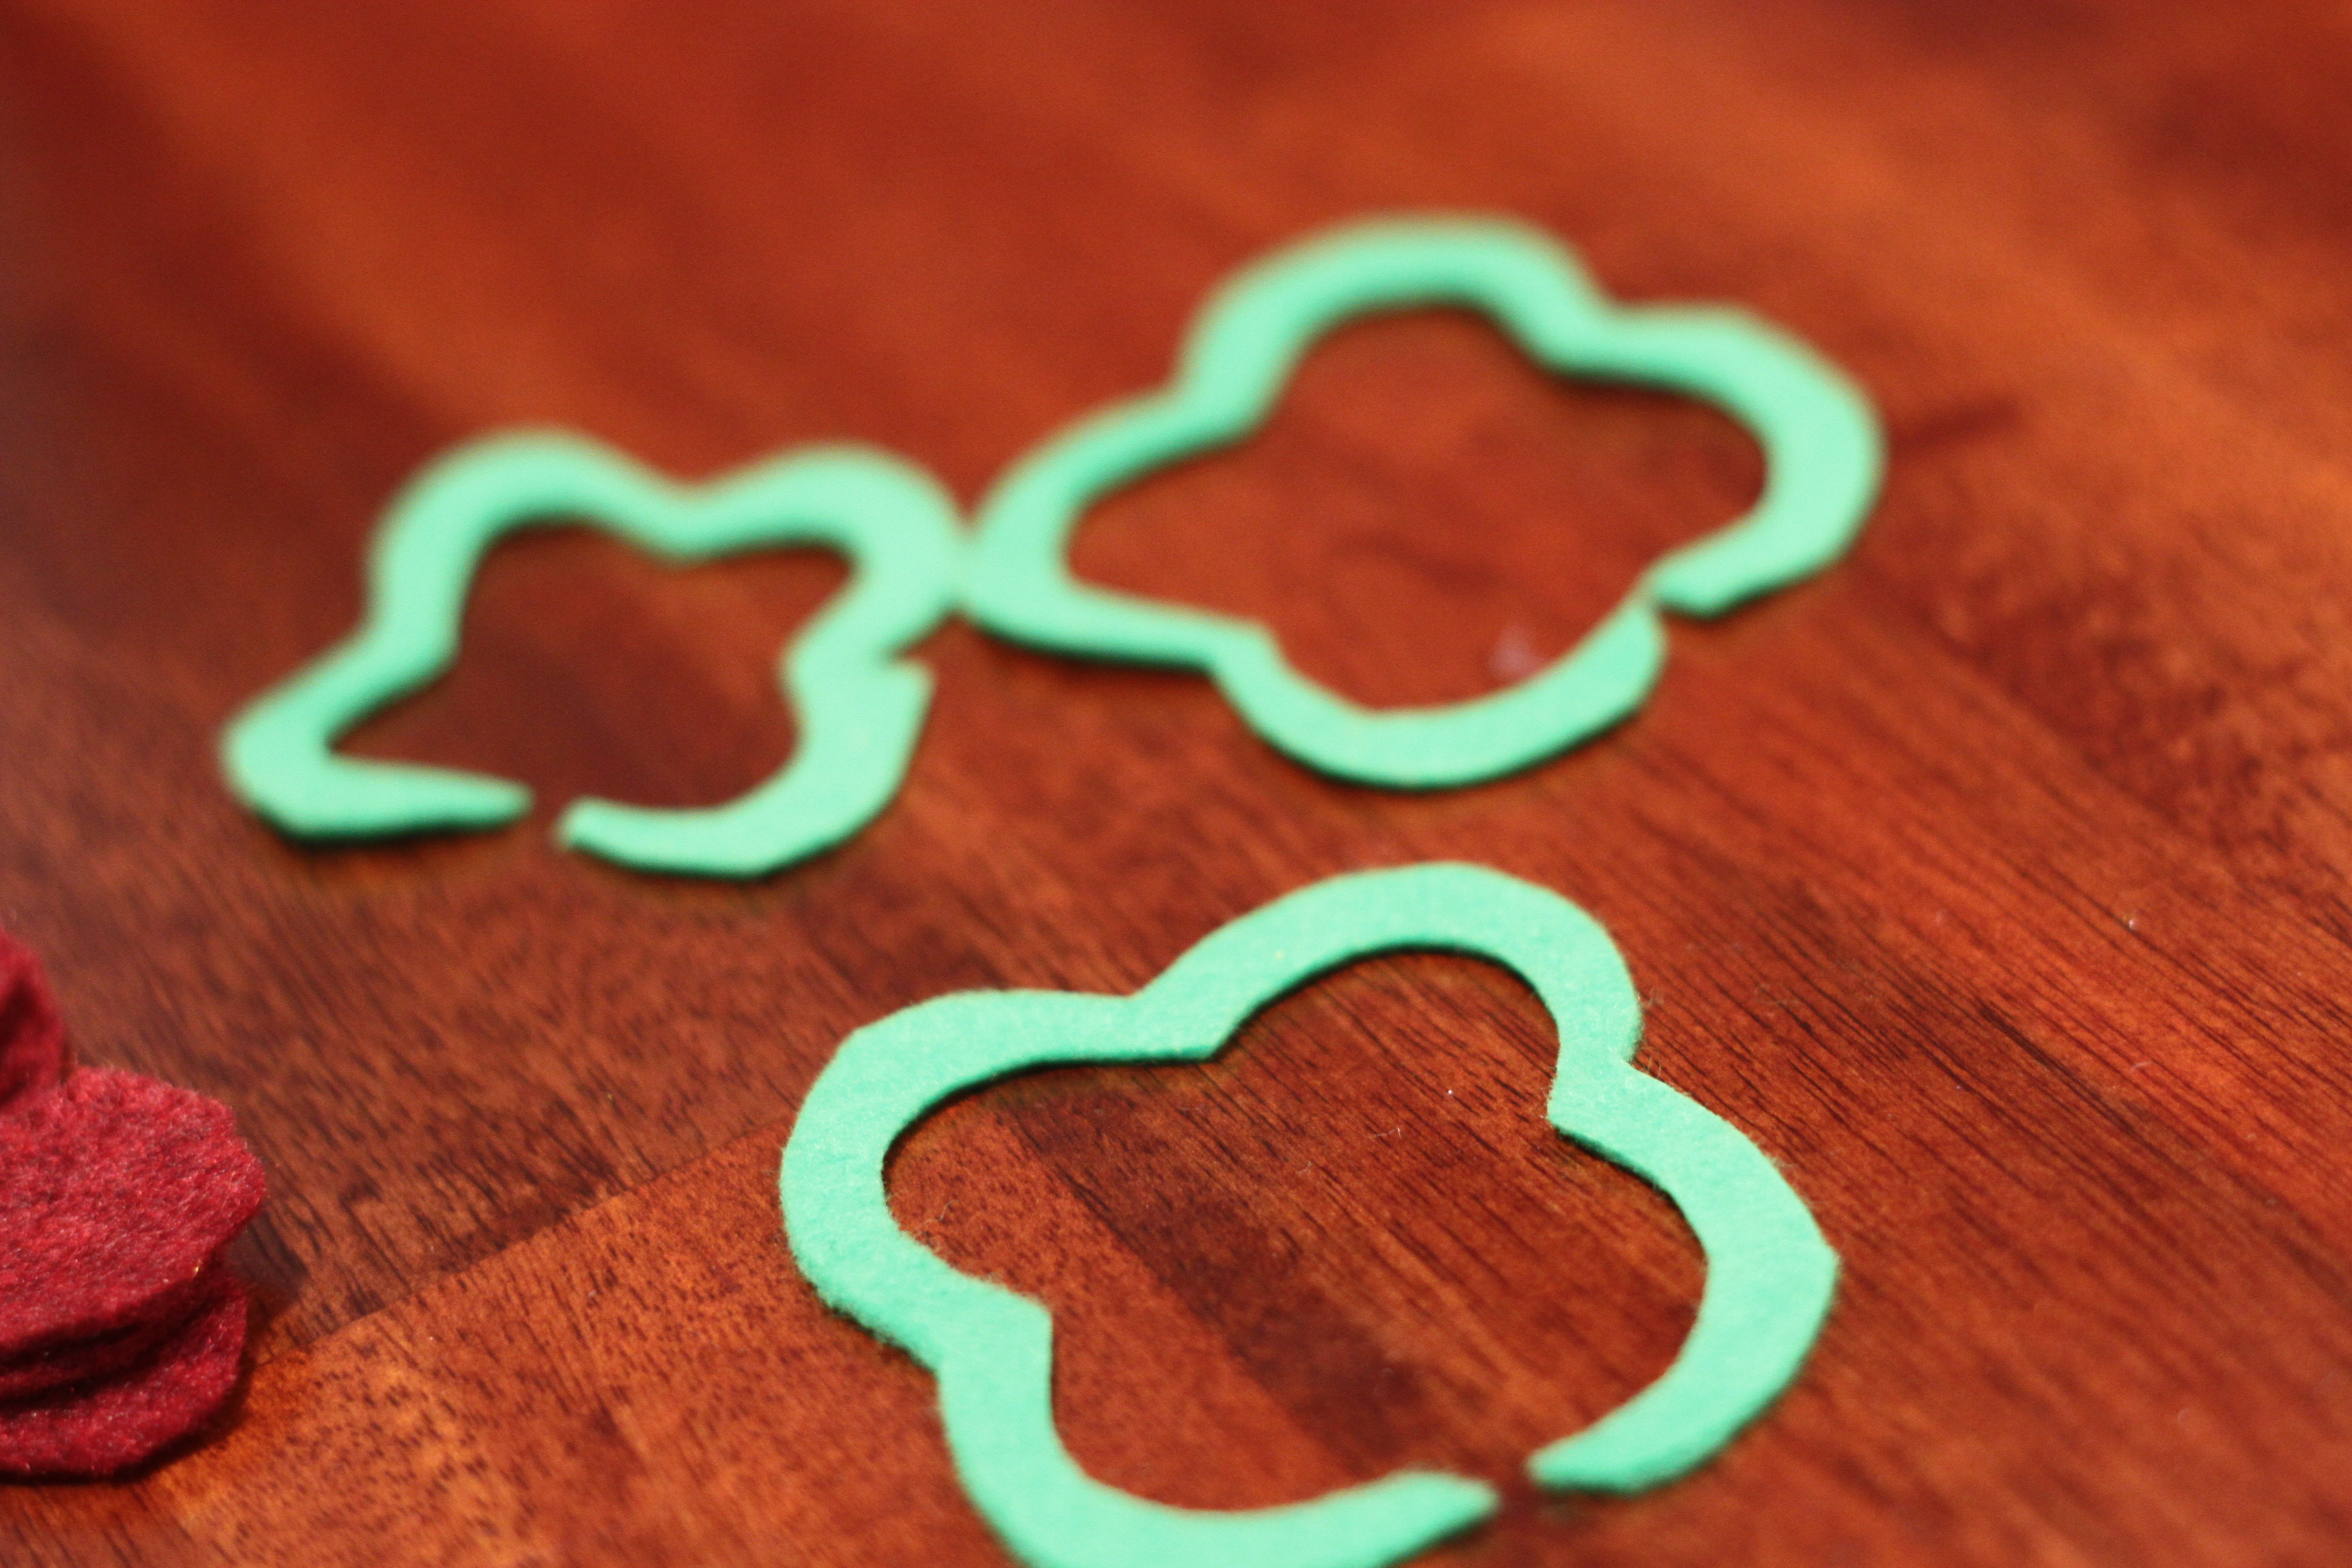
Make-a-pizza: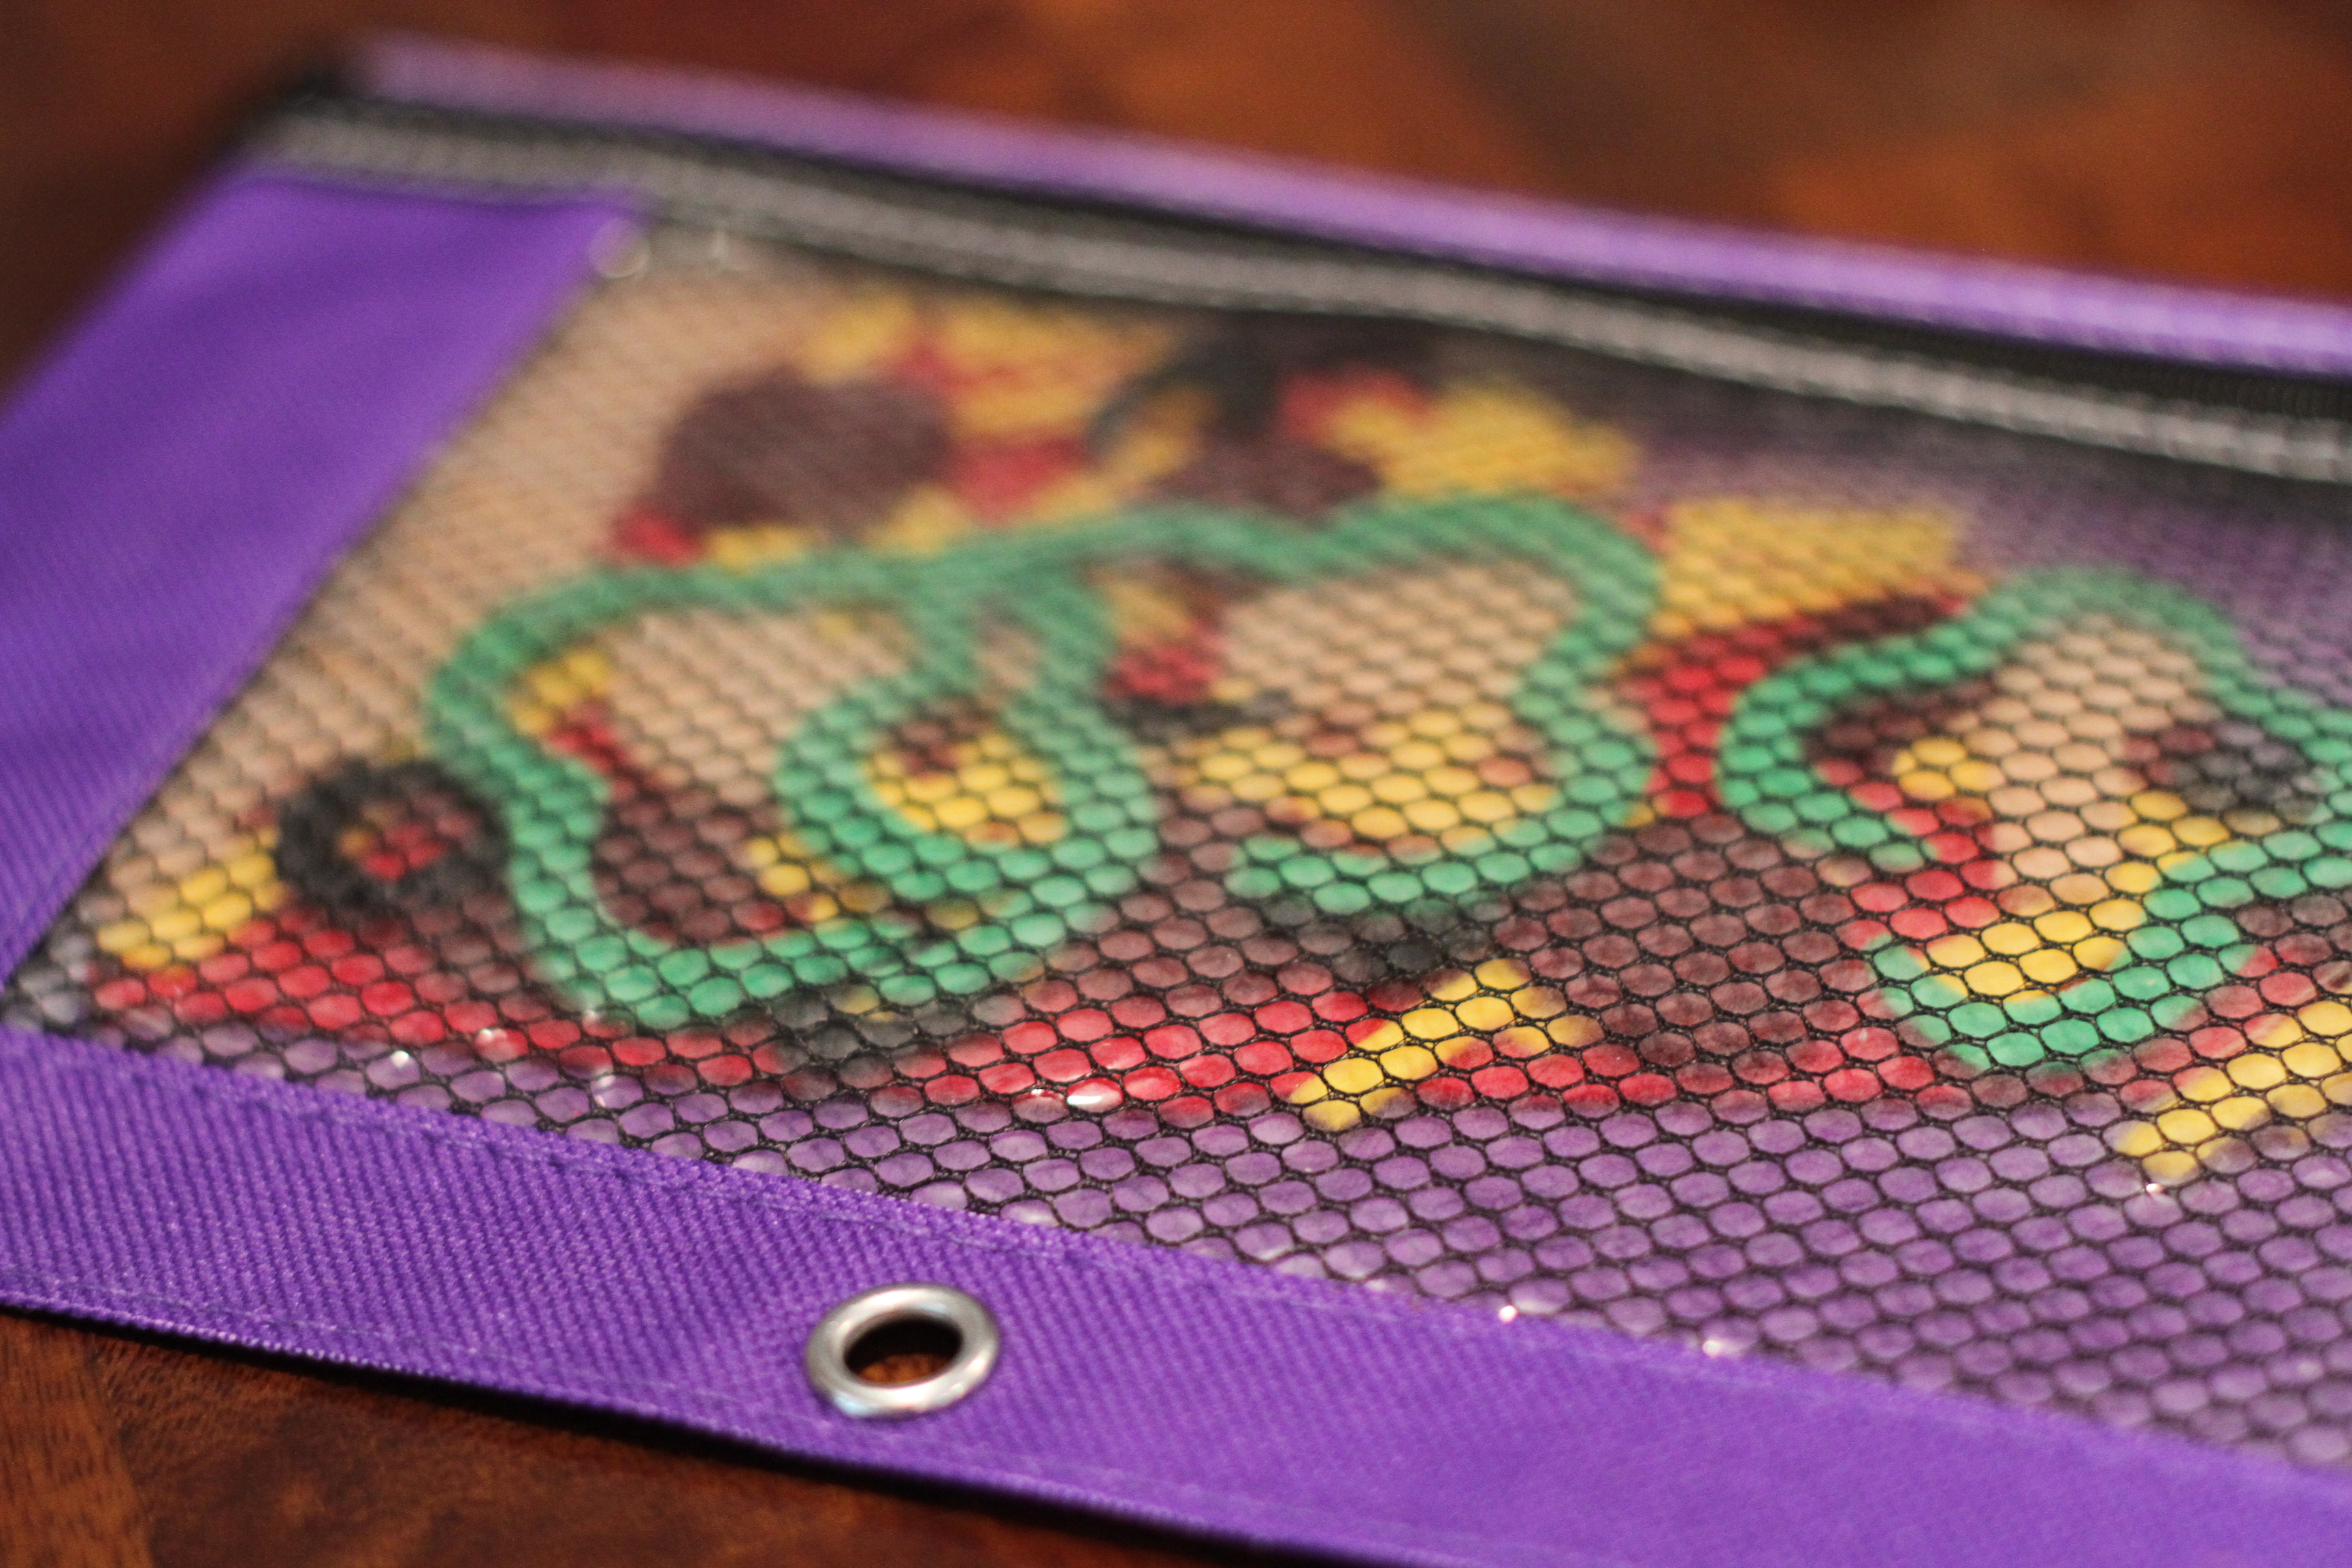
This is simply colored felt and imagination.


Dress-up: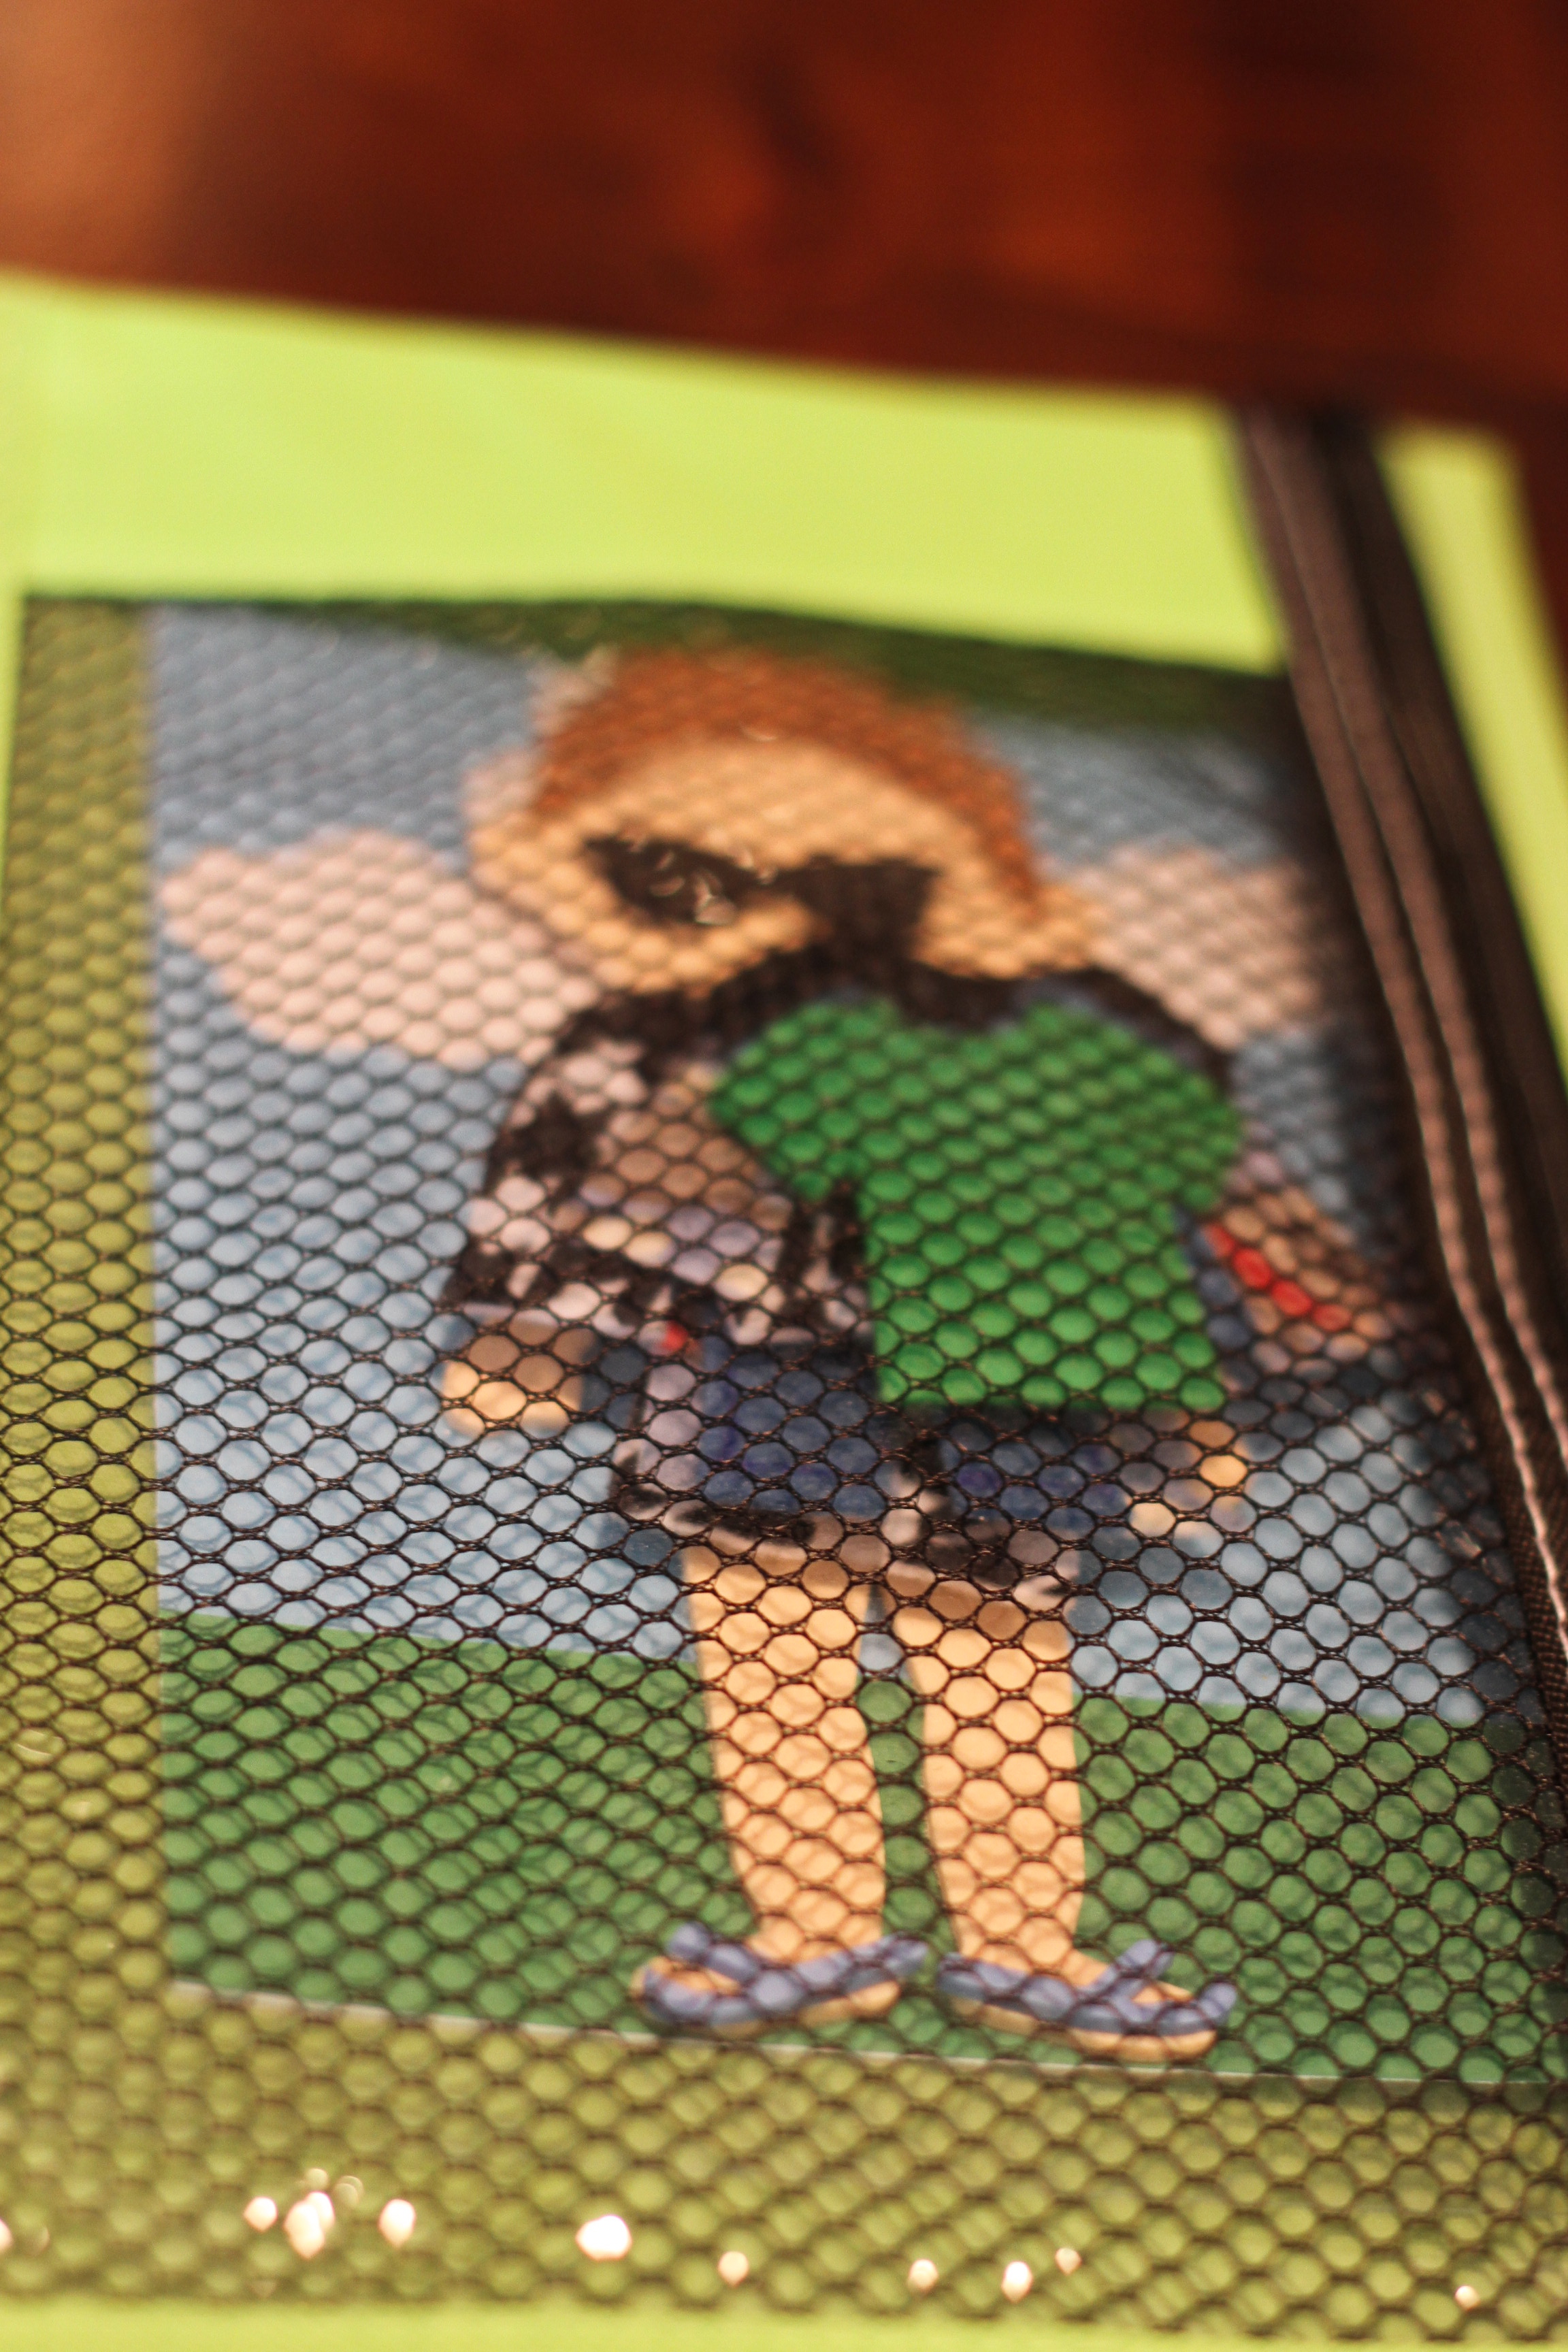
For this one, I found foam dress-up boys and girls at Hobby Lobby. They came with foam stickers that you could apply for their hair and also for bathing suits and sandals. We all got to choose if we wanted to make a boy or girl…
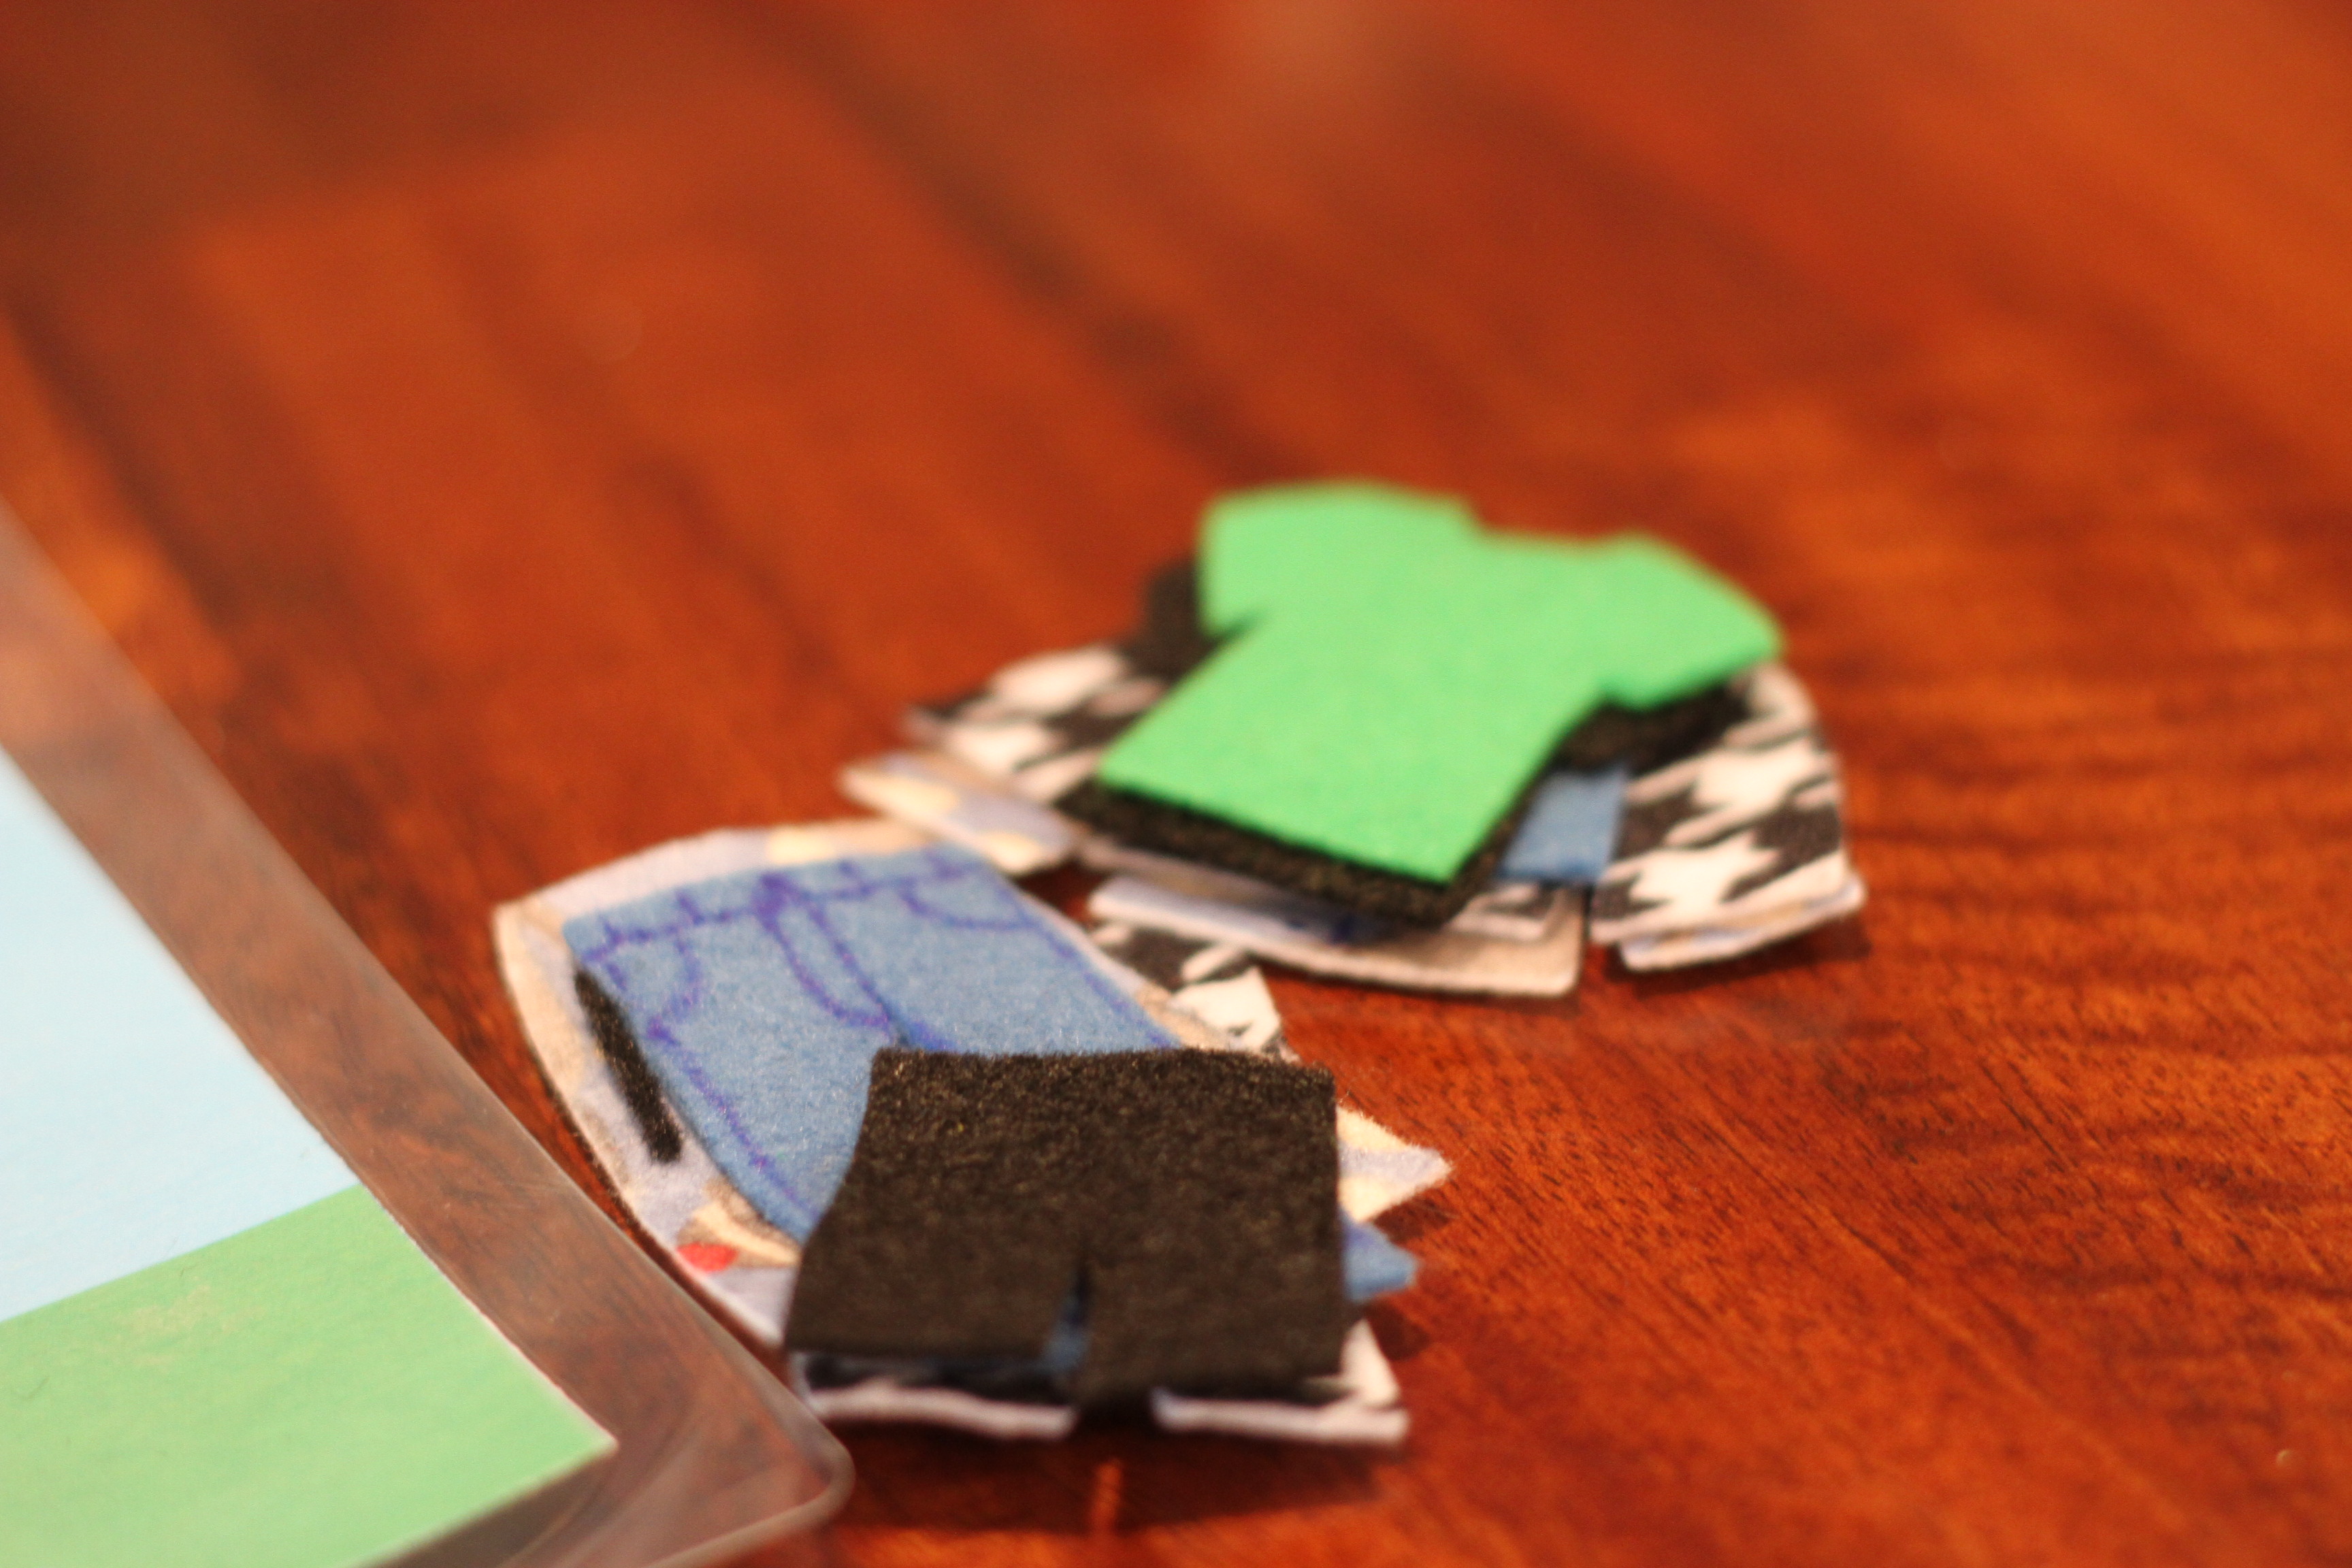
Cut the clothes out of felt…
The monkey and houndstooth pajamas are my favorite!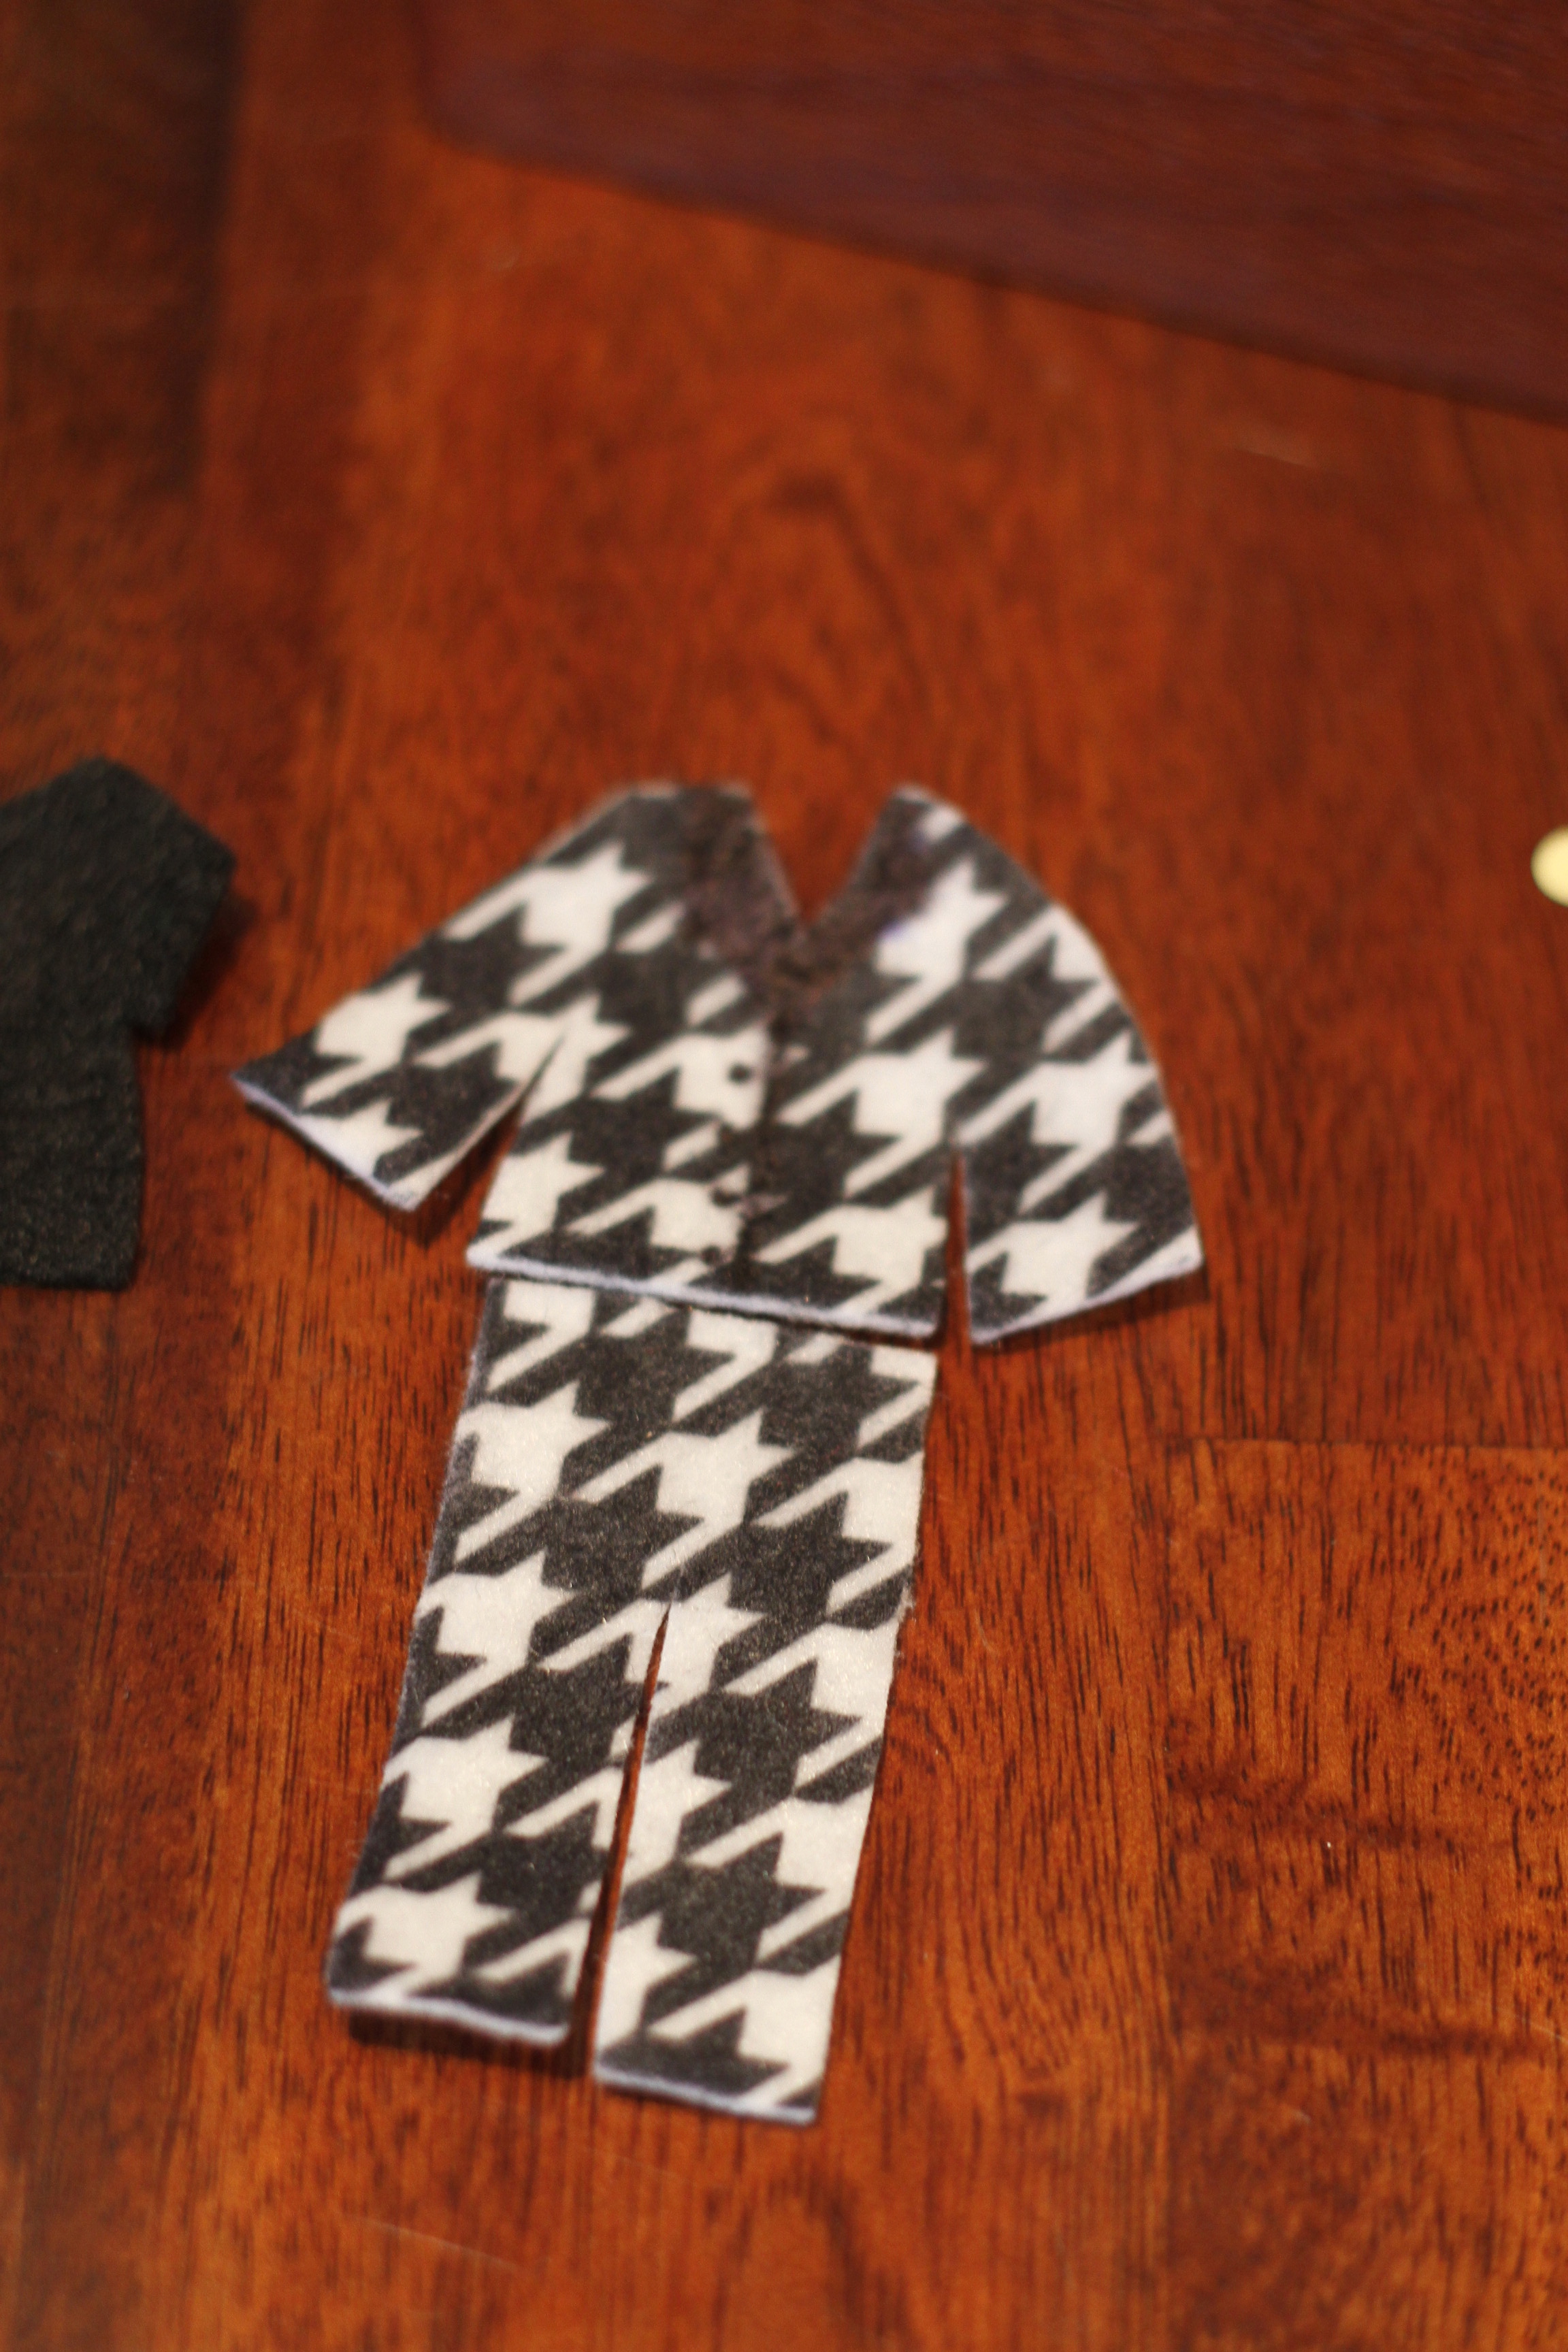
We glued our dolls to this little background I made…
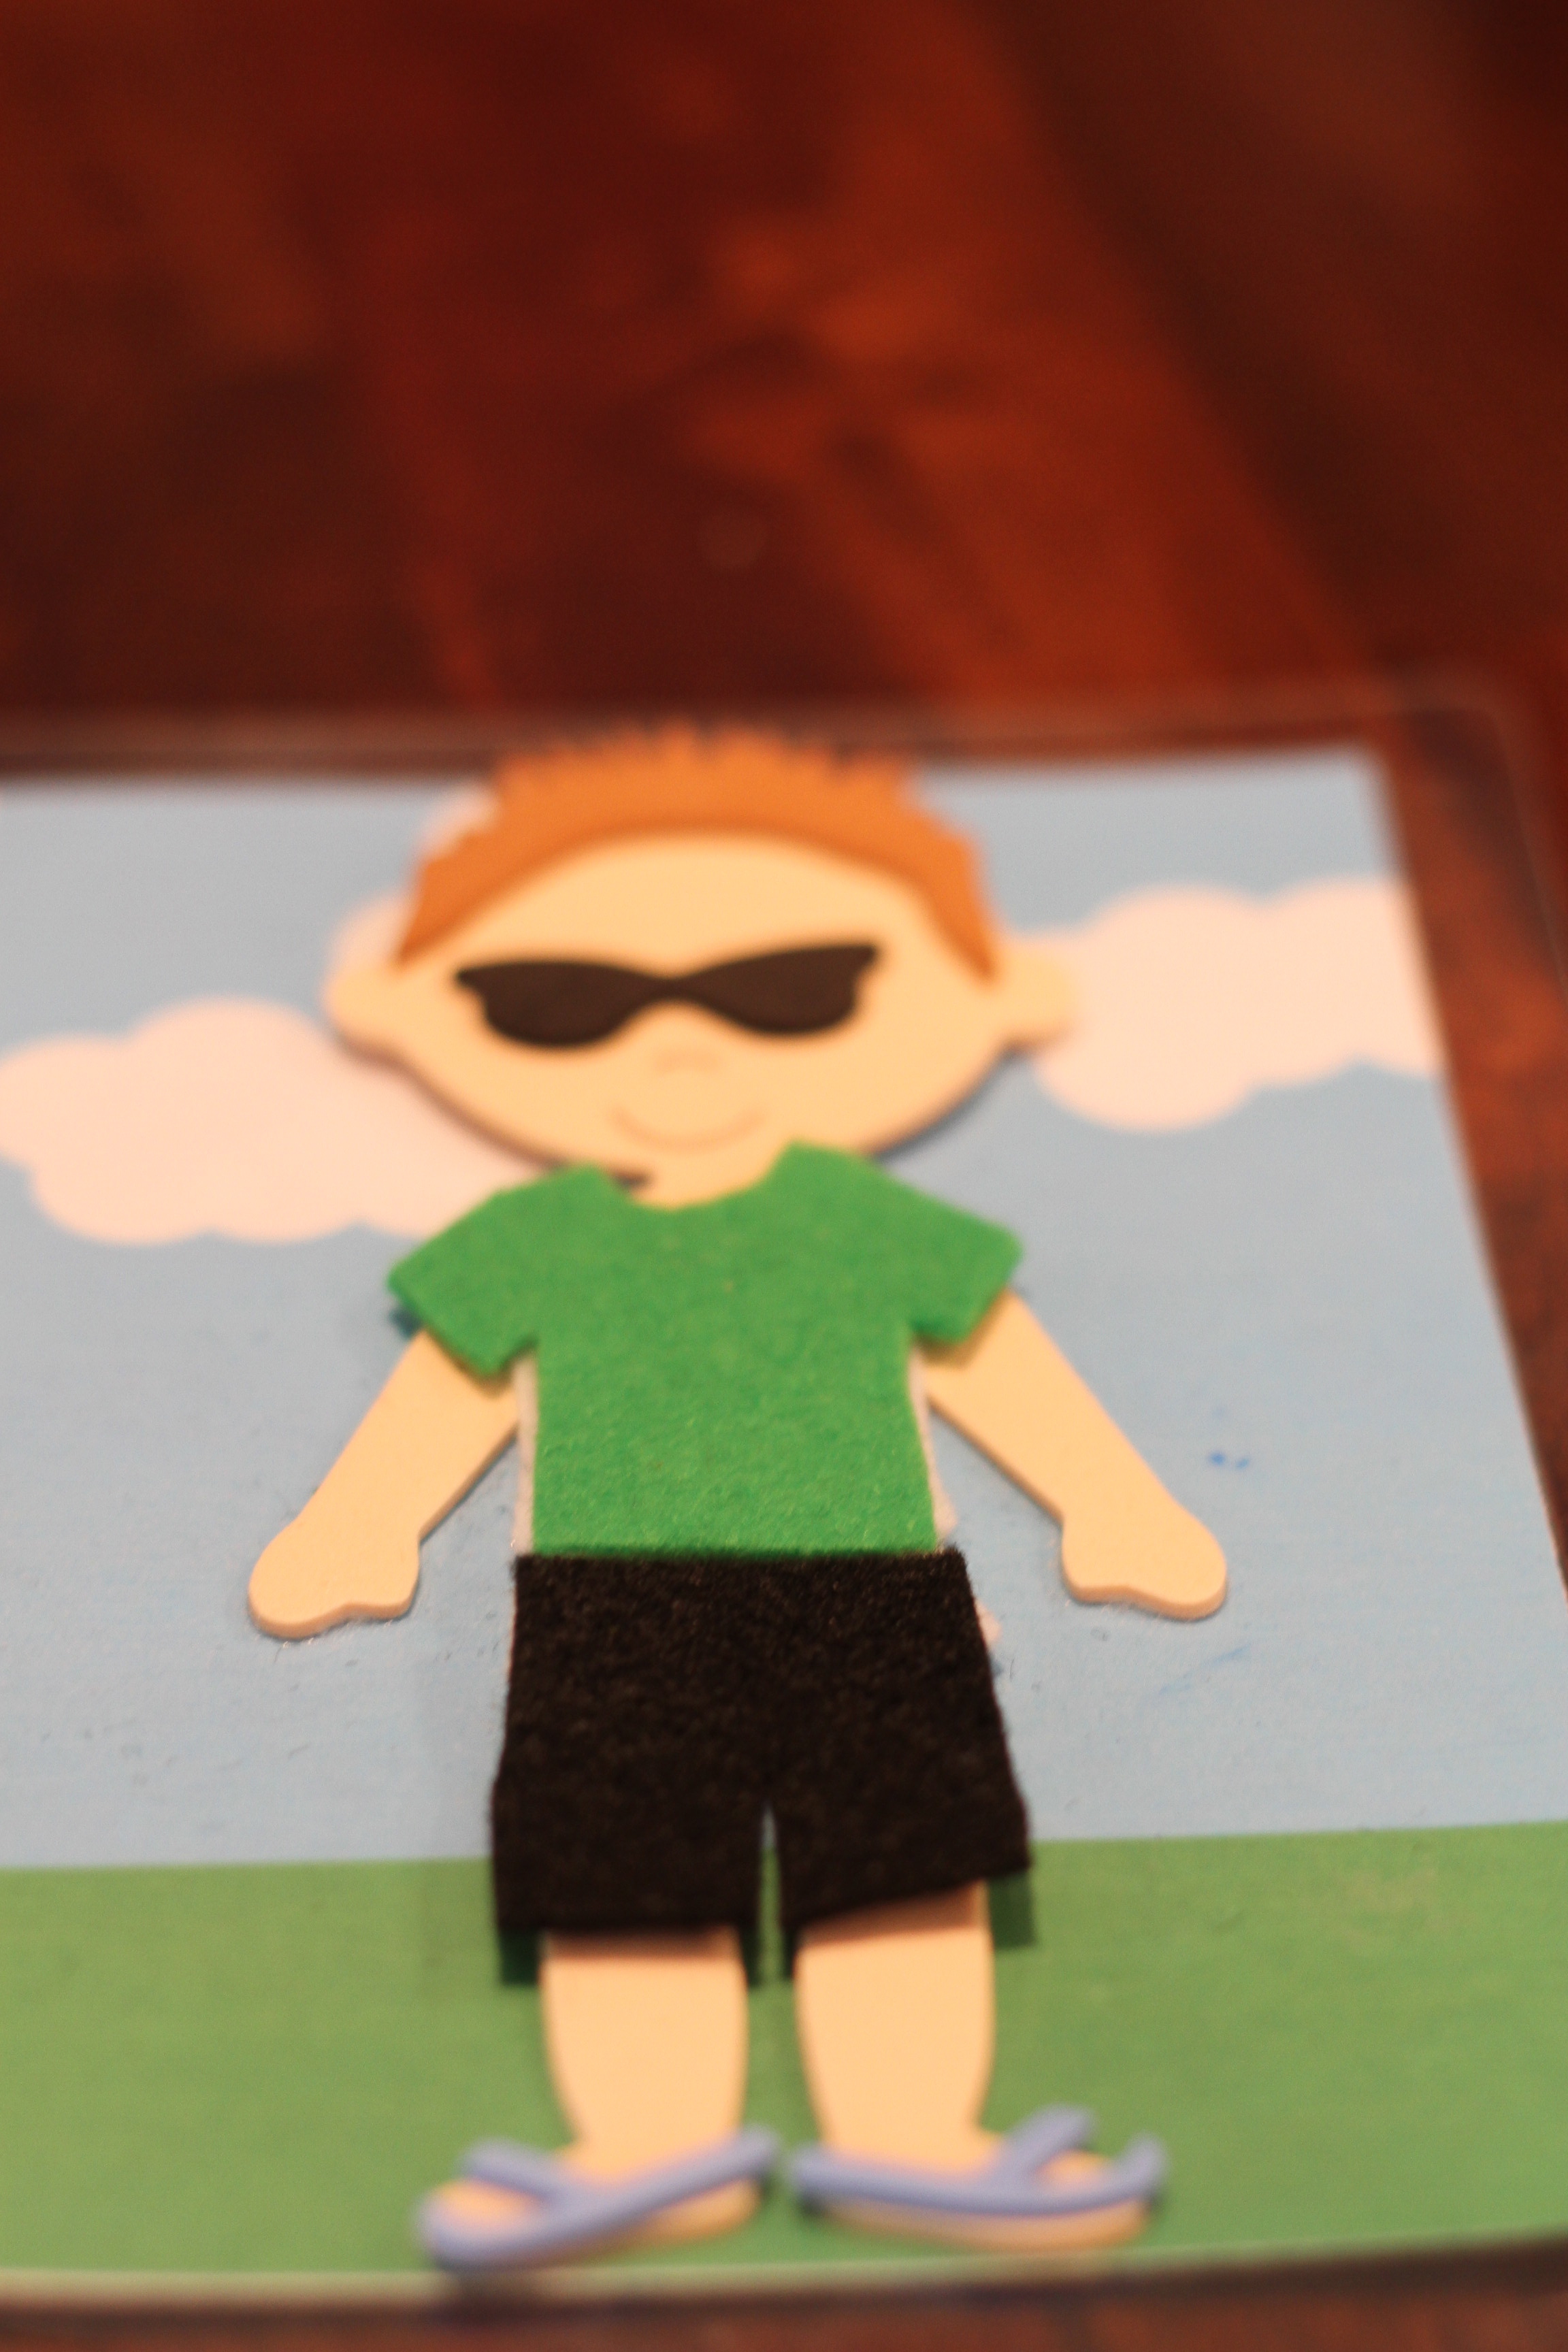
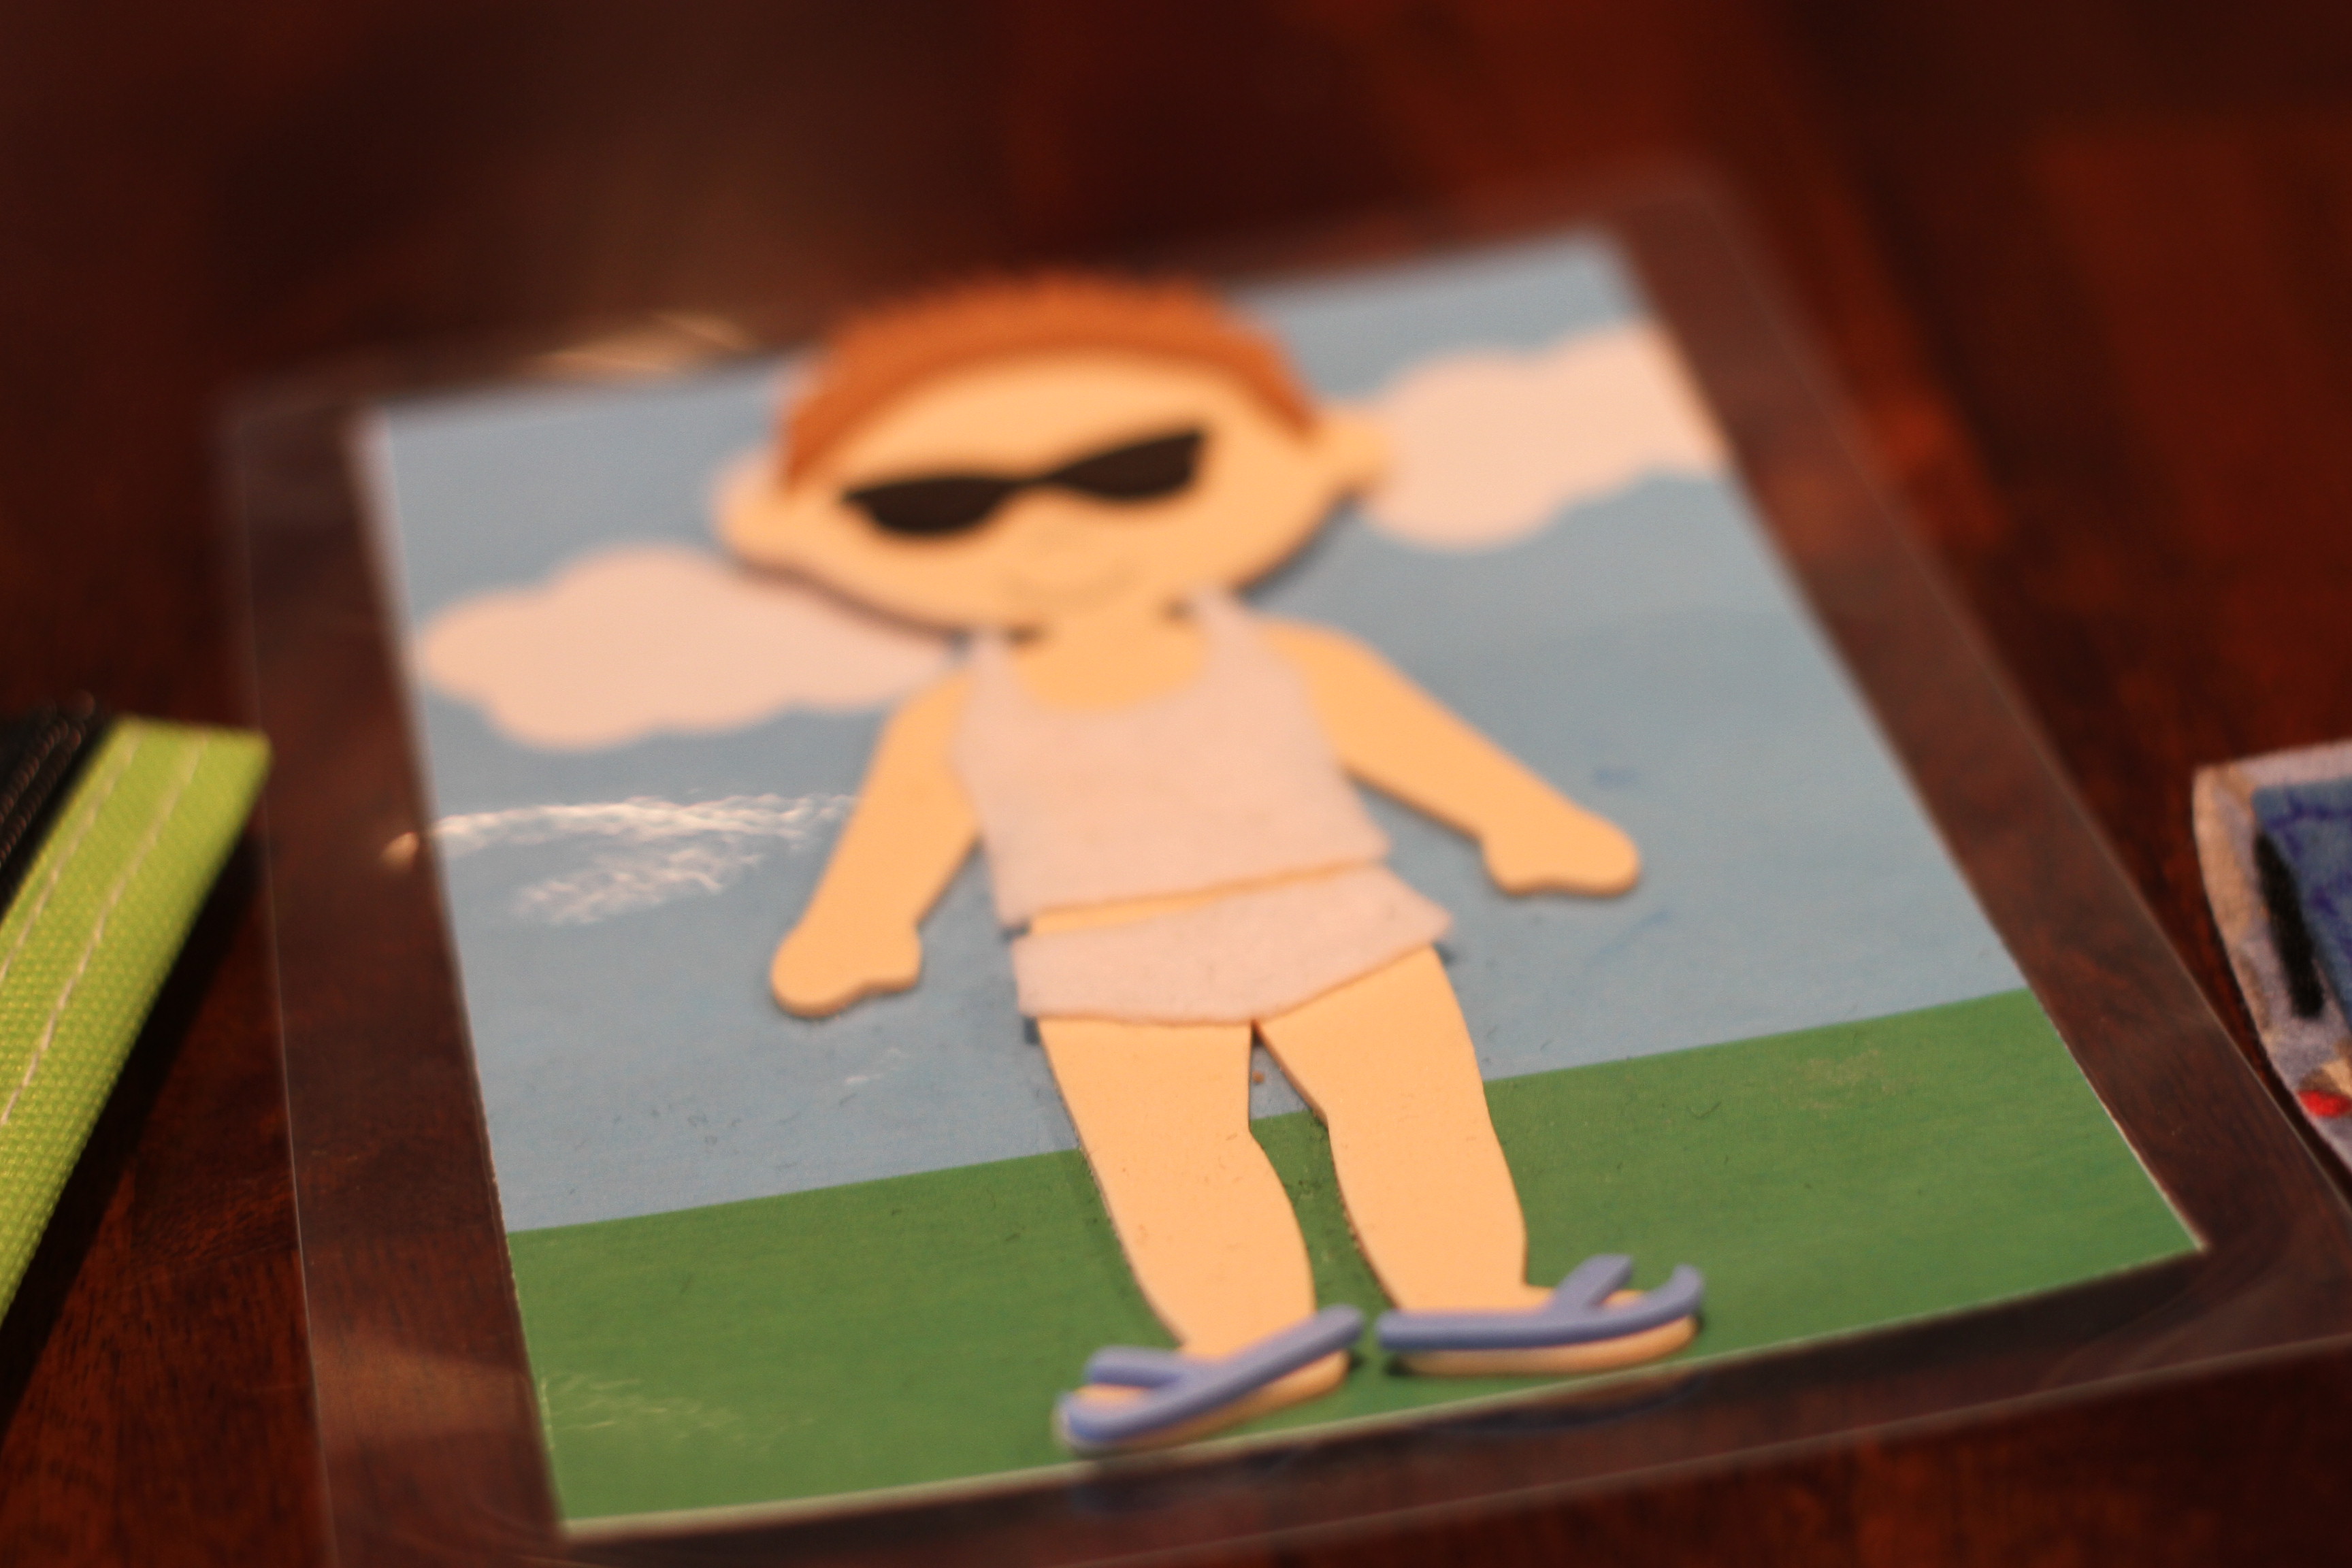 Then we used white felt and made undergarments. For my boy I did a tank top and briefs, which works just as well for the girl dolls. These white undergarments were super-glued to the doll so that the felt clothes will cling to the doll. It’s actually really easy for Jacob to do, and good for fine motor skills.
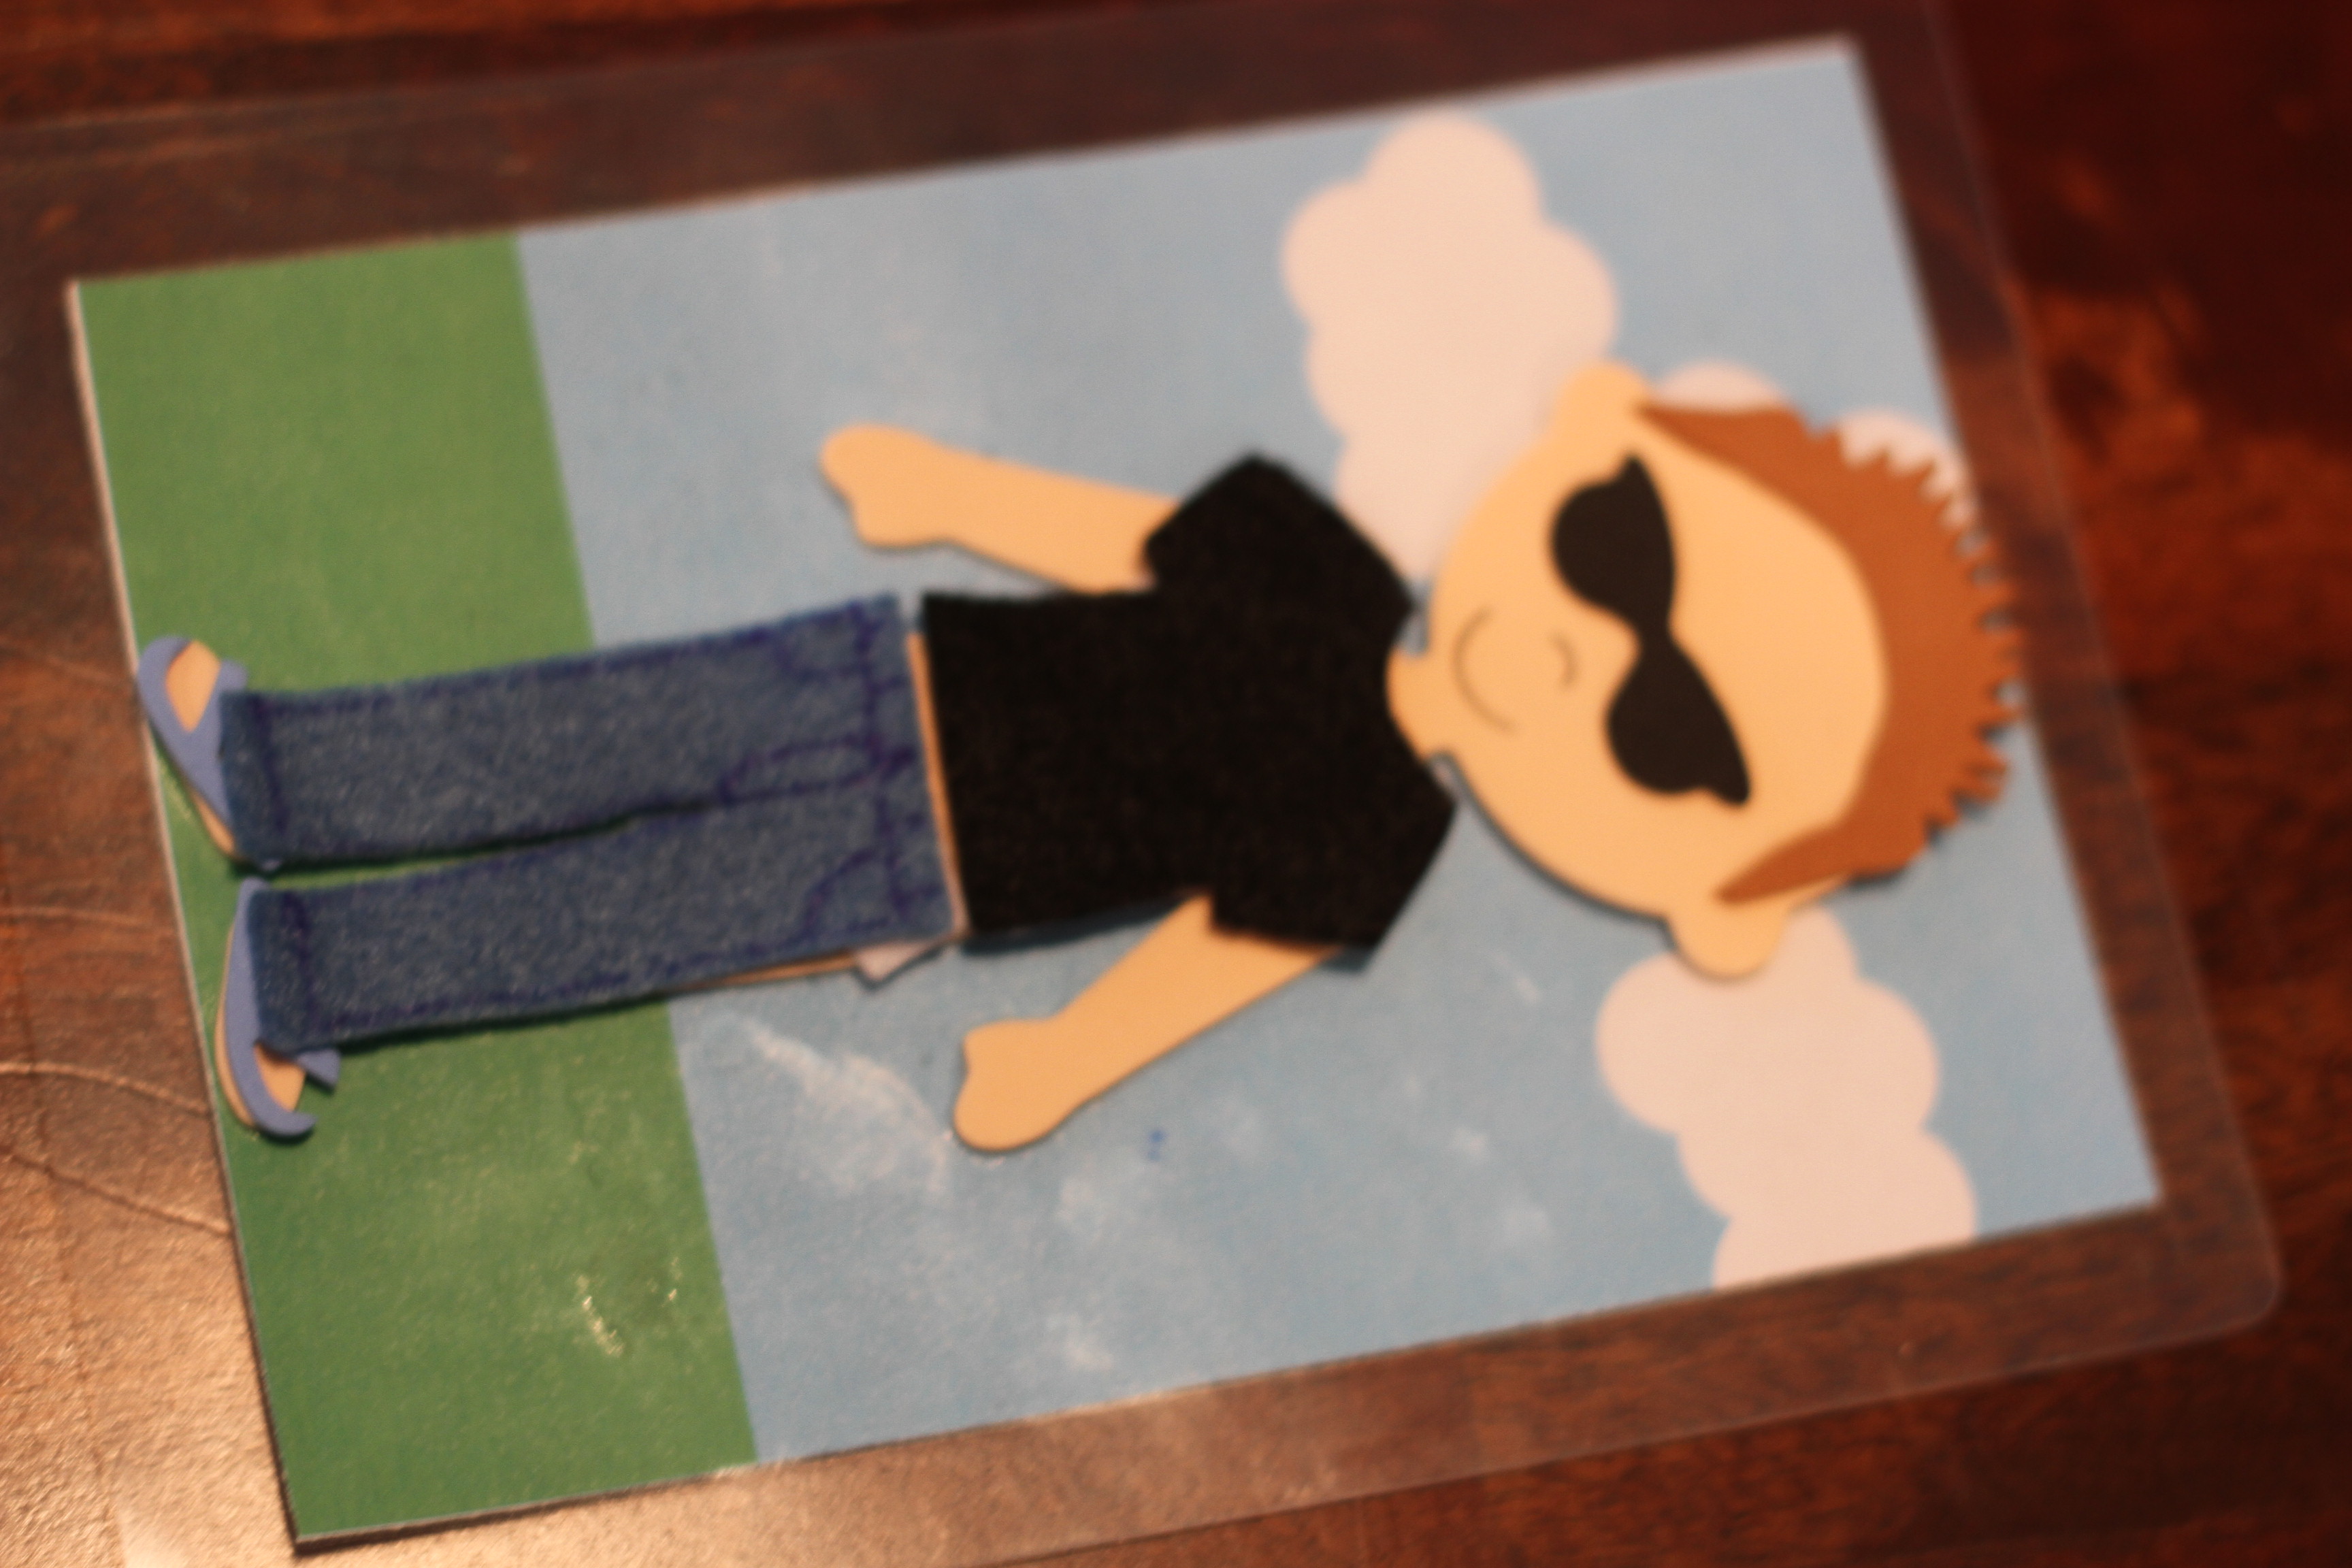
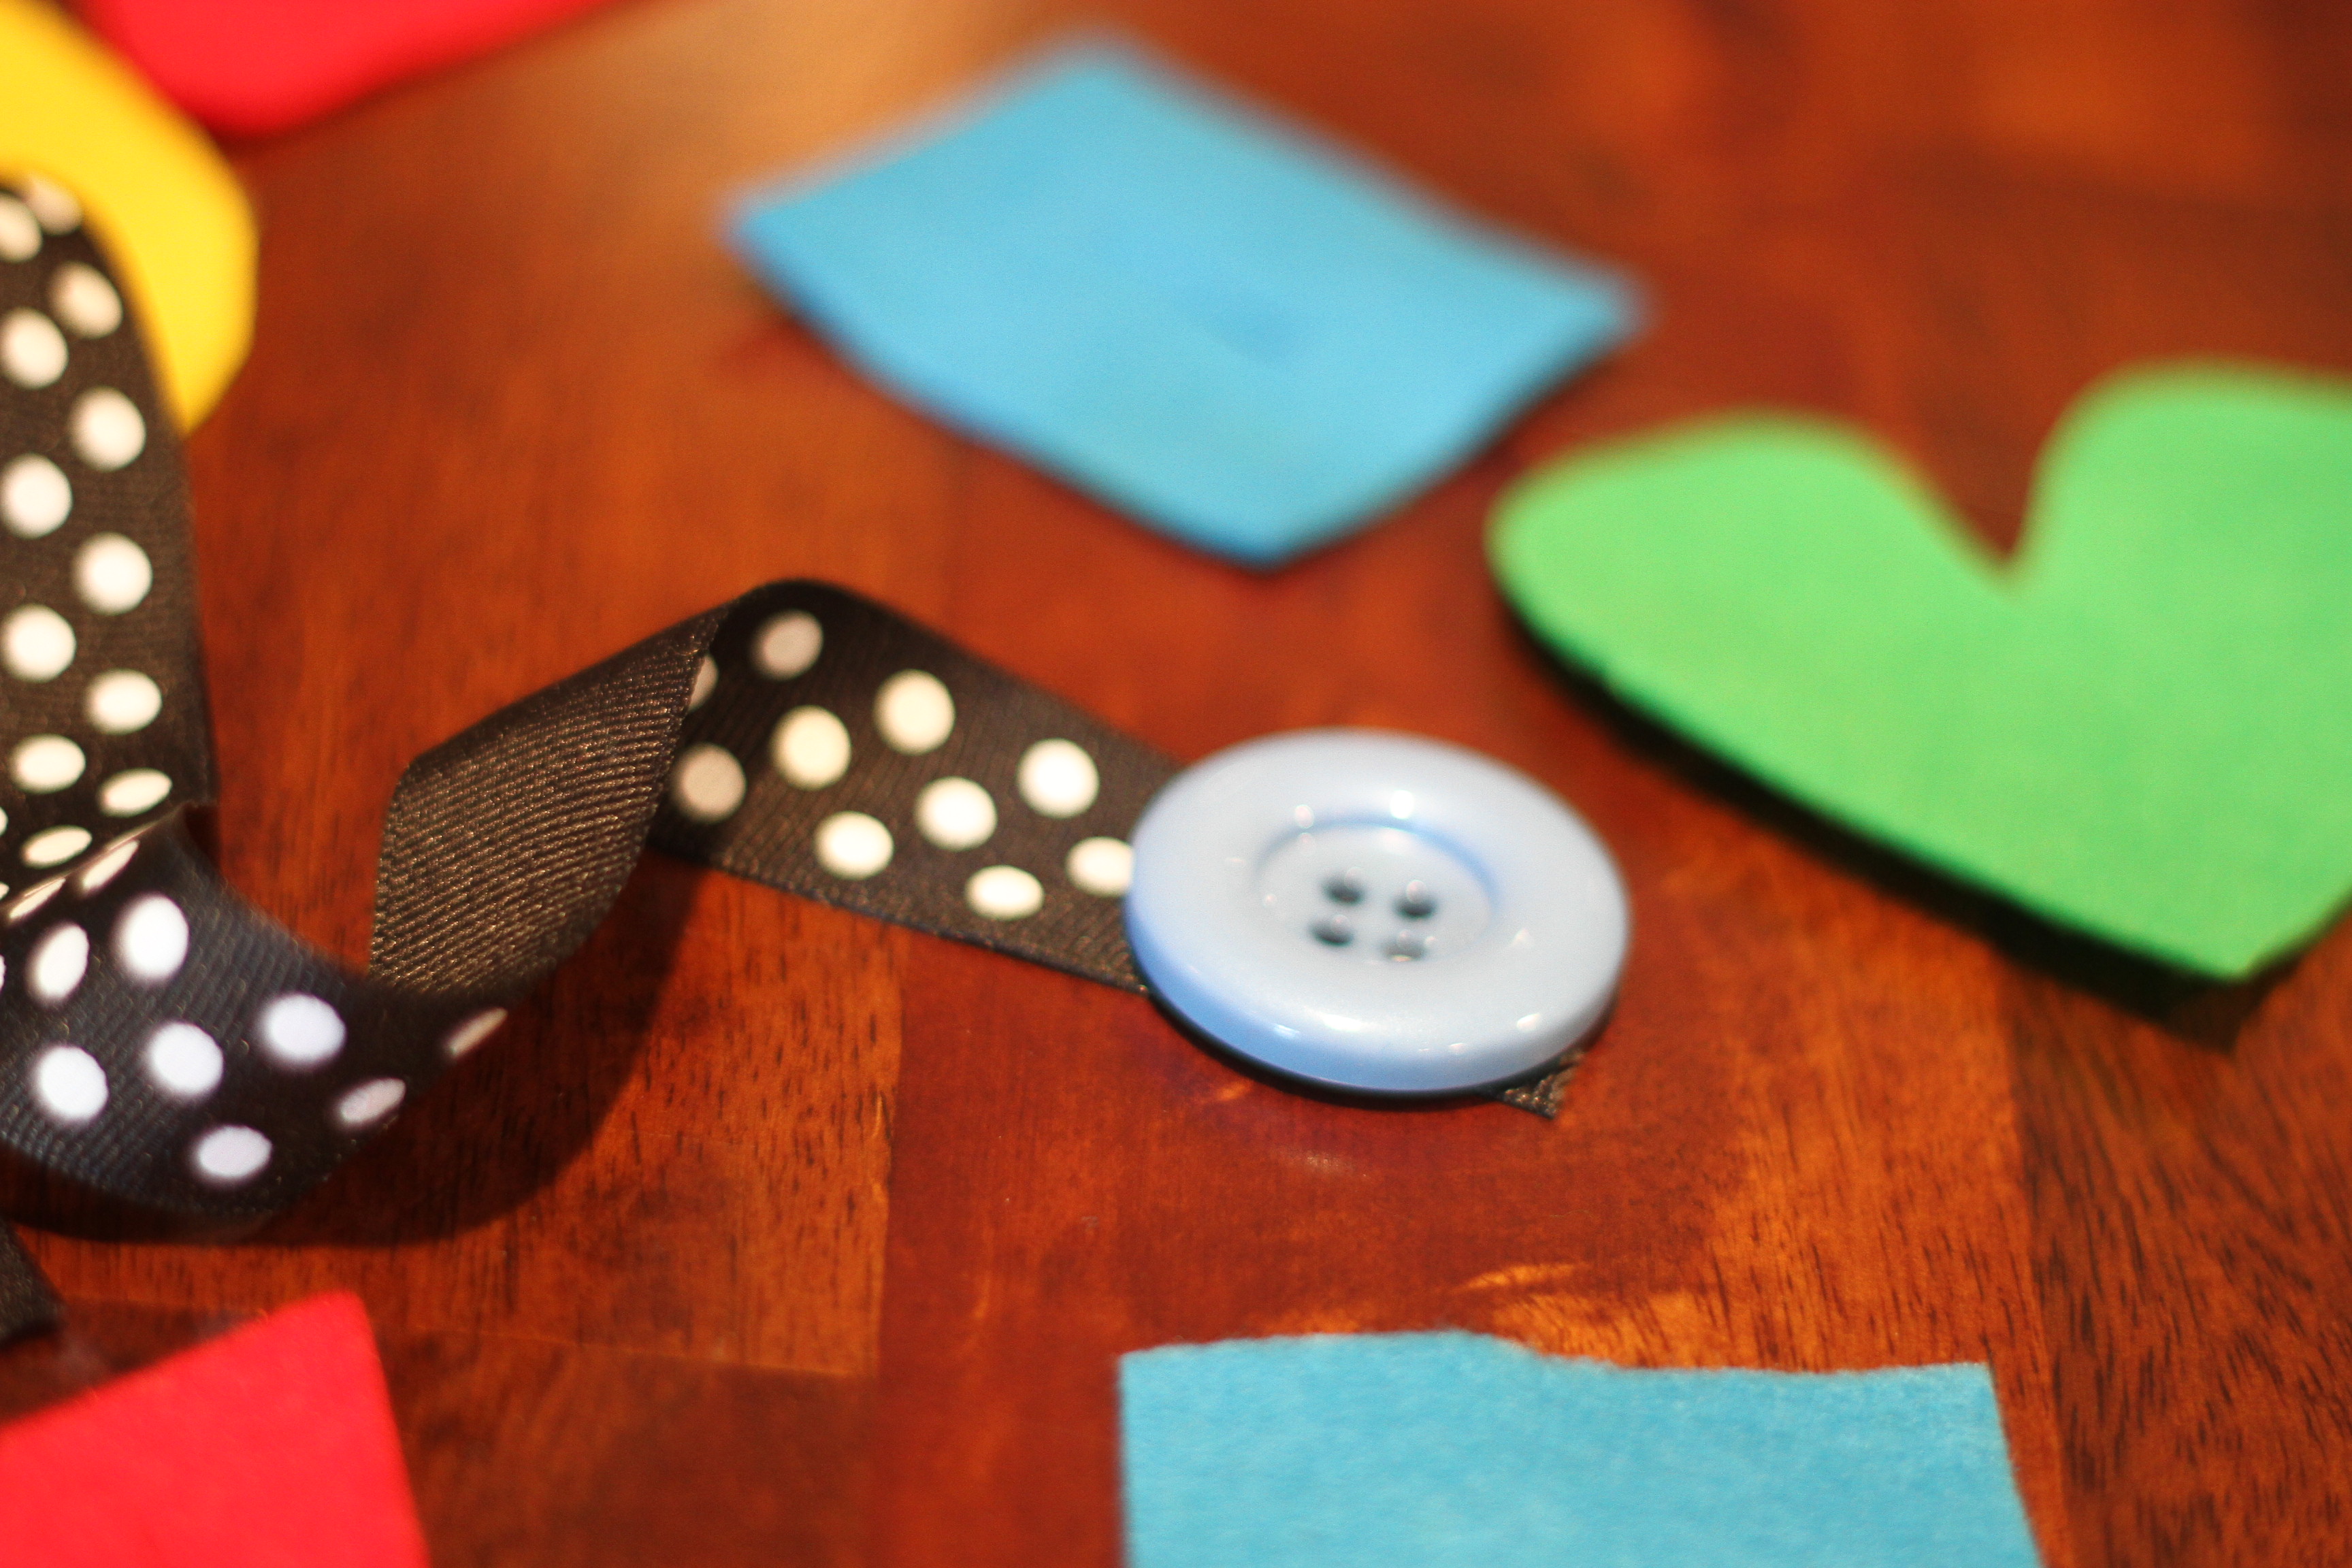
Felt “sewing”: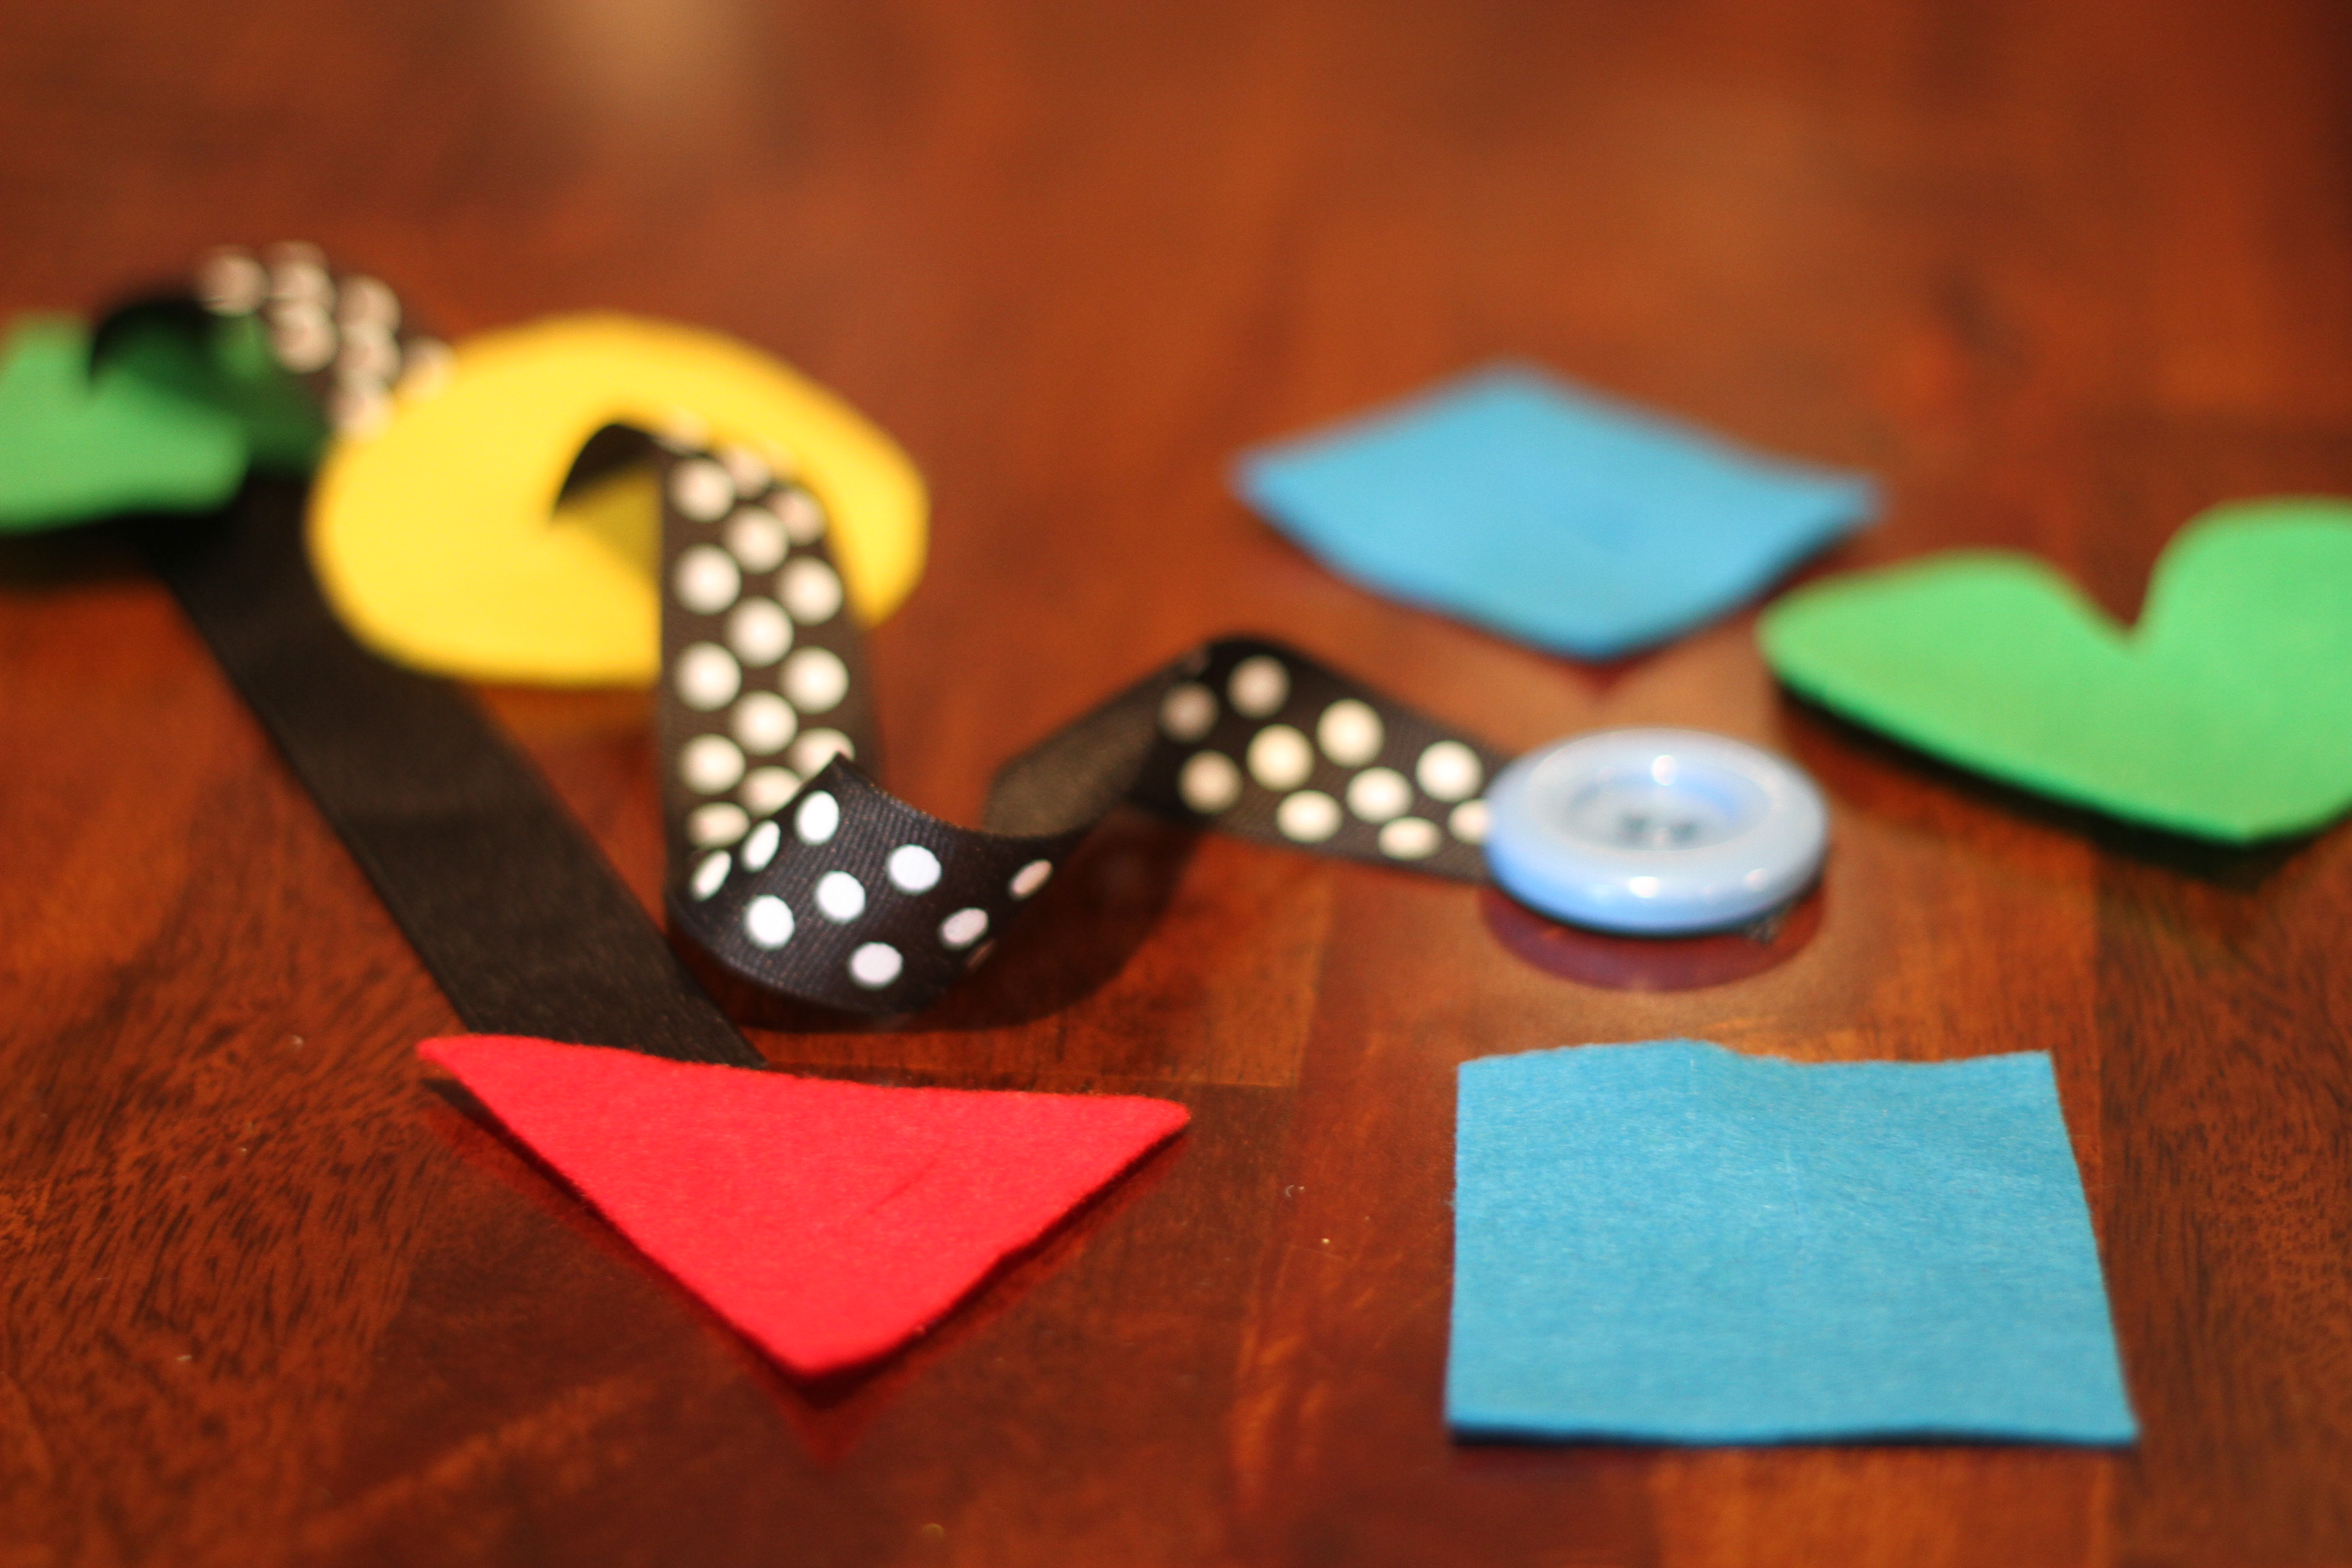
Using ribbon, a large button, and felt (three things!), we cut shapes out of felt and put a slit in the middle so the children can thread the button (which is sewn to the ribbon) through them.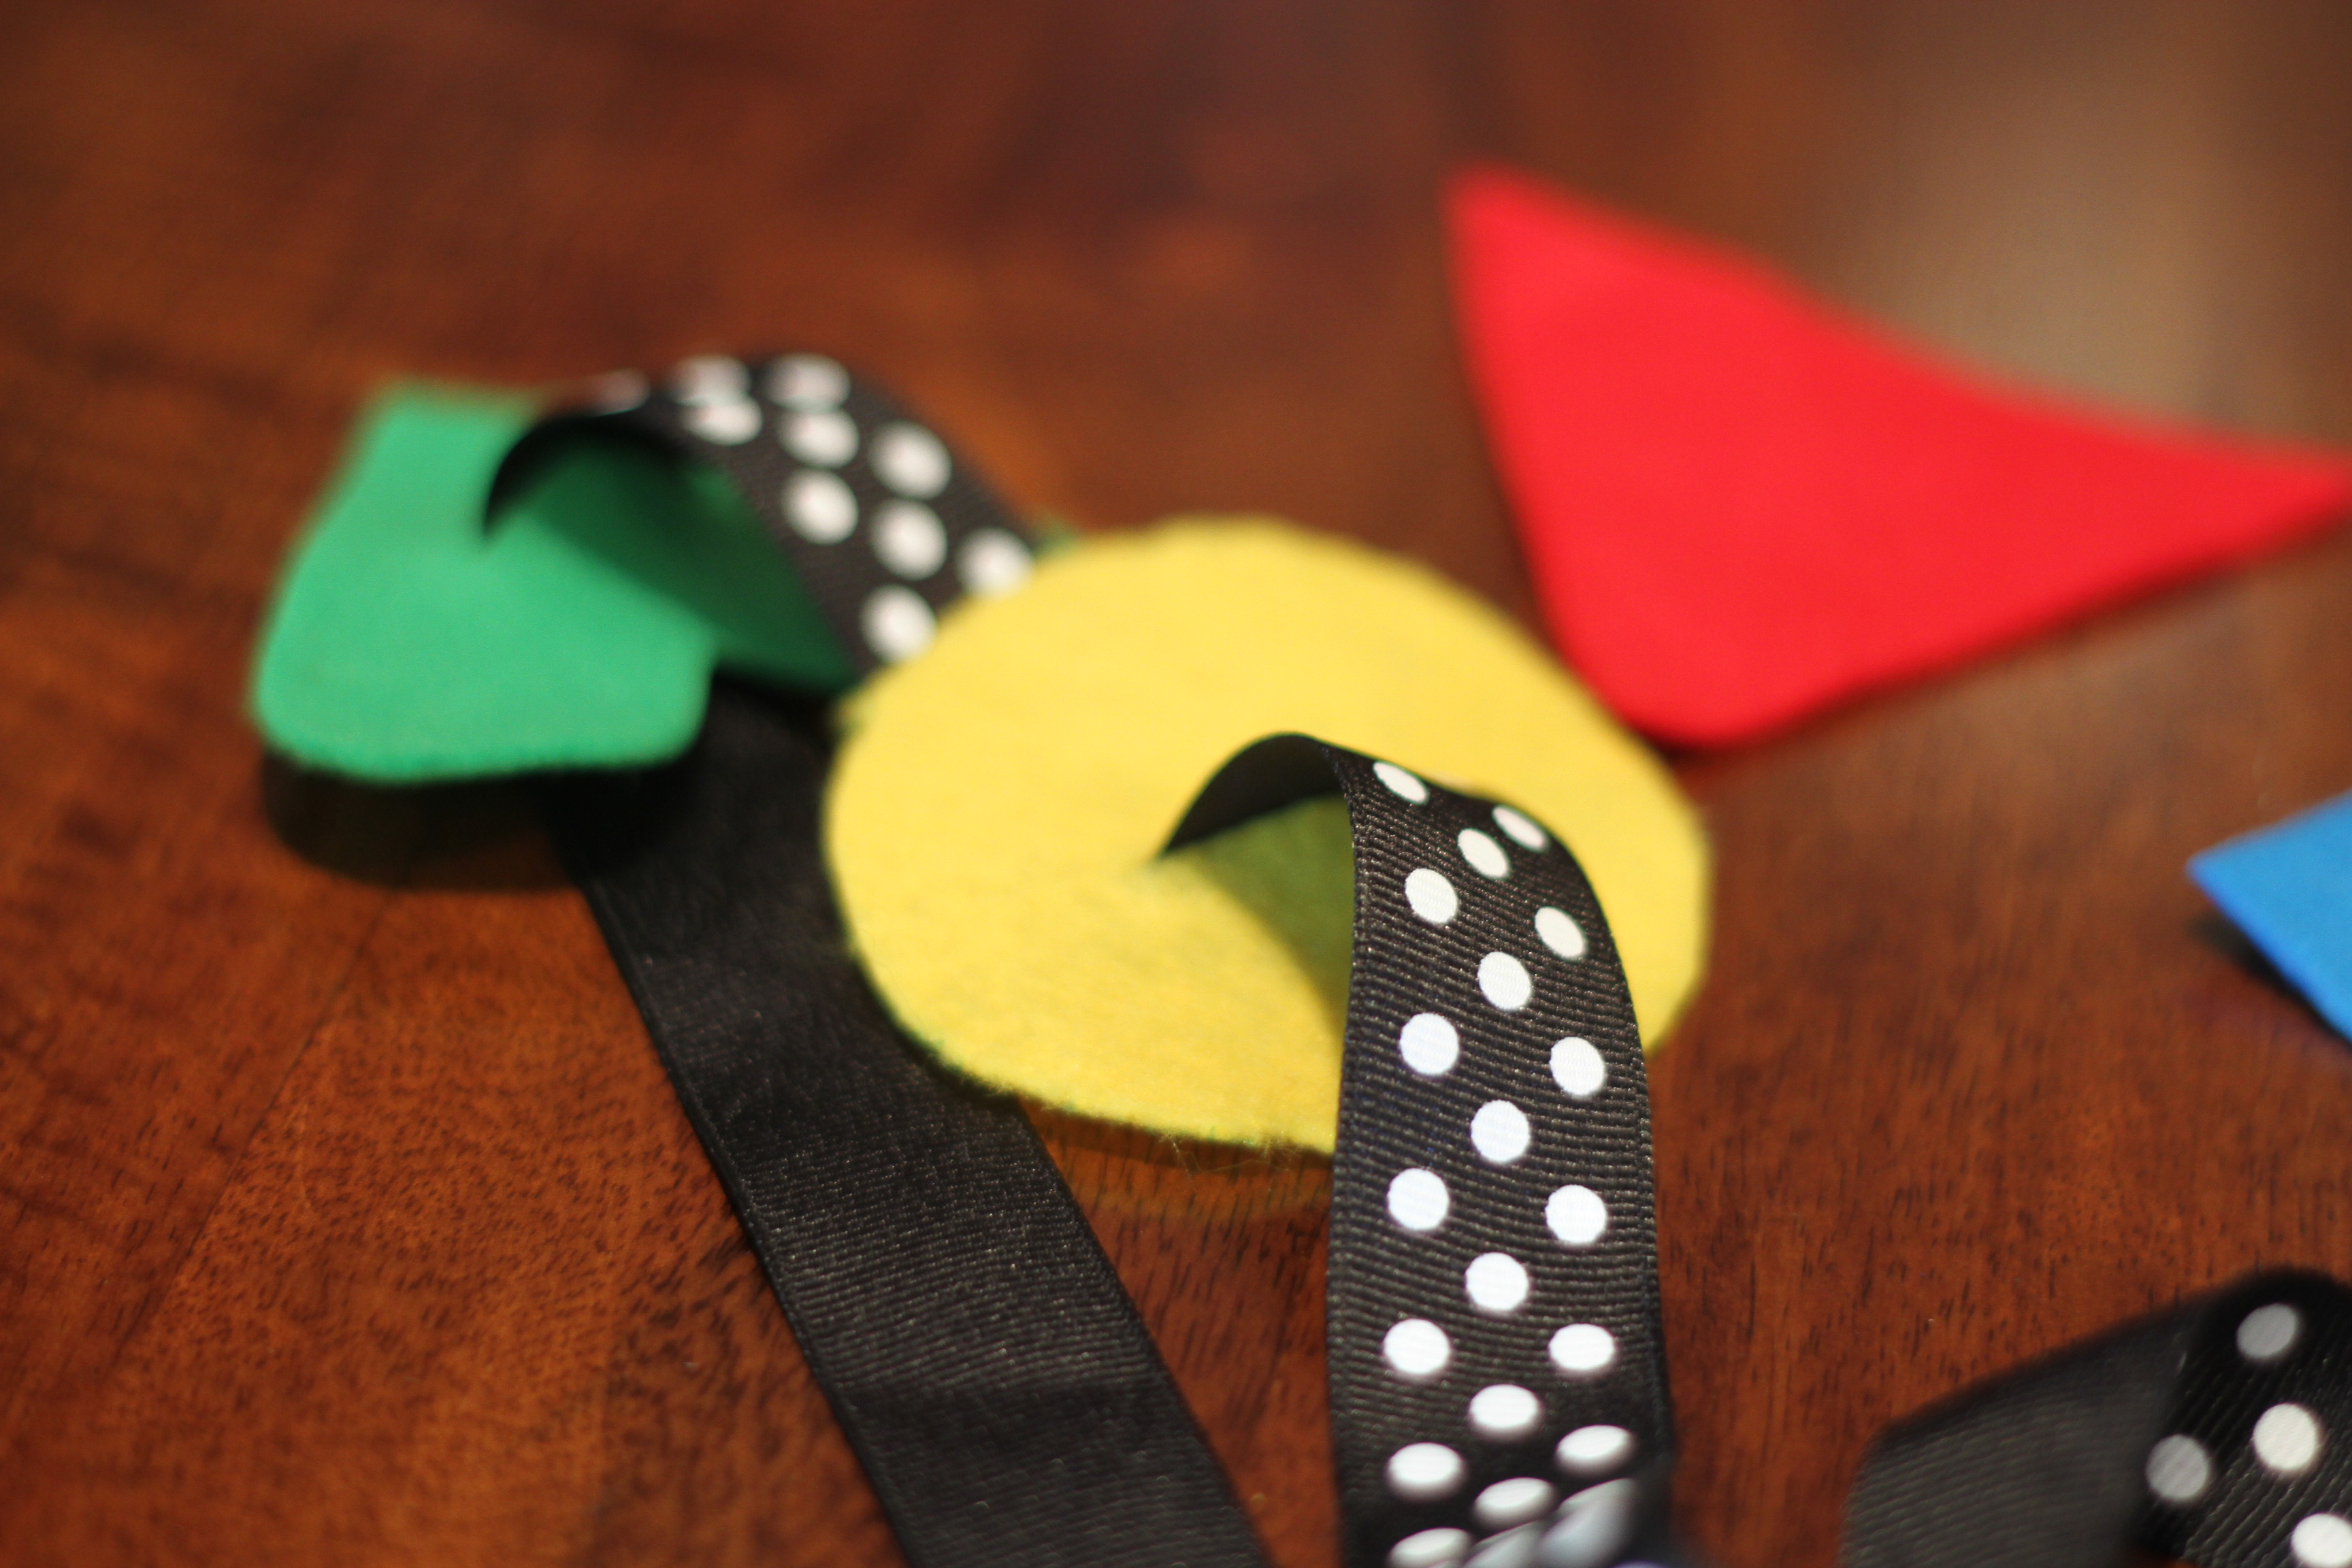


The printables came from this wonderful website: http://www.thecraftycrow.net/2011/03/printable-lacing-cards.html
And then we cut them out, laminated them, cut them out of the laminate, hole punched, and used shoelaces from the dollar store. One side is secured in the back with a big knot.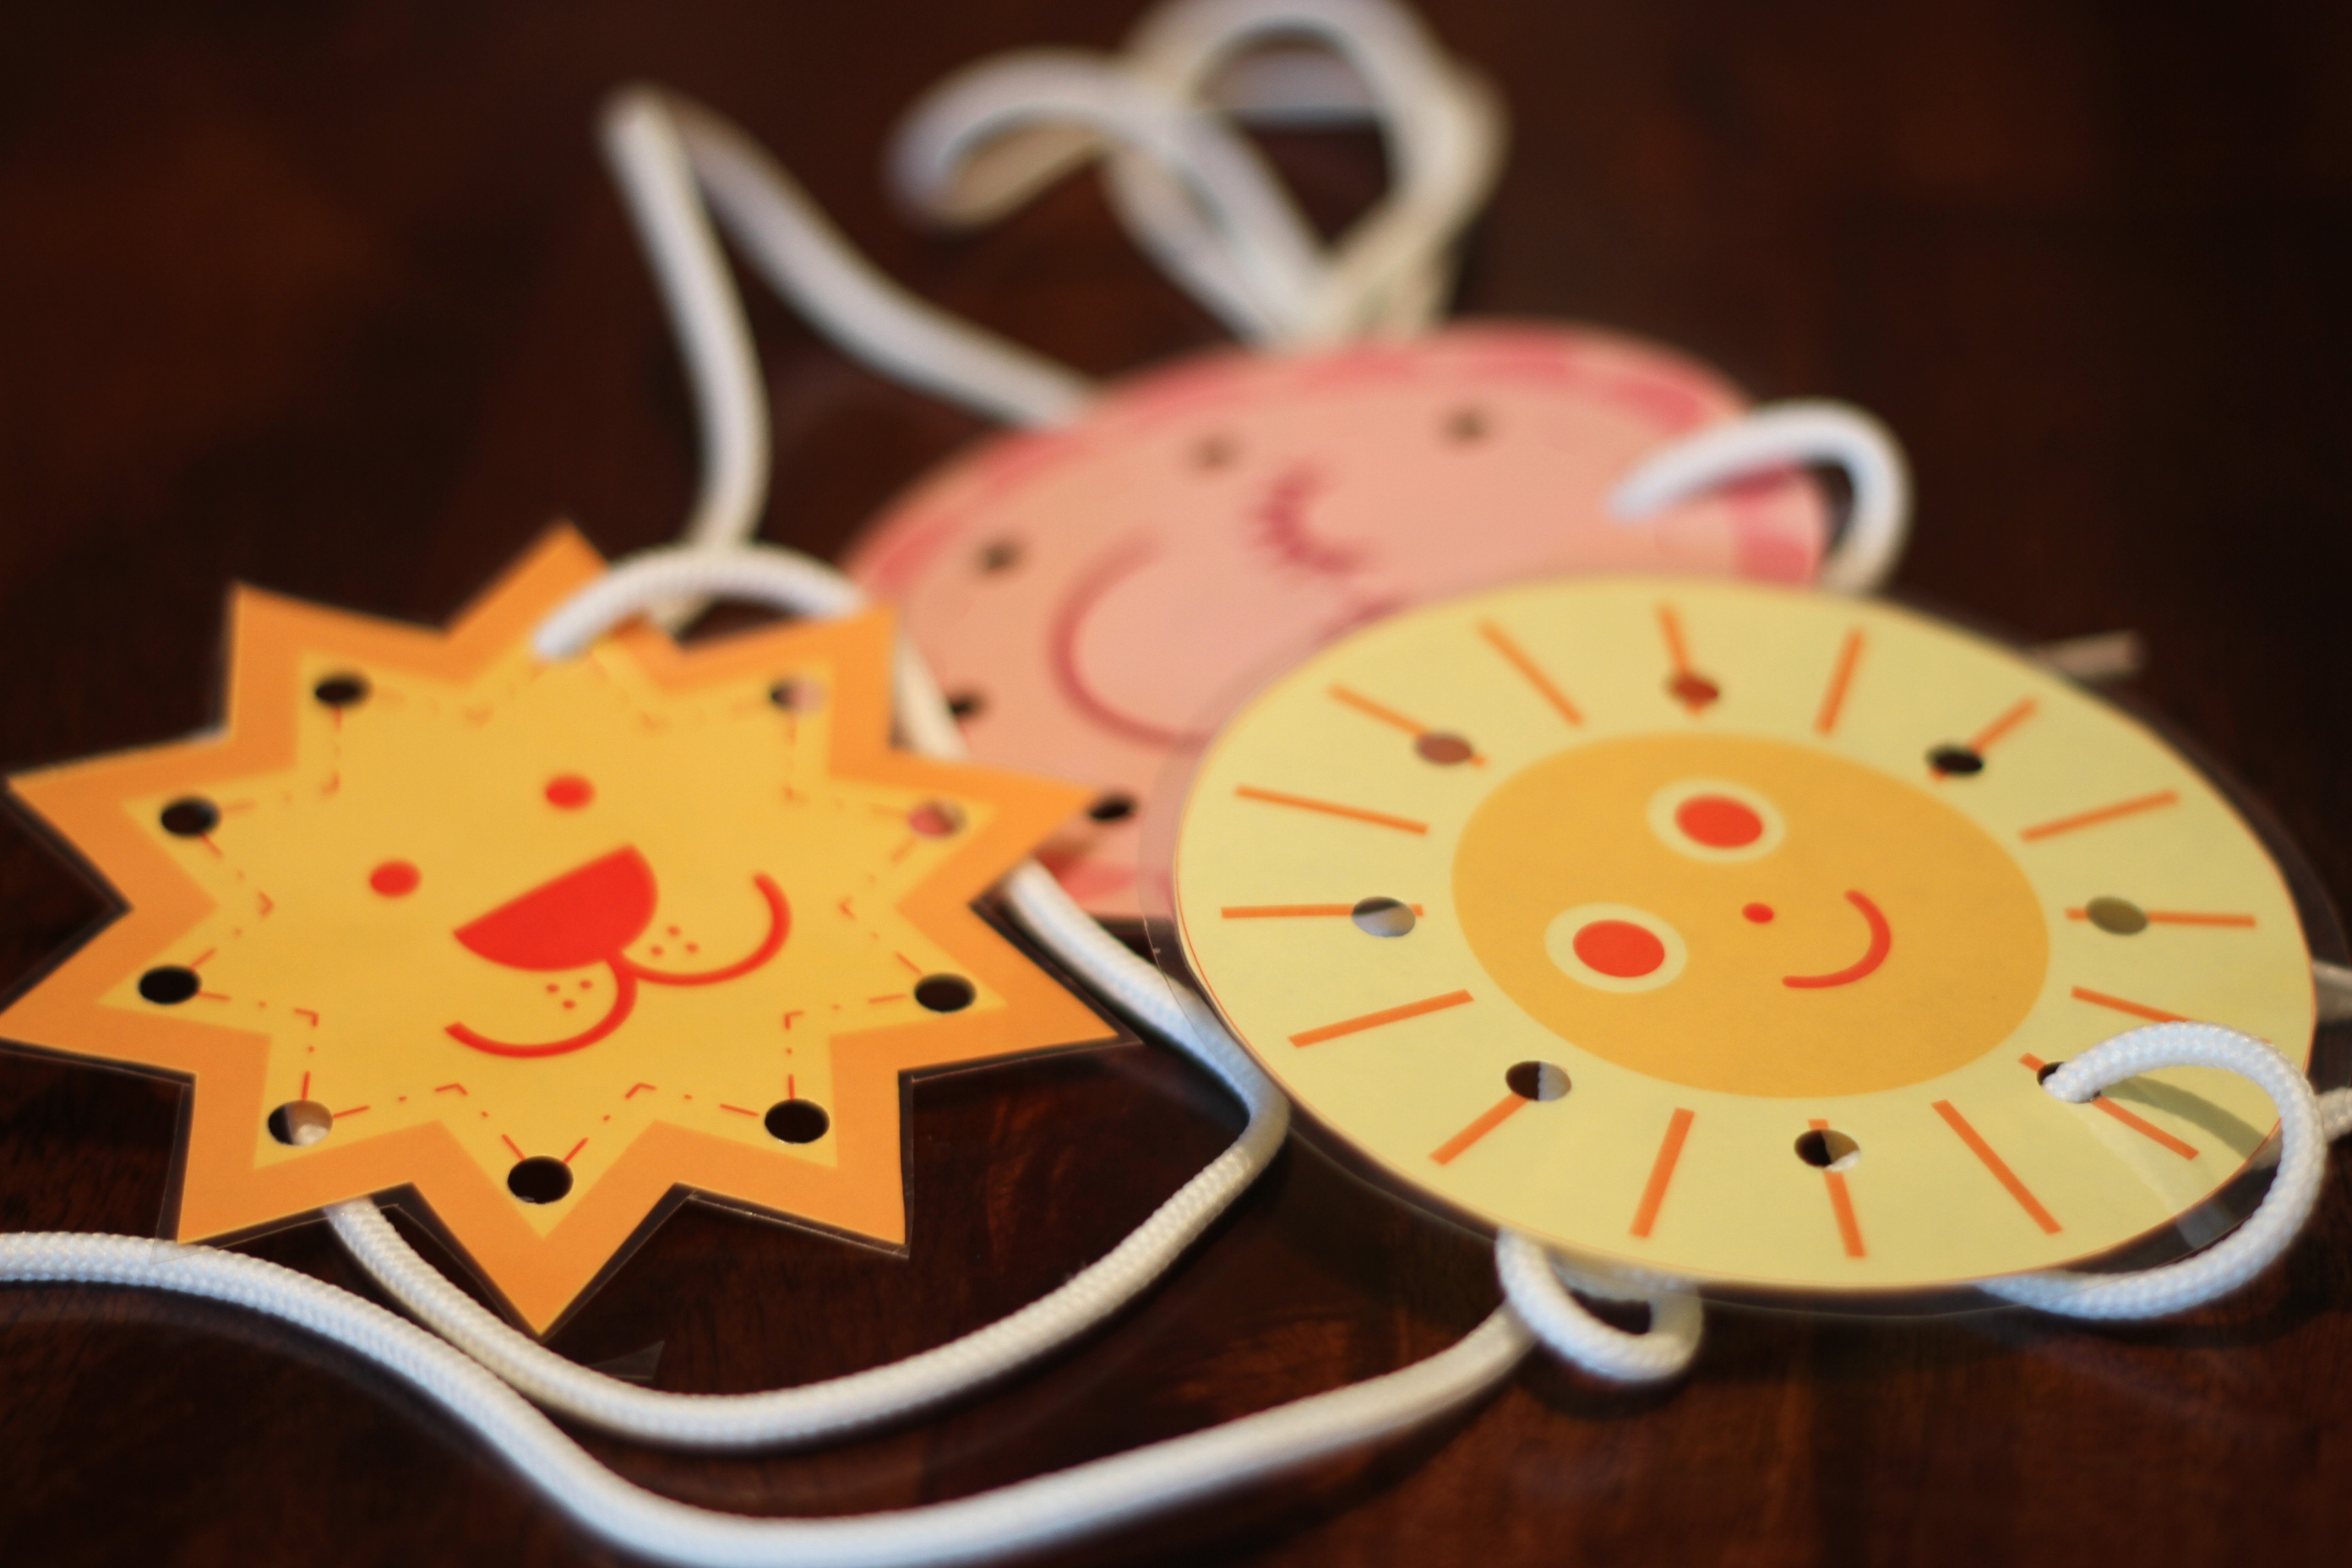
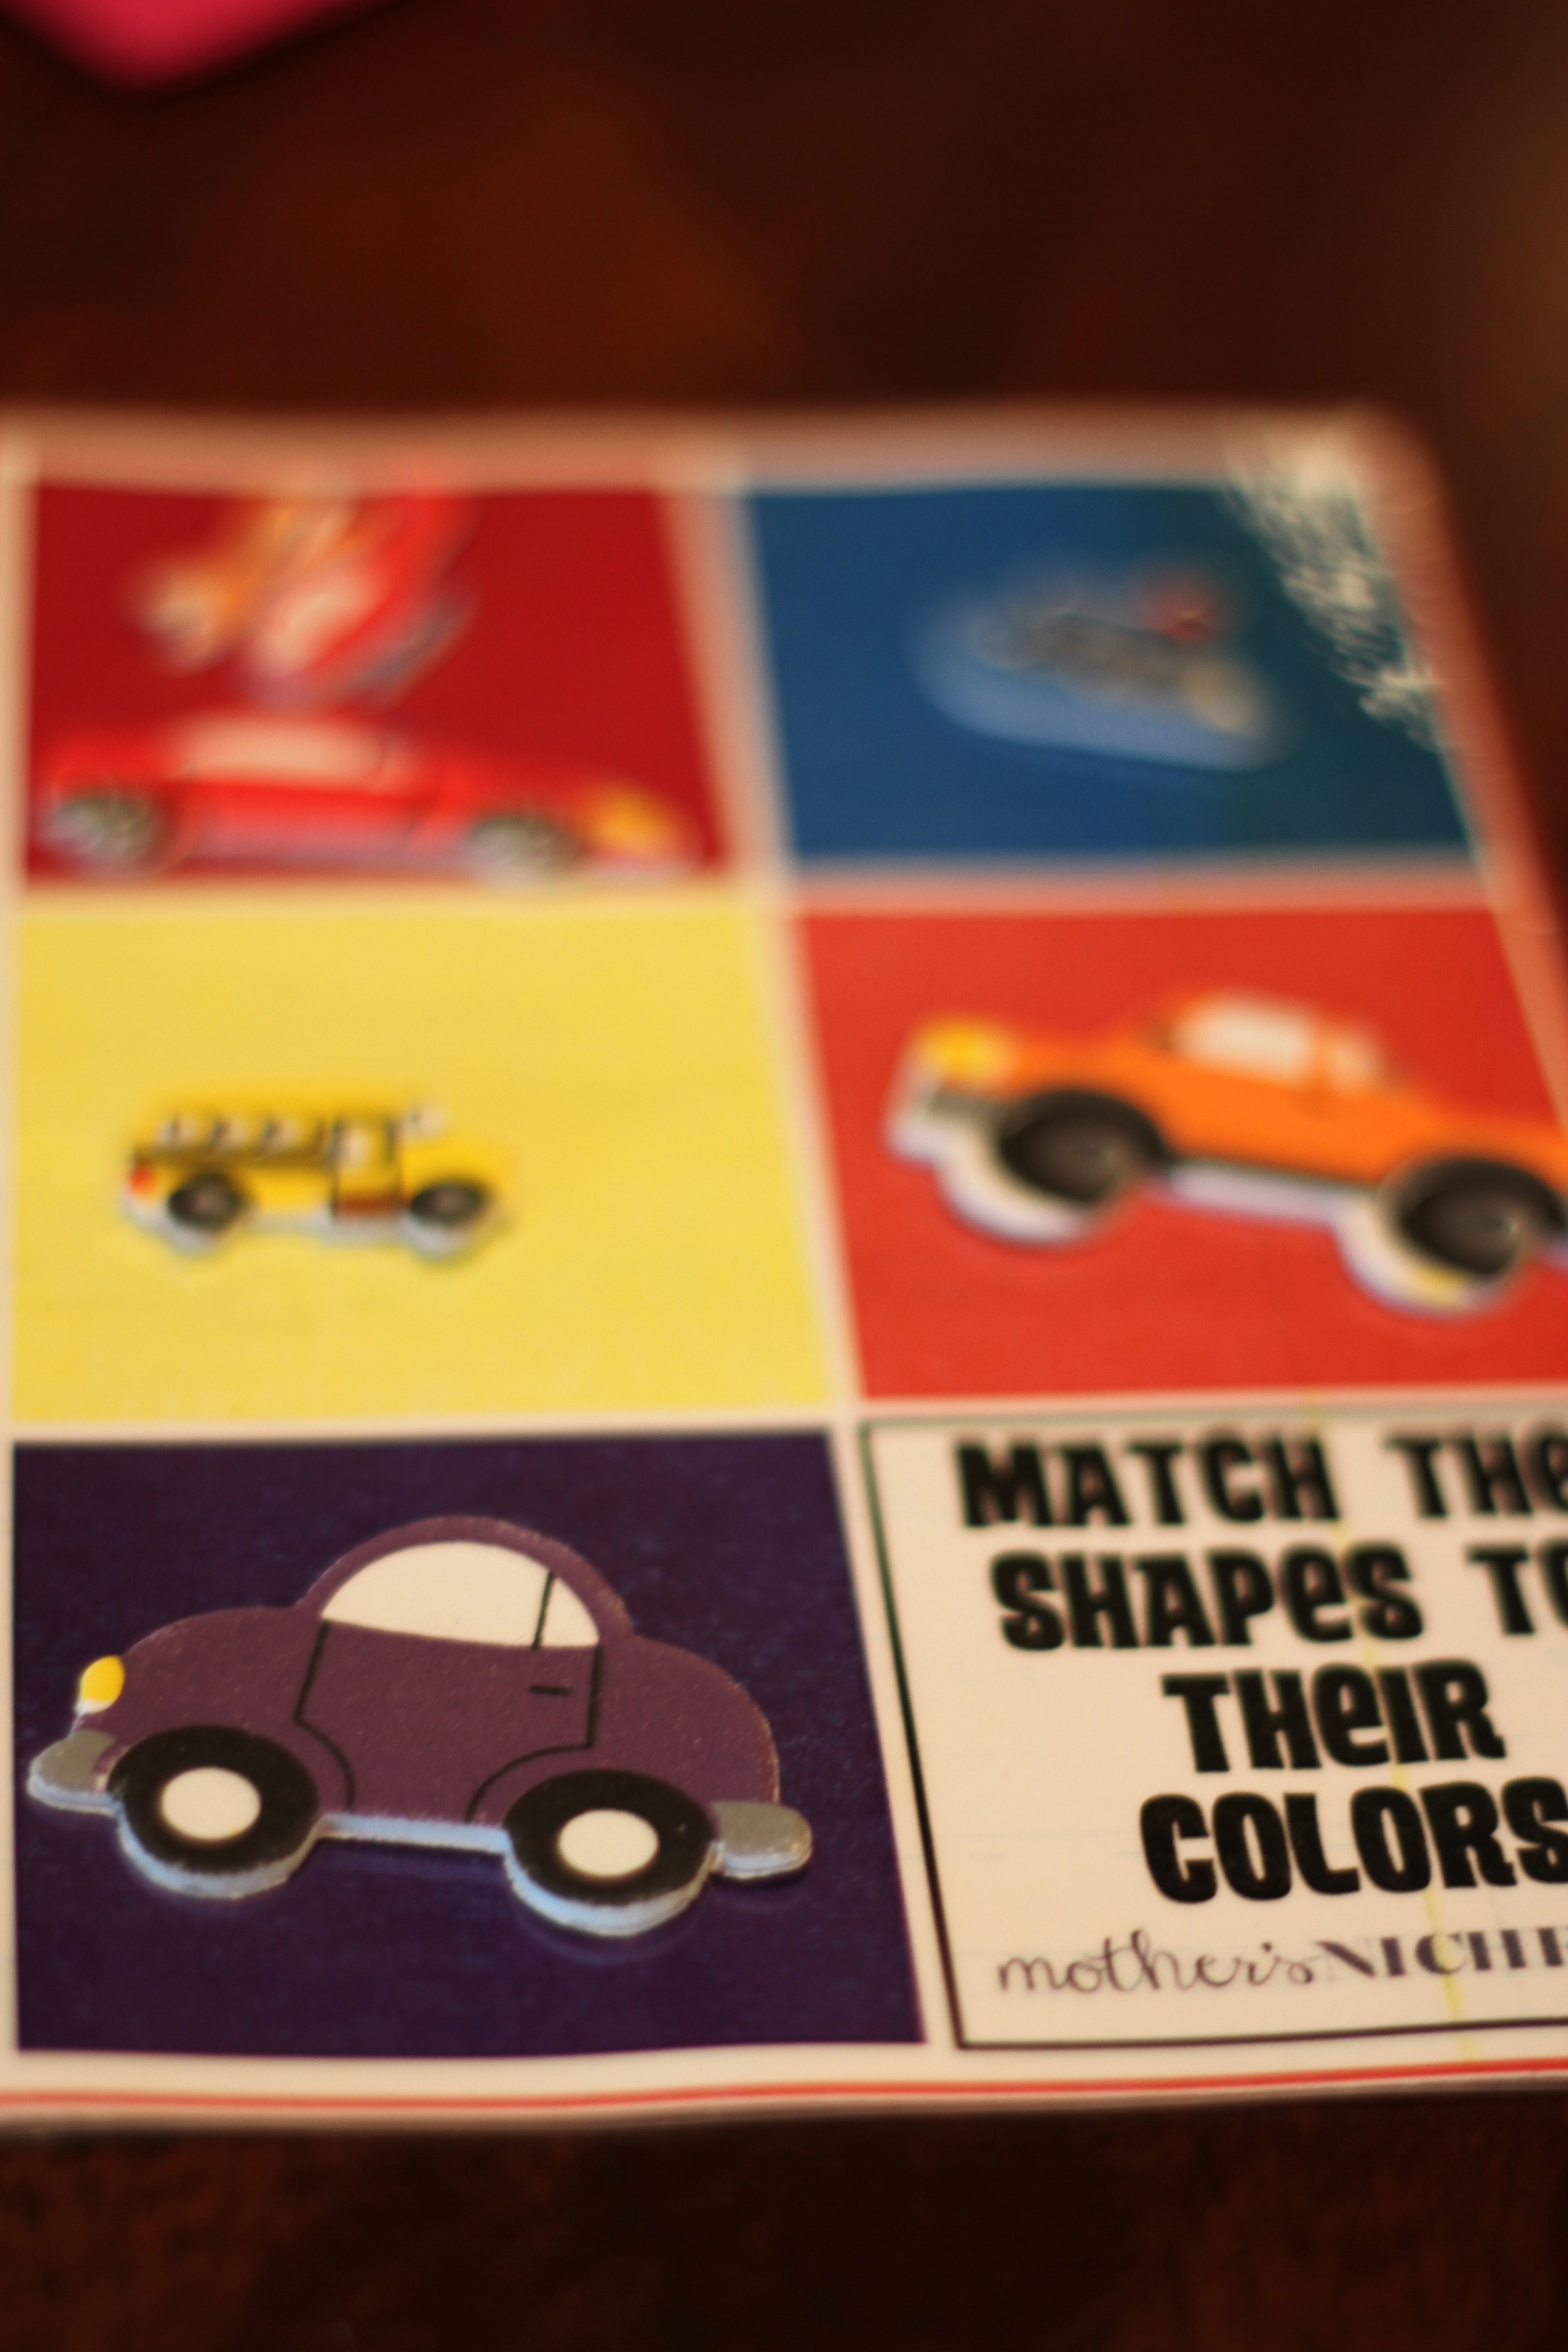
Transportation printables:
Jacob is loving these!
My source for the printed materials: http://mothersniche.com/busybags/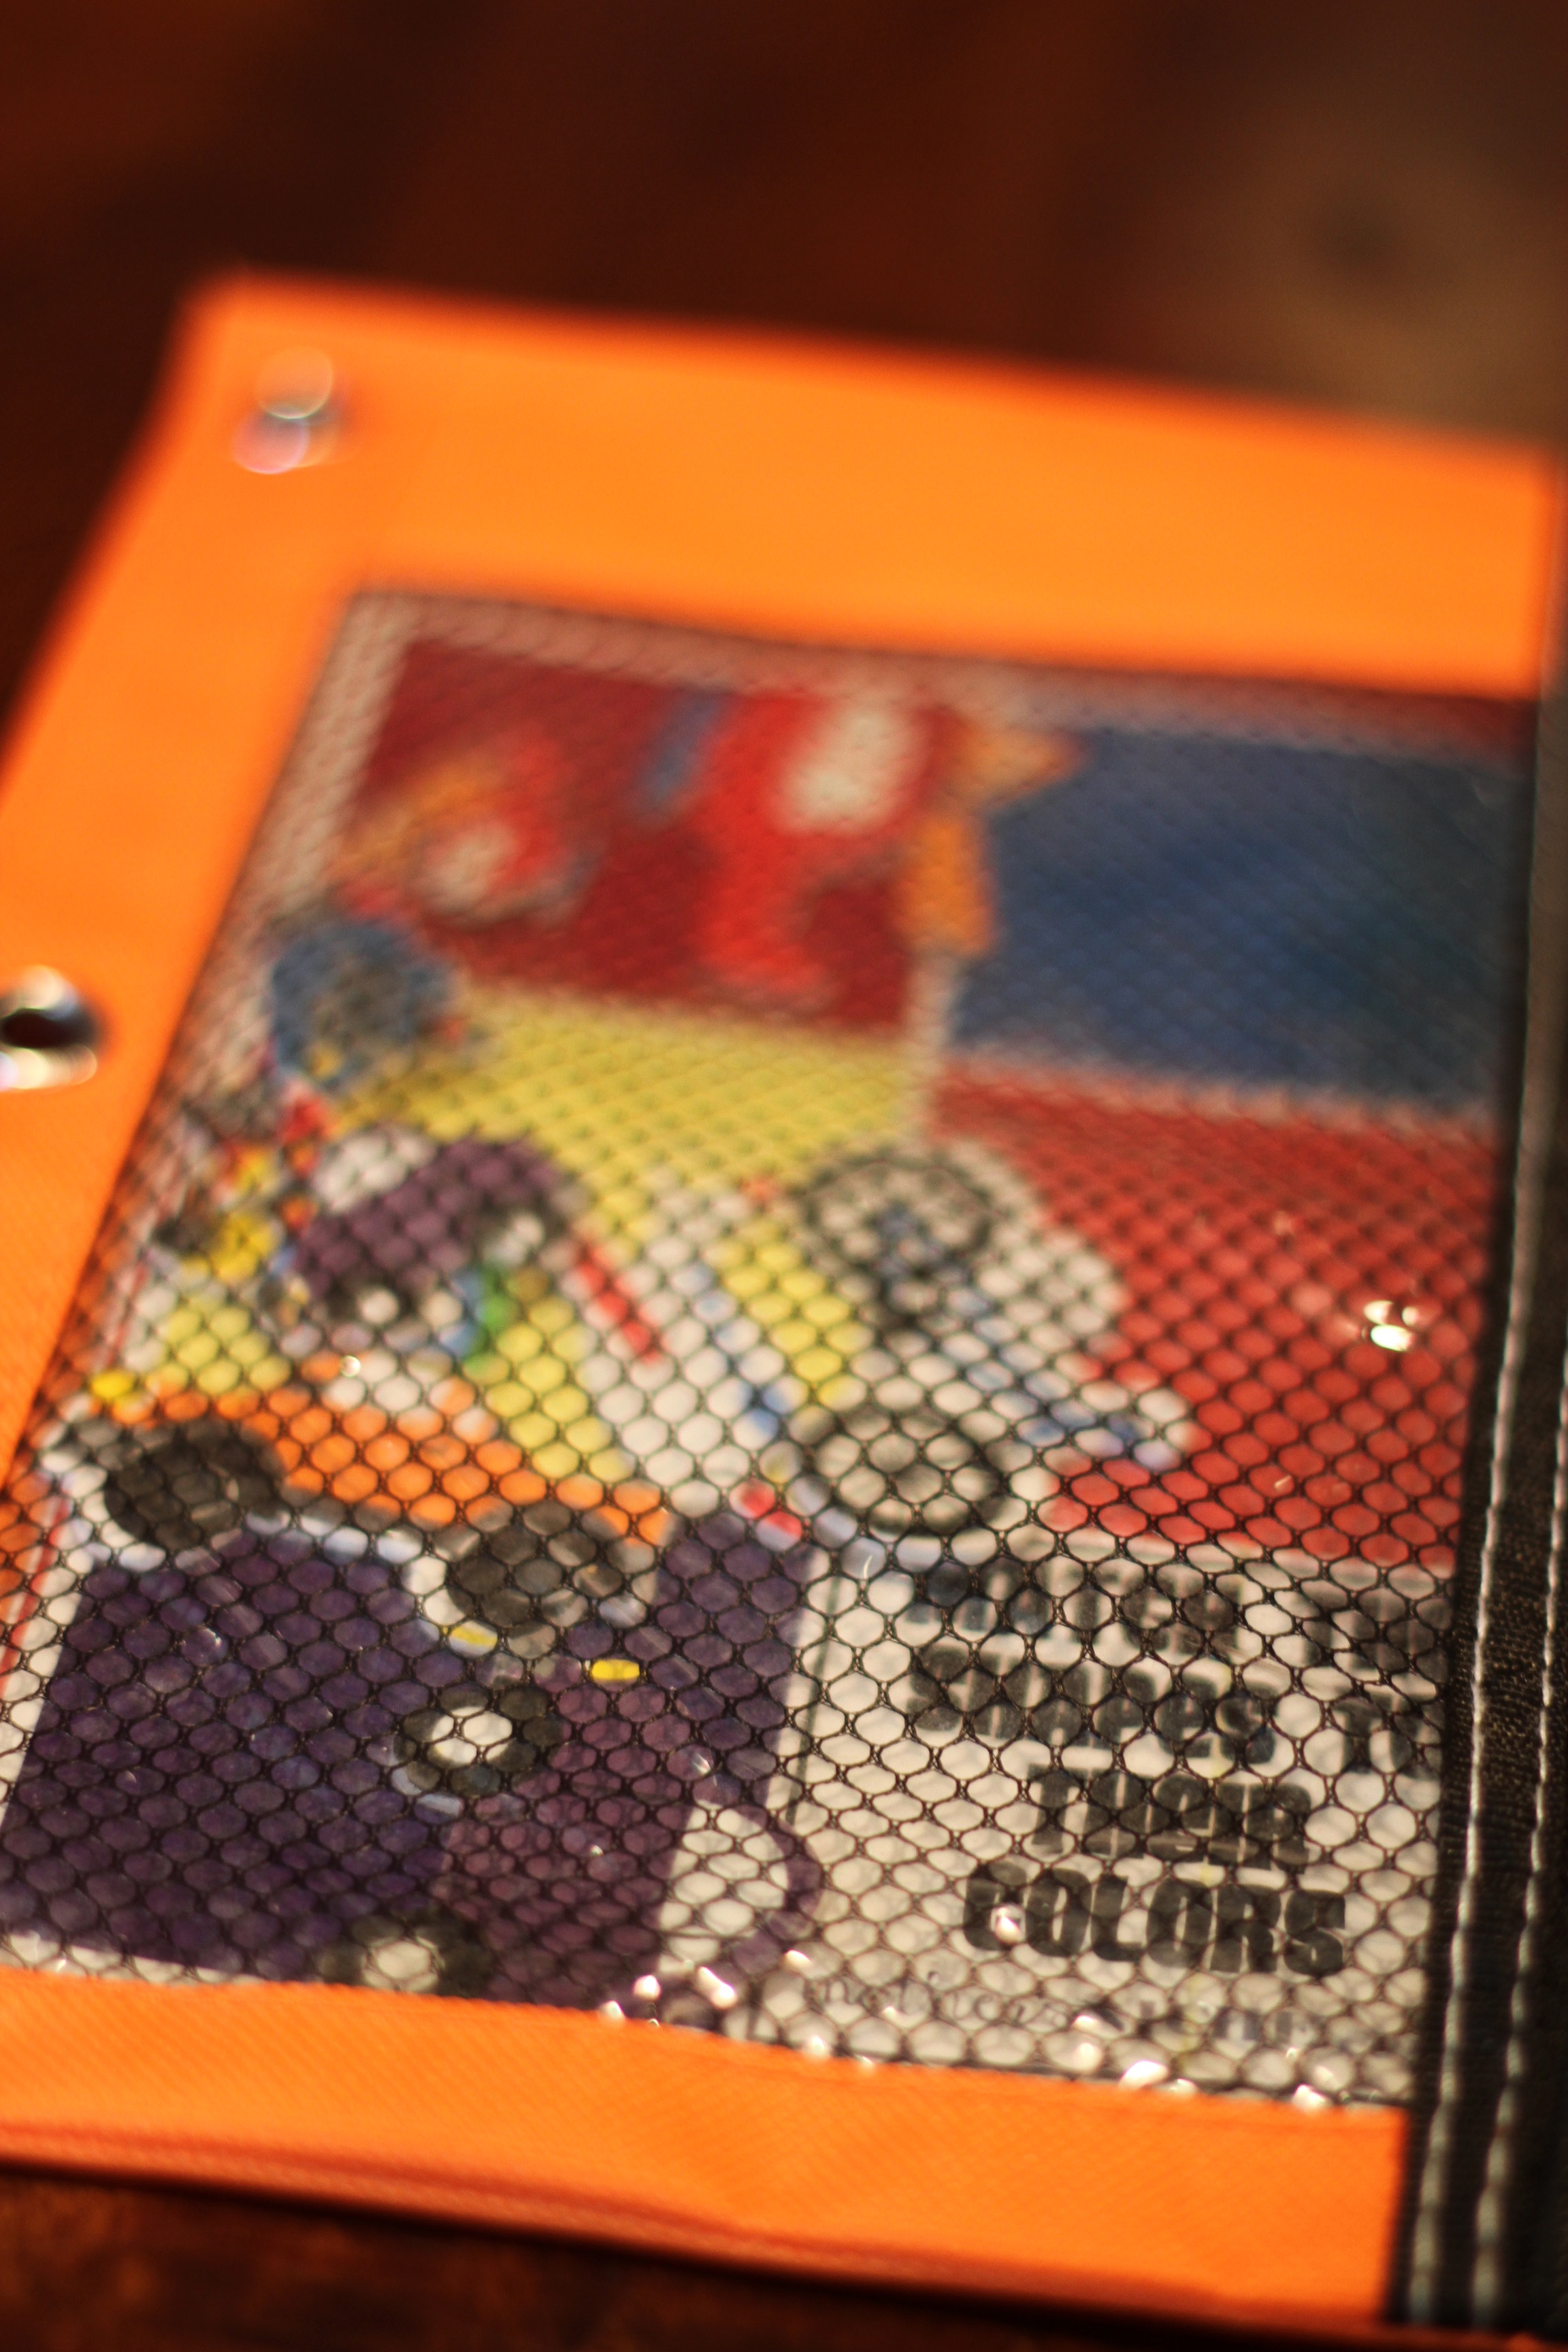
The first is a map with a couple of options. Jacob can take the transportation shapes in his bag and show me where they belong (boat goes on water, bus on the road, train on the train tracks), and he can also just drive on the streets and decide where things should park and make up little stories about what they are doing there. Super cute.
The next is to match the shapes to the colors. He can do this very quickly.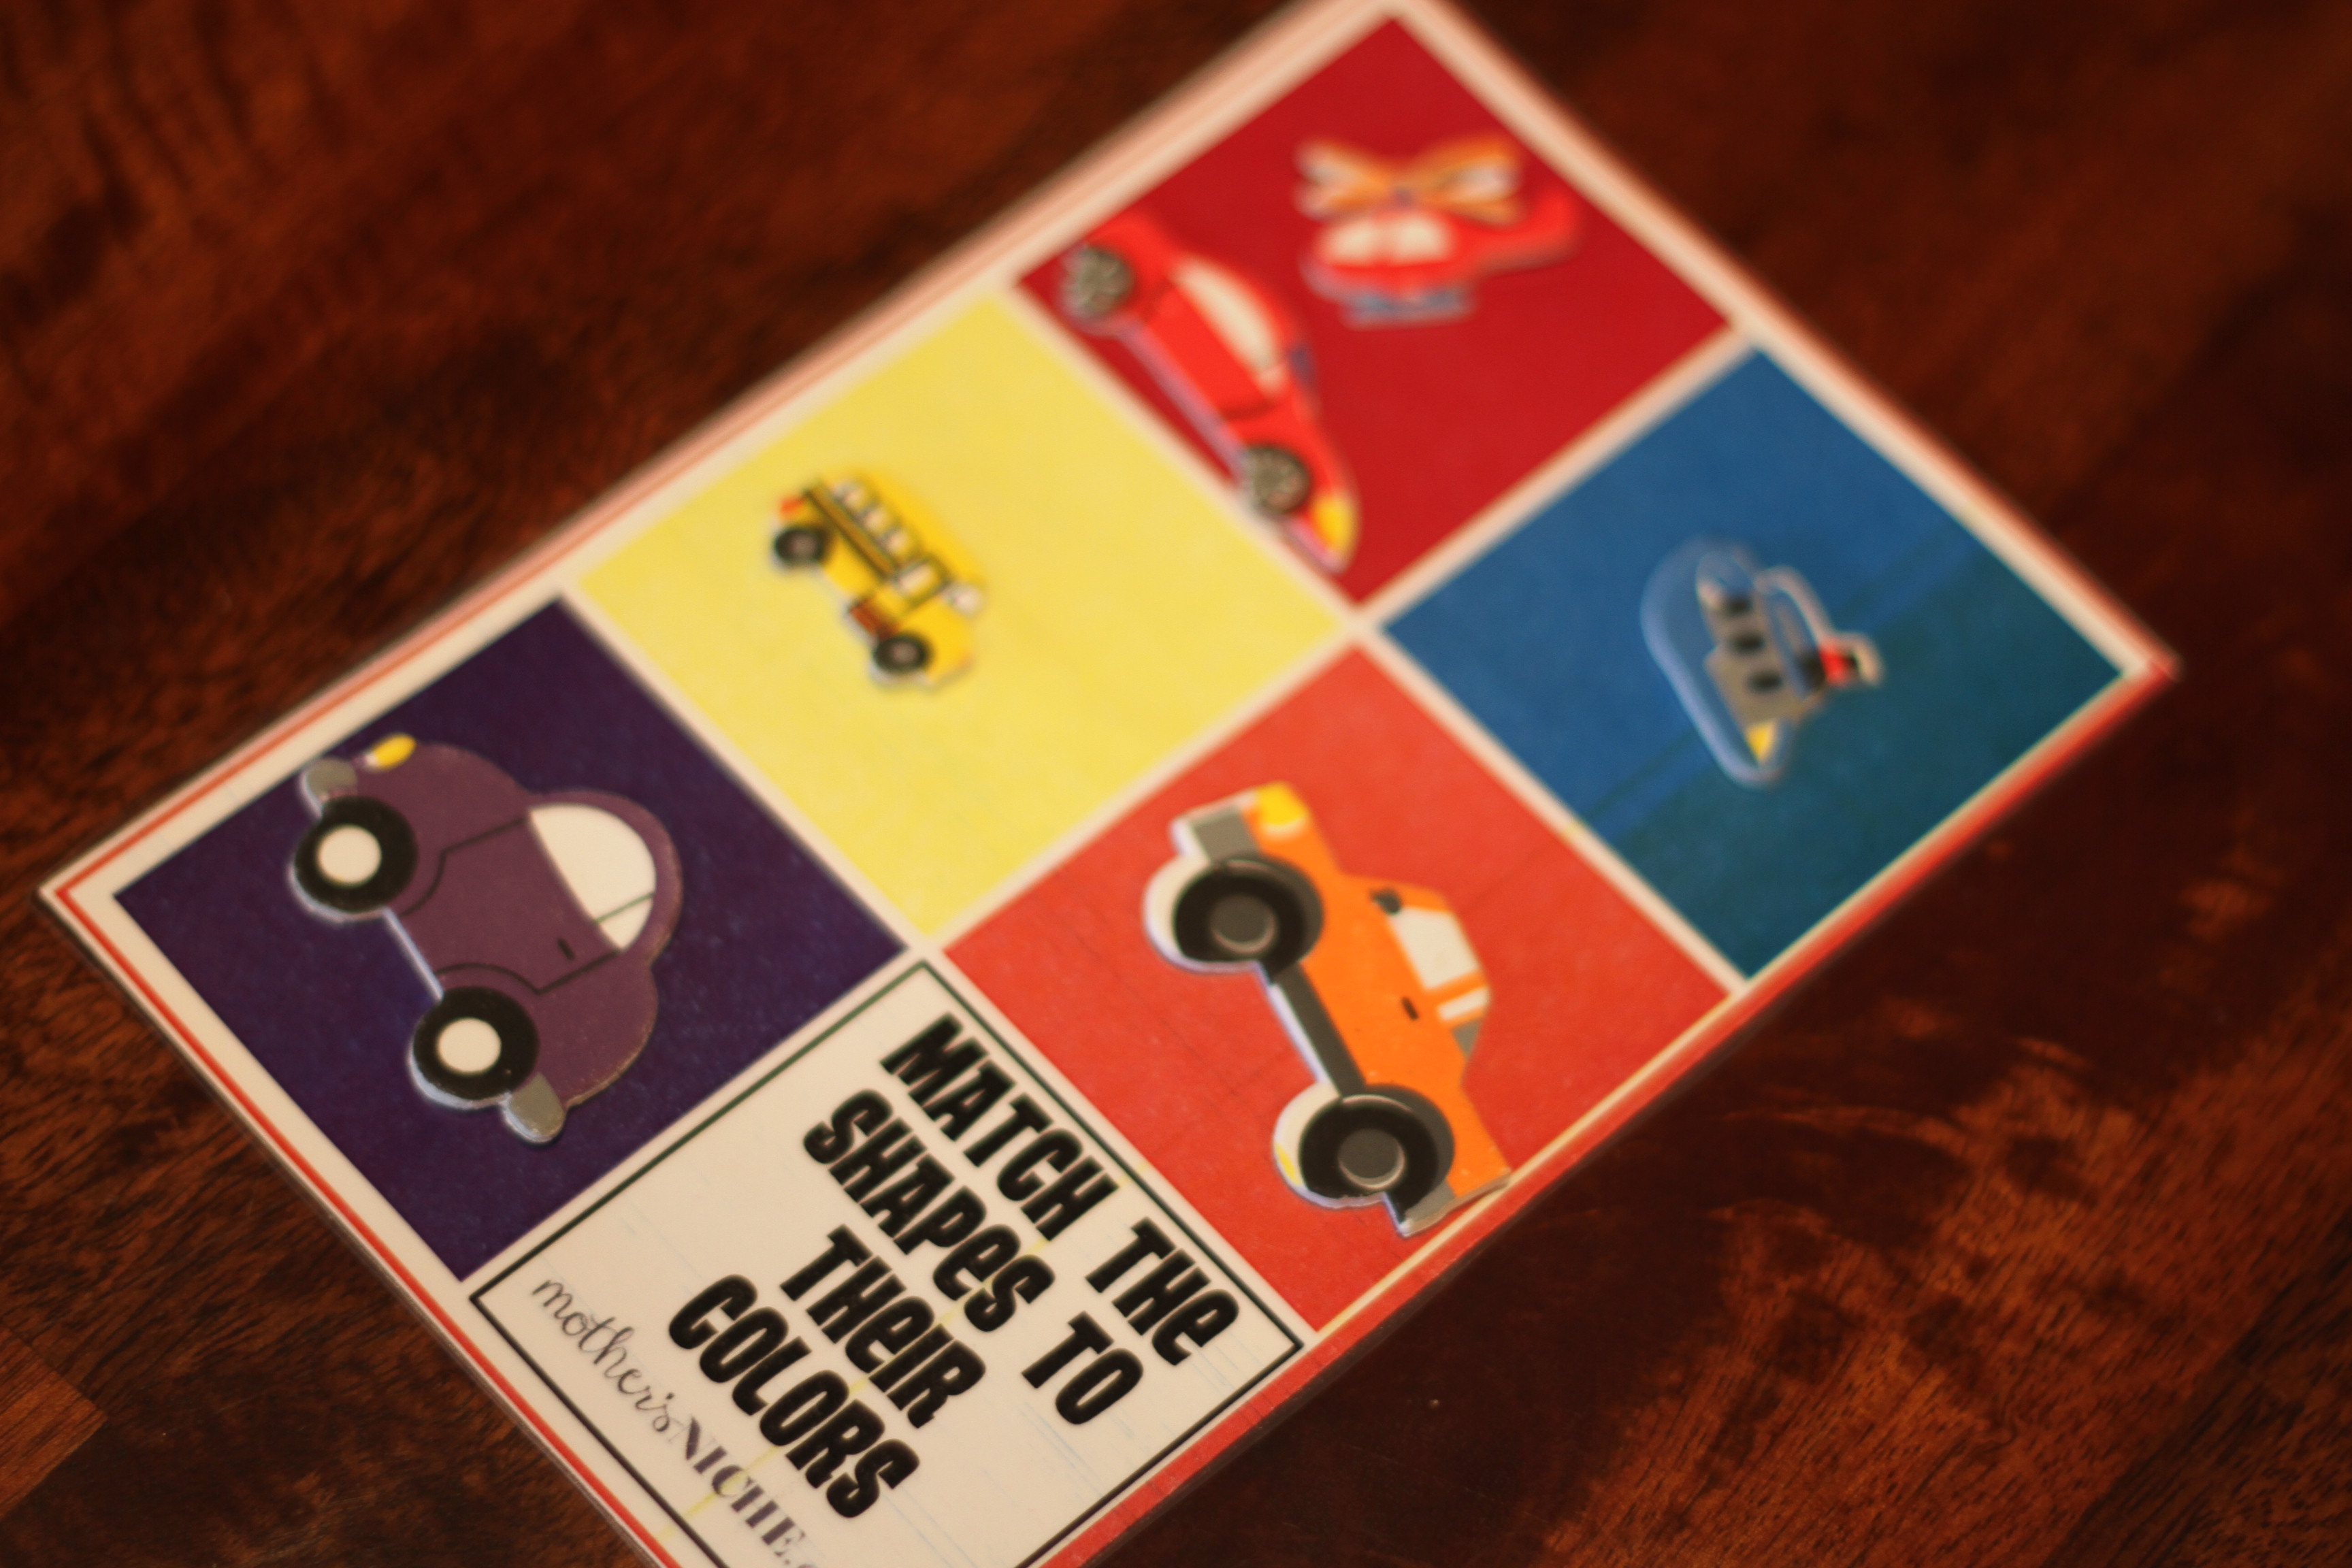
On the backside of that one, we did this “Water/Land/Sky” printable. I thought this might be a complicated idea for Jacob to grasp, but he figured it out immediately. There are a lot of shapes in the bag, so he has quite a few options when it comes to placing things where they belong. He will also tell me what each item is (imagine how cute he says “helli-COP-ter”!)
I ordered these great pencil bags on Amazon. We were thinking that they could be clipped together with a binder ring, or even clipped into a binder. So far, I keep mine in an activity bin that I have for Jacob, and just grab one or two before we go somewhere. They were a big hit at the last La Leche meeting!

The idea behind these cards is to match the front and back of the animal.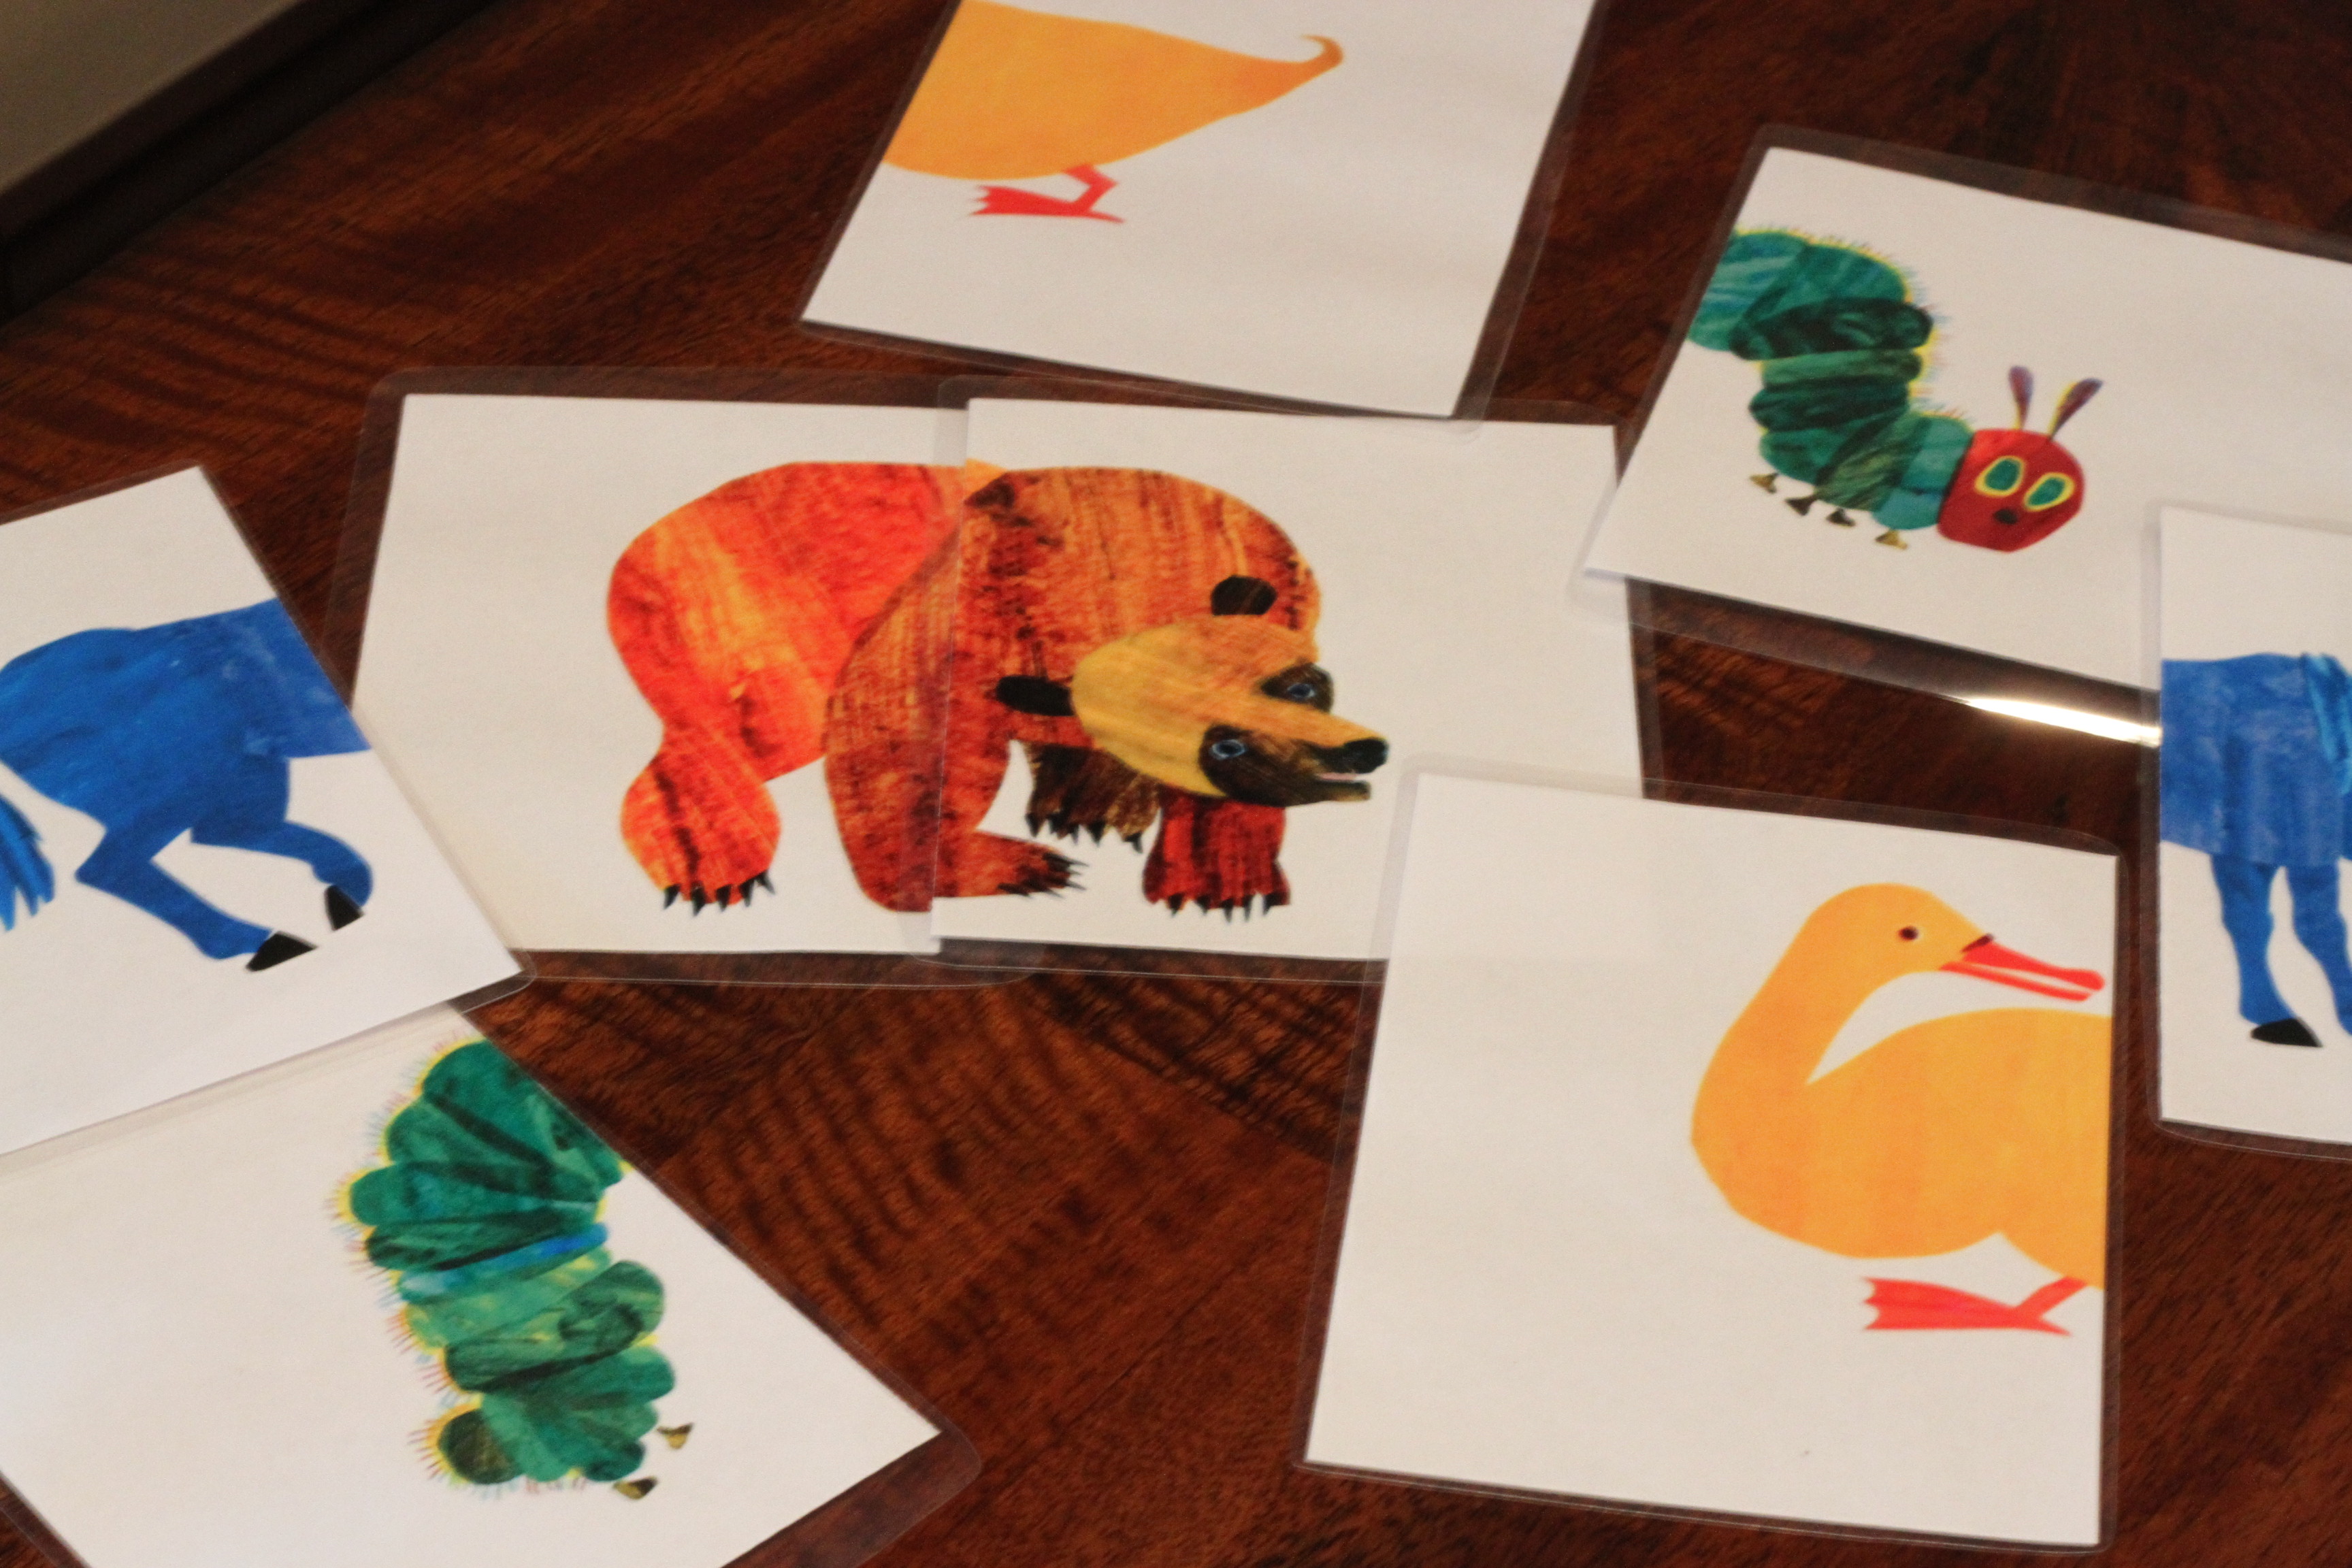
I also ordered a set of transportation erasers, and each child got one three-dimensional eraser with moving parts. Jacob likes to drive this fire truck around his map.
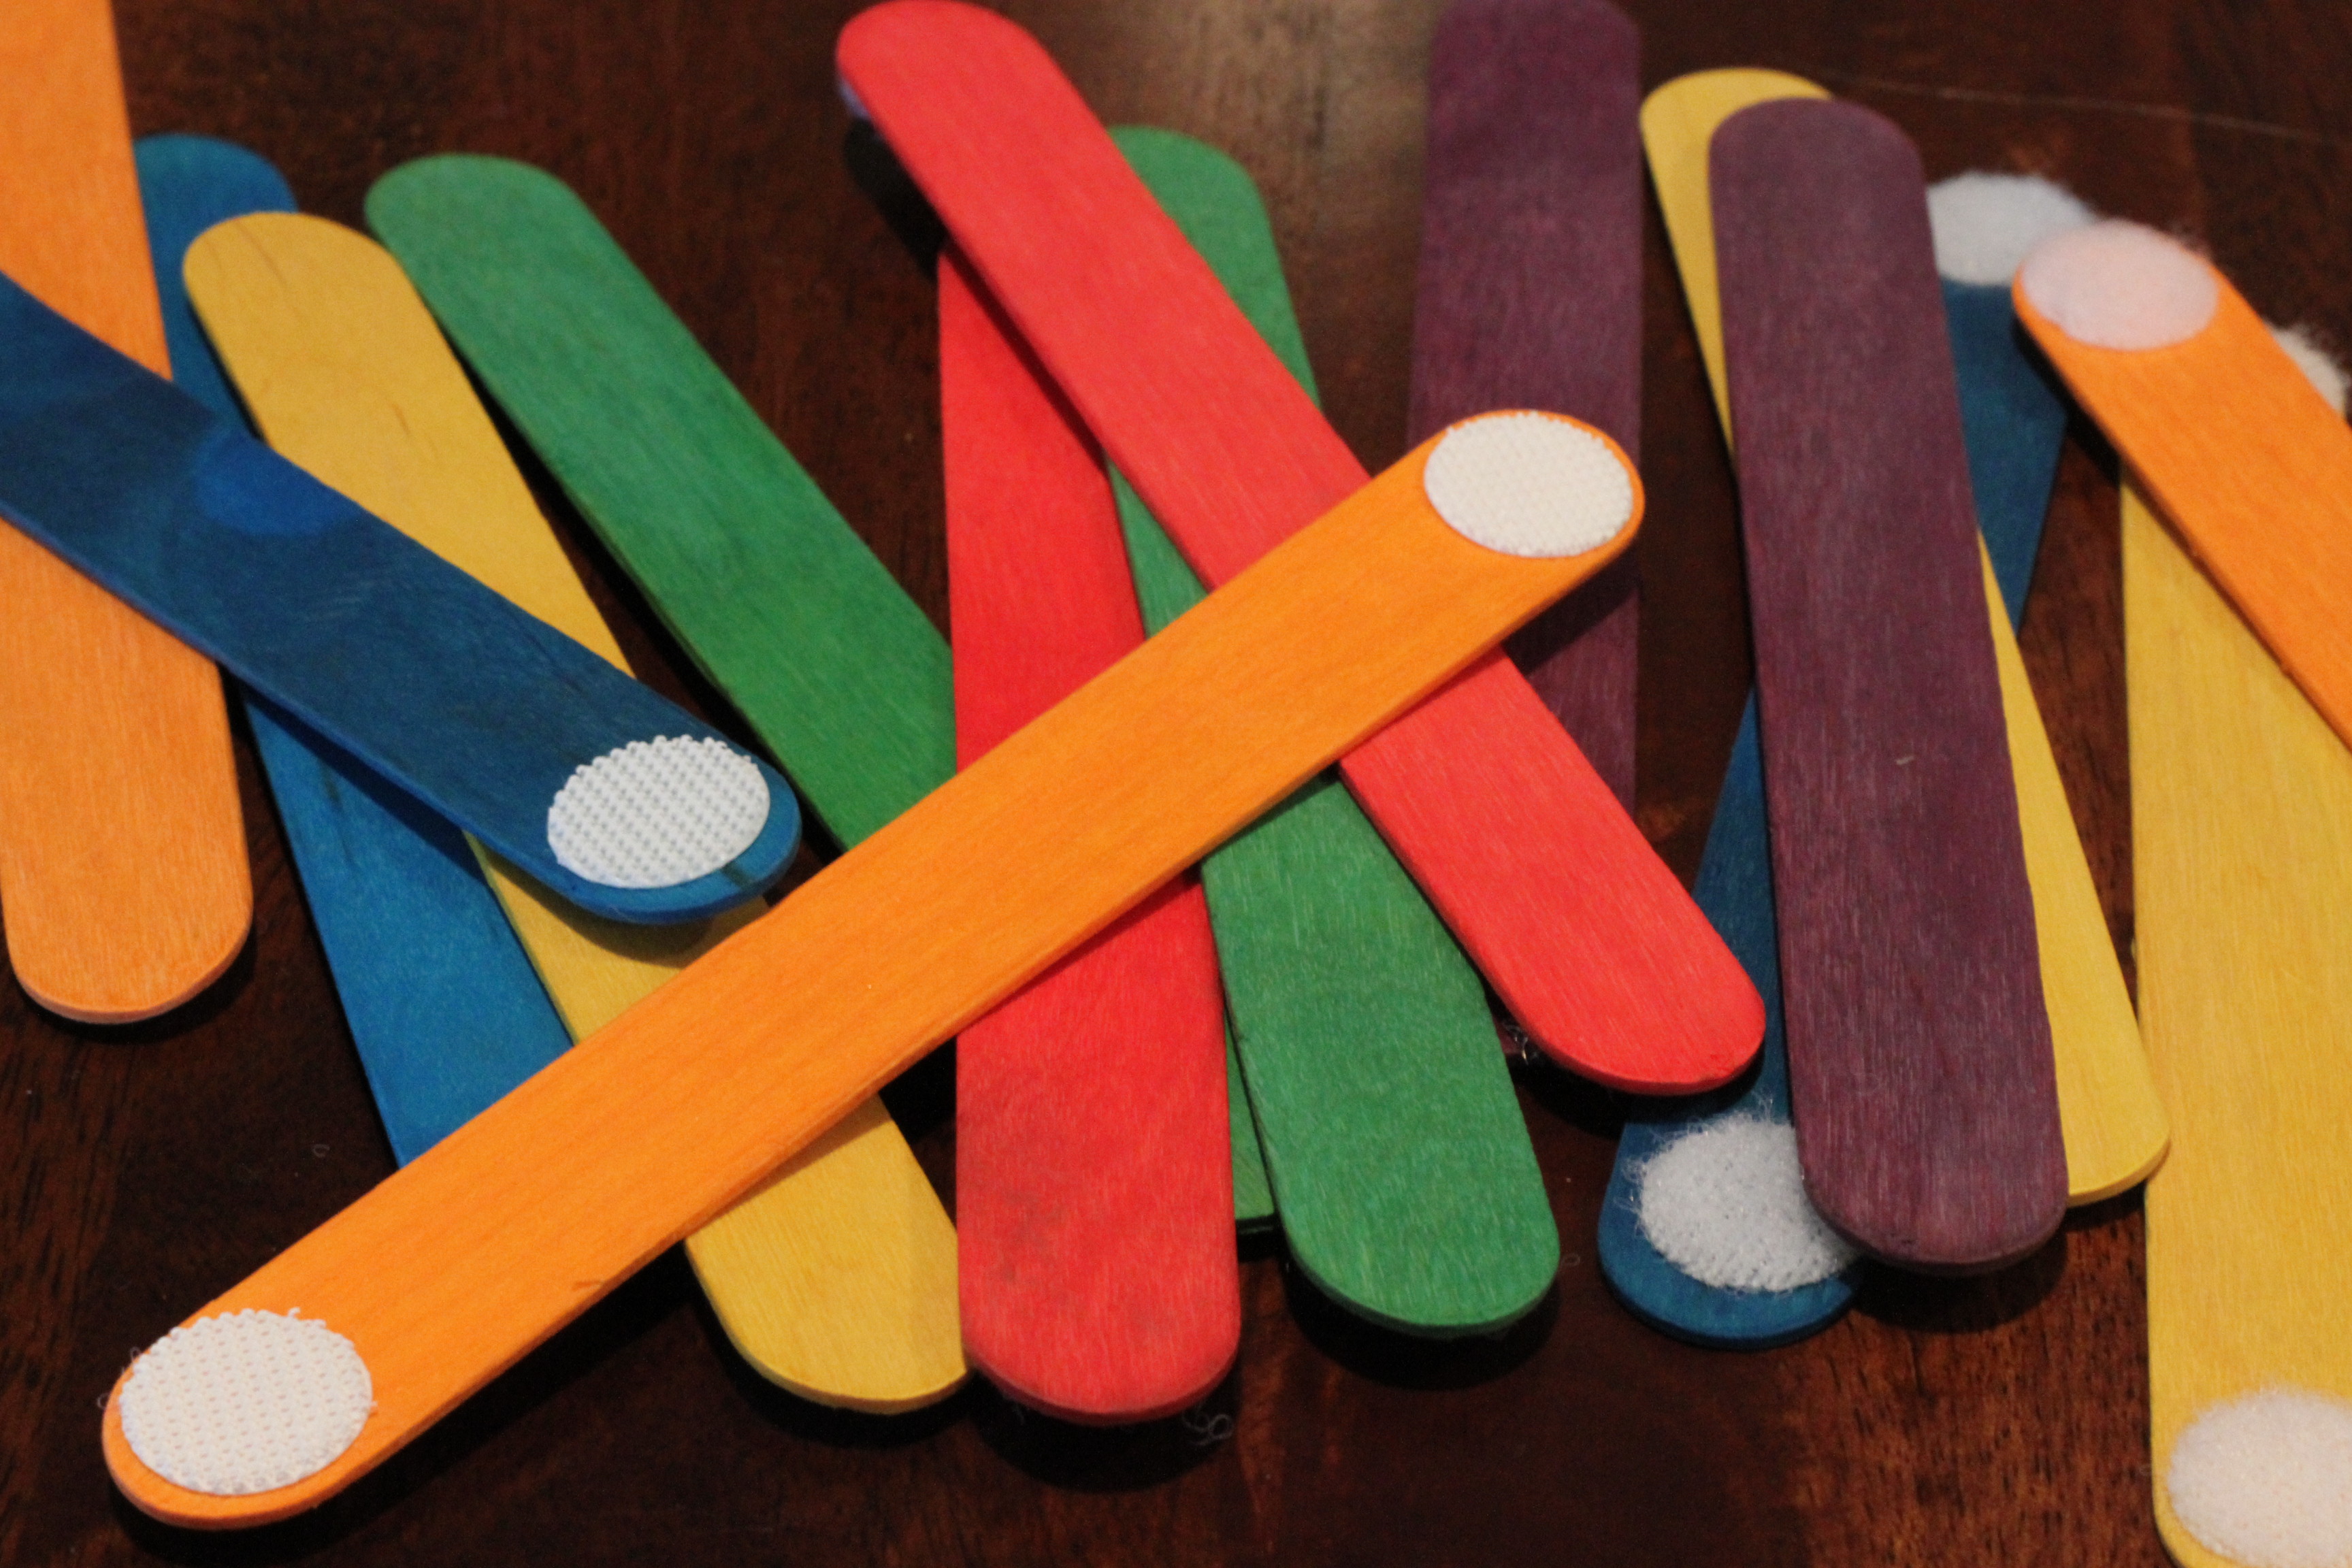
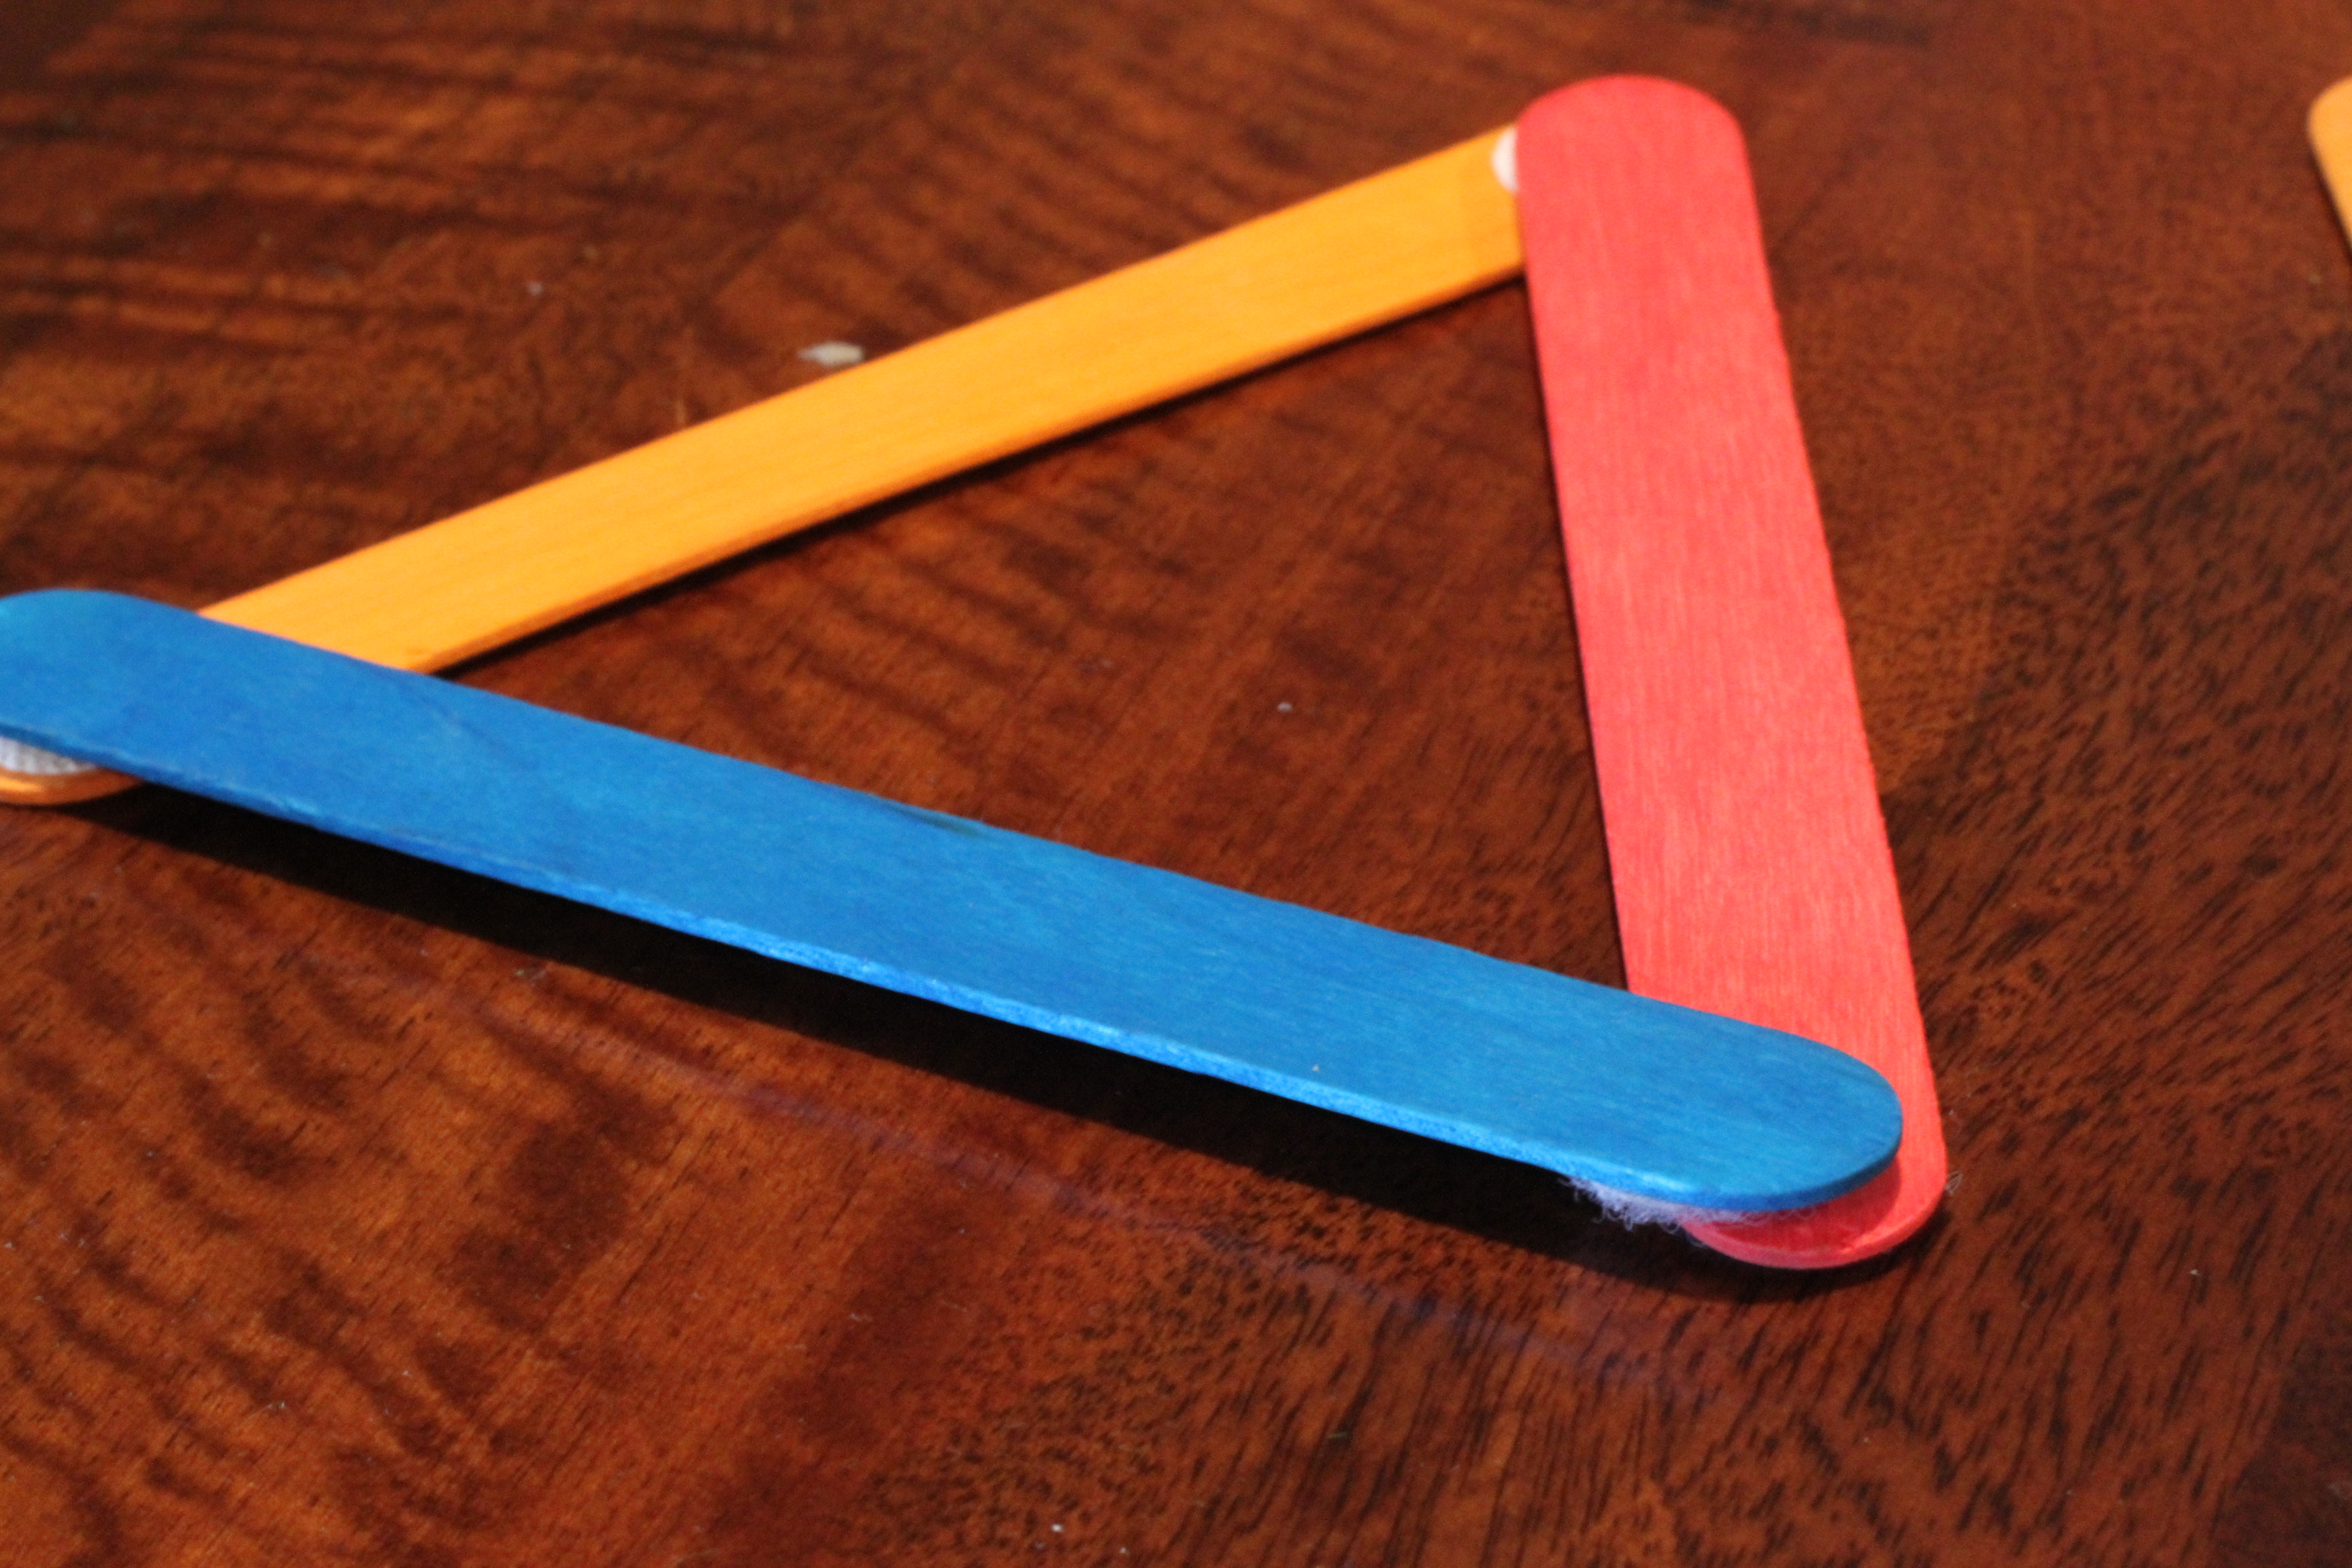
Popsicle stick building:
They can make shapes or just play with the velcro and build whatever they come up with. Jacob knows a few shapes, but it’s still hard for him to take these and make a shape. Colorful popsicle sticks from Oriental Trading, velcro dots from the 99 Cents store.

If you want more clarification on any of the items, please leave a comment below! I would love to share where I found things or more details on how they were made. These bags turned out great, and it was such a fun night assembling them!


Such a cute idea! I will have to work on doing these for our airplane ride to Florida for Rylee. How long did it take to put this together?
Ashlee: the time-consuming part is the cutting; if you pick a few of the activities that use the same supplies you’ll save shopping time. Like maybe do all the ones with felt. You can get sheets of individual colors 4 for $1 at Hobby Lobby or Michaels, and I would be happy to mail you one of the foam dolls if you didn’t want to make your own!